How to Repair Cut Wire on Hedge Trimmer
A cut wire can stop your trimmer cold. The cut breaks the power flow inside. The tool then does no work at all. The good news is plain and clear. You can fix it at home with care. Such slips happen in routine hedge work. One cut, one dead tool. Home fixes work here.
You need just a few plain tools. A bit of know-how guides each step. First, unplug the trimmer from all power. Then look at the cut with care. Judge how bad the harm is. This guide walks through each step. Few tools, plain steps. Power off comes first.
Small cuts may need just tape for wires. Big harm needs a new wire part. Our hedge trimmer guide explains the tool itself. A test run ends the job. Tape for small cuts. New wire for big harm.
Quick answer: Unplug the trimmer before touching the damaged wire. Inspect the cut closely and assess the damage. Strip about one inch from both wire ends. Twist and solder the exposed copper ends together. Insulate the finished joint, then test the trimmer.
- How to Repair Cut Wire on Hedge Trimmer: The Short Answer
- Step 1: Safety First Before Any Repair
- Step 2: Gather the Tools You Need
- Step 3: Inspect the Cut Wire Closely
- Step 4: Strip and Solder the Wire
- Step 5: Insulate With Heat Shrink Tubing
- Frequently Asked Questions
- Conclusion: How to Repair Cut Wire on Hedge Trimmer
How to Repair Cut Wire on Hedge Trimmer: The Short Answer
Turn the trimmer off and unplug it. Look at the wire and find the harm. The quick steps match the full guide. The Wikipedia hedge trimmer page gives tool background. Off, unplugged, then look. Quick steps match full steps.
Step 1: Safety First Before Any Repair
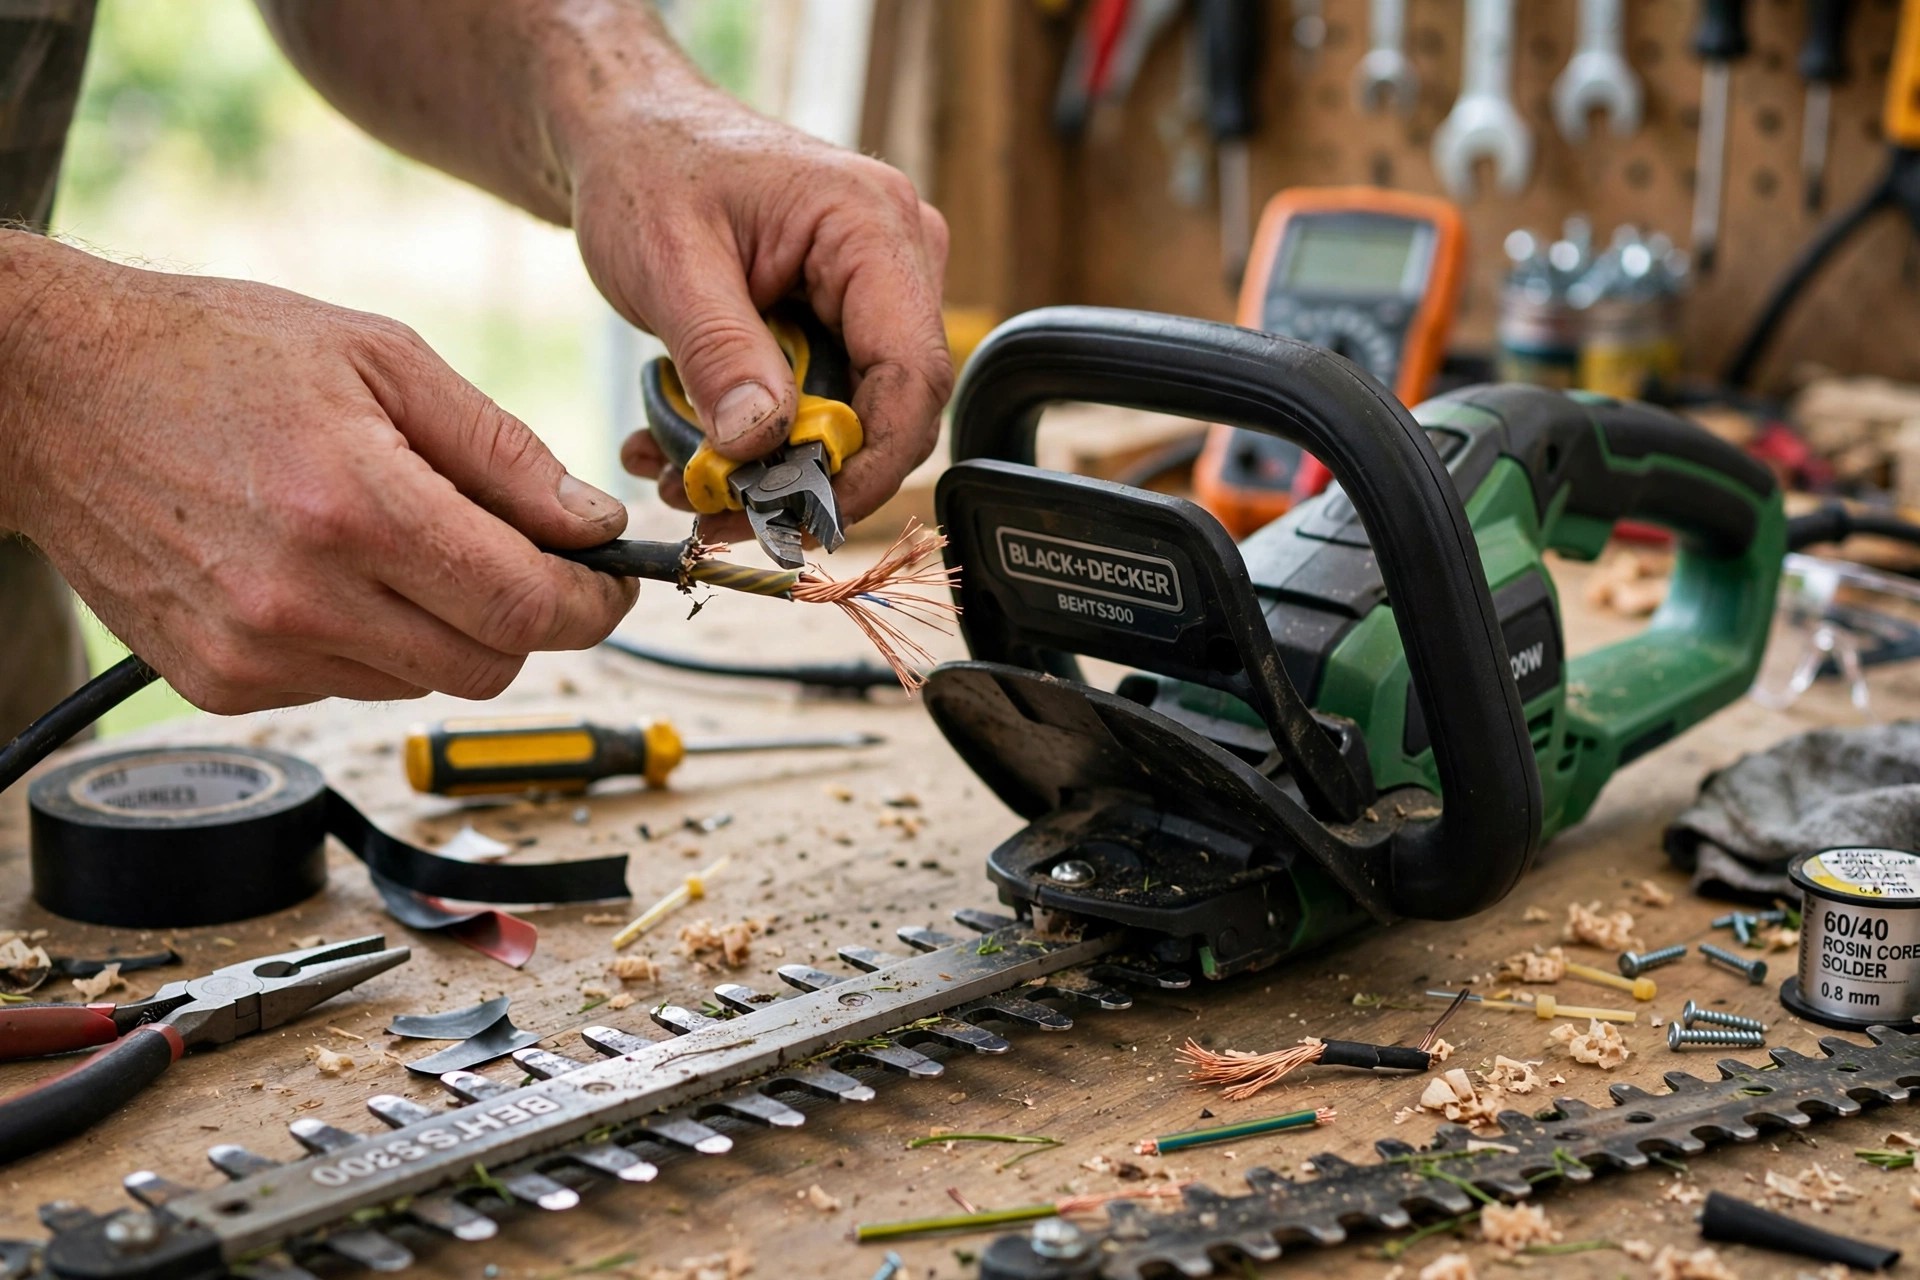
Wear work gloves to guard your hands. Keep the trimmer unplugged the whole time. For battery models, take the battery out. That stops the tool from starting by chance. Gloves on, plug out. Battery out for cordless.
Work where fresh air flows well. Keep fumes and dust from your lungs. Keep kids and pets far from the work. Use tools with insulated grips for wire work. Fresh air, no kids. Grips that guard you.
Step 2: Gather the Tools You Need
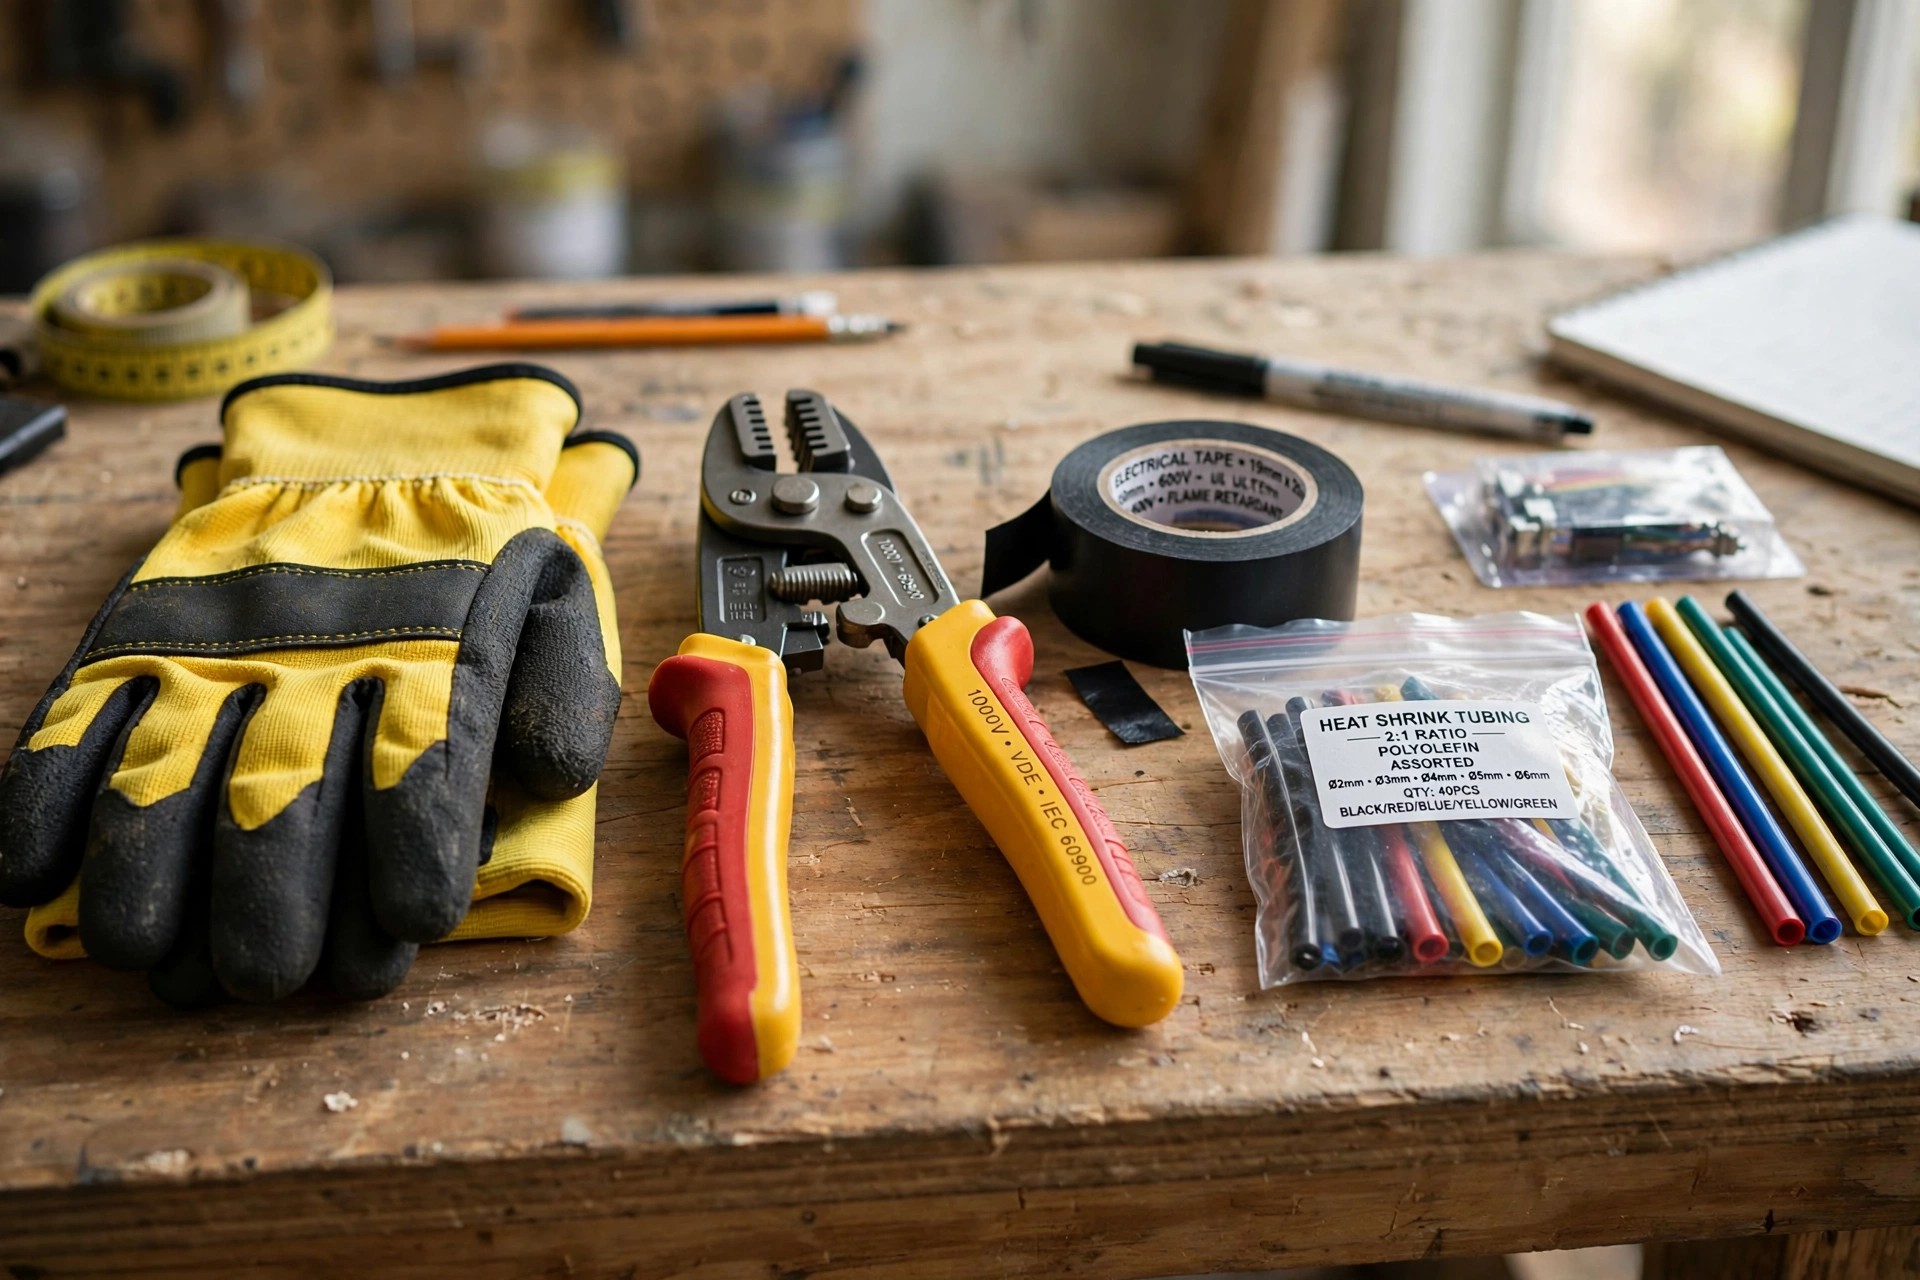
Gather each tool before you start the fix. Tools at hand make the work smooth. Our cutting out guide solves a different fault. Tools first, then work. Smooth work needs prep.
| Tool | Job in This Repair |
|---|---|
| Wire strippers | Strip about 1 inch of insulation |
| Electrical tape | Cover and secure smaller repaired areas |
| Soldering iron and solder wire | Bond the twisted wires strongly together |
| Heat shrink tubing | Insulate and seal the finished connection |
| Heat gun or lighter | Shrink the tubing tightly into place |
Step 3: Inspect the Cut Wire Closely
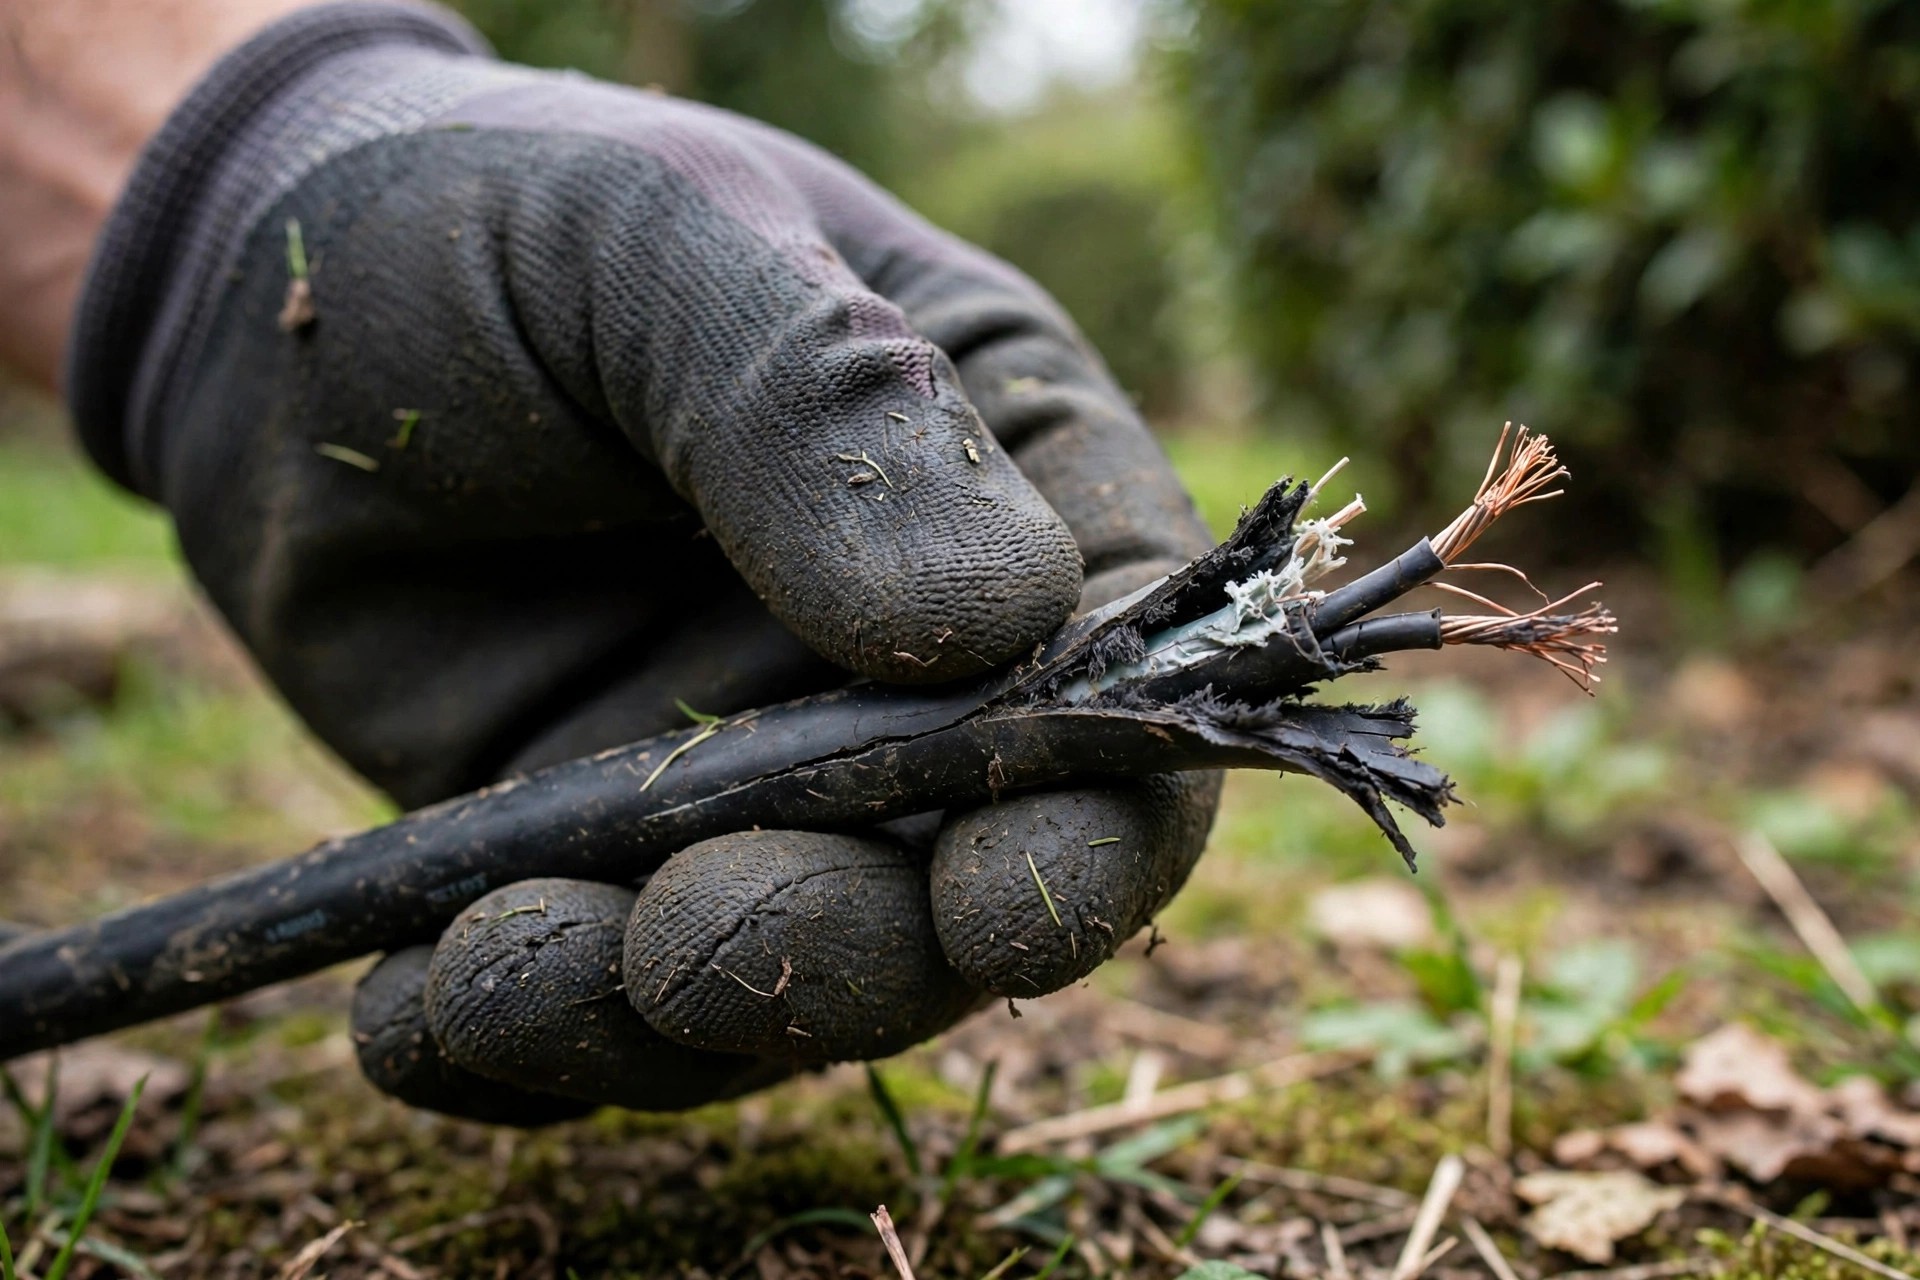
Look at the wire for clear harm signs. Check for cuts or frayed ends with care. Short hurt parts may need cutting away. Cut back till you reach a clean part. Cuts and frays show harm. Clean wire is the goal.
Check that the coat round the wire holds. A sound coat guards you from shocks. Your check shows the exact fix you need. Our rain use guide covers wet weather risks. A sound coat guards you. Checks show the fix.
| Damage Found | What the Post Advises |
|---|---|
| Small cut | Cover and secure it with electrical tape |
| Larger cut | Replace the damaged wire section altogether |
| Multiple wires affected | Replace the damaged section of wire |
| Frayed ends | Cut back to a clean wire section |
Step 4: Strip and Solder the Wire
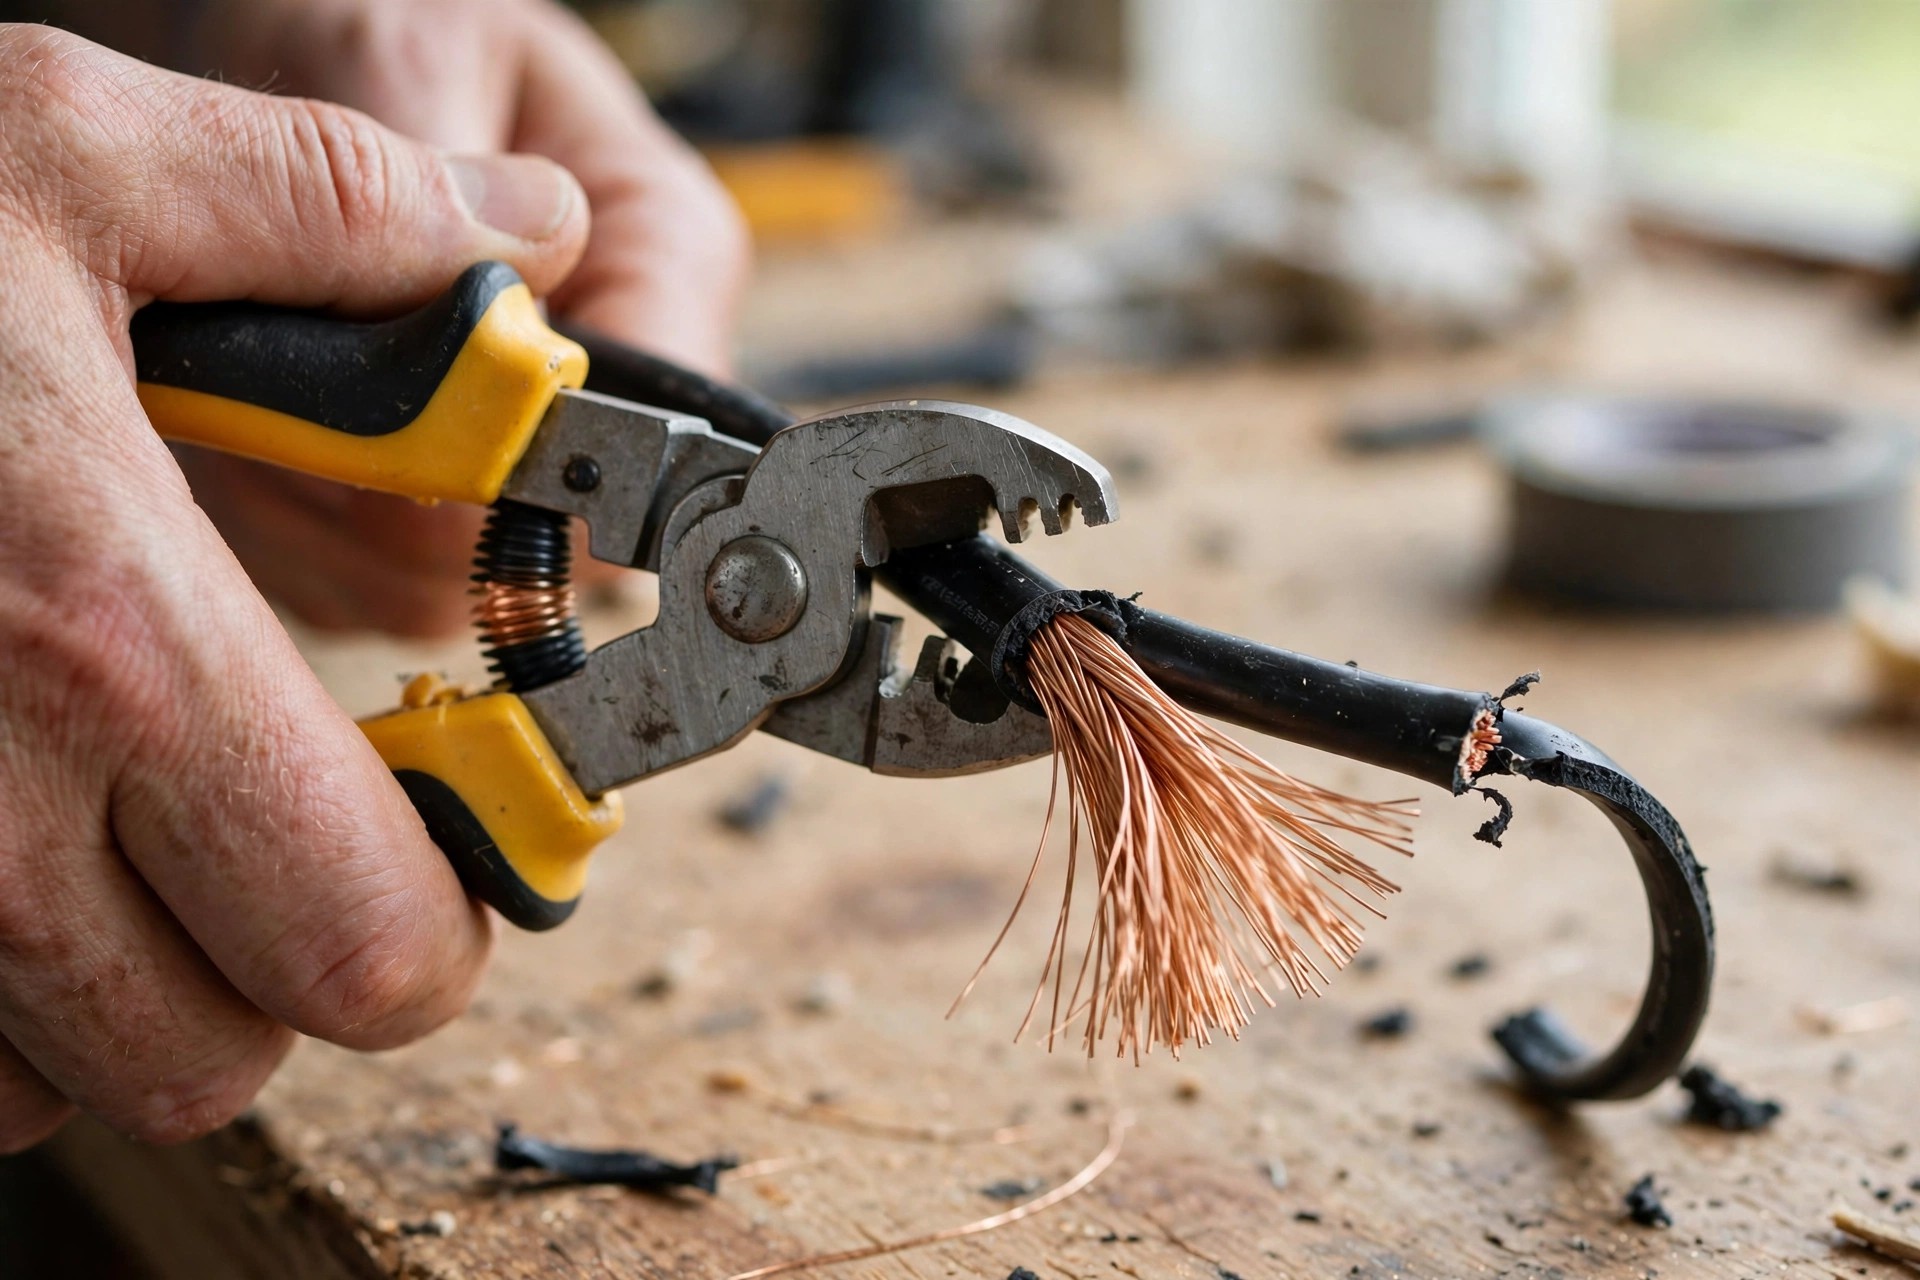
Strip about one inch from both ends. Use wire strippers for this step. Twist the bare wires tight as one. The Wikipedia soldering page explains strong soldered bonds. One inch bare, twisted tight. Strippers do this step.
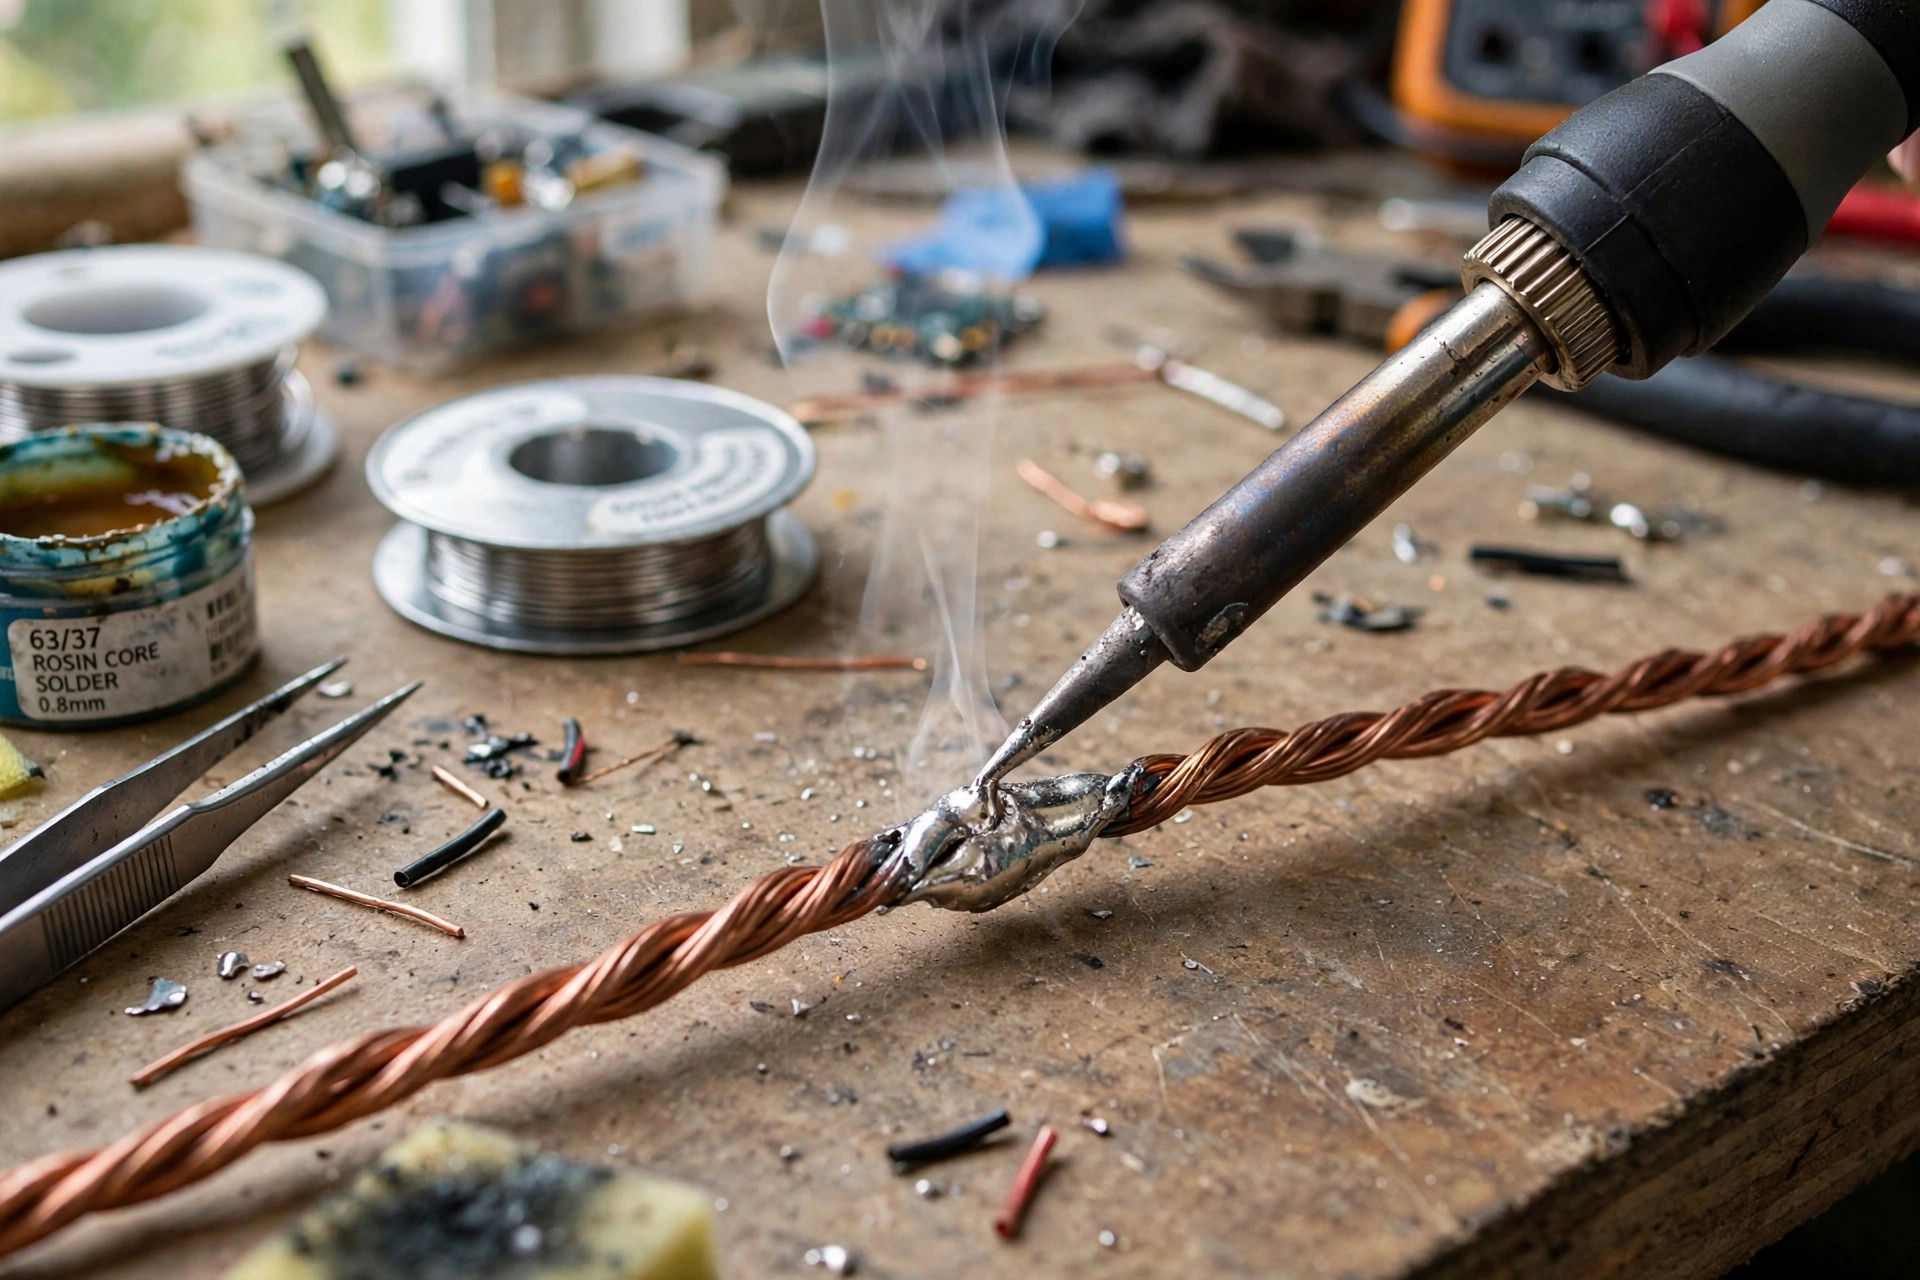
Heat the soldering iron before you start. Put solder on the twisted wire joint. A strong bond forms as it cools. Let the solder cool and grow hard. Hot iron, cool bond. Let it harden first.
Step 5: Insulate With Heat Shrink Tubing
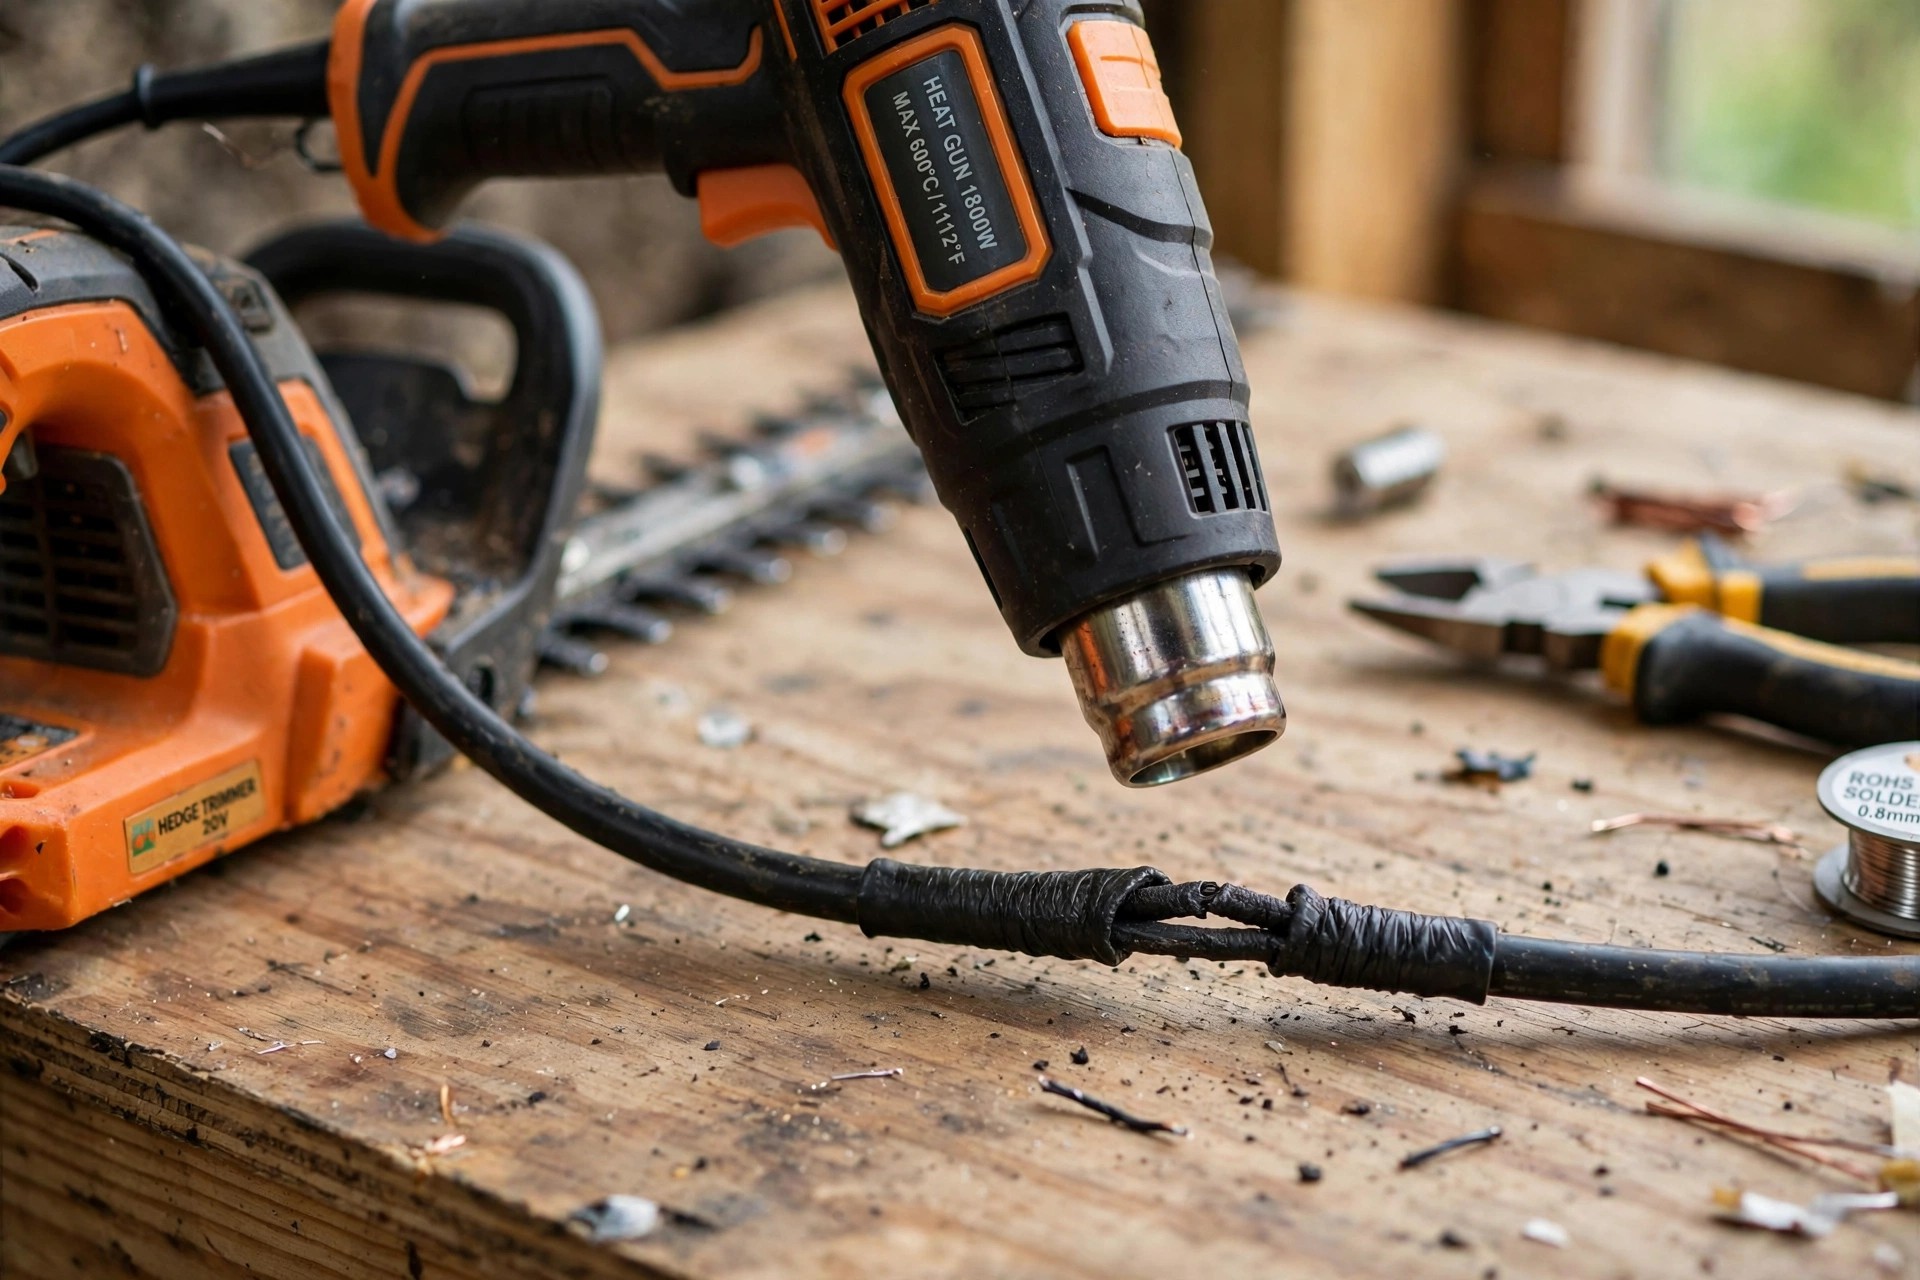
Cut tubing to cover the soldered joint. Slide it right over the joint. Leave no part of the joint bare. Add heat with a heat gun or lighter. Tube on, heat on. No bare joint at all.
The tubing shrinks and seals the joint. Check that no wires stay bare at all. The seal guards the joint from damp and dirt. Our cordless fault guide covers dead cordless models. Shrunk tube seals tight. Damp and dirt stay out.
Test the trimmer once all looks firm and safe. A working trimmer goes back to yard work. Our brushless trimmer guide explains modern motor types. Test first, trim next. Safe tools earn trust.
Frequently Asked Questions
Can I repair a cut wire on my hedge trimmer myself?
Yes, you can fix it on your own. Take care and follow the steps here. Cut off the hurt part with wire cutters. Leave room for a sound joint. Join the ends firm, then seal the joint well. Own hands can fix it. Care and steps guide you.
What tools do I need to repair a cut wire?
Wire cutters and wire strippers start the list. Tape for wires or heat shrink tubing comes next. Wire connectors or soldering tools join wires. These tools cut, strip, join, and seal. Cut, strip, join, seal. Four jobs, few tools.
Is it safe to use a hedge trimmer with a cut wire?
No, that use is never safe at all. Hurt wires bring real shock risks fast. Shocks and fires can start with ease. The trimmer itself can take harm too. Fix the wire before you use it. Hurt wires are not safe. Fix first, use later.
What safety precautions apply while repairing a cut wire?
Unplug the trimmer before you start each fix. Wear work gloves and safety goggles too. Keep the work spot bright and clear. Follow the maker instructions for your model. Plug out, gloves on. Bright spot, maker steps.
Can I prevent wire damage on my hedge trimmer?
Check the trimmer often for wire wear. Use it in a calm, controlled way. Keep it from hard objects and hard surfaces. Store it safe from hot or cold extremes. Follow maker care, with oil and cleaning too. Check wear, store safe. Oil and clean on time.
Our Stihl hedge trimmer cost guide prices replacement models. Care up front beats a fix each time. Careful storage guards cords between uses. Care beats repair here. Cords last with care.
Conclusion: How to Repair Cut Wire on Hedge Trimmer
So, how to repair cut wire on hedge trimmer safely? Unplug first and check the harm with care. Strip, twist, and solder the ends as one. Seal the joint, then test the tool. Small cuts may need just tape for wires. Unplug, check, solder, seal. Test ends the job.
Safety stays first with power tools at all times. Wear gloves and safety goggles through the fix. Ask a pro for help if you feel unsure. Care up front keeps wire harm away. Good care brings back full working order fast. Safety first, help if unsure. Care stops repeat harm.
