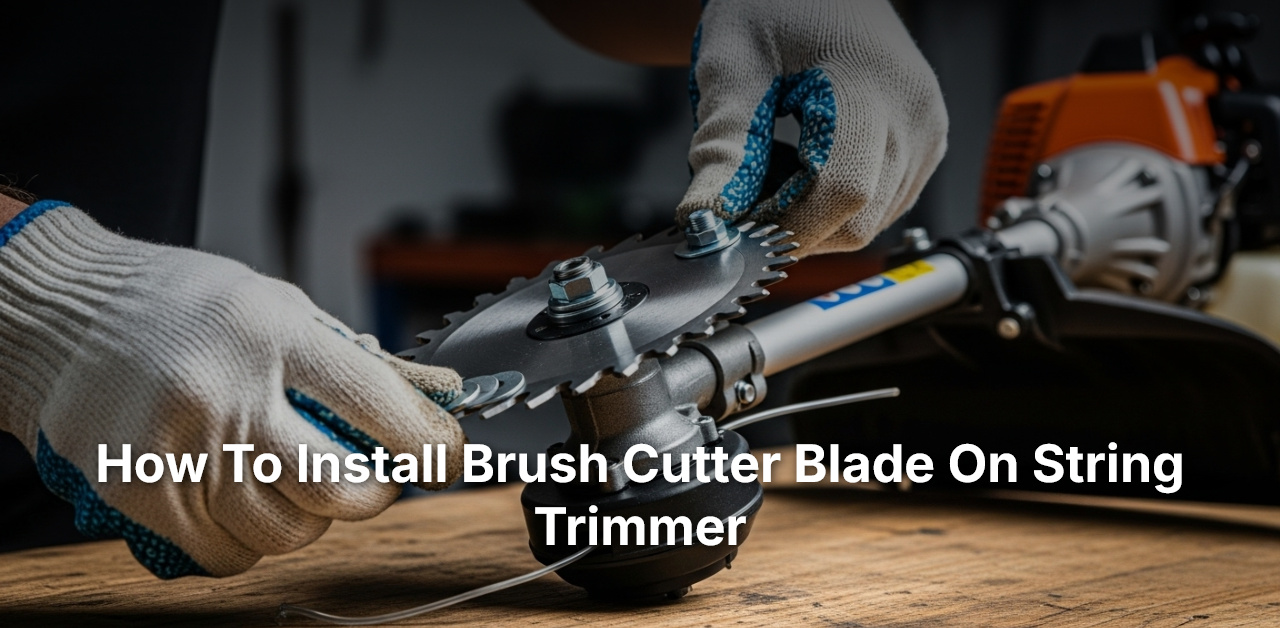
How To Install Brush Cutter Blade On String Trimmer
So, how to install brush cutter blade on string trimmer the easy way? A blade cuts thick brush that string line cannot cut at all. The swap looks hard at first but takes only a few minutes. This guide shows each step in plain order for safe home use.
Fitting a blade takes care, the right parts and a steady hand. You need gloves, goggles, a wrench and your string trimmer. The steps below cover safety, fitting, securing and final checks. Read each step once before you touch the trimmer head.
Blade size and fit matter as much as the steps you follow here. A wrong blade can strain the motor and wear the clutch fast. Always check your manual first for the blade your model needs. A neat fit keeps the blade spinning true and cutting clean.
Quick answer: Yes, fitting a blade is quick and simple with care. Turn the trimmer off and let the engine cool right down. Remove the trimmer head and fit the blade on the spindle. Add washers and the nut, then tighten them firm with a wrench. Test the blade by hand before you start the trimmer.
- How To Install Brush Cutter Blade On String Trimmer? The Short Answer
- Safety First Before You Fit The Blade
- Remove The String Trimmer Head
- Attach The Brush Cutter Blade
- Secure The Blade With Washers And Nut
- Test The Blade Before You Start Work
- Frequently Asked Questions
- Conclusion: How To Install Brush Cutter Blade On String Trimmer
How To Install Brush Cutter Blade On String Trimmer? The Short Answer
Yes, fitting a brush cutter blade on a string trimmer is simple work. A blade cuts dense weeds and small saplings with ease each time. String line alone cannot clear thick growth without breaking often. This section gives the short answer before the full steps below.
| Step | What To Do |
|---|---|
| Safety first | Power off, cool down, wear gear |
| Remove head | Unscrew the trimmer head |
| Fit blade | Blade on spindle, teeth forward |
| Secure blade | Washers, nut, tighten firm |
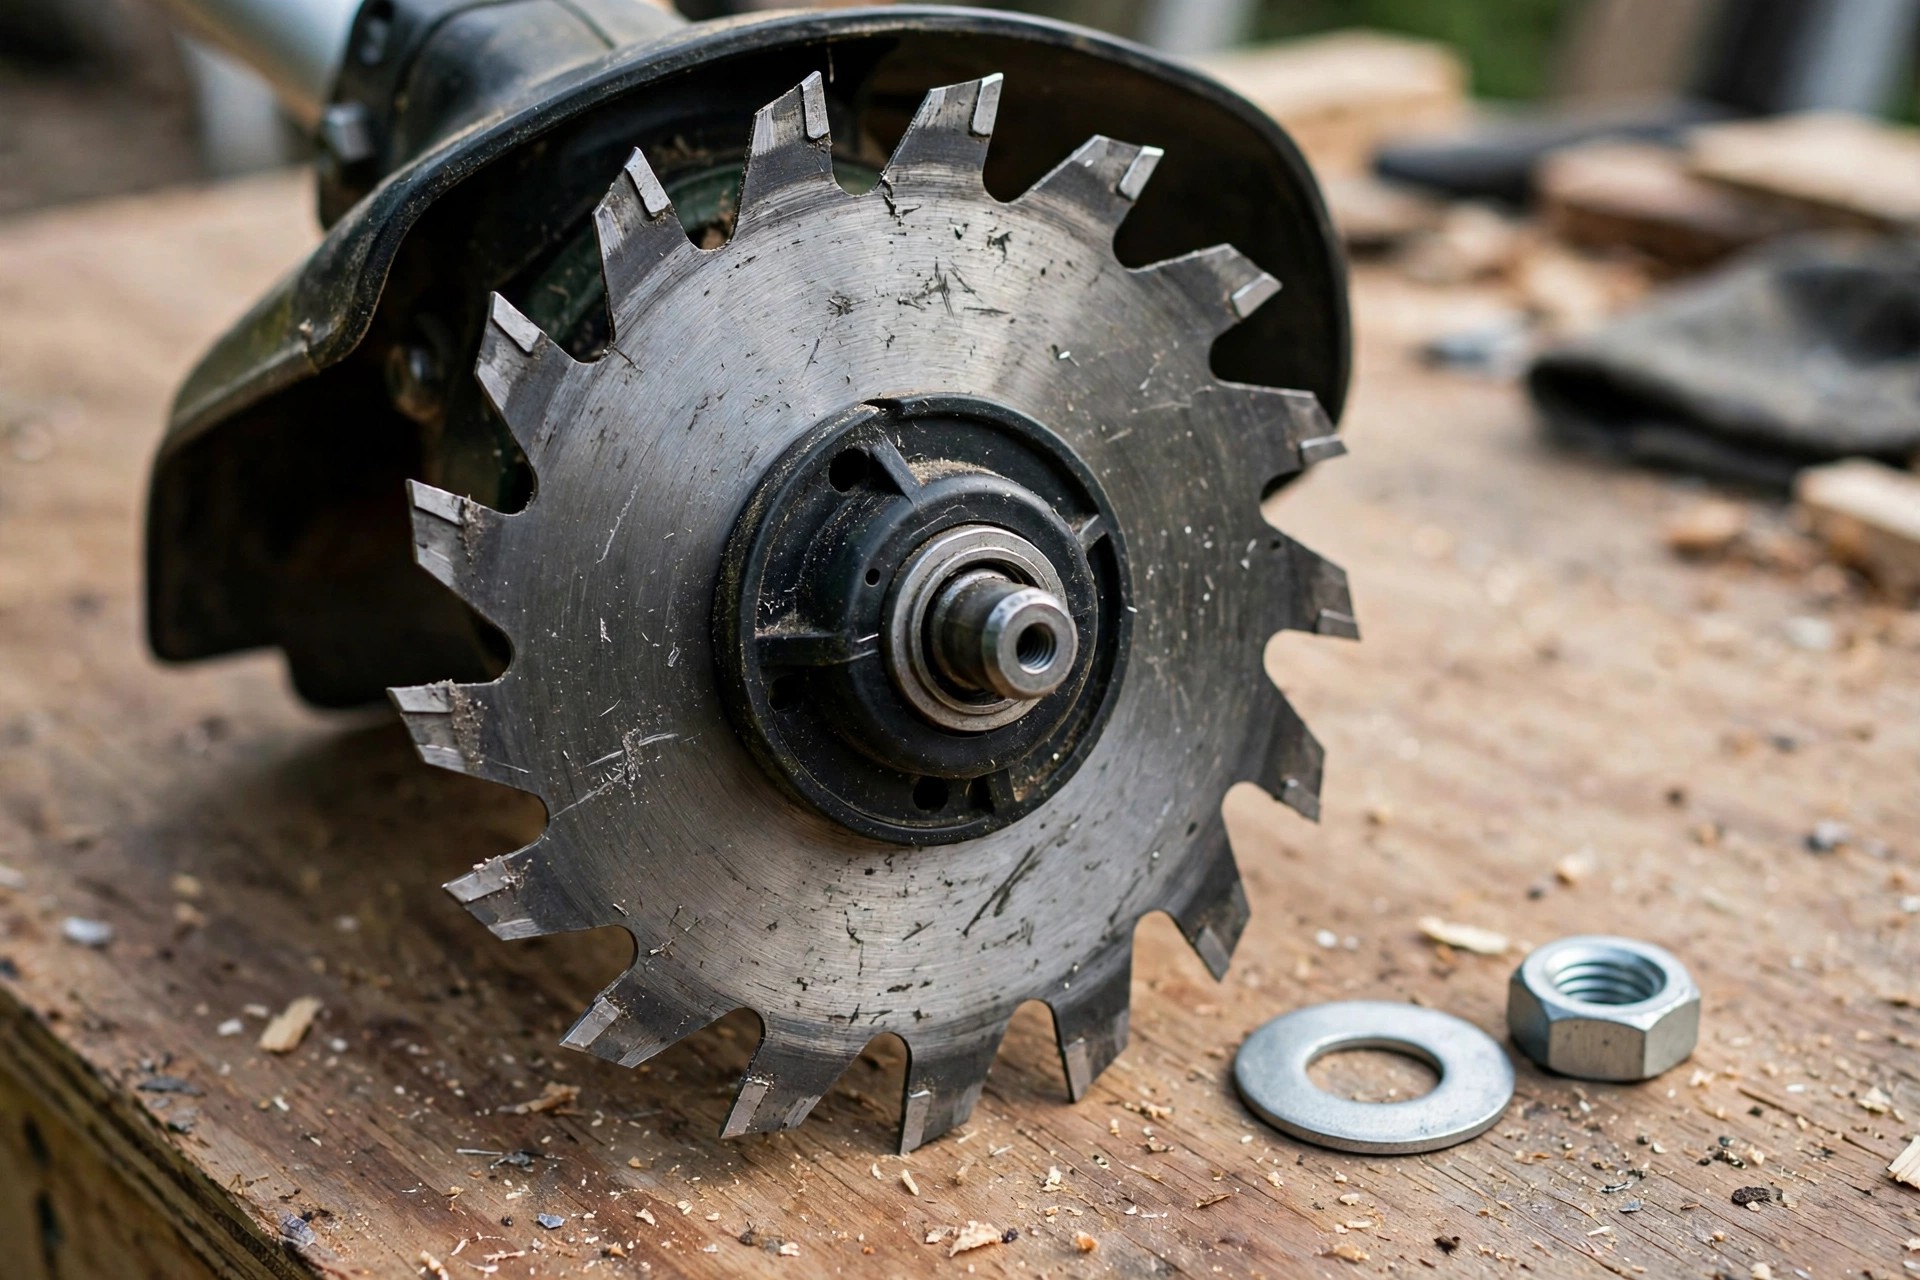
A blade turns your trimmer into a tool for tough yard jobs. Thick brush and woody stems fall fast under a sharp steel blade. The swap takes practice, but each fit gets quicker with time. The steps below show the whole job from safety to final test.
The Wikipedia string trimmer page covers trimmer types and blade use. Our trimmer guide explains what a trimmer is in plain terms. The Wikipedia brushcutter page covers brushcutter tools and blade types. Our types guide lists the main types of trimmers for home use.
Safety First Before You Fit The Blade
Safety comes first before you touch any sharp blade or part. Turn the trimmer off and let a gas engine cool right down. Unplug an electric trimmer so it cannot start by mistake. A trimmer that starts by mistake can cause a nasty hand injury.

Wear gloves to guard your hands and goggles for your eyes. Long sleeves and long trousers guard your arms and legs well. Clear the work area of rocks and branches before you start. Read your manual once so you know your own trimmer model.
Our trimmer care guide covers trimmer care for long tool life. Our trimmer use guide explains how to use a trimmer the safe way. Good gear keeps you safe while the blade does the hard work. Never rush safety steps, since a blade cut heals very slowly.
Remove The String Trimmer Head
Take the string trimmer head off before you fit the blade. The method can vary, so check your manual for your own model. Most heads unscrew with a wrench in a few steady turns. Set the head aside where it will not roll away or get lost.
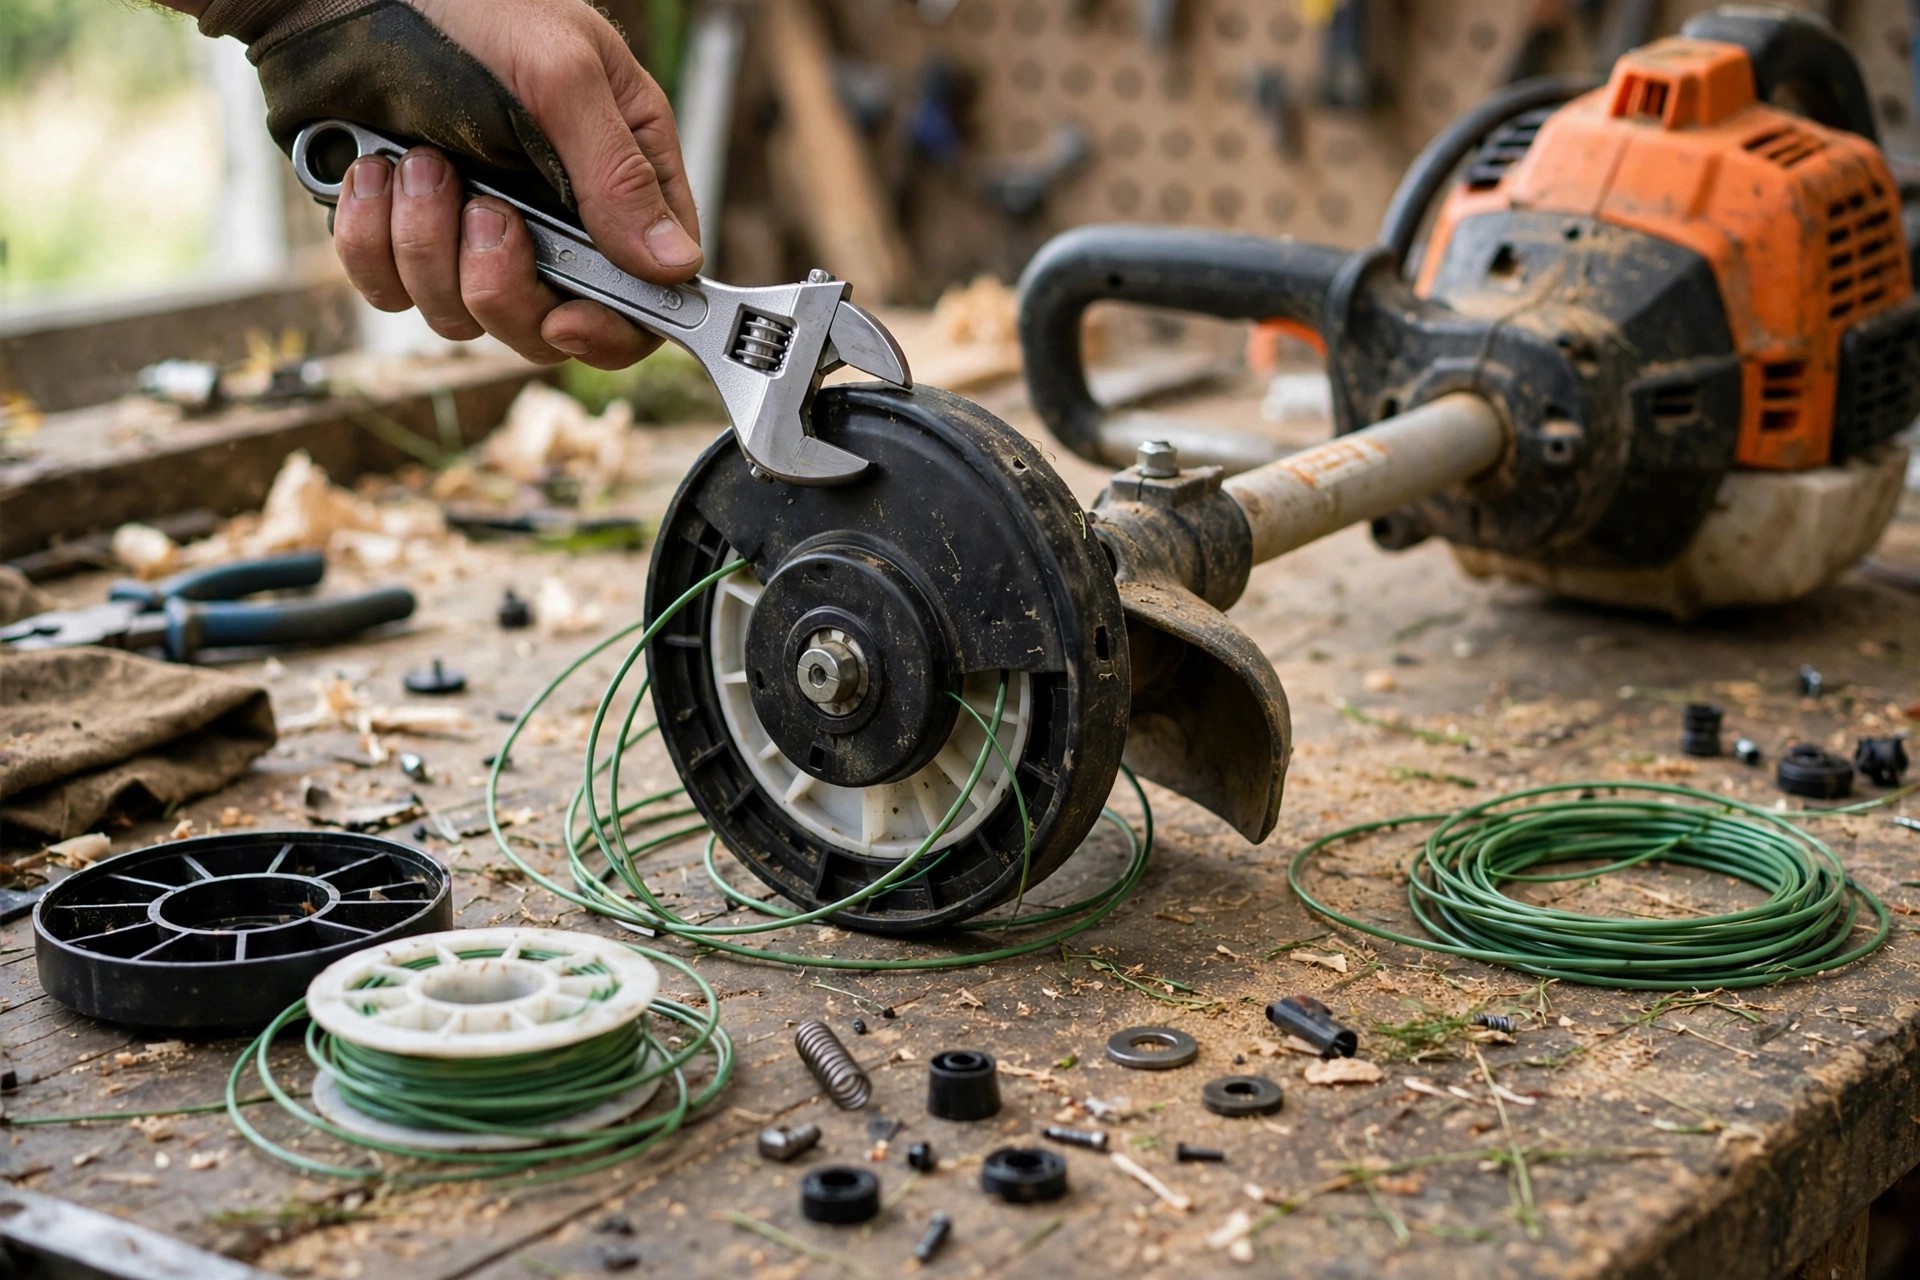
Look at the drive shaft and find the mounting hole for the blade. Clean the shaft so the blade sits flat and spins true. Keep every small part in one tray so nothing goes missing. A clean shaft makes the whole fitting job much easier.
Our attachment guide explains which trimmer attachments fit each model. The right fit starts with a clean shaft and the right blade. Check the blade size matches your trimmer before you fit it. A wrong blade can strain the motor and wear the clutch fast.
Attach The Brush Cutter Blade
Fit the blade onto the spindle so it sits flat and true. Check that the blade teeth lead into the cut for best results. Some models use a locking pin to hold the blade in place. Some models need a blade adapter kit, so check your manual first.
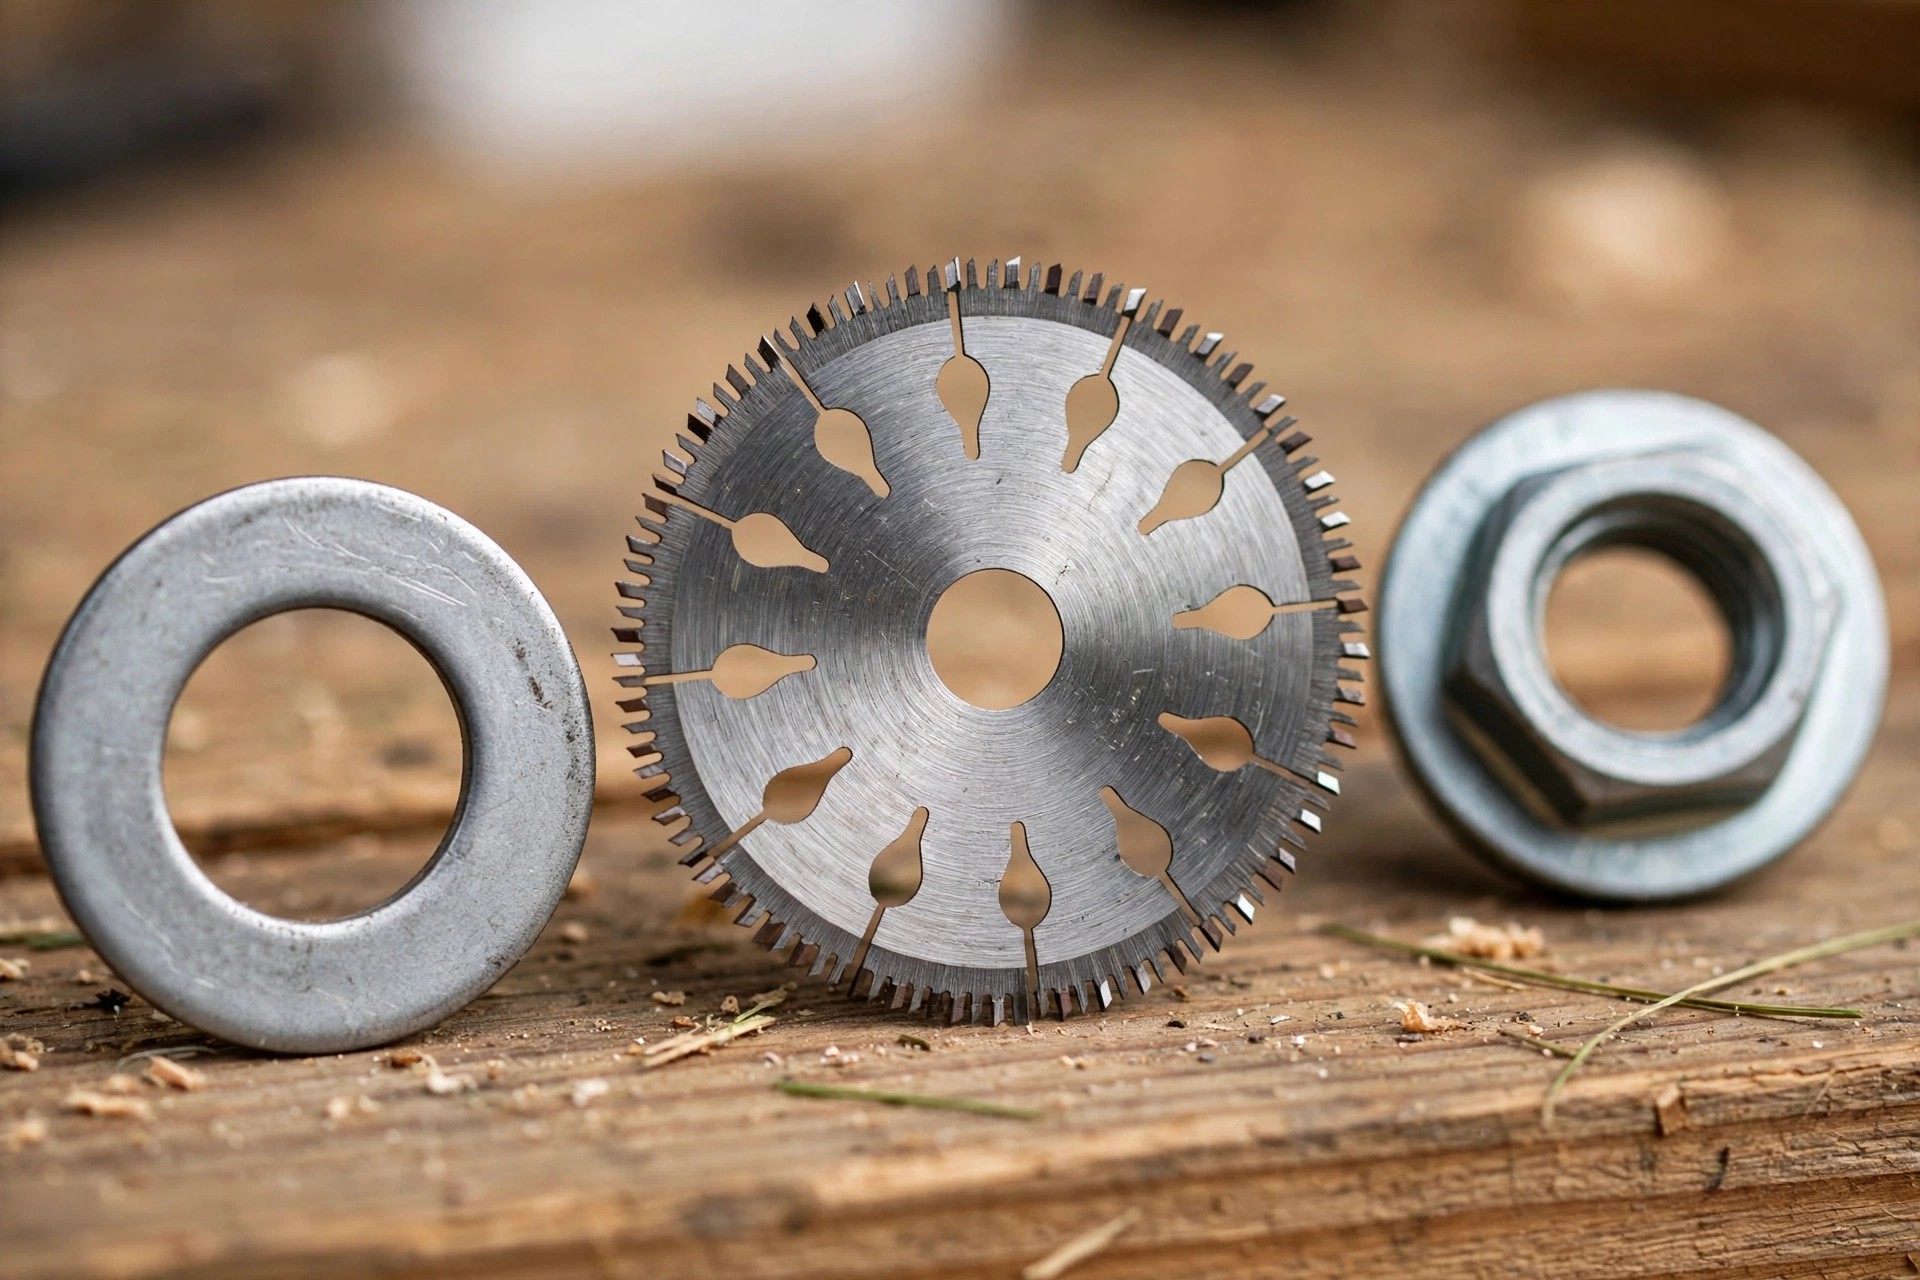
Place a washer, then the blade, then a washer on the spindle. The washers spread the load and keep the blade from wobbling. A blade that wobbles cuts poorly and wears the trimmer fast. Take your time here since this step sets up the whole job.
Our line size guide covers line sizes for clean cuts each time. Our yard size guide helps you pick the right trimmer size for yards. A flat blade spins true and cuts thick growth with ease. A tilted blade shakes the trimmer and wears the parts fast.
Secure The Blade With Washers And Nut
Add the retaining nut and tighten it firm with a wrench. A loose nut can let the blade fly off during use. Tighten the nut until the blade cannot shift by hand. Give the blade a firm tug to check it sits secure.
| Check | What To Look For |
|---|---|
| Blade tight | No shift when you tug it |
| Teeth forward | Teeth lead into the cut |
| Washers flat | Washers sit flat each side |
| No wobble | Blade spins true by hand |
Check the blade teeth face the right way before you tighten. Teeth that lead into the cut work best and stay safe. A blade fit the wrong way cuts poorly and kicks back hard. Double-check each part before you move to the final test.
A secure blade is a safe blade for thick brush work. Never skip the tug test, since a loose blade is a real risk. Tighten once more if the blade moves at all by hand. A firm blade gives you clean cuts and calm yard work.
Test The Blade Before You Start Work
Spin the blade by hand to check it turns true and free. Watch for wobble or drag that shows a poor fit inside. Reconnect the power only when every part sits tight and true. Stand clear and test the blade briefly in a clear space.

Work the blade at an angle, not straight down at the ground. An angled cut wears the blade less and cuts much cleaner. Check the blade state often and swap it when it dulls. A sharp blade cuts fast while a dull blade strains the motor.
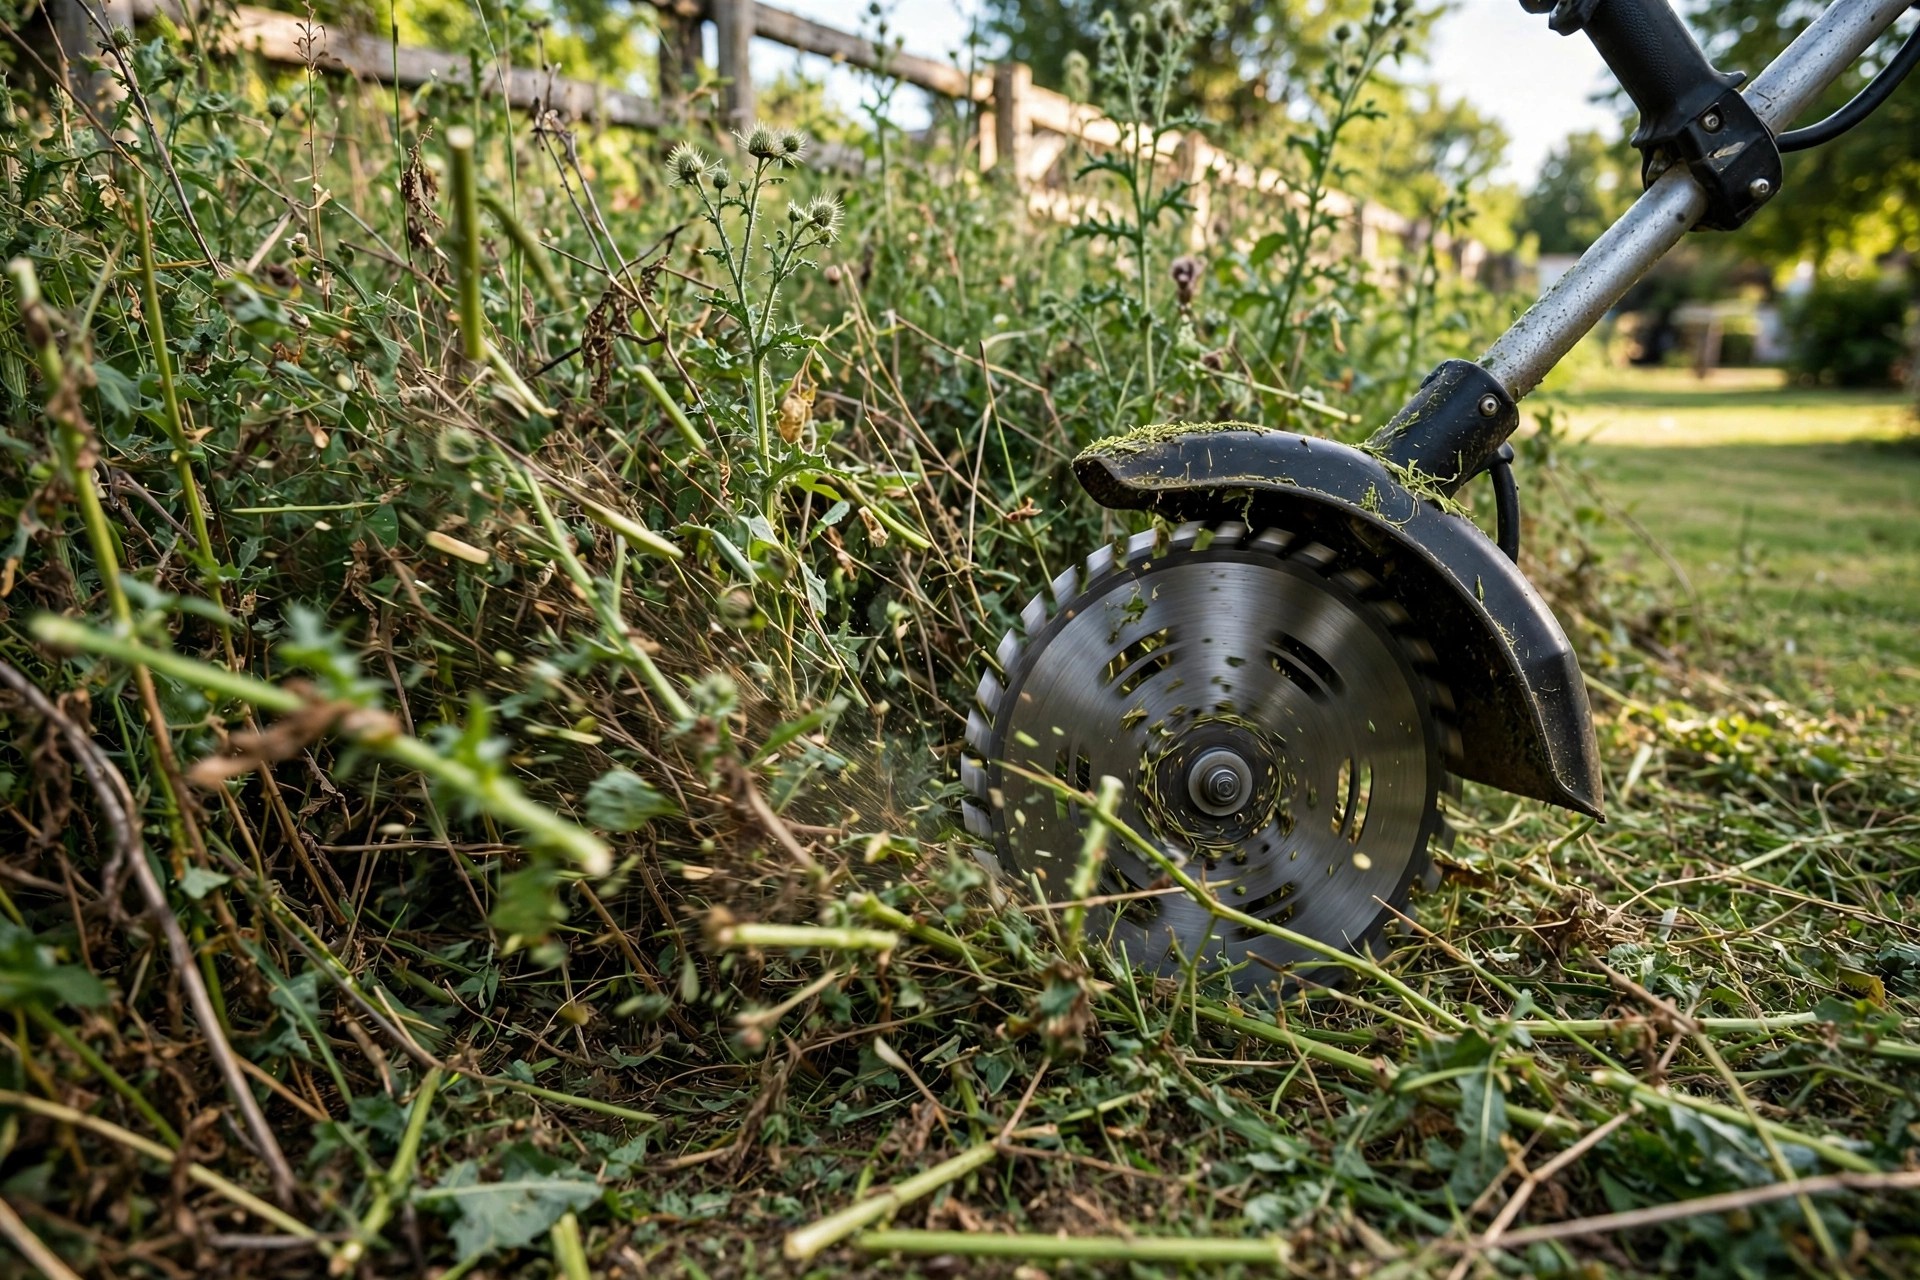
With practice, the swap becomes a quick and simple yard task. A blade-ready trimmer clears thick growth that line cannot cut. Keep safety first on every job, not just the first one. Careful checks stop most slips before they can happen.
Frequently Asked Questions
What should I do before installing a brush cutter blade on my string trimmer?
Turn the trimmer off and let the engine cool right down. Hot parts can burn you and a live trimmer can start fast. Gather gloves, a wrench and a screwdriver before you start. Read your manual once to learn your own trimmer layout.
How can I find the right replacement blade for my trimmer?
Match the blade size and type to your trimmer manual. The manual lists the blade size your trimmer can use. Buy from a trusted brand for a blade that lasts well. Ask the maker or a pro if you feel unsure at all.
Are there any special instructions to follow when installing the blade?
Yes, fit the blade so its teeth lead into the cut. Tighten the washer and nut firm with a wrench each time. Some models need an adapter kit, so check your manual first. A tight fit keeps the blade from flying off at work.
What precautions should I observe once the blade is installed?
Check the blade is tight and spins true before you start. Wear full gear to guard against kickback and flying bits. Work at an angle to cut well and wear the blade less. Check the blade state often and swap it when it dulls.
Can the brush cutter blade damage my trimmer’s engine?
Yes, a wrong blade can strain the motor and wear parts. A heavy blade can wear the clutch out much faster. Match the blade to your trimmer to guard the engine well. The right blade keeps your trimmer strong for years to come.
These answers all come from this post itself. The sections above explain each answer in detail. Work slowly and check your results as you go.
Conclusion: How To Install Brush Cutter Blade On String Trimmer
So, how to install brush cutter blade on string trimmer in short? Turn it off, remove the head and fit the blade. Add washers and the nut, then tighten them firm with a wrench. Test the blade by hand before you start the trimmer at all. A firm blade and safe habits make thick brush work feel easy.
Keep safety first and check the blade each time. Swap dull blades at once so each cut stays clean and fast. Careful fitting keeps your trimmer strong for years to come. Enjoy neat edges and smooth yard work every single day.

I’m Patricia D. Johnson, an affiliate marketer and blogger specializing in trimmers and grooming tools. I create honest reviews, buying guides, and practical tips to help readers choose the right trimmer for their needs. With a focus on quality, performance, and value, I simplify the decision-making process so consumers can make confident purchases.