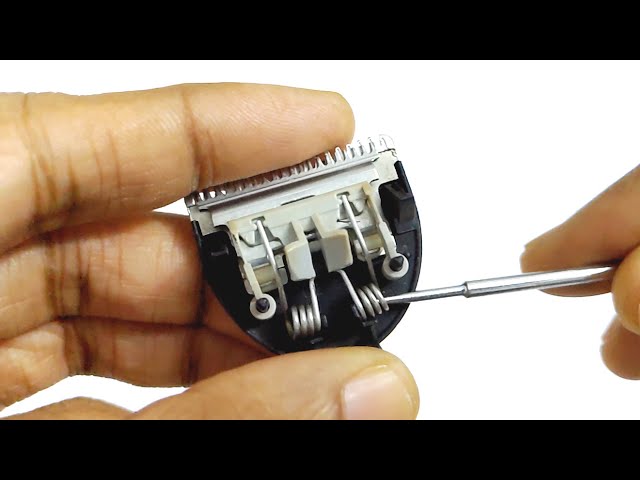
How to Change Trimmer Blade
A plain blade swap can change how a trimmer cuts. Dull blades tear grass and leave it rough. Learn how to change trimmer blade and save hours. Steady checks keep each cut clean and true. This guide walks through the job step by step. The steps are plain and safe to track.
You need just a few plain tools for this. A wrench, a screwdriver, and a fresh blade do it. The guide book shows your model’s own fit first. Gloves guard your hands through the whole job. True fit stops shake and wobble when you cut. Care at the start saves grief at the end.
Seven quick steps sum up the whole job. Full parts then cover signs and blade choice. Safety, off, and on steps come in their own turn. A test run proves all is right before real work. Safe throw-away steps close the job with care. Each step builds on the one before it.
Quick answer: Disconnect the trimmer from its power source first. Loosen the bolts and remove the old blade carefully. Clean the mount and note every washer carefully. Align the new blade with bolt holes. Tighten firmly, reconnect power and test it carefully.
- How to Change Trimmer Blade in Seven Steps
- Step 1: Identify When to Change the Blade
- Step 2: Select the Right Replacement Blade
- Step 3: Follow Safety Precautions First
- Step 4: Remove the Old Blade
- Step 5: Install the New Blade
- Tips to Extend Blade Life
- Why Regular Changes and Safe Disposal Matter
- Frequently Asked Questions
- Conclusion: How to Change Trimmer Blade
How to Change Trimmer Blade in Seven Steps
Seven steps make a safe blade change. Work through them in the order shown here. Later parts spell out each stage in full. A rush here breeds loose bolts and a poor fit. Slow hands do the best work here.
| Step | What to Do |
|---|---|
| 1. Disconnect power | Unplug or remove battery |
| 2. Lay it flat | Use a stable surface |
| 3. Loosen fasteners | Wrench or screwdriver work |
| 4. Remove old blade | Note washers and spacers |
| 5. Fit new blade | Align with bolt holes |
| 6. Tighten securely | Firm, but not too much force |
| 7. Test operation | Check smooth, quiet running |
Small points shift a bit from trimmer to trimmer. Your guide book beats plain tips each time. Our Conair blade guide shows one brand’s own way. Keep the book at hand while you work.
Step 1: Identify When to Change the Blade
Dull cuts and rough grass edges speak loud and clear. Torn grass means the blade needs a swap. Long mow times show lost sharp edge too. Small shakes or odd sounds warn you as well. Steady checks catch these faults while they are small.
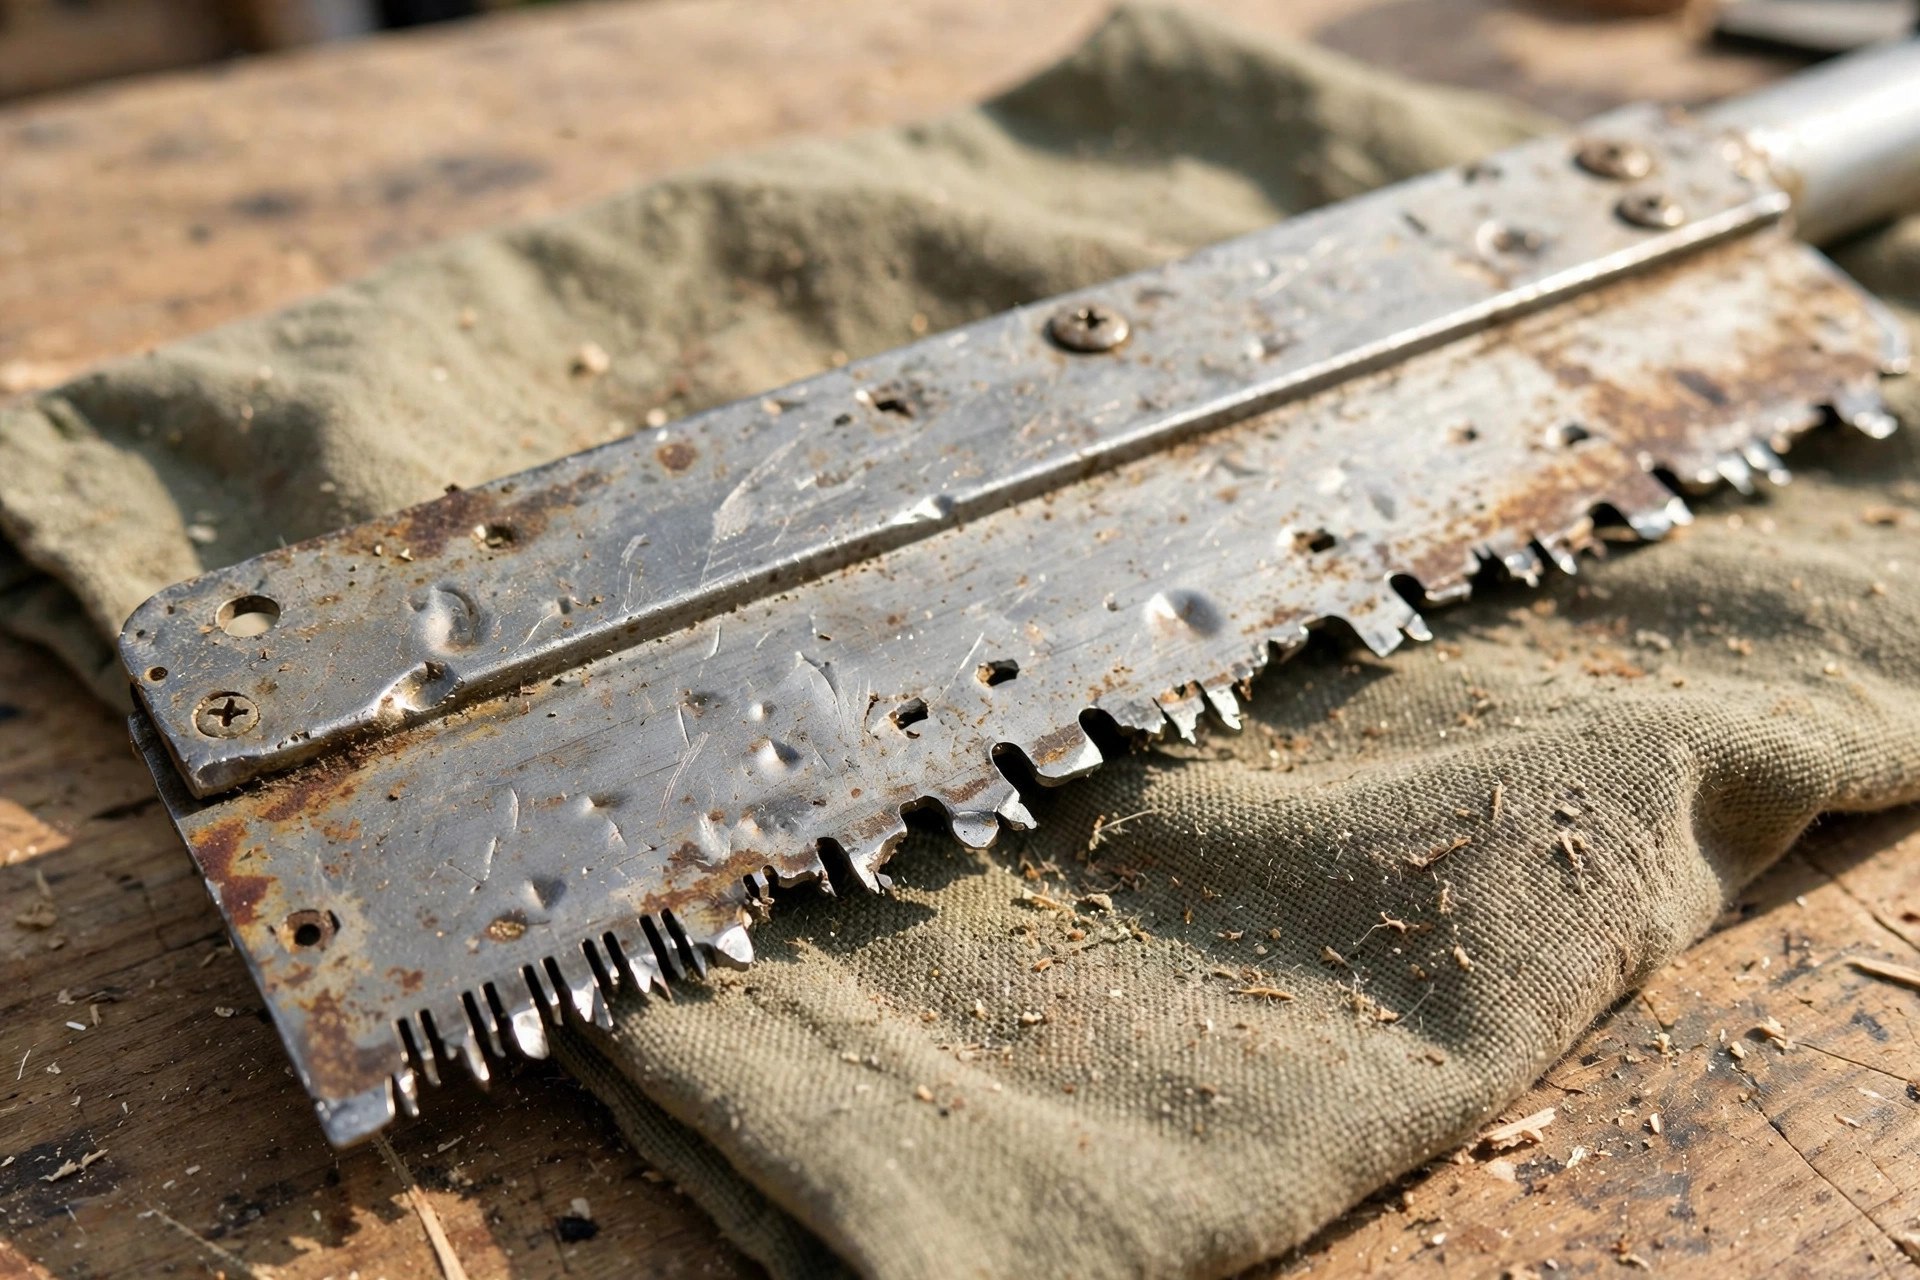
| Sign | What It Means |
|---|---|
| Grass torn, not cut | Blade edge is dull |
| Nicks or dents visible | Edge damage from impacts |
| Discoloration or rust | Rust eats and weakens the blade |
A well-kept blade lasts one full season most times. Heavy users swap blades more times than that. Track the blade’s age next to its state. Brand guides give swap tips for each model. Our blade fixing guide covers harm signs you can fix. Age and wear both tell you when to swap.
Step 2: Select the Right Replacement Blade
The right new blade starts with your guide book. Brands name the right blade size and type. Blade stuff shapes how long it lasts and cuts. Steel, alloy, and carbide are the main picks. Check the plants you cut before you choose. The wrong blade wastes cash and time.
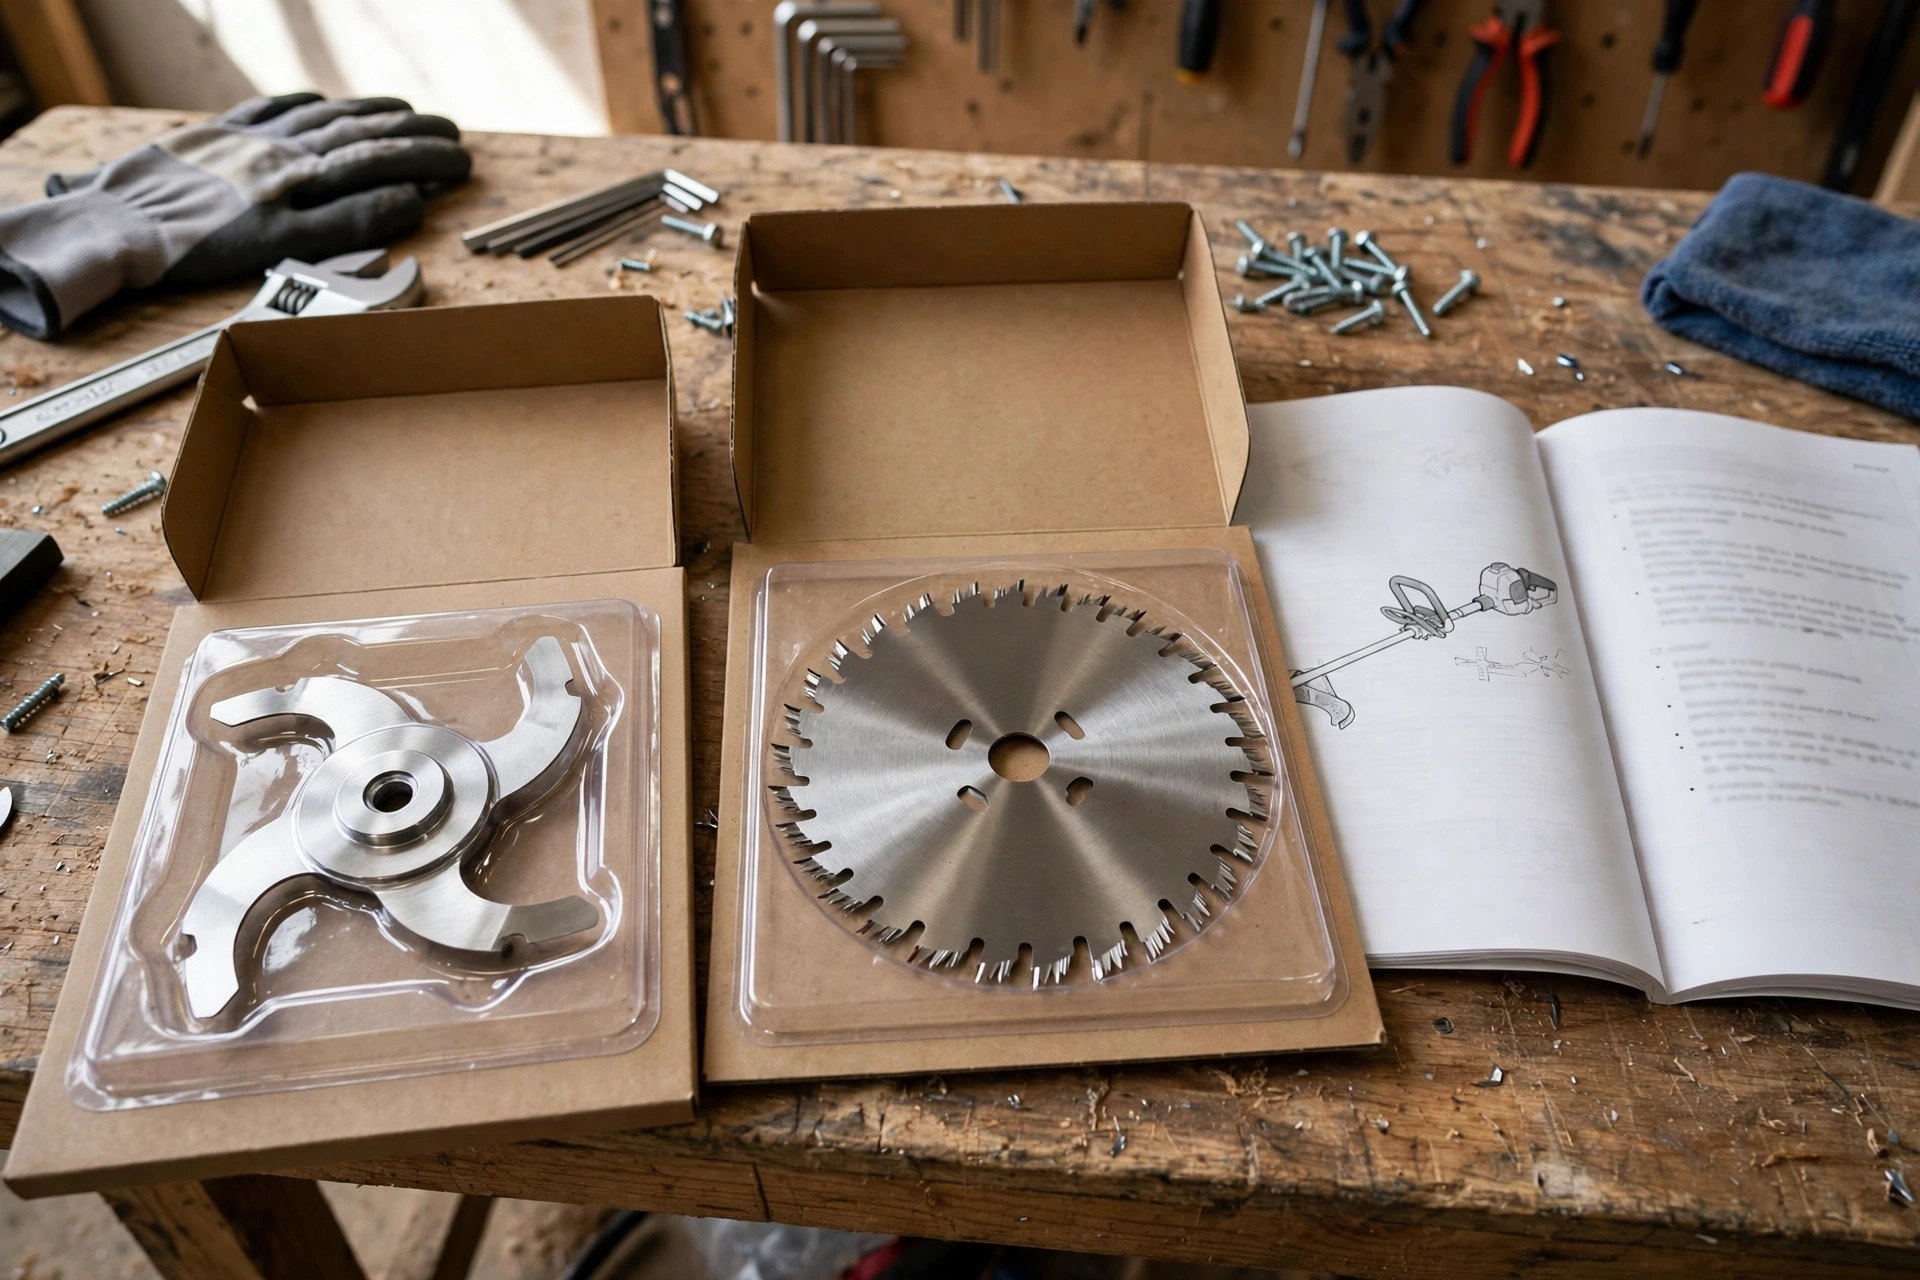
| Blade Type | Best For |
|---|---|
| Multi-purpose | Mixed everyday trimming tasks |
| Grass-specific | Precise cuts on lawns |
| Brush-cutting | Thick grass, weeds, shrubs |
Tough blades suit thick grass and weeds best. Light blades suit fine trim tasks more. Fit counts as much as blade type here. Check the specs twice against your own model. A wrong-fit blade cuts poorly and can cause harm. Match first, then buy — that is the safe order.
Not each blade can be swapped with ease. Some models hold blades fixed for good. Brands can use their own fit tricks at times. Brand-picked blades keep you safe and cut best. Calm buyers gain from known brands and sets. Check fit before cash leaves your hand.
Step 3: Follow Safety Precautions First
Cut the power link before you start work. Cell-run models need the cell pack out in full. This stops the tool from a shock start mid-job. Gloves guard hands from sharp edges all through. Eye guards shield eyes from bits that fly. Safe hands make a smooth job.

Work in bright light on a clear, bare bench. Keep each tool you need in close reach. The right tools stop slips and harm to bolts. An apron or old clothes guard you too. Read your model’s guide book before you touch a thing. Prep well and the job runs smooth.
Step 4: Remove the Old Blade
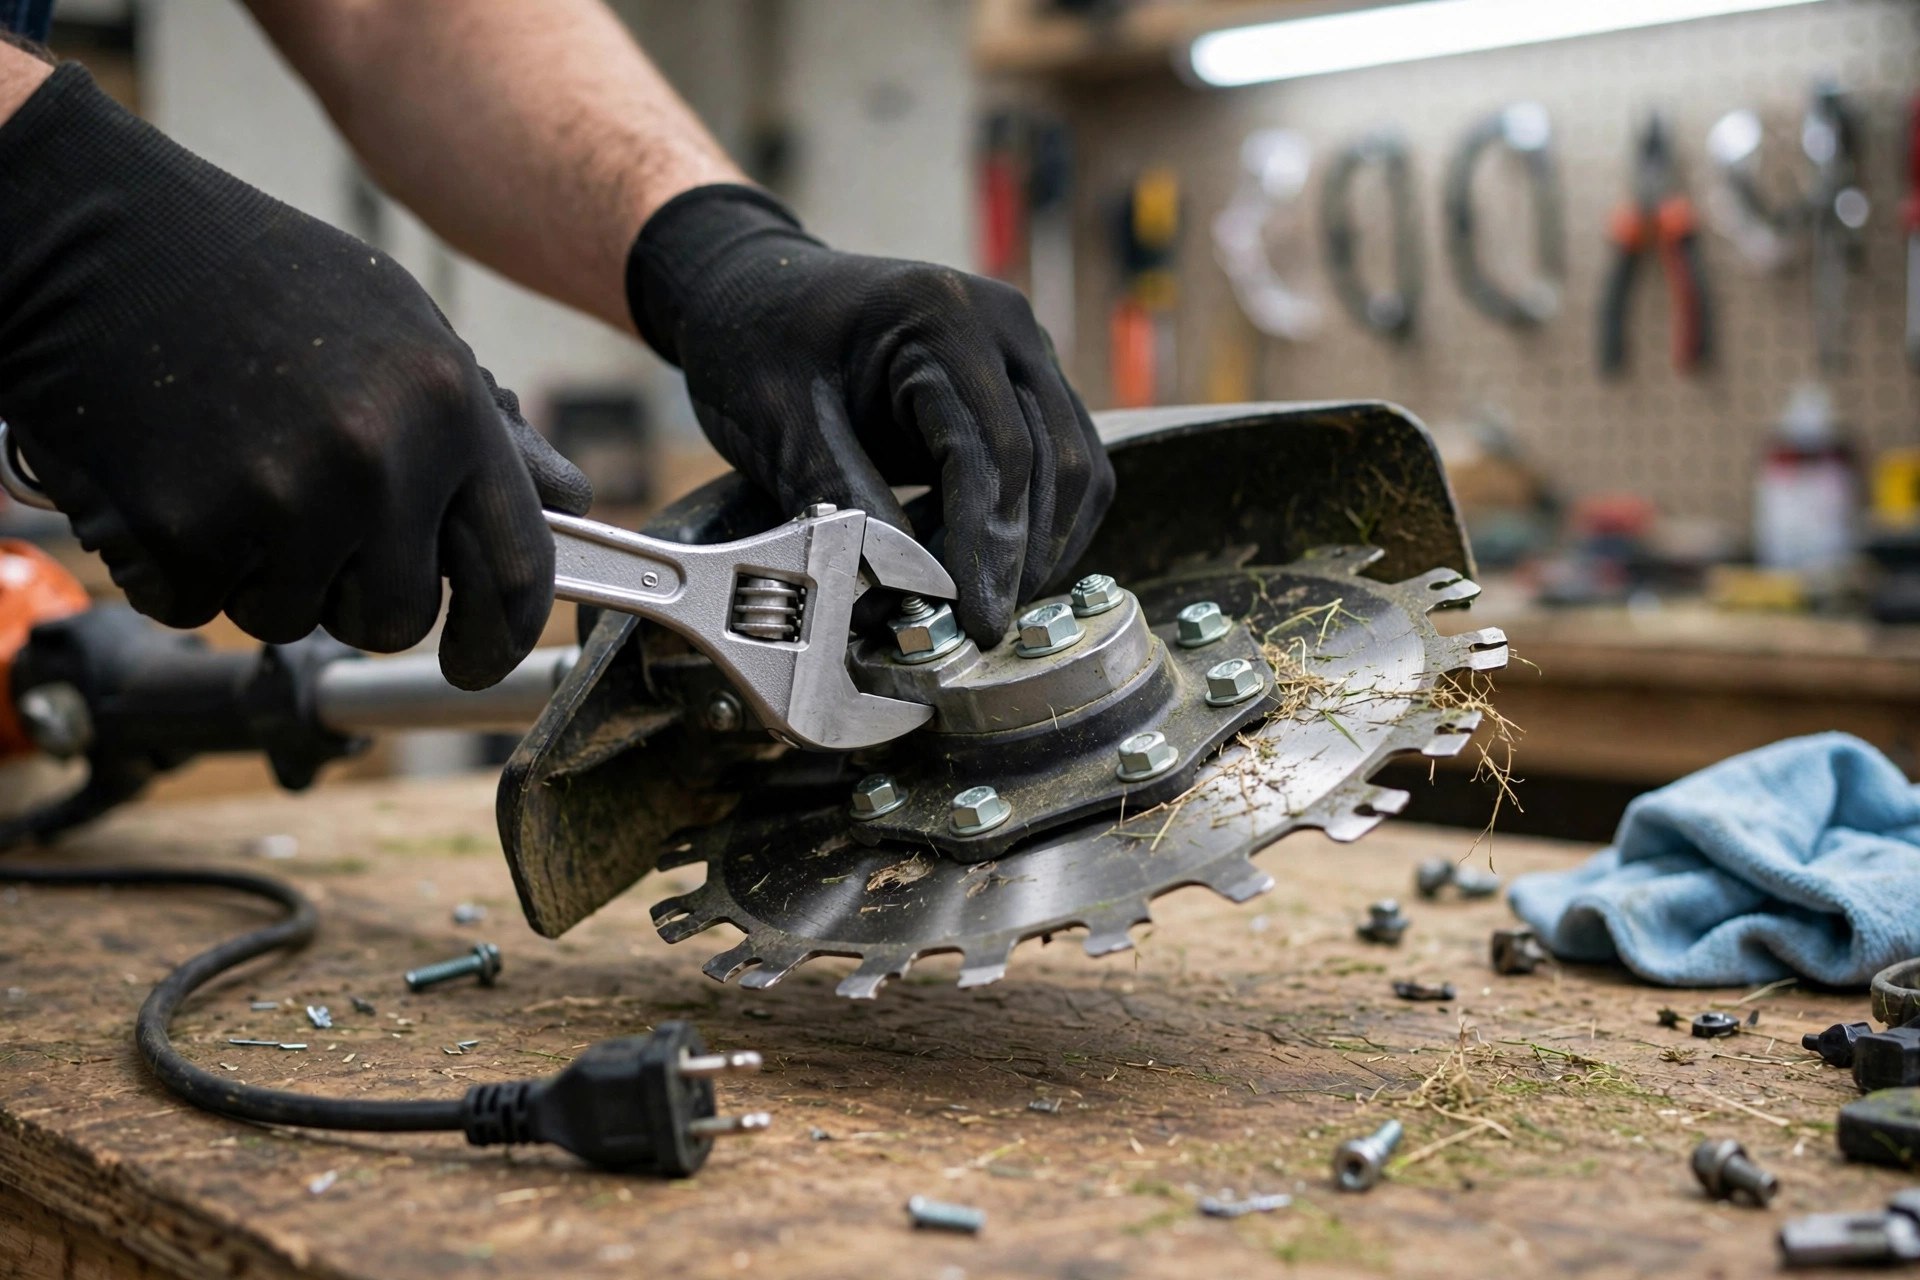
Lay the trimmer flat on a firm base. Find the bolts that hold the blade in place. Loosen them with slow, firm turns all through. Tight bolts ask for calm, not a hard yank. Lift the old blade off with great care. Sharp edges still bite, so move with care.
An old blade can still cut skin with ease. Rest it on cloth or old news sheets to one side. Watch for washers or rings that come off with it. Put small parts in a safe spot at once. Check them for wear before you build back up. Small parts lost now mean big grief soon.
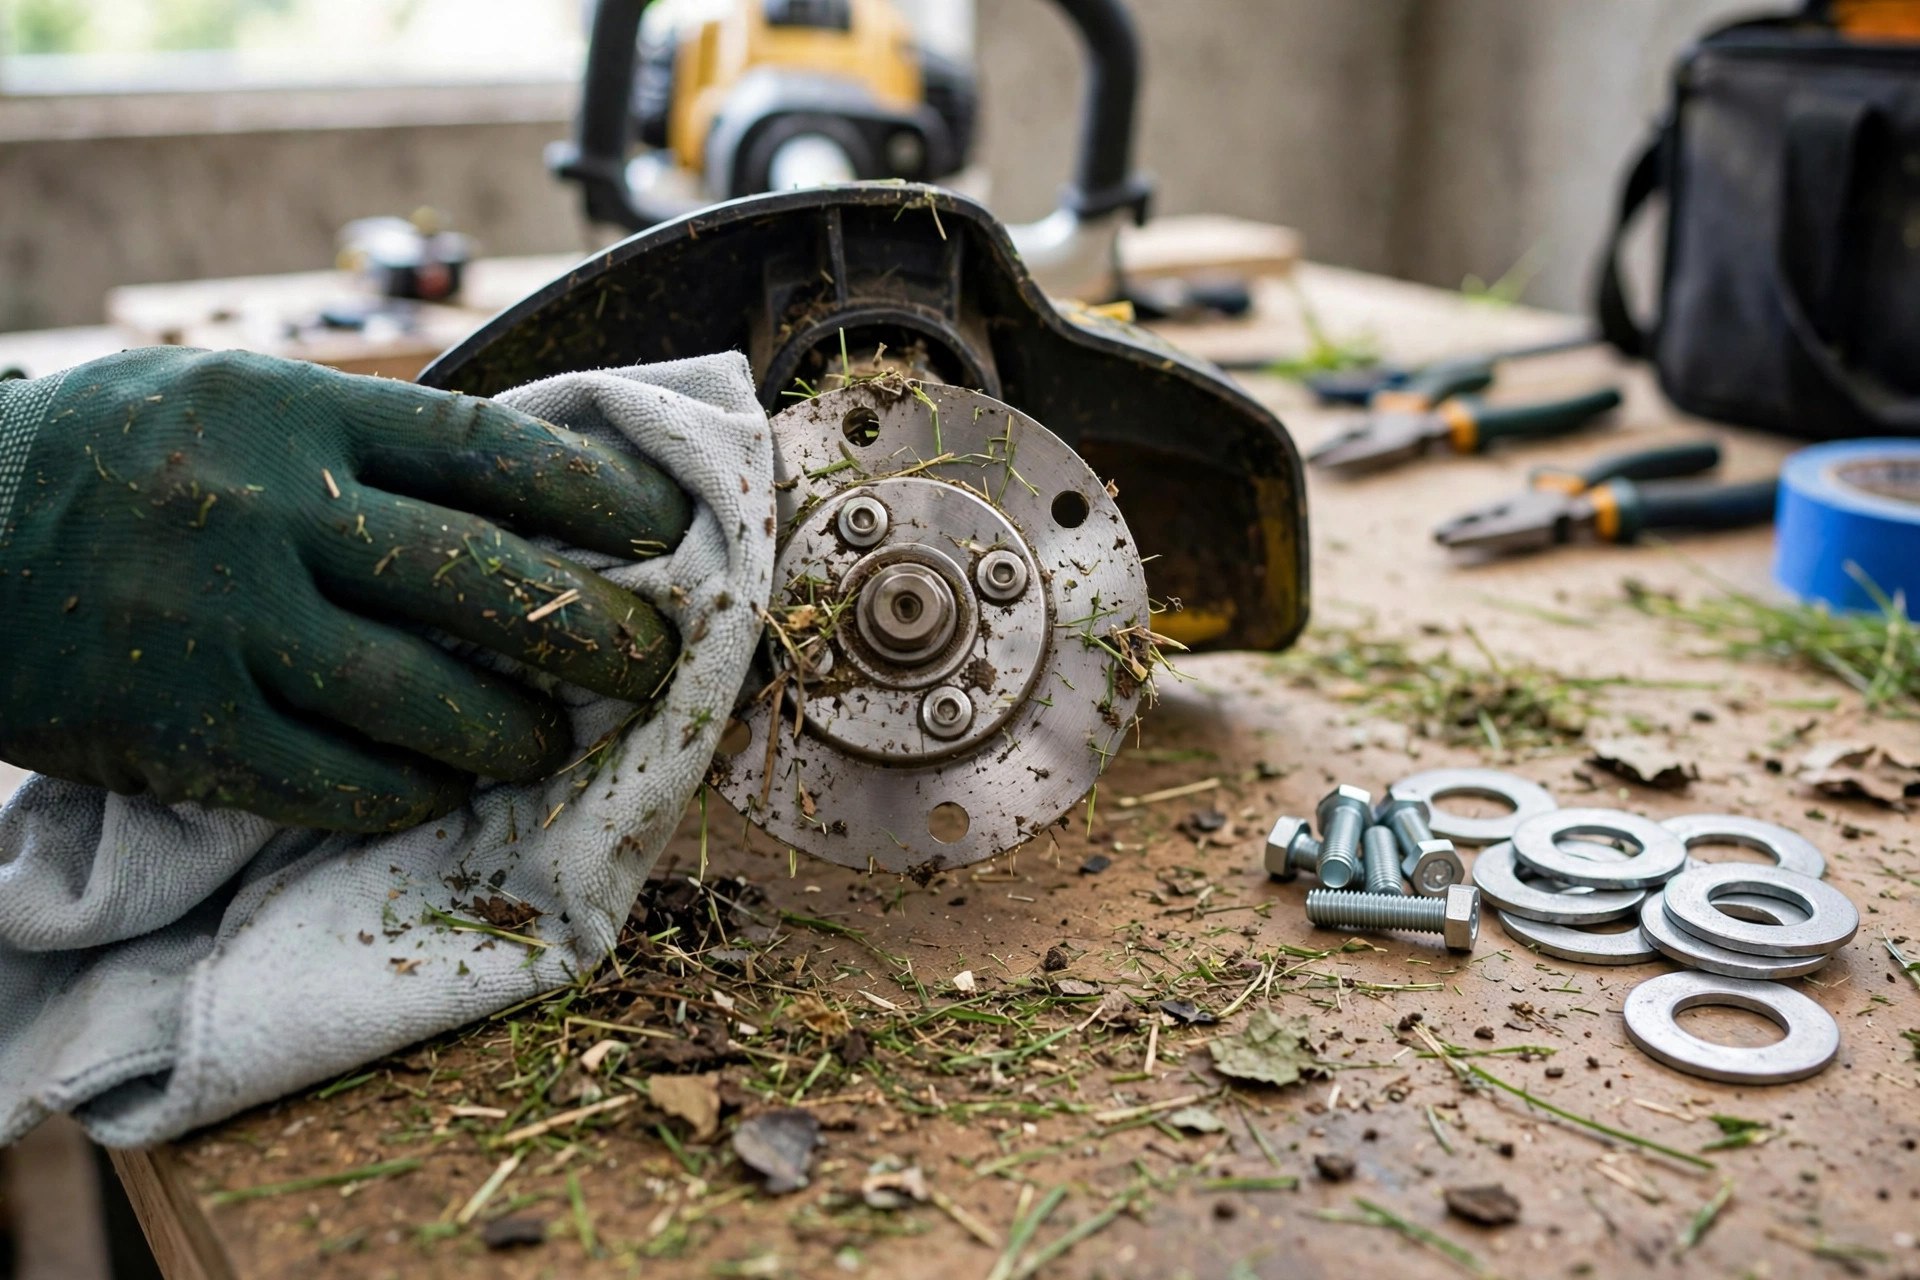
Clean the blade mount zone well when done. Dirt and clippings hurt how the fresh blade works. A plain cloth wipe does the job most times. Count each bolt before you move on. Our head removal guide covers how the trimmer head comes off. A clean mount helps the fresh blade sit true.
Step 5: Install the New Blade
Set the fresh blade down on the mount. Line it up true with the bolt holes. A poor line-up means weak cuts and real risk. Put washers and rings back in their spots with care. They keep the blade firm and in balance. Take your time — fit is all here.
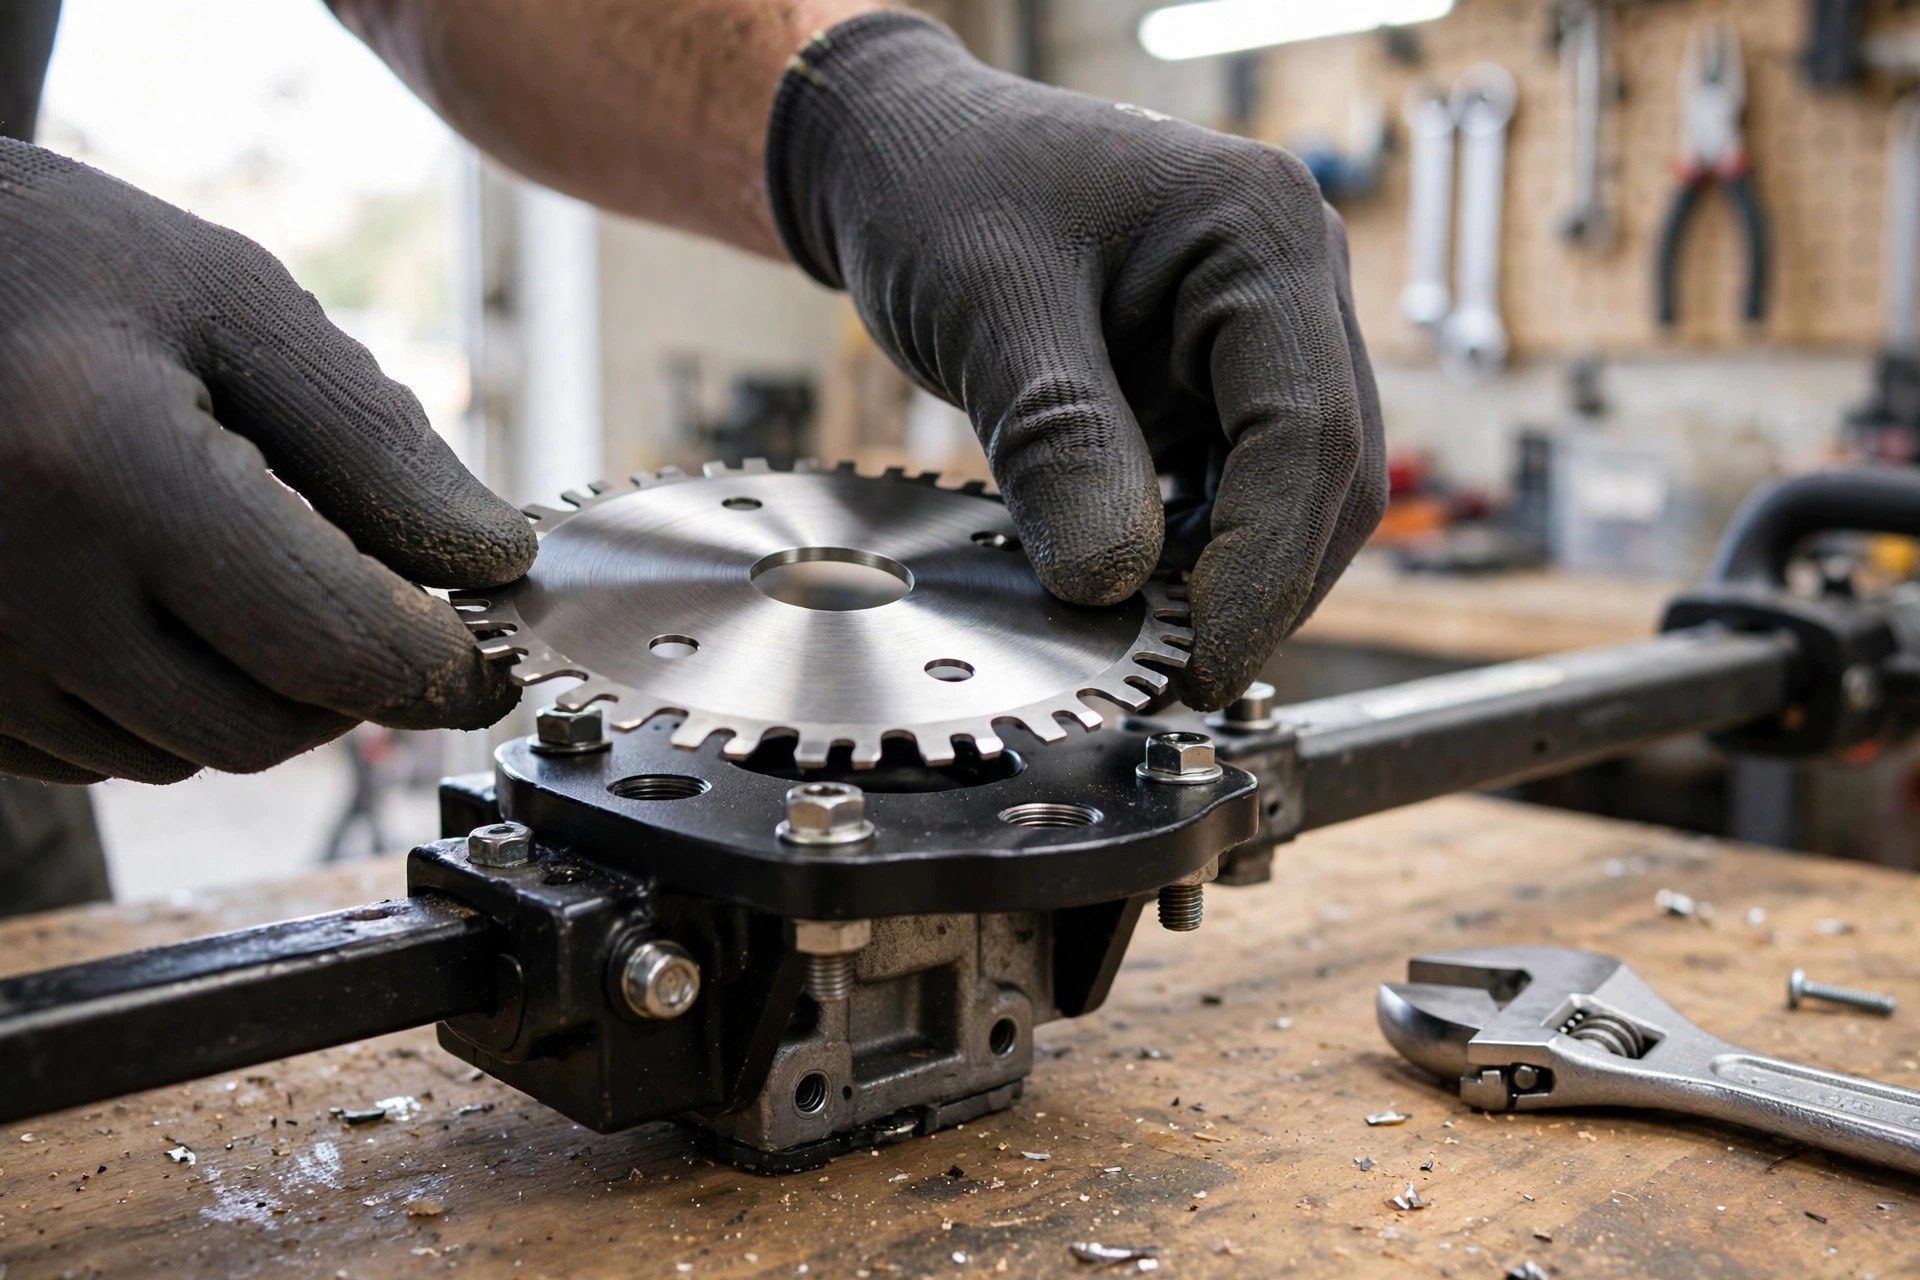
Push bolts through the blade and the mount. Tighten them by hand first to check the fit. Then make them firm with your wrench. Too much force can strip the threads in a bad way. Spin the blade with a soft touch to test it. It should turn free and true.
Free spin proves the fit is right so far. Stiff spots or wobble mean check the work at once. Hook the power back up and test at low speed. Odd sounds mean stop and tighten all once more. Smooth, quiet runs mean the tool is set to work. Test first, then trust the tool.
Tips to Extend Blade Life
Clean the blade each time you use the tool. Grass and dirt build up and dull the edge in time. A damp cloth wipe does the job each day. Hone the edge with a stone or file at times. Our sharpening guide sets out safe edge care. Clean blades stay sharp for far more cuts.
Store the trimmer in a dry spot between jobs. Heavy things on top can bend the fit out of true. Steer clear of rocks and stone while you trim. Hard hits dull or chip blades in no time. Our oiling guide covers day-to-day blade care. Good care adds months to a blade.
Why Regular Changes and Safe Disposal Matter
Sharp blades cut clean and keep plants sound. Dull blades tear grass and let ill health in. They strain the trimmer’s motor in a bad way too. Fresh blades save power and fix bills in time. Safe, smooth cuts feel more in hand as well. A sharp blade is a kind blade.
Throw old blades out with real care. Wrap them in thick cloth or old news sheets. Tape the wrap firm before throw-away day. Most scrap yards take steel blades with thanks. Our repair guide covers faults past plain blade wear. Safe hands guard more than your own.
Shops can run take-back plans for old blades too. Ask when you buy your next fresh blade. New use suits blades that stay safe, held with care. Town rules guide sharp scrap drops in each zone. Those rules guard the crews who haul your trash. A safe end caps a safe job.
Frequently Asked Questions
These answers restate this guide’s own points and no more. They track the same steps set out above. Short answers close the guide at the end. Brand pages like STIHL share their own blade tips. Cross-check your model first, each time.
How often should I change my trimmer blade?
Swap it each 30-50 hours of use. Thick plants shift that span a bit, though. Steady checks show wear or harm while it is small. Rough cuts tell you swap time has come. Track your brand’s own model guide with care.
What are the different types of trimmer blades available?
All-round blades take on most jobs quite well. Grass blades cut lawns with true, fine cuts. Brush blades take on shrubs and small limbs. Steel, alloy, and carbide are the main stuffs. Carbide lasts the most but costs the most.
Can I sharpen my trimmer blade instead of replacing it?
Yes, a hone can stretch a dull blade’s life. Use a hone stone or a steel file for the job. Keep one true slant through the whole task. Pro shops hone blades with great care for you. Hold edges with care to dodge cuts at all times.
Are there any safety tips for changing trimmer blades?
Cut the power link before you touch the blade zone. Unplug the tool or take the cell pack out in full. Wear gloves and eye guards through the work. Keep your bench clean and clear at all times. The right tools stop slips and snapped bolts.
Can I use third-party replacement blades on my trimmer?
Off-brand blades can work if you check with care. Fit with your own model counts most here. Near sizes do not prove a true fit at all. Brand tips give the best fit of all. Wrong-fit parts risk faults and lost work time.
Conclusion: How to Change Trimmer Blade
So, how to change trimmer blade with full trust today? Watch for wear signs and check the blade with care. Pick a blade that fits your model well. Track the safe steps before you lift a thing. Fit with care and test before real work. Small habits guard each cut you make.
Fresh blades keep cuts clean and true. They guard the motor from needless strain. Safe throw-away steps cap each blade swap well. Your trimmer then serves you well for years. Plain habits bring pro-grade cuts each time you trim.

I’m Patricia D. Johnson, an affiliate marketer and blogger specializing in trimmers and grooming tools. I create honest reviews, buying guides, and practical tips to help readers choose the right trimmer for their needs. With a focus on quality, performance, and value, I simplify the decision-making process so consumers can make confident purchases.