
How to Change Philips Trimmer Battery
Learning how to change Philips trimmer battery saves money. A fading battery frustrates many grooming routines daily. This guide replaces the battery carefully step by step. The skill keeps your trimmer performing at its best.
Philips trimmers earn popularity through reliability and effectiveness. Every battery eventually diminishes with age and use. A weak trimmer cannot perform at its best. Replacing the battery beats buying another trimmer entirely.
The Wikipedia Philips page gives background on the maker. Clear instructions suit beginners and experienced users alike. Handy practical tips appear throughout the six steps below. You gain confidence handling small grooming devices too.
Quick answer: Turn the trimmer off and remove any attachments first. Locate the battery compartment on the trimmer body. Open the compartment carefully with a small screwdriver. Replace the old battery with an identical new one. Close it, tighten the screws, and test it.
How to Change Philips Trimmer Battery: Overview
A low battery often strikes at busy moments. This guide walks through the full replacement process. Six steps cover tools, preparation, and reassembly fully. The quick list below summarizes the job first.
| Quick Step | What the Post Says |
|---|---|
| Switch it off | Turn off the trimmer, remove attachments |
| Find the compartment | Locate the battery compartment on the trimmer |
| Open it up | Use a screwdriver to open the compartment |
| Swap the battery | Replace with a new one, same type |
| Close it again | Tighten the screws on the cover |
| Test the result | Turn it on and check performance |
Following the steps extends the trimmer lifespan noticeably. It also saves money over buying replacements repeatedly. The Wikipedia lithium-ion battery page explains the common cell type. Most Philips trimmers use these rechargeable cells today.
Open the Trimmer in Three Steps
Step 1: Gather the Necessary Tools
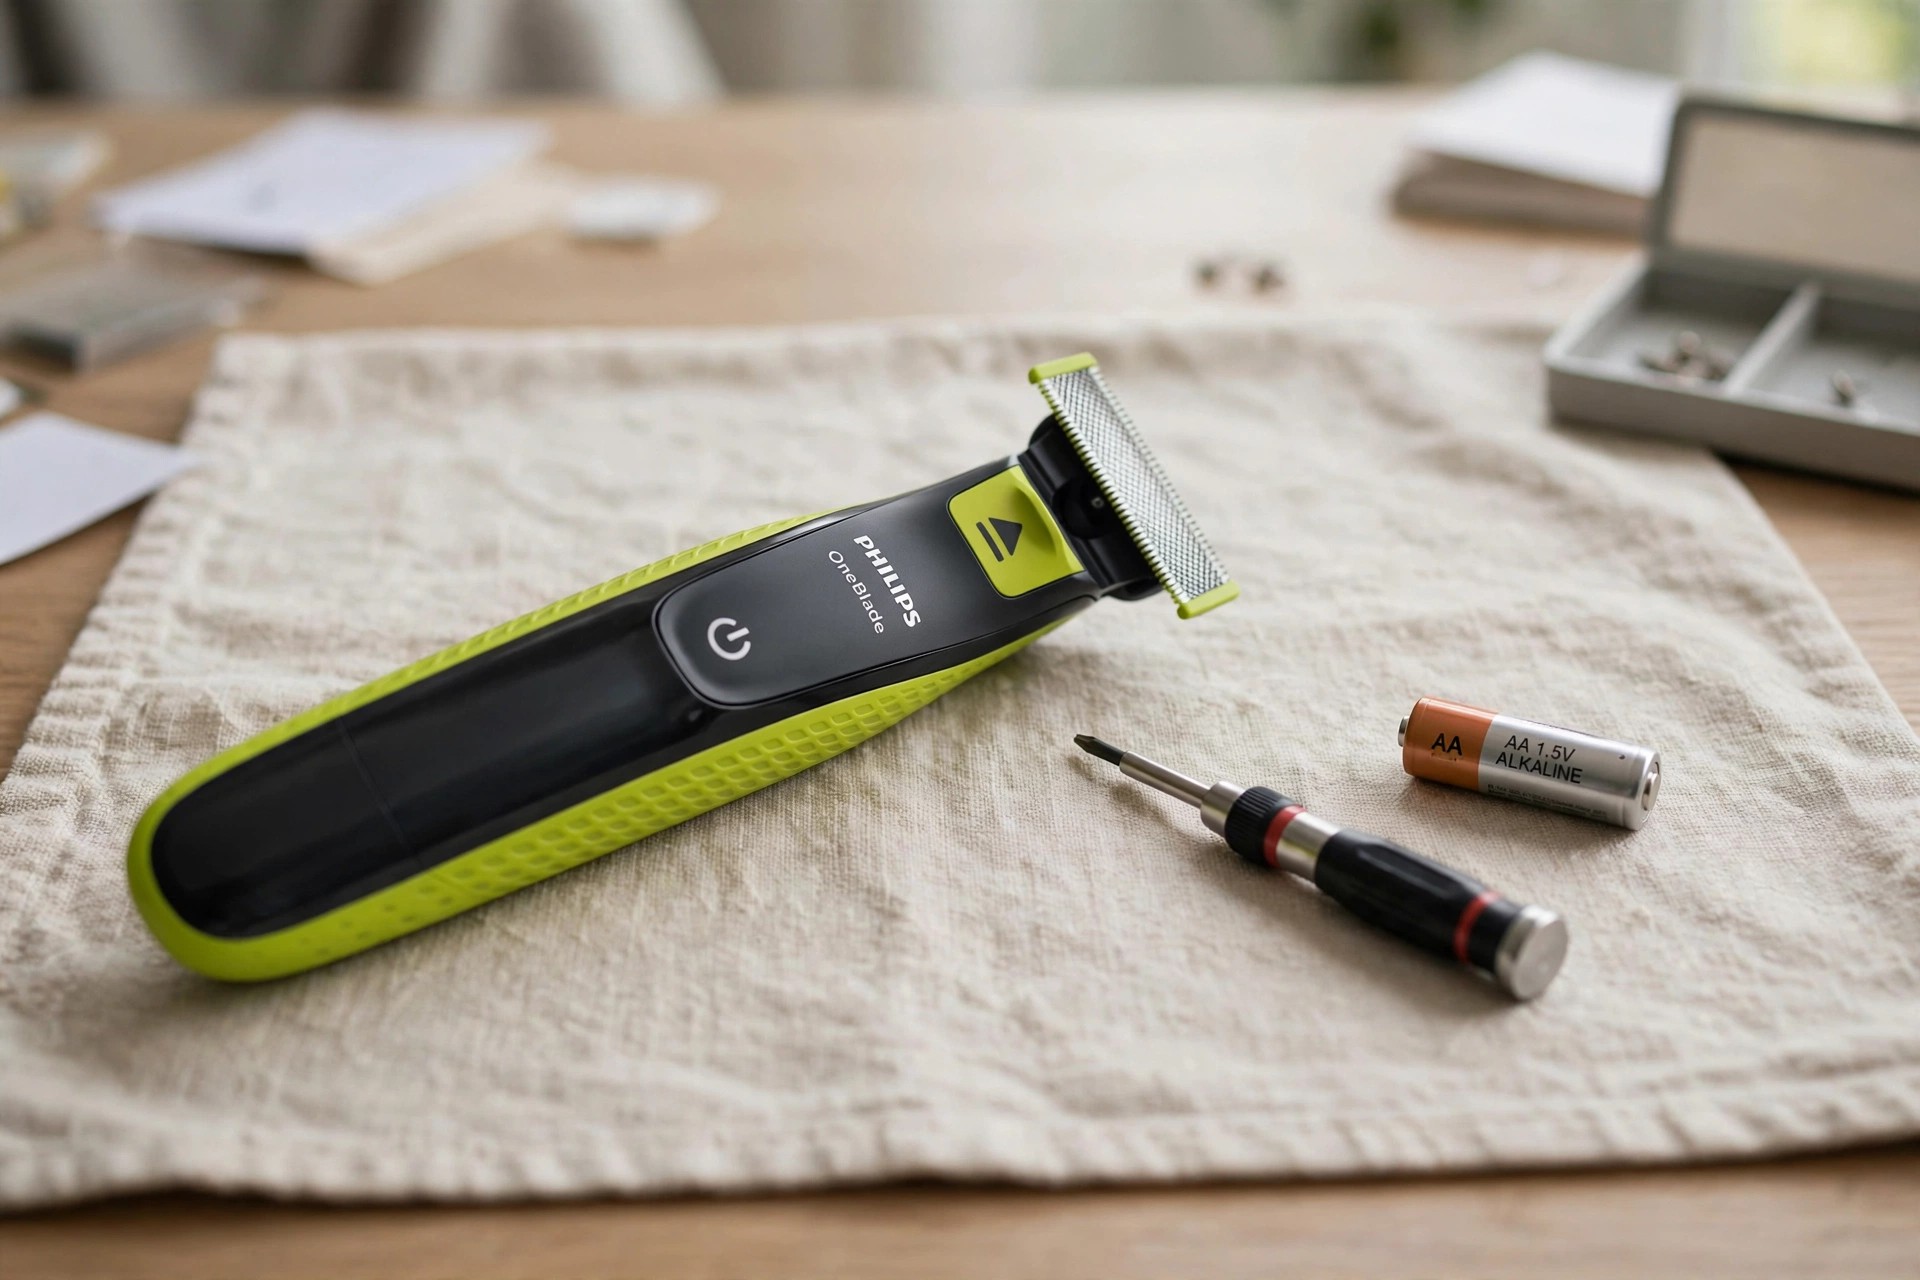
Gather every tool before beginning the replacement job. You need one small screwdriver for this task. A Phillips or flathead type usually works fine. A replacement battery and clean cloth complete things.
Not every Philips trimmer has a user-replaceable battery. Some models require professional servicing or replacement instead. Check the user manual for your model first. Philips customer support can also guide uncertain owners.
Step 2: Prepare the Trimmer
Switch the trimmer off before starting any work. Unplug it from any power source completely too. Lay it on a clean, flat surface carefully. Remove any attachments or guards attached to it.
Inspect the trimmer for damage or wear next. Cracks or loose parts deserve professional inspection first. Never proceed with a visibly damaged device yourself. Better access comes from removing attachments beforehand always.
Step 3: Open the Battery Compartment
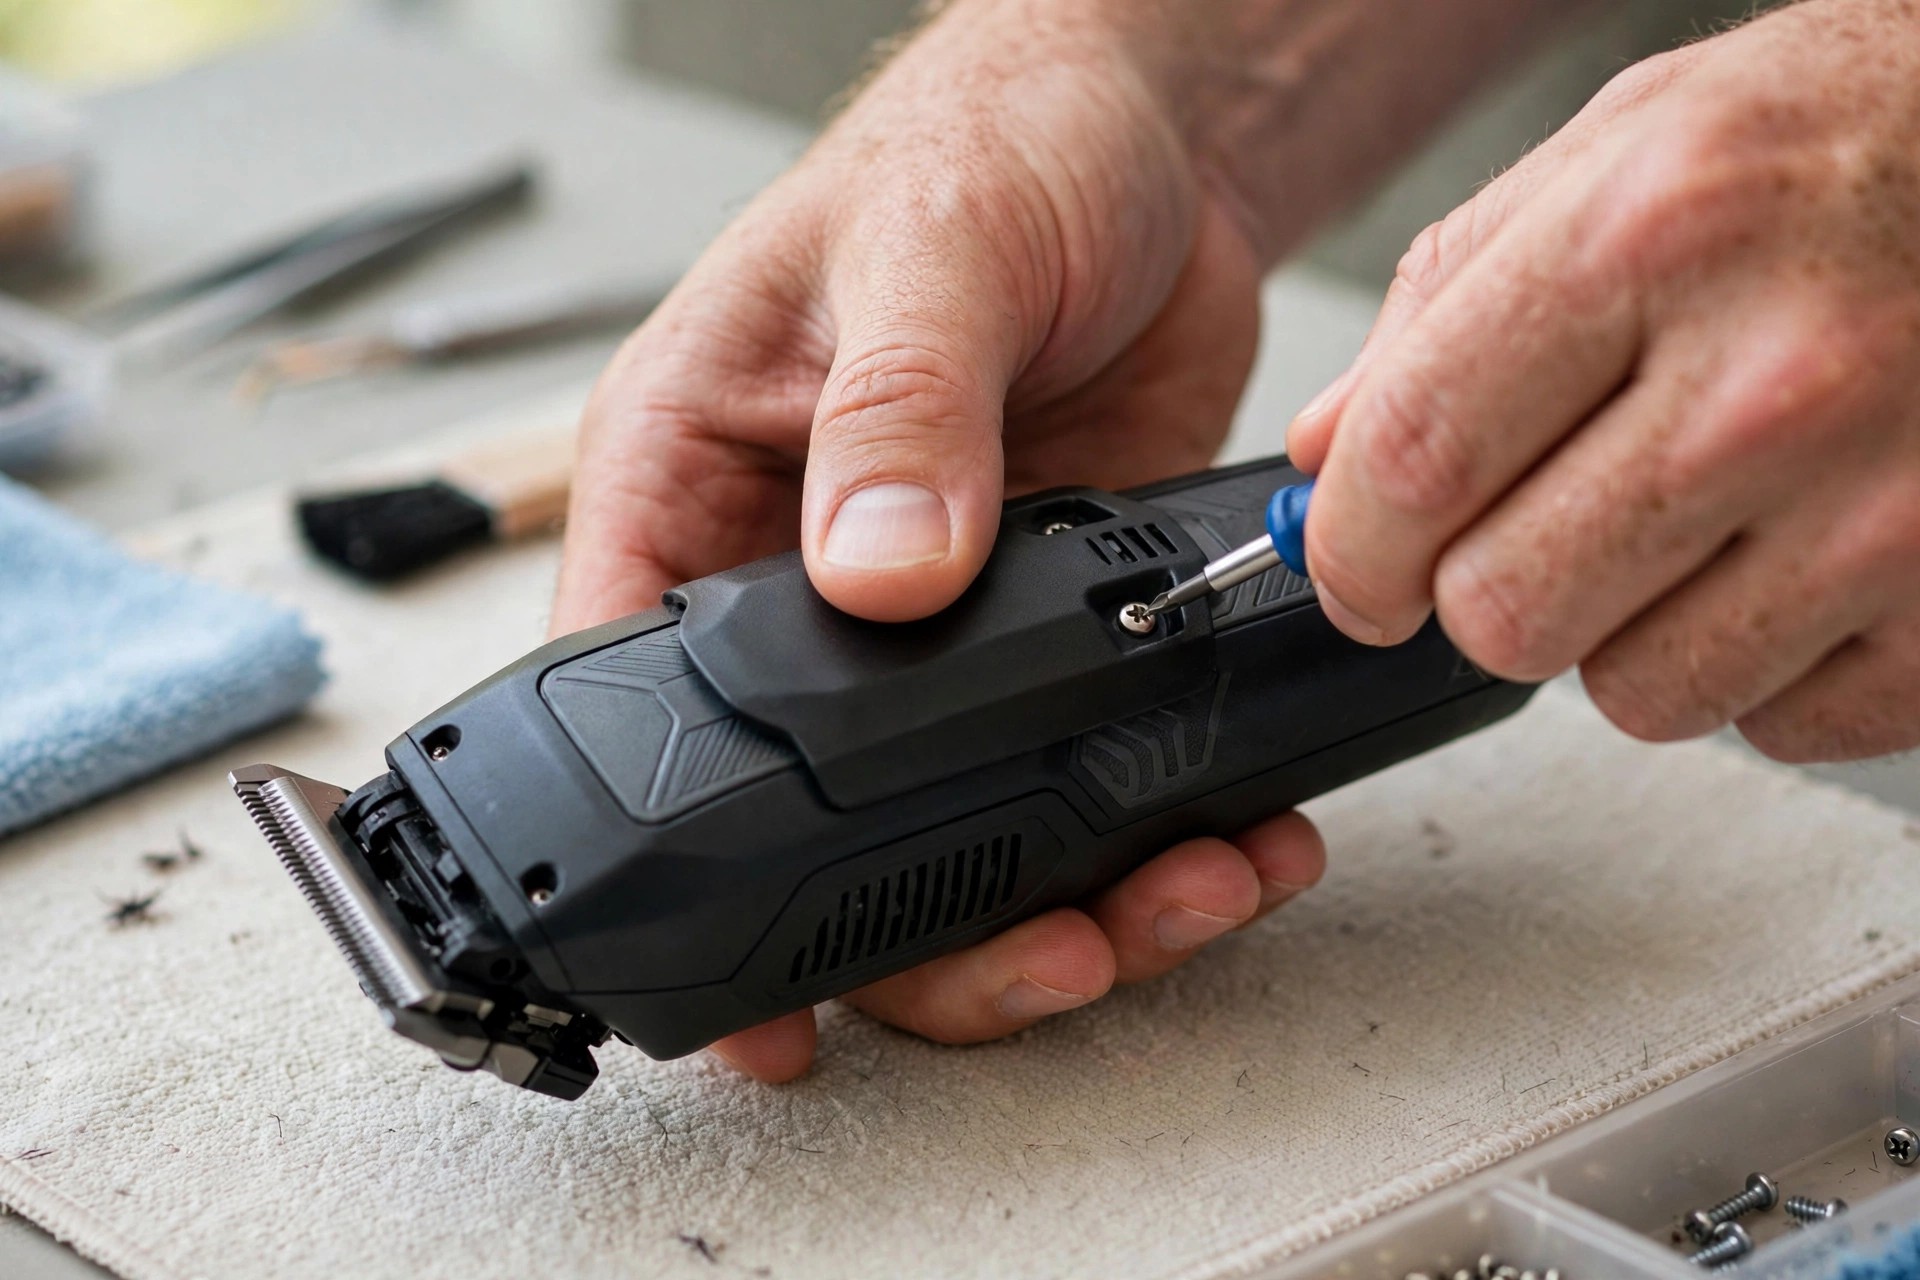
Find the screws securing the battery compartment cover. They usually sit on the back or bottom. Unscrew them carefully with the small screwdriver slowly. Keep every screw safe and never lose one.
Lift the battery compartment cover gently afterwards next. Pry it open carefully if the seal feels tight. Set the cover aside somewhere safe for later. Our Philips opening guide shows careful opening technique.
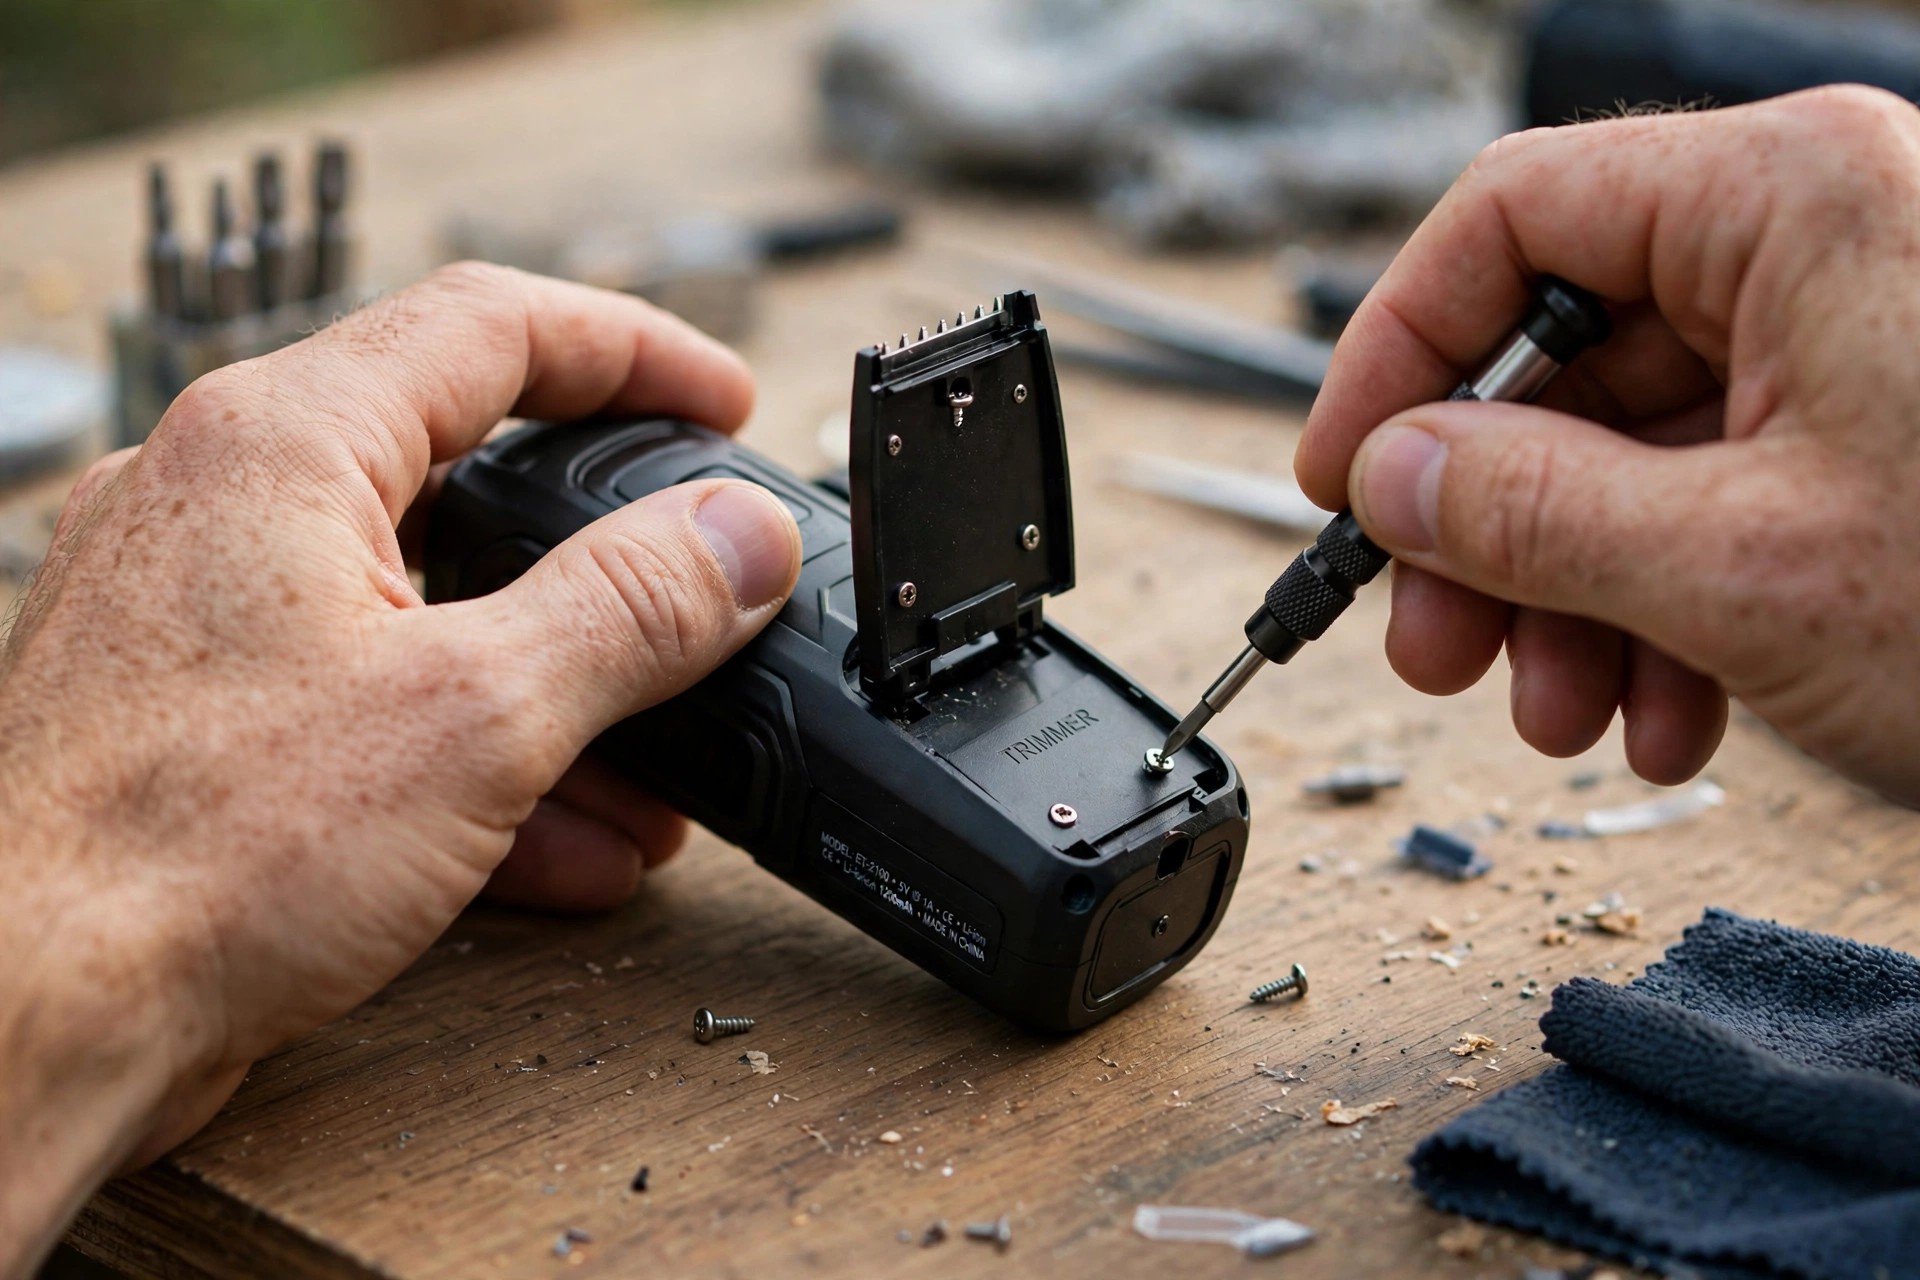
Please note: The quick steps and Step 3 use a screwdriver throughout. They open the compartment by removing its screws carefully. The replacement answer below also mentions sliding it open. It describes sliding along an arrow moulded nearby. Both methods stay here exactly as published originally.
Swap the Battery and Reassemble
Step 4: Replace the Battery
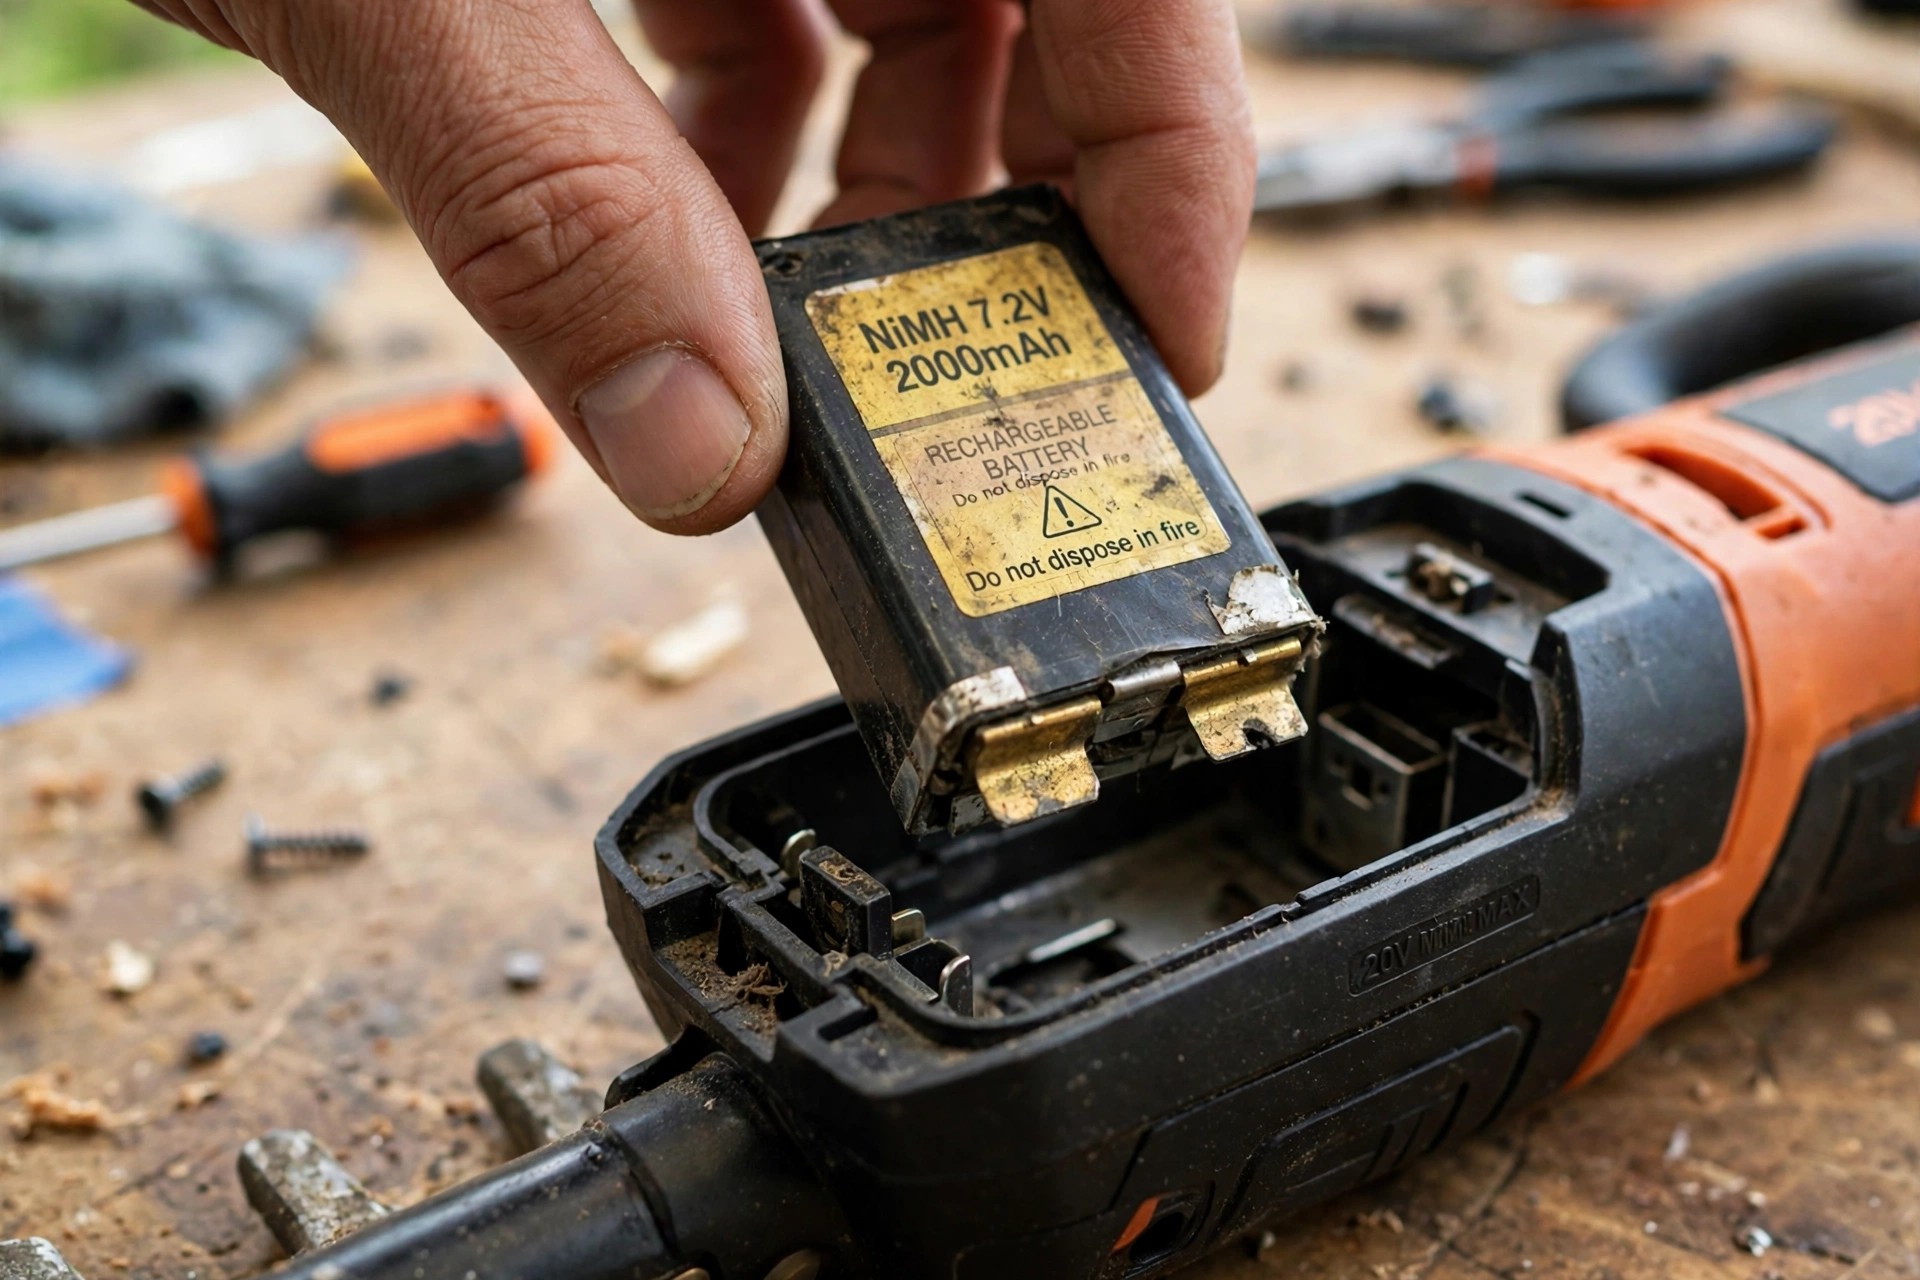
Remove the old battery from the compartment carefully. Note its orientation and connection points before removal. Dispose of it properly under local regulations afterwards. Old batteries never belong in household trash bins.
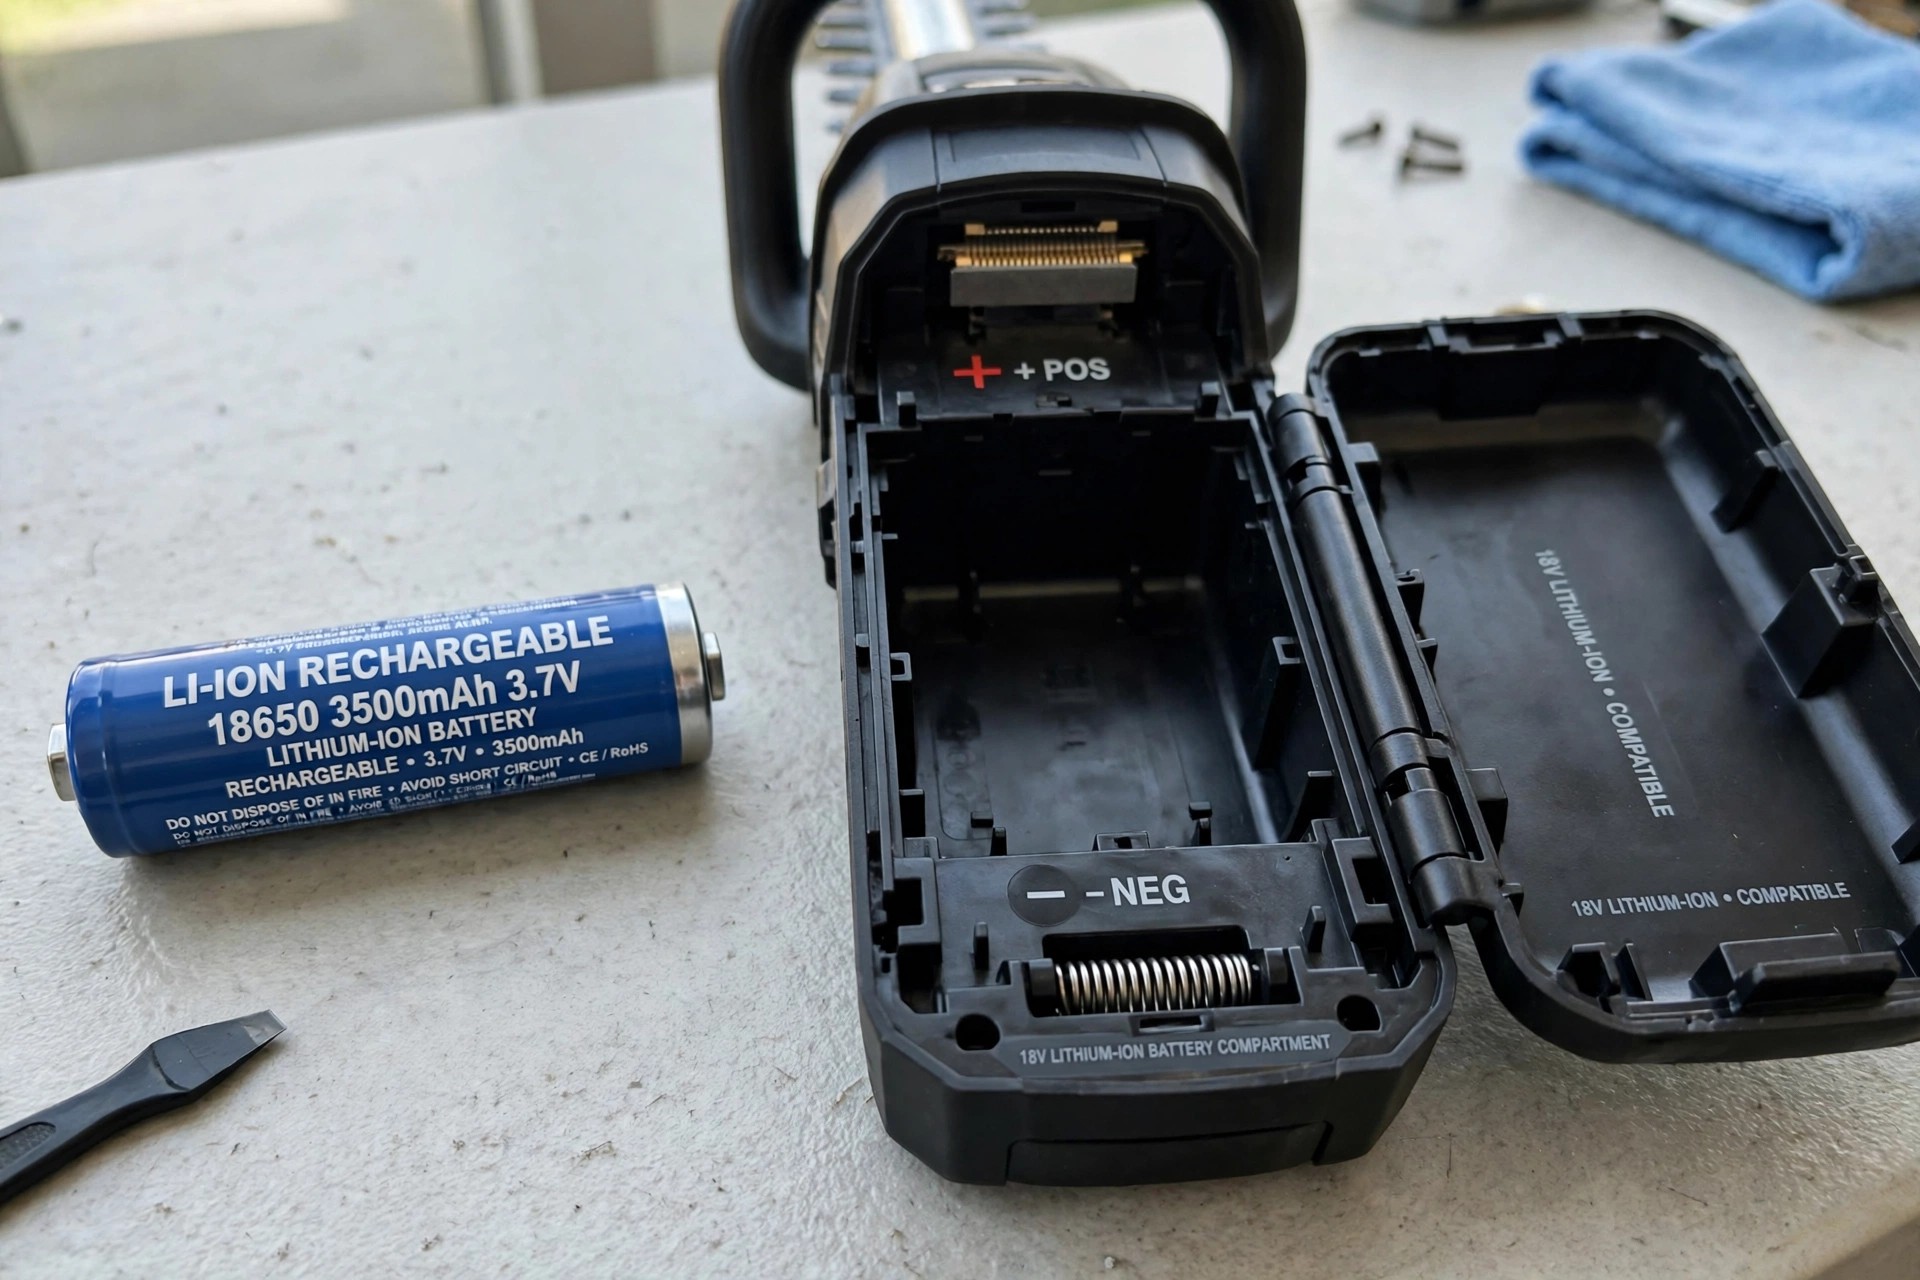
Align the new battery correctly inside the compartment. Match polarity with the markings or indicators shown. Press it firmly into place once aligned properly. Good contact keeps the trimmer powered reliably afterwards.
Step 5: Reassemble the Trimmer
Place the battery compartment cover back on carefully. Align it correctly with the trimmer body first. Screw it back into place using the screwdriver. Ensure the cover fastens securely before moving on.
Reattach any attachments or guards removed earlier today. Plug the trimmer back into its power source. Switch it on to test the new battery. A working trimmer confirms the swap succeeded fully.
Care Habits After the Swap
Clean the trimmer regularly after the battery swap. Remove hair and debris that may accumulate inside. Lubricate the cutting blades as the manufacturer recommends. Our lubrication guide explains routine blade oiling.
Store the trimmer somewhere safe and dry always. Good storage prevents damage between grooming sessions entirely. These habits extend the lifespan of the trimmer. Our Panasonic cleaning guide shows careful cleaning steps.
| Care Habit | What the Post Says |
|---|---|
| Clean it regularly | Remove hair and debris that accumulate |
| Lubricate the blades | Follow the manufacturer recommendation for oiling |
| Store it safely | A safe, dry place prevents damage |
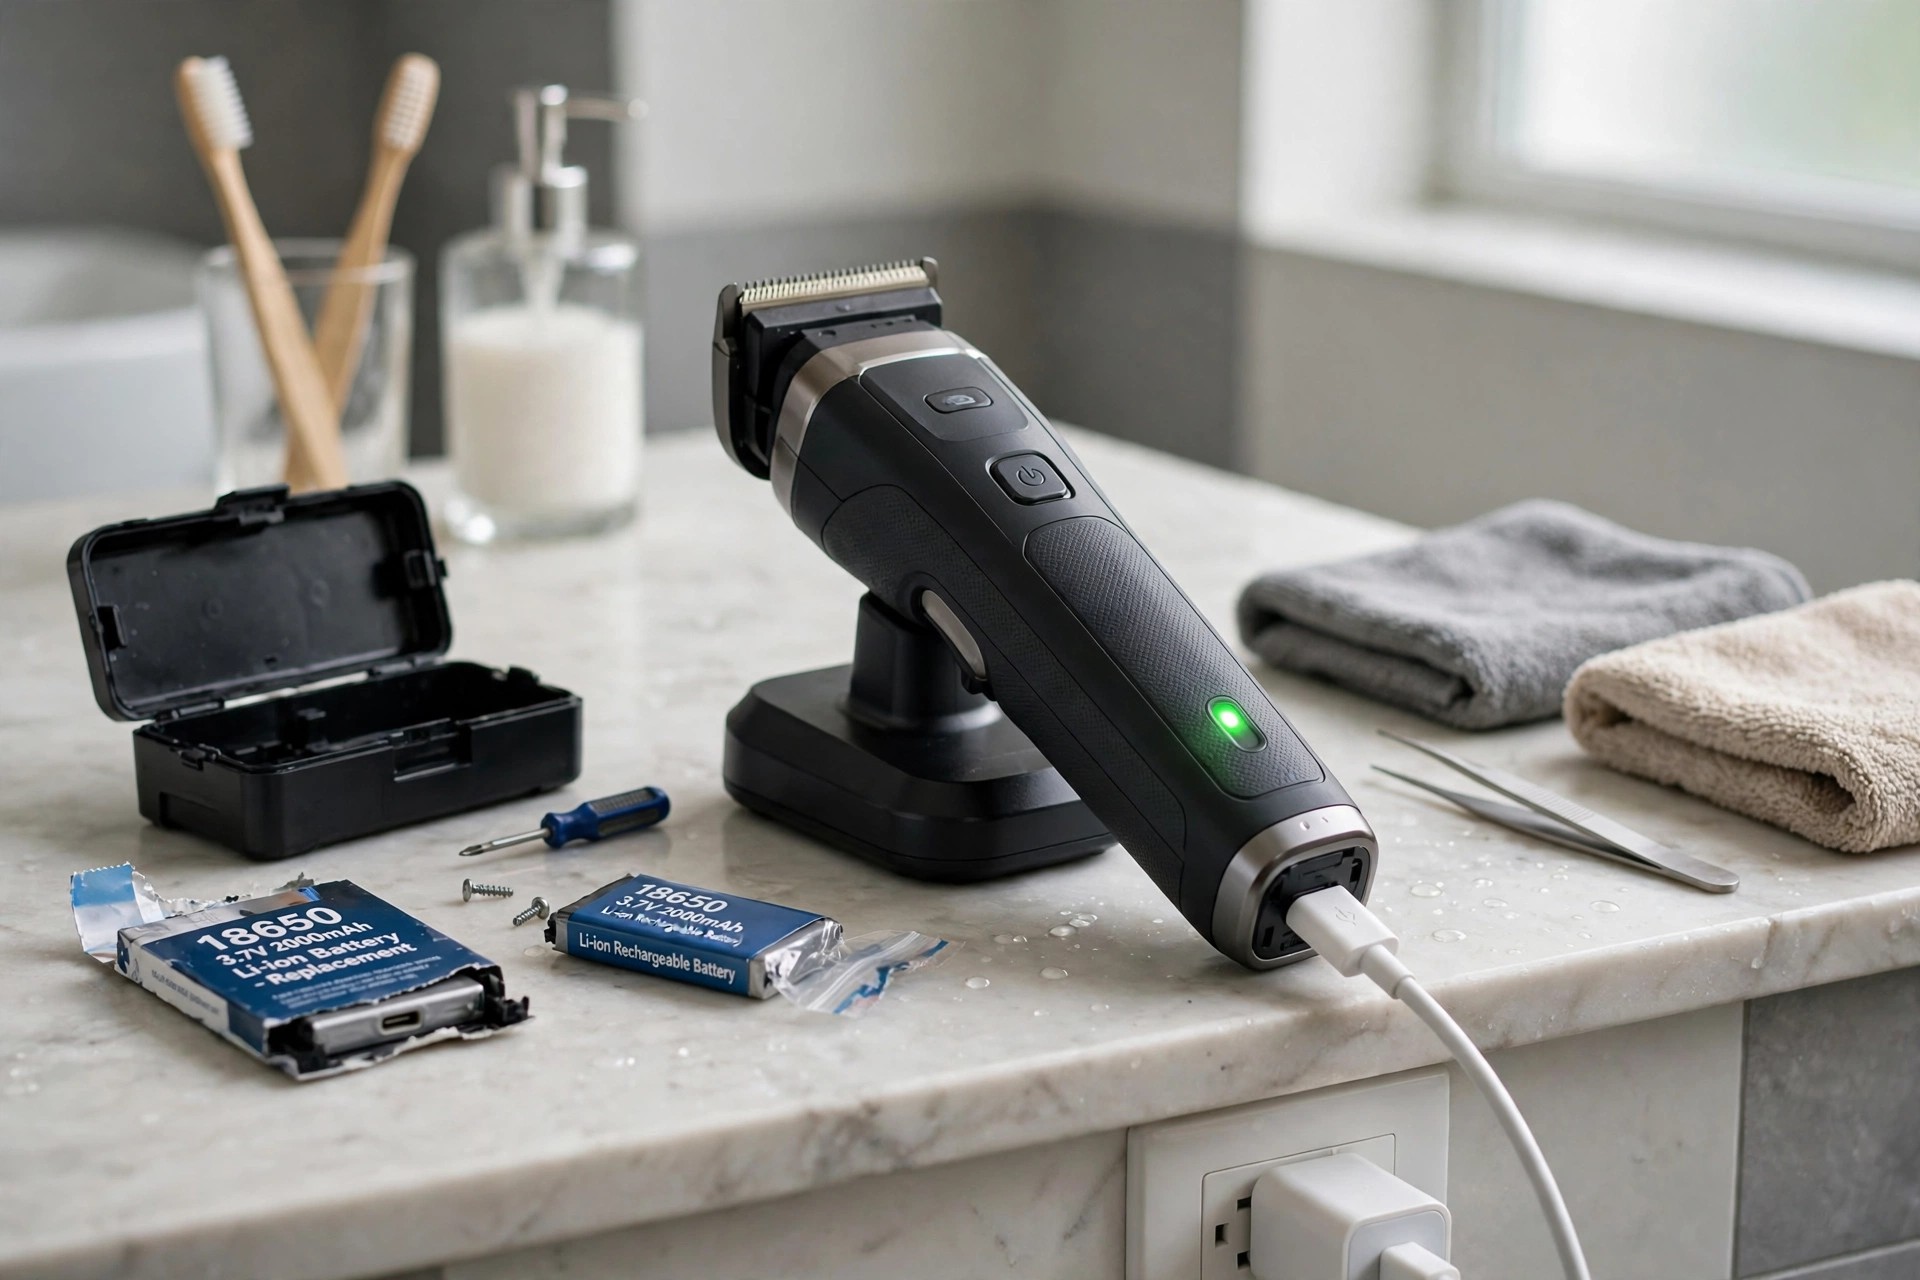
Charging habits also protect the new battery daily. Our Philips charging guide covers full charge times. Our charger-free charging guide covers backup options. Never store a fully drained battery for long.
Frequently Asked Questions
How do I know when my Philips trimmer battery needs replacing?
Weak runtime often signals a fading battery first. The trimmer stops holding its charge like before. It also runs shorter on every full charge. Years of use without replacement suggest the same. Contact Philips support about built-in batteries instead.
What type of battery does my Philips trimmer use?
The exact type varies by model quite often. Most Philips trimmers use rechargeable lithium-ion batteries though. These cells offer high energy density overall today. They also hold charges for extended periods well. Use only the correct type when replacing yours.
How do I replace the battery in my Philips trimmer?
Turn the trimmer off and unplug it first. Open the compartment by sliding or removing screws. Remove the old battery, noting its orientation. Insert the new battery aligned with contacts. Close everything and charge fully before using.
Where can I purchase a replacement battery for my Philips trimmer?
The official Philips website sells spare parts directly. Authorized retailers also carry batteries for their trimmers. Online marketplaces and electronics stores stock compatible options. Verify the battery matches your specific model first. Compatibility ensures optimal performance after the swap completes.
Can I replace the battery myself, or do I need professional help?
It depends entirely on your specific model design. Some trimmers let users replace batteries quite easily. Others hide built-in batteries needing professional assistance instead. The manual guides replaceable models through the process. Contact Philips support when you feel unsure anytime.
Careful owners keep their trimmers running for years. Our mobile charging guide answers a common question. Our charger-free guide covers emergency charging methods. Manuals remain the final authority for every model.
Conclusion: How to Change Philips Trimmer Battery
So, learning how to change Philips trimmer battery pays. The simple steps keep your trimmer performing well. Always follow the manual for your specific model. Exercise caution around electrical components during the swap. Small effort yields great rewards over the coming years.
Replacing the battery yourself builds real grooming confidence. You gain control over your whole grooming routine. The trimmer then serves reliably for years more. Start the swap today and enjoy the results very soon.
