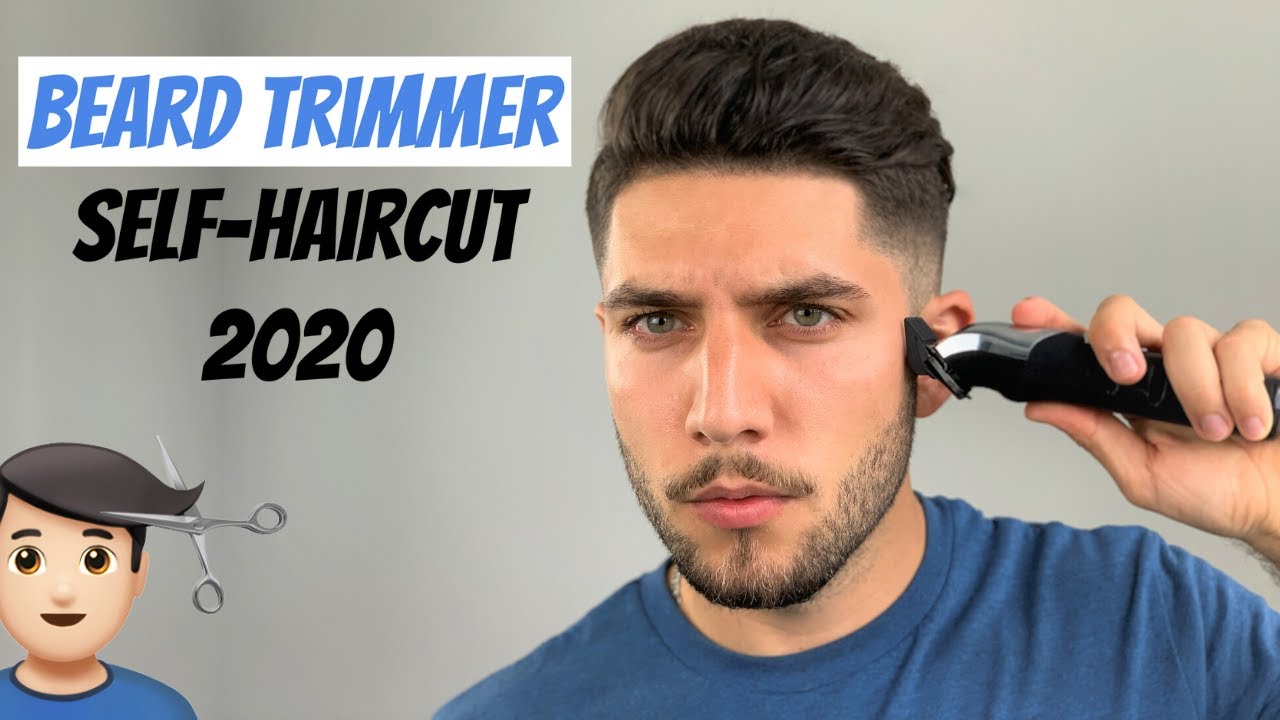
To cut your own hair with a beard trimmer, follow these steps carefully: adjust the trimmer guard to the desired length, start trimming from the sides and back of your head, work your way to the top, and finish off with the front and bangs. Cutting your own hair can save you money and give you the convenience of doing it at home.
However, it’s important to have the right tools and techniques to achieve a satisfactory result. One tool that can be used for both hair and beard grooming is a beard trimmer. With its adjustable guard and precision blades, it allows you to achieve a clean and even haircut.
We will guide you on how to cut your hair with a beard trimmer effectively. Just follow the steps below to give yourself a fresh trim without stepping into a salon.
Preparing For A Diy Haircut
When it comes to tackling the task of cutting your own hair, proper preparation is key. With the right tools, equipment, and setup, you can achieve a successful DIY haircut using a beard trimmer. In this article, we will guide you through the process starting with choosing the right beard trimmer for cutting hair.
Choosing The Right Beard Trimmer For Cutting Hair
Before you dive into the world of self-haircutting, it’s important to select the right tool for the job. While many beard trimmers claim to be versatile, not all are suitable for cutting hair. Look for these features:
- Powerful Motor: A beard trimmer with a powerful motor will provide smooth and precise cuts, making your DIY haircut easier and more efficient.
- Adjustable Length Settings: Opt for a trimmer that offers a range of length settings. This allows you to create the desired hairstyle without limitations.
- Sharp Blades: Sharp blades are essential for achieving clean and accurate cuts. Look for trimmers with stainless steel or titanium blades for long-lasting sharpness.
- Ergonomic Design: A trimmer with an ergonomic design will enable you to have better control and maneuverability, ensuring you can easily reach the back of your head.
Gathering The Necessary Tools And Equipment
Once you have chosen the ideal beard trimmer for your self-haircutting adventure, gather the necessary tools and equipment to ensure a smooth process. Here’s a checklist of what you’ll need:
| Tools | Equipment |
|---|---|
|
|
Setting Up Your Workspace For A Successful Haircut
Now that you have your trimmer and tools ready, it’s time to set up your workspace. Creating a suitable environment will contribute to a successful DIY haircut. Follow these steps:
- Adequate Lighting: Ensure you have good lighting in your workspace. Natural light is ideal, but if that’s not possible, opt for a well-lit area with a bright lamp.
- Clean and Clear Area: Clear the area of any clutter and ensure there’s enough space for movement. This will minimize the risk of accidents while you cut your hair.
- Accessible Mirrors: Set up mirrors in strategic positions to make visibility easier. A combination of a handheld mirror and a wall-mounted mirror works great.
- Comfortable Seating: Use a comfortable chair or stool with proper back support. This will enable you to focus on the haircut without any discomfort.
By choosing the right beard trimmer, gathering the necessary tools and equipment, and setting up your workspace appropriately, you are well on your way to a successful DIY haircut. In the next sections, we will delve into the step-by-step process of cutting your own hair with a beard trimmer.
Understanding Basic Haircut Techniques
To achieve a successful haircut at home using a beard trimmer, it’s essential to familiarize yourself with different hair lengths and styles. Understanding the specific look you want to achieve will help you determine the appropriate blade guard length and technique to use. Whether you’re going for a classic crew cut, a stylish fade, or a trendy undercut, knowing the basics of various hair lengths and styles will set you on the right path to achieving the desired results.
Types Of Hair Lengths And Styles:
To start, let’s explore some common hair lengths and styles you can experiment with:
| Hairstyle | Hair Length | Description |
|---|---|---|
| Crew Cut | Short | A classic short hairstyle where the hair on the top of the head is significantly shorter than the sides and back. |
| Fade | Varies | A hairstyle that gradually fades from longer hair on top to shorter hair on the sides and back. |
| Undercut | Varies | A trendy hairstyle where the hair on the top is left longer and contrasted with shorter hair on the sides and back. |
| Long Layered | Medium to Long | A style where the hair falls below the shoulders, with layers added for dimension and movement. |
| Pixie Cut | Short | A short and chic haircut with length typically ranging from cropped near the scalp to a couple of inches in length. |
Now that you have a good grasp of different hair lengths and styles, let’s dive into the different blade guard lengths and the effects they have on your haircut. Blade guard lengths play a crucial role in determining how much hair will be left on your head after trimming. Each guard corresponds to a specific length, allowing you to create various hairstyles with precision.
Blade Guard Lengths And Their Effects:
- No Guard/0 Guard: With no attachment, the trimmer cuts the hair very close to the scalp, resulting in a very short buzz cut.
- #1 Guard: Using this guard will leave approximately 1/8 inch or 3mm of hair length, offering a short, uniform buzz cut look.
- #2 Guard: This guard leaves around 1/4 inch or 6mm of hair, suitable for slightly longer buzz cuts or maintaining a short overall length.
- #3 Guard: Leaving about 3/8 inch or 10mm of hair, this guard is perfect for achieving a slightly longer, more textured look.
- #4 Guard: Cutting hair to about 1/2 inch or 13mm, this guard length is ideal for longer buzz cuts or maintaining some length on top.
- #5 Guard: With a length of around 5/8 inch or 16mm, this guard creates a medium-length style, allowing for more versatile styling options.
Having a good understanding of the principles behind cutting hair at home will help you achieve a clean and professional-looking result. Here are some key principles to keep in mind:
- Maintain a steady hand: Keeping your hand steady while using a beard trimmer is crucial to avoid uneven or jagged cuts.
- Start with a longer guard length: Especially if you’re new to cutting hair, beginning with a longer guard provides room for adjustments and reduces the risk of cutting too much too quickly.
- Take your time: Rushing through the haircut can lead to mistakes. It’s essential to take your time and work in small sections, ensuring each part is even and well-trimmed.
- Use mirror and natural lighting: Position yourself in front of a mirror with good lighting to ensure you have a clear view of the haircut and can identify any uneven areas.
- Regular maintenance: To maintain your desired style, periodic touch-ups and maintenance trims are necessary. It’s important to trim regularly and make adjustments as needed.
With a solid understanding of these basic haircut techniques, you’ll be equipped to confidently cut your own hair at home using a beard trimmer and achieve salon-worthy results. Next, let’s explore the step-by-step process of cutting your hair with precision and style.
Step-by-step Guide To Cutting Your Hair With A Beard Trimmer
Cutting your own hair at home can be a convenient and cost-effective solution, especially when you have a beard trimmer handy. With a little practice and the right technique, you can achieve a fresh and neatly trimmed haircut in the comfort of your own bathroom. In this step-by-step guide, we will walk you through the process of cutting your hair with a beard trimmer, covering everything from washing and drying your hair, to trimming the sides and back, cutting the top section, and incorporating blending and layering techniques for a professional finish.
Washing And Drying Your Hair Before The Haircut
The first step to a successful haircut is ensuring that your hair is clean and dry. Start by washing your hair thoroughly with your regular shampoo and conditioner. This will remove any excess oil, dirt, or product buildup and make it easier to trim. After rinsing, use a clean towel to gently dry your hair until it is damp but not dripping wet. This will provide the best results when cutting with a beard trimmer.
Trimming The Sides And Back Of Your Hair
Once your hair is clean and damp, it’s time to start trimming. Begin by adjusting the length setting on your beard trimmer to your desired length. It’s recommended to start with a longer guard and gradually go shorter if needed. Start at the bottom of the sides and work your way up, using upward motions to trim the hair evenly. Take your time and be mindful of any natural hairlines or curves, ensuring a neat and symmetrical appearance. Repeat the process for the back of your head, keeping the trimmer parallel to the floor for an even cut.
Cutting The Top Section Of Your Hair
Once you have trimmed the sides and back, it’s time to move on to the top section of your hair. Start by combing your hair in the direction you typically wear it. This will help you visualize the length and style you want to achieve. Using the beard trimmer without any attachments or guards, carefully trim the hair on the top of your head, working from the front to the back. Remember to go slowly and take small sections at a time to ensure an even cut.
Blending And Layering Techniques For A Professional Look
To achieve a professional-looking haircut, it’s essential to blend and layer the different sections of your hair. Comb through your hair to identify any uneven areas or transitions. Use the beard trimmer with a shorter guard or no guard at all, and gently blend the areas where the sides and back meet the top section. Be cautious not to remove too much hair, as it’s easier to trim more later if needed. Additionally, consider using scissors to perform a bit of light layering on the top section for added texture and dimension.
By following this step-by-step guide to cutting your hair with a beard trimmer, you can achieve a fresh and well-groomed haircut without stepping foot outside. Practice makes perfect, so don’t be discouraged if it doesn’t turn out exactly as planned the first few times. With time, you’ll gain more confidence and skill in handling your own haircuts, saving money and maintaining your desired style in the process.
Credit: www.reddit.com
Tips And Tricks For A Successful Diy Haircut
When it comes to cutting your own hair with a beard trimmer, taking the DIY route can save you time and money. However, achieving a professional-looking result can be a challenging task. To help you navigate this endeavor, here are some valuable tips and tricks that will ensure a successful DIY haircut.
Taking Your Time And Going Slow To Avoid Mistakes
One of the most important things to remember when cutting your own hair is to take your time and go slow. Patience is key, as rushing through the process can lead to mistakes that are difficult to fix. Before you start cutting, gather all the necessary tools and familiarize yourself with the trimmer’s settings and attachments. Begin with small adjustments, gradually trimming more if needed. By going slow, you can carefully assess your progress and make any necessary adjustments along the way.
Using Mirrors To See All Angles Of Your Head
Using mirrors during the haircut is essential to ensure an even and balanced result. Position mirrors in a way that allows you to see the back and sides of your head. Having a mirror in front of you and another behind you will help you see all angles. Pay close attention to the lines and lengths to ensure consistency throughout. Regularly check your work from different angles to catch any missed spots or unevenness. By utilizing mirrors, you can achieve a more professional outcome.
Dealing With Difficult Areas, Such As The Neckline And Around The Ears
Dealing with difficult areas, such as the neckline and around the ears, requires precision and careful handling. Start by defining your desired neckline with a comb or your finger and then carefully trim around it. You can use the trimmer in an upward motion to create a defined edge. When it comes to the ears, hold them down gently and maneuver the trimmer around them. Take it slow and be cautious to avoid any accidental slips. Remember, it’s better to trim less initially and make adjustments gradually as needed.
Maintaining Your Haircut And Making Touch-ups As Needed
Once you’ve completed your DIY haircut, maintaining it is essential to keep it looking sharp and polished. Regular touch-ups are necessary to maintain the desired length and style. As your hair grows, use the trimmer to trim the stray hairs and maintain the shape. Keep your tools clean and well-maintained to ensure optimal performance. By making touch-ups as needed, you can extend the life of your haircut and achieve a more professional look.
With these tips and tricks in mind, you’ll be well-equipped to achieve a successful DIY haircut using a beard trimmer. Remember, practice makes perfect, so don’t be discouraged if your first attempt isn’t flawless. Take your time, use mirrors effectively, tackle difficult areas with precision, and maintain your haircut regularly. Get ready to embrace your inner hairstylist and enjoy the satisfaction of a job well done!
Troubleshooting Common Haircut Issues
Learn how to troubleshoot common haircut issues and achieve professional results when cutting your own hair with a beard trimmer. With these expert tips, you can easily tackle common problems and enjoy a well-groomed look at home.
Troubleshooting Common Haircut Issues When it comes to cutting your own hair with a beard trimmer, there are bound to be some common issues that you might encounter. Don’t worry though, with a little know-how and some simple troubleshooting techniques, you can easily fix these problems and achieve the perfect DIY haircut. In this section, we will discuss three common haircut issues and provide you with step-by-step solutions to fix them.
Fixing Uneven Hair Lengths Or Blunt Lines
If you notice that your haircut has uneven hair lengths or blunt lines, don’t panic. This is a common problem that can be easily rectified. Here’s how you can fix it:
- Create a guide: Start by creating a guide to ensure a consistent length throughout your haircut. You can use a comb or a ruler as a guide to establish the desired length.
- Use the right technique: When cutting your hair, use a comb and hold it parallel to your head. This will help maintain an even and consistent length. Make sure to trim small sections at a time, rather than attempting large cuts.
- Blend the lengths: If you notice uneven lengths, carefully blend the shorter sections into the longer ones. Use small, gentle strokes with your beard trimmer, and gradually blend the transition, making sure not to remove too much hair at once.
Dealing With Hair That’s Too Short Or Longer Than Desired
Sometimes, despite your best efforts, you might end up with hair that is either too short or longer than you anticipated. To fix these issues, follow these steps:
- For hair that is too short:
- If your hair is asymmetrical, try to balance it out by trimming the longer side slightly. This will make the difference less noticeable.
- If your hair is shorter than desired all around, you may need to wait for it to grow out or seek professional help if you are uncomfortable with the length.
- For hair that is longer than desired:
- If your hair is generally longer, use your beard trimmer to carefully trim the excess length, section by section, until you achieve the desired length.
- If specific sections are longer, isolate those areas and trim them gently with your trimmer or scissors to match the rest of your haircut.
Correcting Mistakes And Learning From Them
Mistakes happen, and it’s essential to learn from them to improve your future hair cutting endeavors. Here’s what you can do if you make a mistake during the process:
- Assess the mistake: Analyze what went wrong and identify the specific area or technique that led to the mistake.
- Take corrective measures: If possible, try to fix the mistake by applying the appropriate technique mentioned earlier.
- Seek professional help: If the mistake is significant or you’re unsure how to fix it, don’t hesitate to consult a professional hairstylist who can help you correct the problem or provide advice on how to salvage the haircut.
- Learn and improve: Remember that mistakes are part of the learning process. Take note of what caused the mistake and learn from it to avoid similar issues in the future. With practice, patience, and the knowledge gained from your mistakes, you’ll become more confident in cutting your own hair.
Remember, mastering the skill of cutting your hair takes time and practice. Don’t get discouraged by the occasional hiccup. With the troubleshooting techniques provided above, you’ll be well-equipped to handle any common haircut issues that arise during your DIY hair cutting journey.
Frequently Asked Questions On How To Cut Your Own Hair With Beard Trimmer
Can I Cut My Own Hair With Beard Trimmer?
Yes, you can cut your own hair with a beard trimmer. Just be careful and go slowly to avoid any mistakes. It is important to follow proper techniques and use the right attachments for different hair lengths. Remember to clean the trimmer regularly for optimal performance.
How Do You Fade Your Hair With A Beard Trimmer?
To fade your hair with a beard trimmer, start with a longer guard attachment and gradually shorten it as you move up your head. Use a comb to guide the trimmer and create a seamless fade between your hair and beard.
What Is The Difference Between A Hair Clipper And A Beard Trimmer?
A hair clipper is designed for cutting and trimming longer hair on the head, while a beard trimmer is specifically created for shaping and grooming facial hair. Both tools serve different purposes and have distinct blade sizes and attachments for their respective tasks.
Which Way Do You Shave With A Beard Trimmer?
To shave with a beard trimmer, move the trimmer against the hair growth direction. Use gentle strokes and hold the trimmer at a slight angle for better results. Always trim in the direction opposite to your hair growth for a clean shave.
Final Verdict
To wrap it up, mastering the art of cutting your own hair with a beard trimmer can be a game-changer. Not only does it save you time and money, but it also gives you the freedom to style your hair just the way you want it.
With these easy-to-follow tips and tricks, you can achieve professional-looking results right at home. So why not give it a try? Take control of your hair and embark on your DIY hair-cutting journey today.
