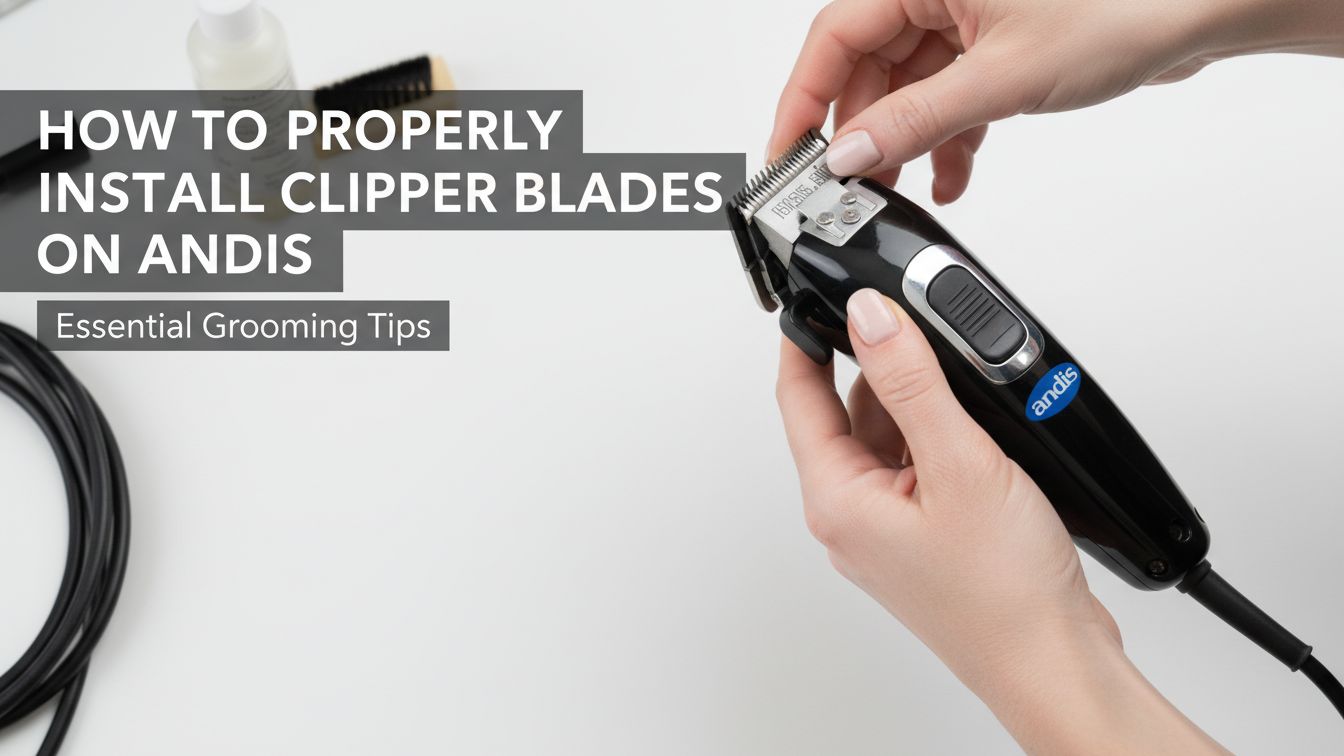

Cutting hair like a pro starts with your tools. If your blade is loose, your haircut will look messy. You might even pull the hair or nick the skin. Knowing how to properly install clipper blades andis users trust is the first step to a perfect fade.
It can feel scary to take your clippers apart. You do not want to break an expensive machine. But don’t worry. This guide makes it simple.
You will learn how to snap on blades and how to screw them in. We will talk about two main types of Andis clippers. These are “Detachable” blades and “Adjustable” blades.
 A high-quality photo of an Andis Excel 5-Speed clipper next to an Andis Master, showing the difference between a snap-on blade and a screw-on blade.
By the end of this guide, you will feel like a master mechanic. Your clippers will run quietly. They will cut smoothly every single time.
Tools & Prerequisites
Before you start, gather your supplies. Working on a clean table is best. You do not want to lose small screws in a thick carpet.
Essential Tool List
- Your Andis Clippers: The power must be off.
- Replacement Blades: Make sure they are the right size for your model.
- Screwdriver: Usually a small Phillips head for adjustable models.
- Clipper Oil: To keep the metal moving smoothly.
- A Small Brush: To clean out old hair.
- A Soft Cloth: To wipe away grease.
Comparing Blade Types
| Blade Type | Used On | How it Attaches | Difficulty |
|---|---|---|---|
| Detachable | AG, BGR, SMC Models | Snaps onto a hinge | Very Easy |
| Adjustable | Master, Fade, Envy | Held by two screws | Medium |
 A clean infographic showing a flat-head screwdriver, a bottle of Andis oil, and a small cleaning brush on a white background.
How to Properly Install Clipper Blades on Andis: Step-by-Step Instructions
There are two ways to do this. The way you choose depends on your clipper model. Follow the section that matches your tool.
Method 1: Installing Detachable Blades
These are the easiest to handle. They use a “hinge” system. Most professional animal groomers and barbers use these.
Step 1: Open the Hinge
Locate the metal flap on the back of the clipper. This is the hinge assembly. If it is closed, use your thumb to pry it up.
Step 2: Slide the Blade On
Hold the blade with the teeth facing away from you. Slide the metal slot of the blade onto the hinge. It should feel snug but not forced.
Step 3: Power On the Clipper
Turn the clipper ON before you snap the blade down. This is a secret pro trick. It helps the “drive lever” line up with the blade.
Pro Tip: Never snap a detachable blade down while the clipper is OFF. It can bend the small plastic parts inside.
Step 4: Snap it Shut
While the motor is humming, press the blade down toward the clipper body. You will hear a loud click. This means it is locked.
 A close-up photo of a thumb pressing a #10 Andis blade onto a metal hinge while the clipper is running.
Method 2: Installing Adjustable Blades
These blades stay on the clipper all the time. You only take them off to clean or replace them. This process takes a bit more focus.
Step 1: Remove the Old Screws
Use your screwdriver to turn the two screws to the left. Set the screws in a bowl so they don’t roll away. Lift the old blades off.
Step 2: Clean the “Yoke”
Under the blades, you will see a plastic piece that moves back and forth. This is the yoke. Brush out all the tiny hairs trapped here.
Step 3: Place the Small Blade
The “Cutter” is the smaller blade. Place it on the plastic yoke. It should sit flat and move freely side-to-side.
Step 4: Place the Large Blade
Put the big “Comb” blade over the small one. Line up the two screw holes. Start the screws with your fingers first.
 A photorealistic top-down view of an Andis Master clipper with the blades removed, showing the internal drive bracket and screw holes.
Step 5: Align the Teeth
This is the most important part. Do not tighten the screws all the way yet. Look at the teeth from the side.
- The small blade teeth must be slightly below the big blade teeth.
- If the small teeth stick out further, you will cut the skin.
- Keep the blades straight and parallel.
Step 6: Tighten Down
Once the blades are straight, tighten the screws firmly. Check the alignment one last time after tightening.
Expert Tips & Troubleshooting
Even pros make mistakes. If your clipper sounds like a lawnmower, something is wrong. Here is how to fix common issues.
The “Loud Rattle” Fix
If the clipper is very loud, the blade might not be snapped all the way. For detachable blades, pop it off and try again. For adjustable blades, check if the screws are loose.
Dealing with “Dead” Blades
Sometimes you install a new blade and it still won’t cut. This usually means the tension is wrong.
 A diagram showing the gap between the top blade and bottom blade, labeled Correct and Incorrect.
Proper Oiling Habits
You must oil your blades every single time you use them. This prevents heat and friction.
- Turn the clipper on.
- Put three drops of oil across the teeth.
- Put one drop on each back rail.
- Let it run for ten seconds.
- Wipe off the extra oil with a cloth.
Critical Warning: Never use WD-40 or vegetable oil. Only use clear clipper oil. Other oils will gum up the motor and ruin your tool.
 A person holding a clipper sideways, showing exactly where to place the 5 drops of oil.
Frequently Asked Questions
Why won’t my blade snap into place?
Check the hinge. Hair might be stuck inside the metal fold. Use a brush or a toothpick to clear it out. Also, make sure the hinge is flipped “up” before you try to slide the blade on.
How often should I replace my Andis blades?
If you are just cutting your own hair, blades can last 6 months to a year. If they start pulling hair instead of cutting it, they are dull. You can have them sharpened or buy new ones.
Can I put Andis blades on Oster clippers?
Yes! Most “A5” style detachable blades are universal. Andis, Oster, and Wahl blades often fit on the same hinge systems.
My blades are getting very hot. What do I do?
Heat comes from friction. This means you need more oil. You can also use a “Coolant Spray.” Stop cutting and spray the blades. Wait one minute, then wipe and continue.
How do I prevent rust on my blades?
Rust is the enemy of steel. Never leave your blades wet. If you use a liquid cleaner, dry the blades completely afterward. Always finish with a light coat of oil to seal out moisture.
 A close-up of a rusted blade versus a shiny, well-oiled blade to show the importance of maintenance.
Conclusion
You now have the skills to maintain your equipment. Knowing how to properly install clipper blades andis professionals use saves you time and money. You won’t have to pay a repair shop for a two-minute job.
Remember to keep your work area clean. Always turn the clipper on before snapping detachable blades. Most importantly, never skip the oil. A well-installed blade makes hair cutting easy and fun.
Keep practicing. Your hands will get faster at this. Soon, you will be able to swap blades in seconds without even thinking about it.

I’m Patricia D. Johnson, an affiliate marketer and blogger specializing in trimmers and grooming tools. I create honest reviews, buying guides, and practical tips to help readers choose the right trimmer for their needs. With a focus on quality, performance, and value, I simplify the decision-making process so consumers can make confident purchases.