How Do You Feed The Line On A Worx Trimmer
Learning how do you feed the line on a worx trimmer saves time. A misfed line can stall work mid project fast. That small delay costs both time and smooth progress. Once learned well, the task becomes second nature.
The full process follows a few simple steps. You turn the trimmer off and remove its battery. You press the head tabs and lift the cover. You wind fresh line evenly around the clean spool. You refit the cover and test the line gently.
Safety comes first before any line work begins. Even winding keeps line from tangling during trimming. Your user manual gives model specific guidance and checks.
Quick answer: Turn the trimmer off and remove its battery. Press both head tabs and lift the cover away. Clear old line and wind fresh line evenly. Use 10 to 15 feet for each fresh winding. Secure the tail and snap the cover shut.
- Safety Steps Before You Start
- How Do You Feed the Line on a Worx Trimmer: Winding Steps
- Reassembling the Trimmer and Testing the Line
- Troubleshooting Issues When Feeding the Line on a Worx Trimmer
- Tips to Maximize Efficiency With a Worx Trimmer
- Frequently Asked Questions
- Maintenance and Jamming Questions
- Conclusion: How Do You Feed the Line on a Worx Trimmer
Safety Steps Before You Start
Turn the trimmer fully off before you begin work. Remove the battery to prevent any accidental starts. Accidental starts can cause real injury very quickly. Always wear protective gloves and sturdy eye protection. Safety gear shields you from debris and sharp edges.
Clear your whole workspace of obstacles before starting. Trip hazards can cause serious accidents around tools. Pick up loose items and keep your area organized. Keep a basic first aid kit nearby always. Basic supplies help you treat minor injuries quickly.
How Do You Feed the Line on a Worx Trimmer: Winding Steps
Find the tabs on either side of the head. These small tabs hold the cover firmly in place. Press both tabs together to release the cover. Lift the cover carefully and set it aside safely.
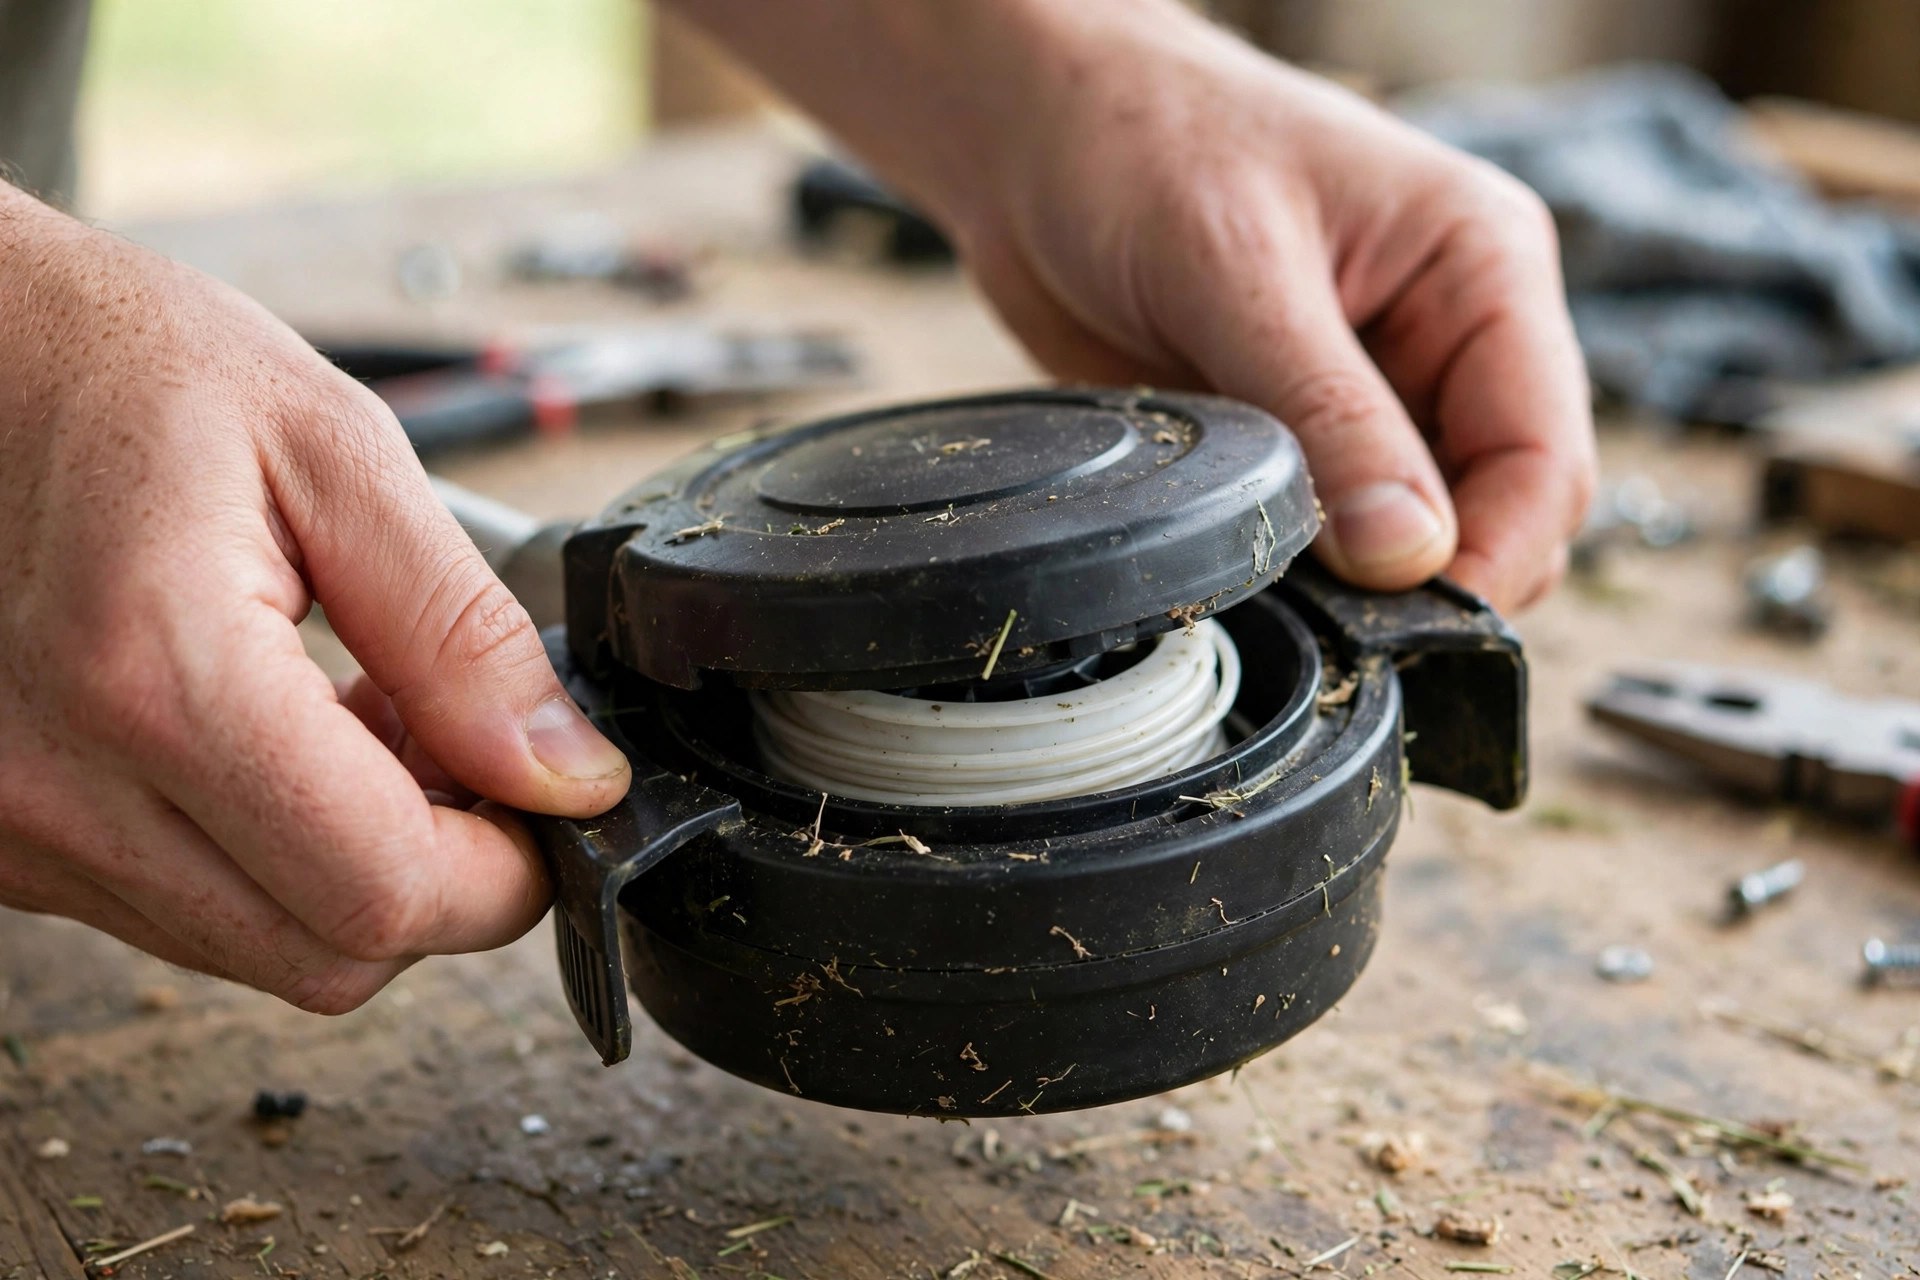
Pull out every leftover piece of old line. Leave no fragments behind inside the clean spool. Brush the spool clean with a soft brush. Check the spool closely for cracks or damage. Replace a damaged spool before you wind line.
| Step | What to Do |
|---|---|
| 1. Power off | Turn off the trimmer and remove the battery |
| 2. Open head | Press the tabs and remove the cover |
| 3. Clear spool | Take out any remaining old line |
| 4. Wind line | Wind new line evenly and securely |
| 5. Reassemble | Refit the cover and reattach the battery |
Cut a fresh length of line before winding begins. Generally, 10 to 15 feet should prove sufficient. Insert one end into the hole in the spool. Follow how to wind a string trimmer spool steps for neat winding results. Wind in the direction marked on the spool itself.
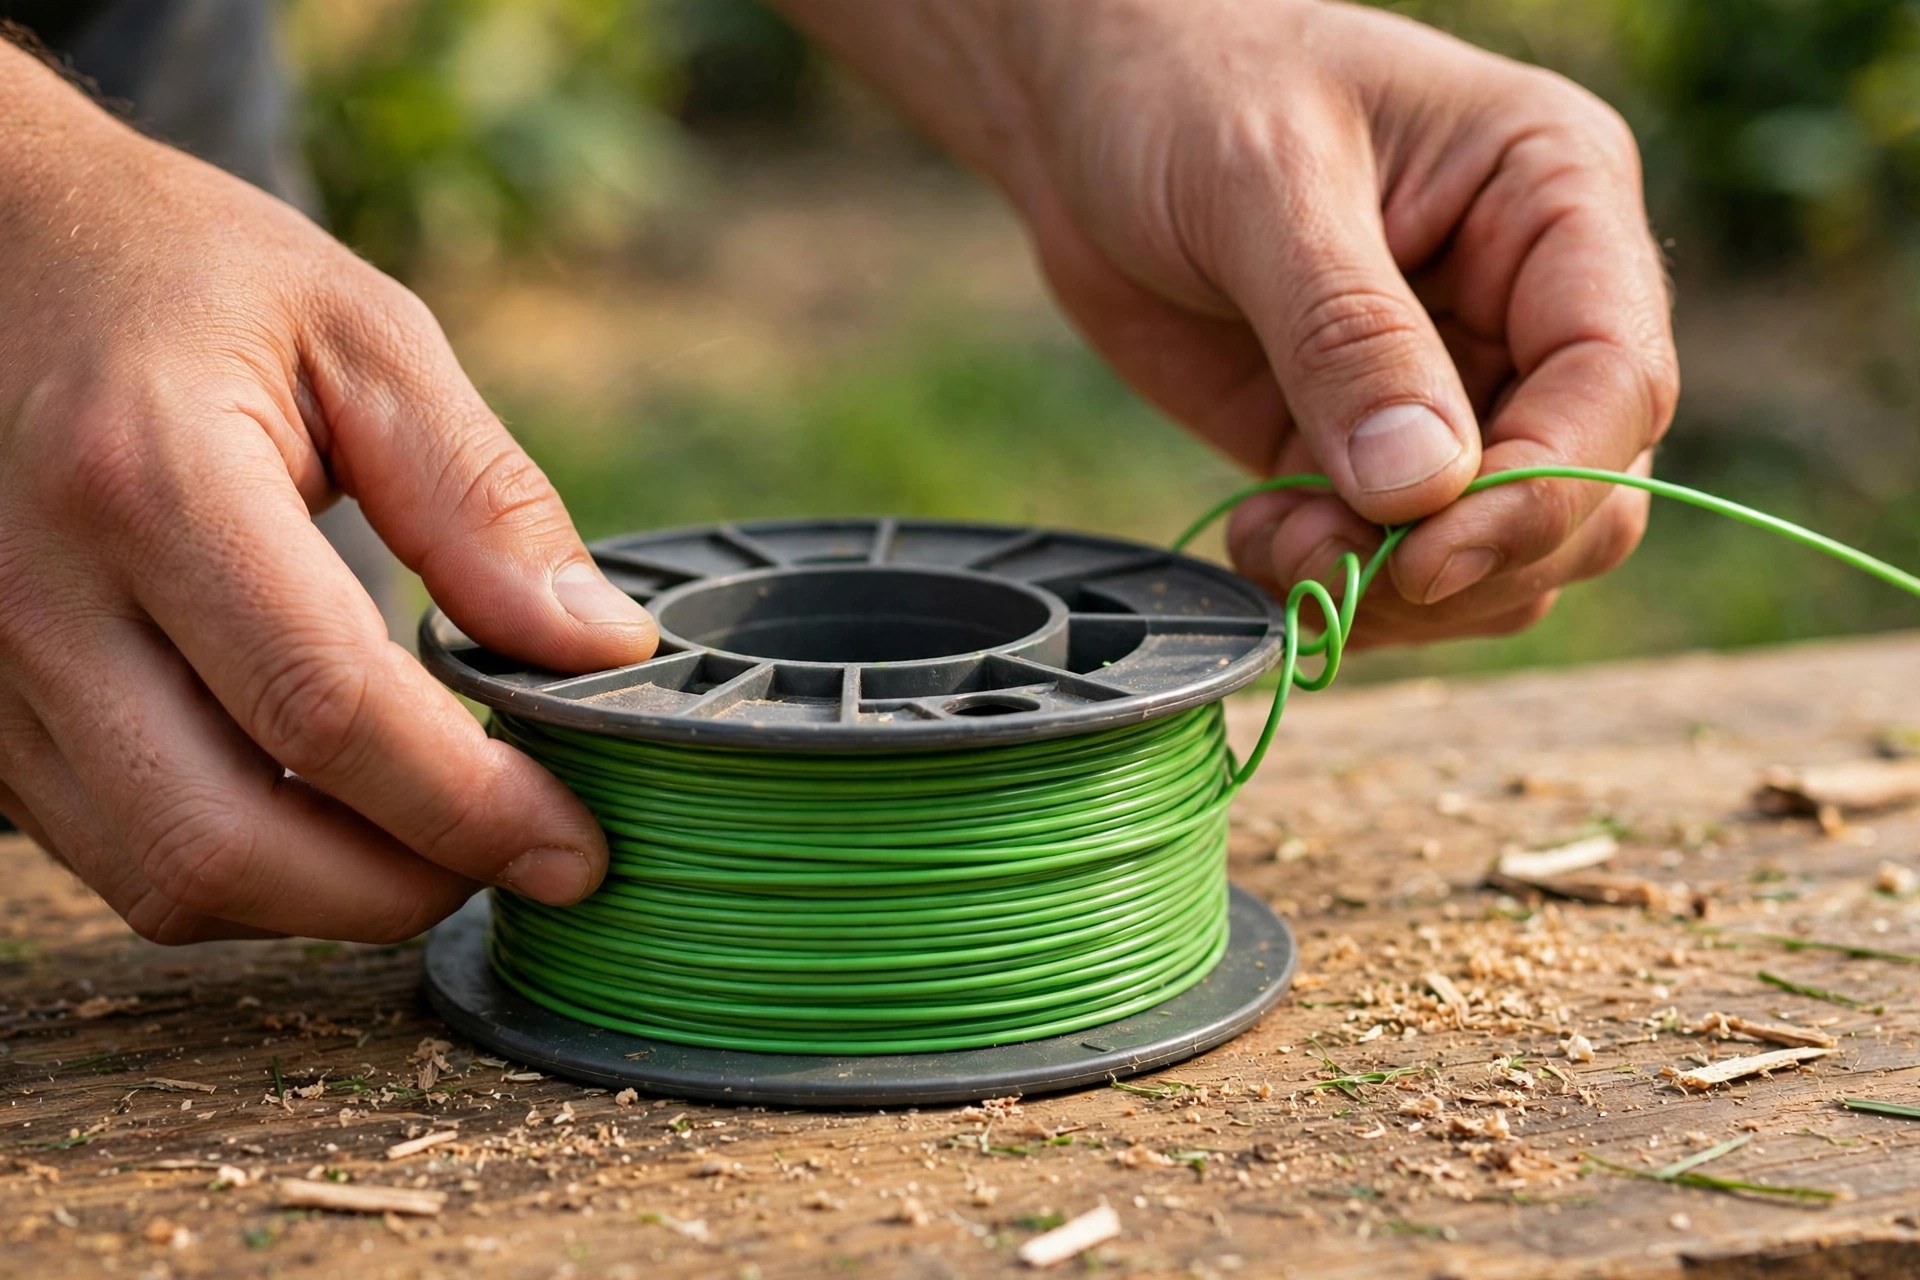
Keep steady tension on the line while winding. Steady tension helps prevent overlaps and loose tangles. Spread the line evenly around the whole spool. Secure the line end inside the spool notch provided. Keep at least 6 inches extending from the spool.
Dual line heads need the same process repeated twice. Wind both lines in exactly the same direction. Matching directions keep the head balanced during operation. Pull each end gently and check smooth unwinding. Lock every line firmly before you reassemble the head.
Reassembling the Trimmer and Testing the Line
Place the spool back into the trimmer head carefully. Keep both lines secured inside their spool notches. Secured lines cannot unwind during the reassembly process. Align the spool carefully with the head center.
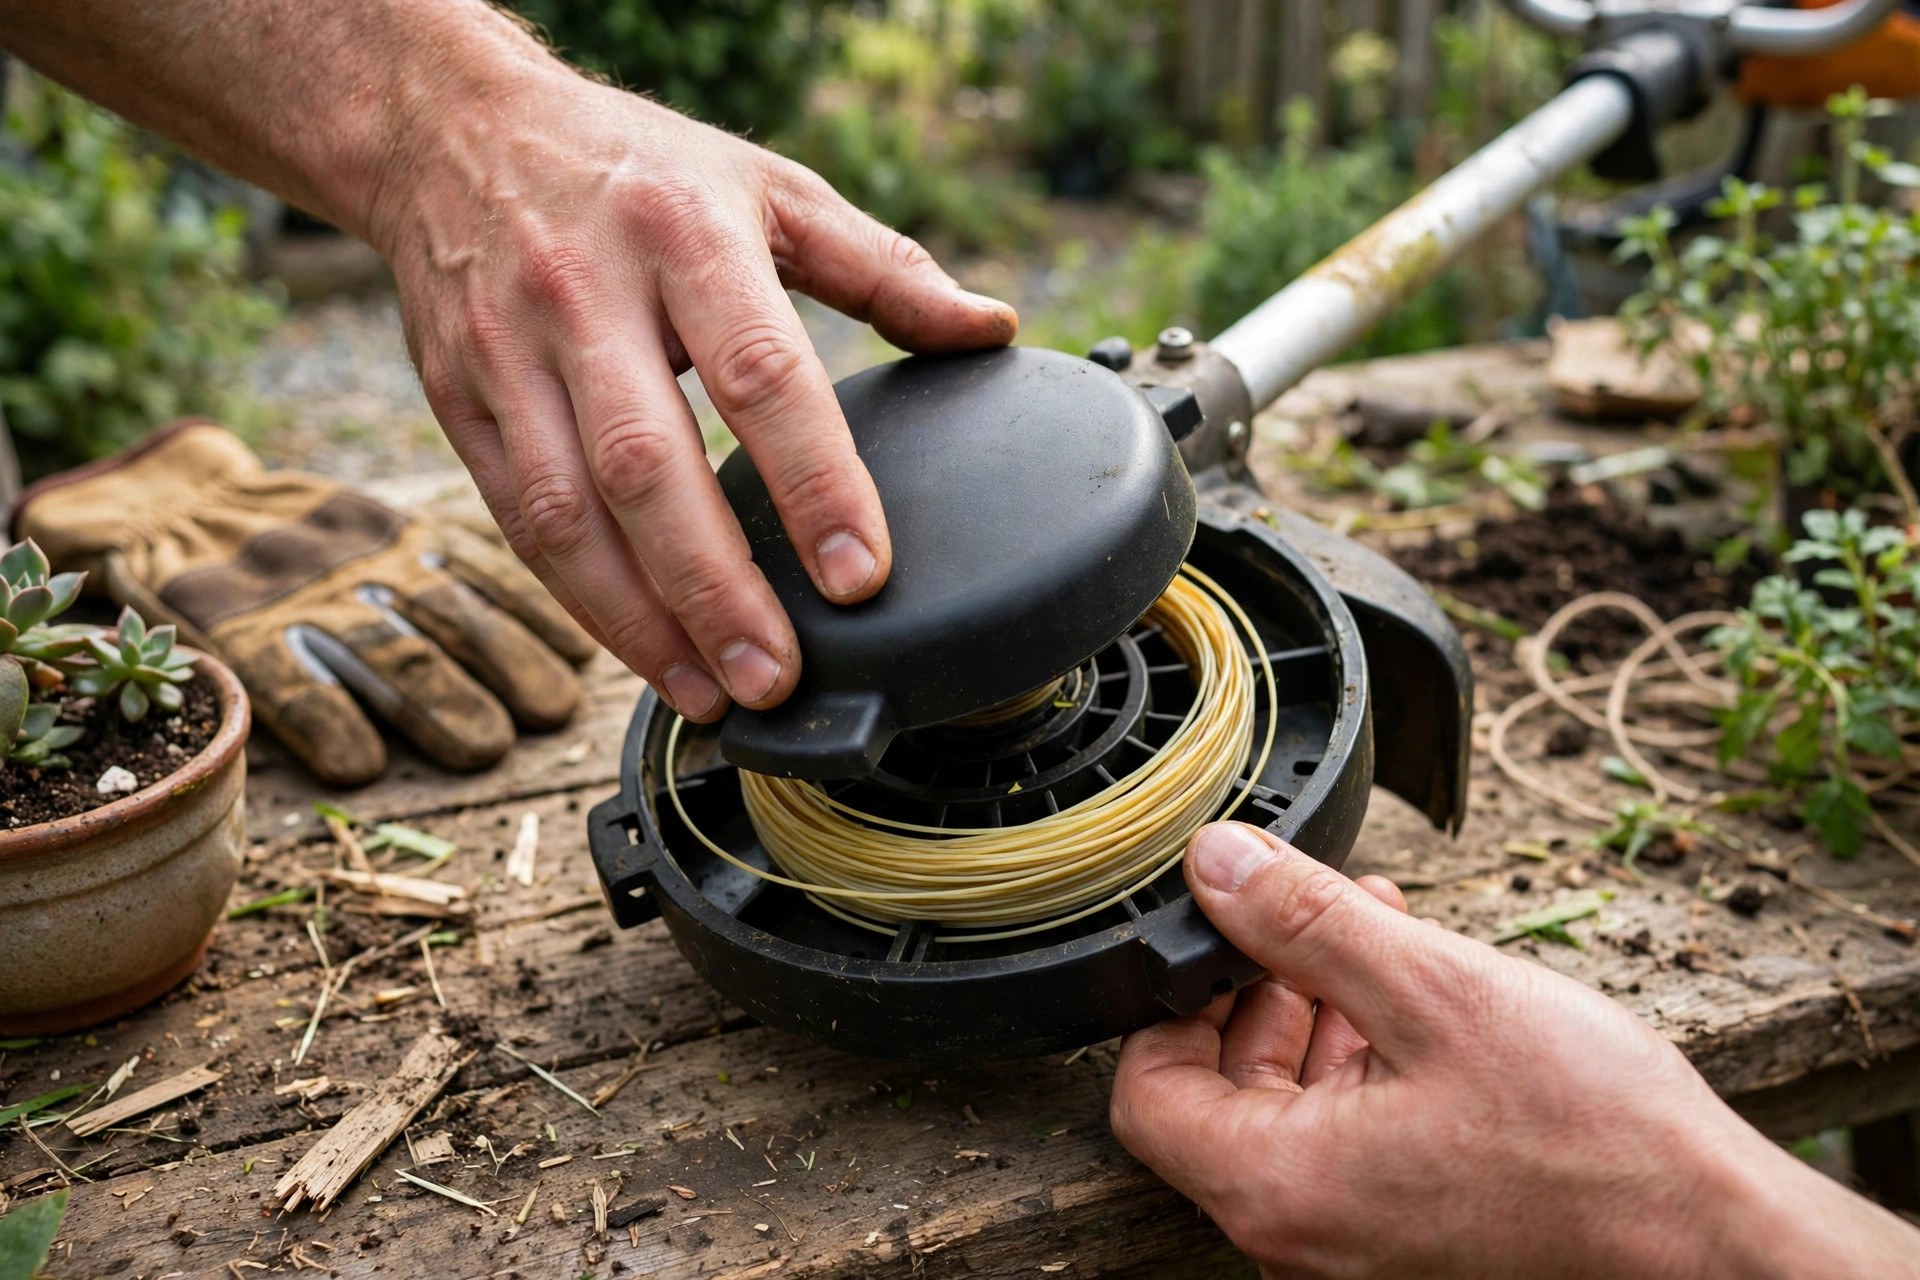
Position the cover squarely over the trimmer head. Press down firmly until you hear a clear click. That click confirms the cover sits securely in place. Check both sides and confirm both tabs engaged fully. Pull both lines gently and confirm smooth unwinding.
Reattach the battery once everything sits securely connected. Turn the trimmer on briefly and test its operation. Follow how to store a string trimmer guidance after every session. Store the trimmer somewhere dry and safe always. Clean and inspect your trimmer after every single use.
Troubleshooting Issues When Feeding the Line on a Worx Trimmer
Frequent line breaks often start with winding tension problems. Overly tight winding puts extra tension on the line. Keep the winding tight but never excessively tight overall. Adjust the winding and retest until balance feels right.
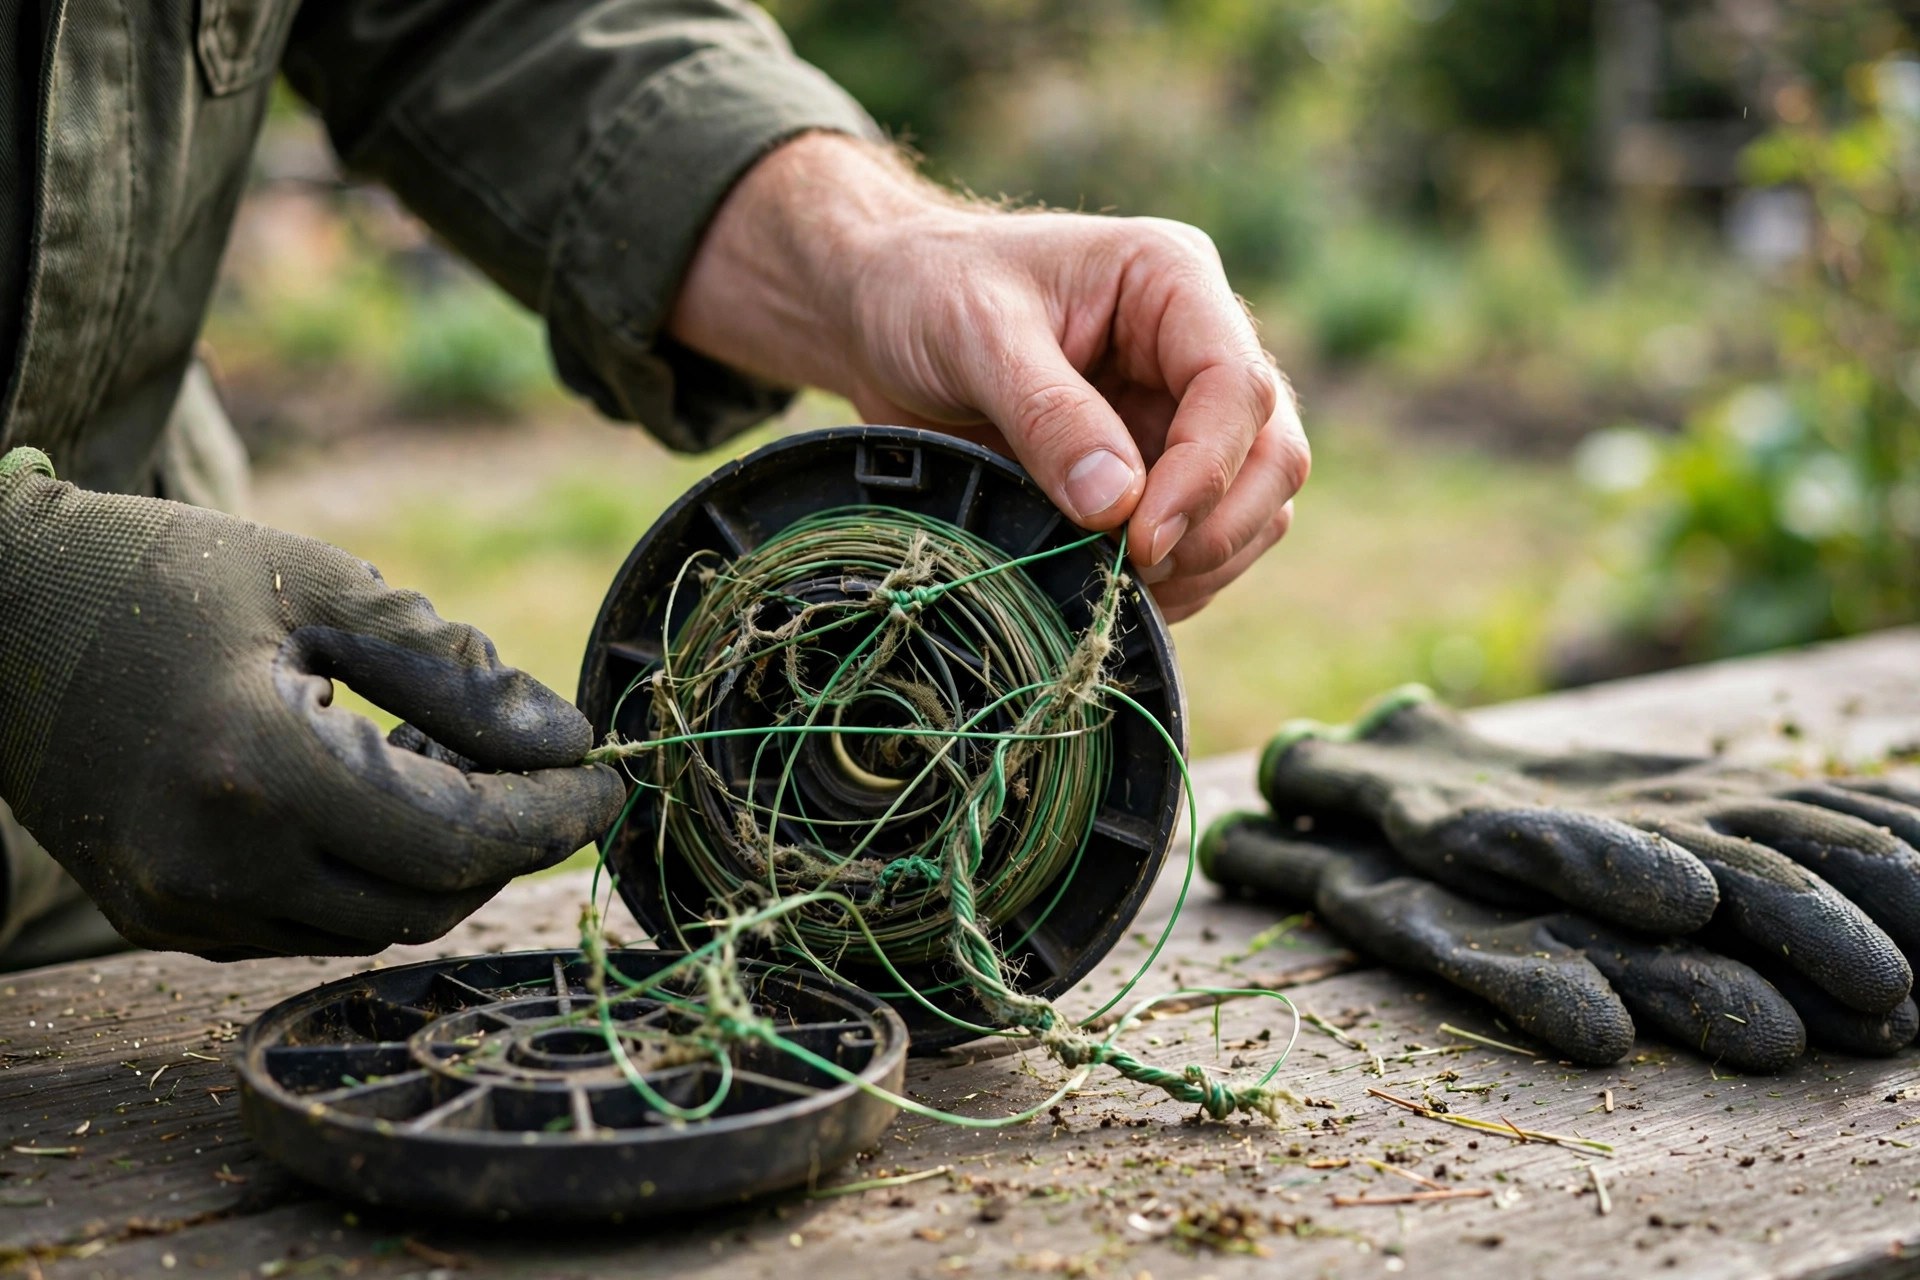
Line that refuses to feed often sits tangled inside. Open the head and inspect the spool winding closely. Lines must sit evenly without crossing over one another. Dirt and debris can trap line inside the spool. Clean the spool and head thoroughly to free movement.
| Problem | Likely Cause | First Fix |
|---|---|---|
| Line keeps breaking | Winding sits too tight | Rewind with balanced tension |
| Line will not feed | Lines tangled or overlapping | Open head and rewind evenly |
| Line sticks in spool | Dirt or debris inside | Clean spool and head fully |
| Line wears down fast | Settings high or wrong thickness | Check settings and manual guidance |
Fast wear can also follow overly high trimmer settings. Use the correct line thickness for your exact model. Keep spare lines handy for quick replacements during work. Check the Worx site for model help pages. Read how long does trimmer line last for clear wear signs.
Tips to Maximize Efficiency With a Worx Trimmer
Strong performance always starts with simple regular maintenance habits. Clean the trimmer head and clear away debris often. Clean parts keep operation smooth and prevent most issues. Inspect the spool briefly after every single use.
Match your cutting technique to each yard area carefully. Hold the trimmer at a slight angle along edges precisely. Move steadily along borders without rushing your pace. Use wide sweeping motions across open yard areas.

Choose quality lines that fit your Worx model correctly. Weak lines break easily and cause feeding problems often. Compare choices inside how to choose trimmer line before buying. Avoid peak heat hours to protect the trimmer motor. Recharge cordless batteries before they run out completely.
Rotate trimming with other garden tasks during long sessions. Rotating tasks reduces strain on any single tool greatly. The EPA lawn and garden page shares safer outdoor care habits. Keep helpful guides nearby for quick mid task fixes.
Frequently Asked Questions
These answers cover replacement timing and line choice questions. They also cover maintenance routines and jamming causes clearly. Every answer follows the live manual guidance closely throughout.
How often should you replace the line on a Worx trimmer?
Replacement timing depends on use frequency and intensity levels. Regular home use usually needs fresh line monthly overall. Heavy duty work needs replacement much more often instead.
Worn or damaged line cuts trimming efficiency very quickly. Inspect the line closely before every single use day. Unusual noises during trimming can also signal replacement time. See how to replace trimmer line steps for full replacement help.
Can I use any type of trimmer line with my Worx trimmer?
Line type choice greatly shapes performance and durability overall. Worx recommends specific diameters and types for its models. Wrong lines can trim poorly and damage your tool.
Check your user manual whenever you feel unsure about line. Manufacturer guidance lists compatible lines for every model clearly. Specified lines support both safety and trimming efficacy well. Find buying guidance inside where can i buy worx trimmer line today.
Maintenance and Jamming Questions
Two more answers cover maintenance and jamming problems directly. Both answers follow the same live guidance closely throughout. Simple habits prevent most feeding trouble before it starts.
What maintenance does a Worx trimmer require?
Regular maintenance greatly prolongs your Worx trimmer service life. Wipe away dirt and check line wear very regularly. Inspect spool condition and confirm parts sit securely attached.
Watch battery health closely on every cordless model too. Charge the battery again after every trimming session ends. Steady care keeps performance consistent over many seasons together. Read does string trimmer line go bad before reusing older stored line.
Why does my Worx trimmer keep jamming?
Most jams start with improper winding inside the head. Dirty components add friction and block smooth line movement. Rewind the line evenly and clean the head thoroughly. Check the manual when jams keep returning after cleaning.
Conclusion: How Do You Feed the Line on a Worx Trimmer
Good feeding technique and regular upkeep work together daily. Correct feeding and smart troubleshooting keep trimming running smoothly. Mastered steps extend equipment life and improve garden efficiency. Small checks before work prevent bigger problems later on.
Now you know how do you feed the line on a worx trimmer. Follow manufacturer guidelines and use recommended products every time. Regular checks save time and prevent most potential issues. Your Worx trimmer stays ready for years of service. Careful winding rewards you with clean edges weekly.

I’m Patricia D. Johnson, an affiliate marketer and blogger specializing in trimmers and grooming tools. I create honest reviews, buying guides, and practical tips to help readers choose the right trimmer for their needs. With a focus on quality, performance, and value, I simplify the decision-making process so consumers can make confident purchases.