
How to Use a Bikini Trimmer
A bikini trimmer grooms soft skin zones with care. This guide shows how to use a bikini trimmer well. Good form keeps skin smooth and calm after. Good prep counts as much as the trim work. Prep first. Trim with care.
New trimmers now come waterproof, with grips shaped for the hand. Guards you can set fix how much hair stays. Soft strokes move with the way the hair grows. Plain care then calms the fresh-cut skin. Guards set length. Strokes stay soft.
Plain steps cover prep, length and form below. Tool care, slip-ups and gains come next. Pick tips help you choose the right model. Short answers close the guide at the end. Steps first. Answers last.
Quick answer: Start with clean, completely dry skin every time. Fit a longer guard before trimming anything shorter. Hold the trimmer at a slight angle gently. Trim slowly in the direction of hair growth. Moisturize the skin once you finish trimming fully.
- How to Use a Bikini Trimmer: Quick Steps
- Step 1: Prepare the Skin First
- Step 2: Choose the Correct Trim Length
- Step 3: Trimming Techniques That Protect Skin
- Step 4: Clean and Store the Trimmer
- Step 5: Soothe the Skin Afterwards
- Common Mistakes to Avoid
- Bikini Trimmer Versus Traditional Razor
- How to Choose the Right Bikini Trimmer
- Frequently Asked Questions
- Conclusion: How to Use a Bikini Trimmer
How to Use a Bikini Trimmer: Quick Steps
Five quick steps cover the whole trim routine. Work through them in the order shown here. Later parts explain each stage in full. Our ladies trimmer guide covers wider grooming routines too. Five steps, in order. Each stage in full.
| Step | What to Do |
|---|---|
| 1. Prepare the skin | Cleanse, exfoliate gently and dry fully |
| 2. Choose the length | Start with the longest guard fitted |
| 3. Trim with the growth | Slight angle, gentle steady strokes |
| 4. Care for the trimmer | Brush clean, oil and store dry |
| 5. Soothe the skin | Cool rinse, then gentle moisturizer |

Step 1: Prepare the Skin First
Prep shields soft skin from needless redness later. Clean the zone well before you start to trim. A good clean lifts off dirt, oils and germs. Rub soft and light to lift dead skin cells. Clear skin helps the trimmer glide with ease. Clean skin first. Clear skin glides well.
Pat the skin dry in full with a towel. Dry skin stops tugs and pulls while you trim. A light dust of talcum powder helps more. Baby powder works as a plain swap too. Dry skin stops tugs. Powder helps too.
Tender skin may gain from pre-trim oil instead. The oil forms a shield on skin before you trim. Let the oil soak in full before you start. A warm shower first softens hair and roots. Never rush this stage before a trim. Oil shields skin. Warm water softens hair.
Please note: This guide gives two different water directions overall. Its steps demand clean, completely dry skin first. Its benefits praise waterproof models for shower use. Follow the water rating on your own model. Trim dry unless the maker allows wet use.
Step 2: Choose the Correct Trim Length
The right length shapes your end look in full. Most trimmers come with a few guard add-ons for control. Guards decide how much hair stays behind. Start with a longer guard when you feel unsure. Start long. Check as you go.
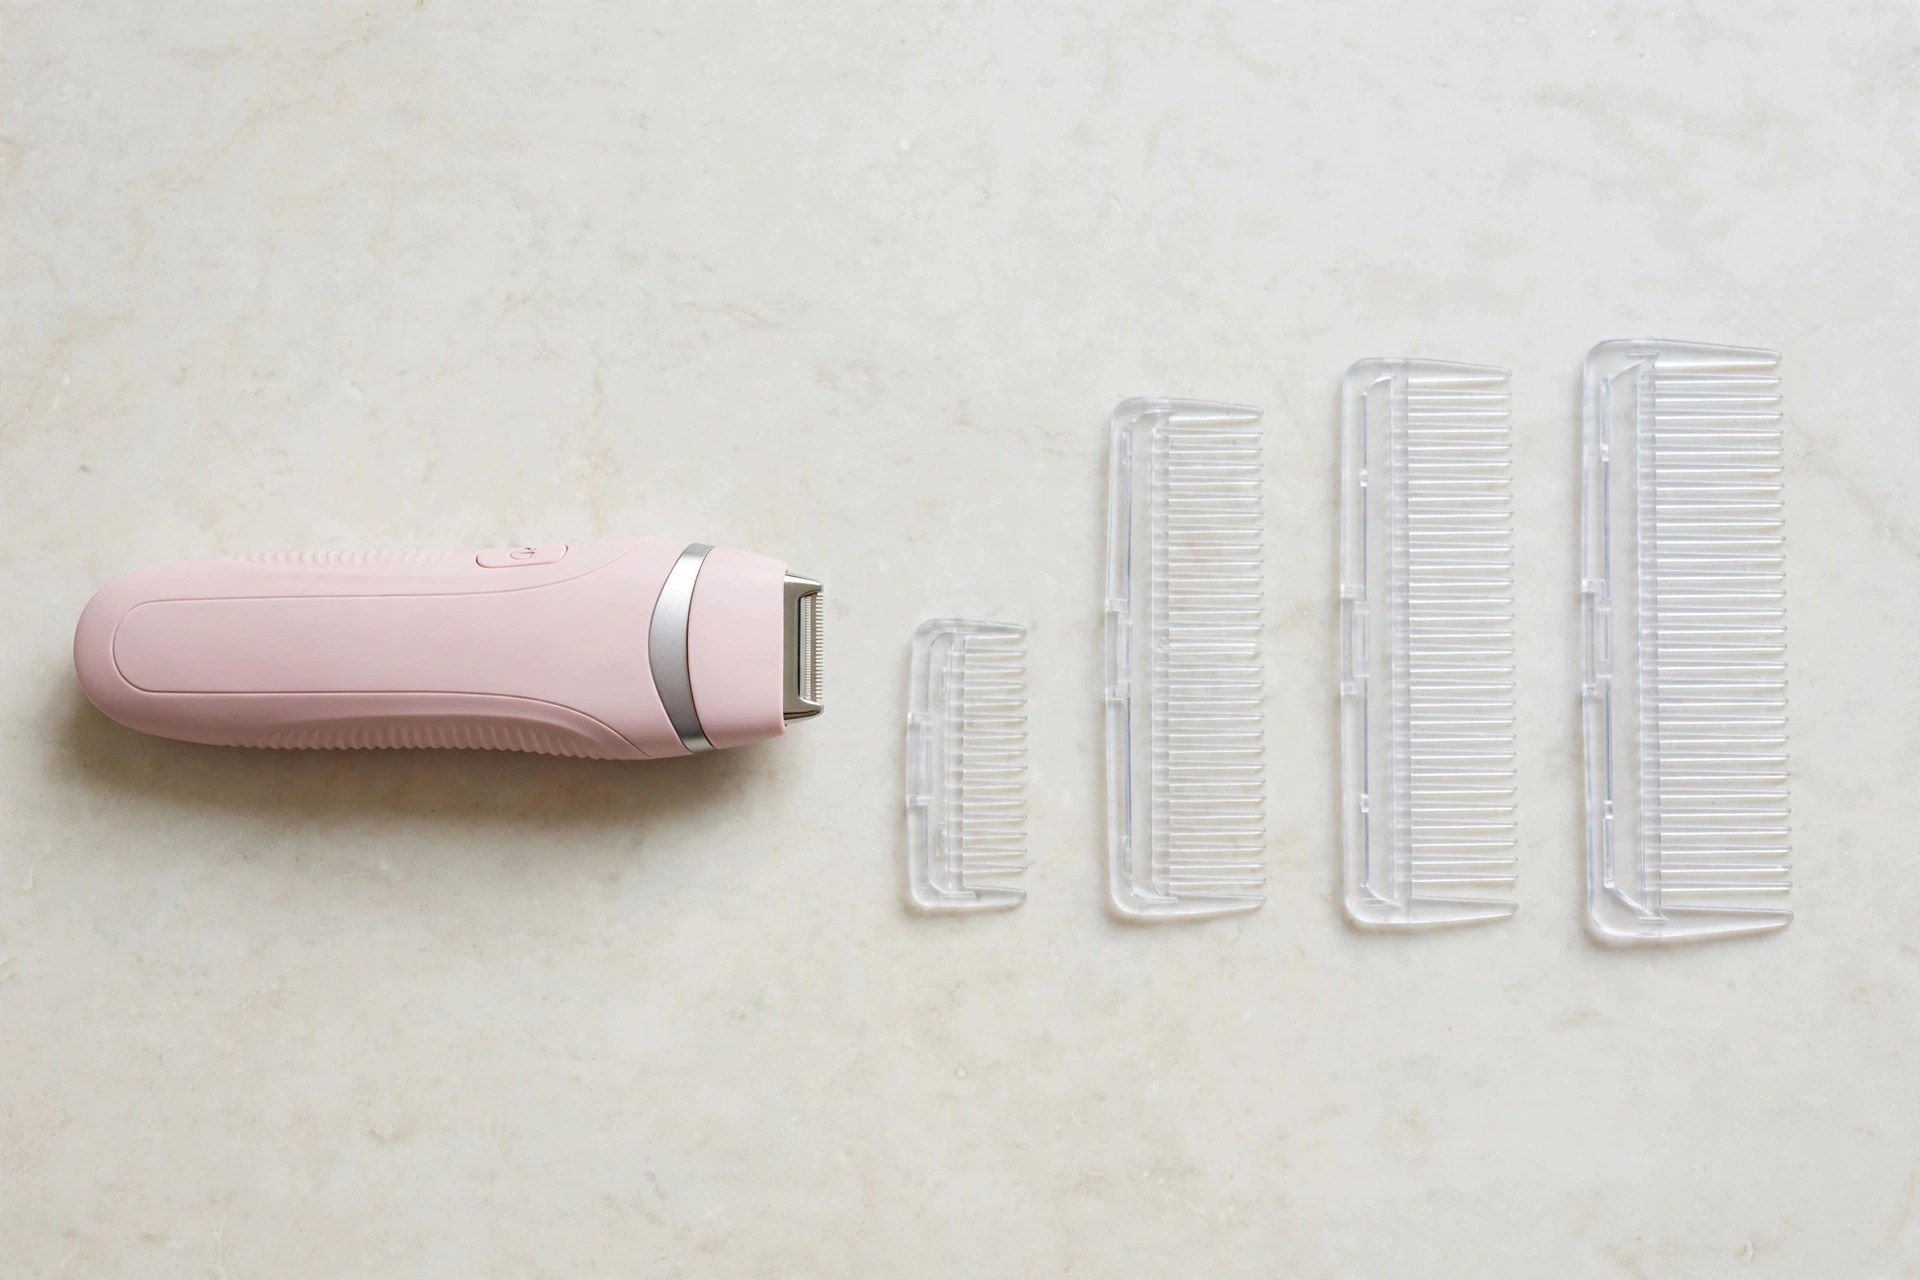
Longer lengths tidy hair and leave more in place. Shorter lengths give a closer, more groomed end. Test a small patch before you trim the rest. The test shows how the length suits you first. Test small first. Length suits you.
Length settings swap lengths with no guard change by hand. This freedom saves time in each trim session. Fit the guard you chose snug before you start. Check the work often and step down slow. Fit the guard snug. Step down slow.
Step 3: Trimming Techniques That Protect Skin
Form decides comfort as much as tools do. Hold the trimmer at a slight tilt at all times. Trim in the way the hair grows, and that way only. A mirror helps you hit hard-to-see spots. Form counts most. A mirror helps.
Keep each move steady, slow and in control while you trim. Quick, jerky moves cause rough results and hurts. Work in small parts for the best control. Stretch the skin soft for a closer trim. Use light touch and never press down hard. Slow moves, light touch. Small parts work best.
Start on a low speed when you are new. Raise the speed later for quicker results. Clean hair build-up from the blades while you work. A few soft passes beat one harsh pass with ease. Our body trimmer guide shows like careful routines. Start slow. Soft passes win.
Step 4: Clean and Store the Trimmer
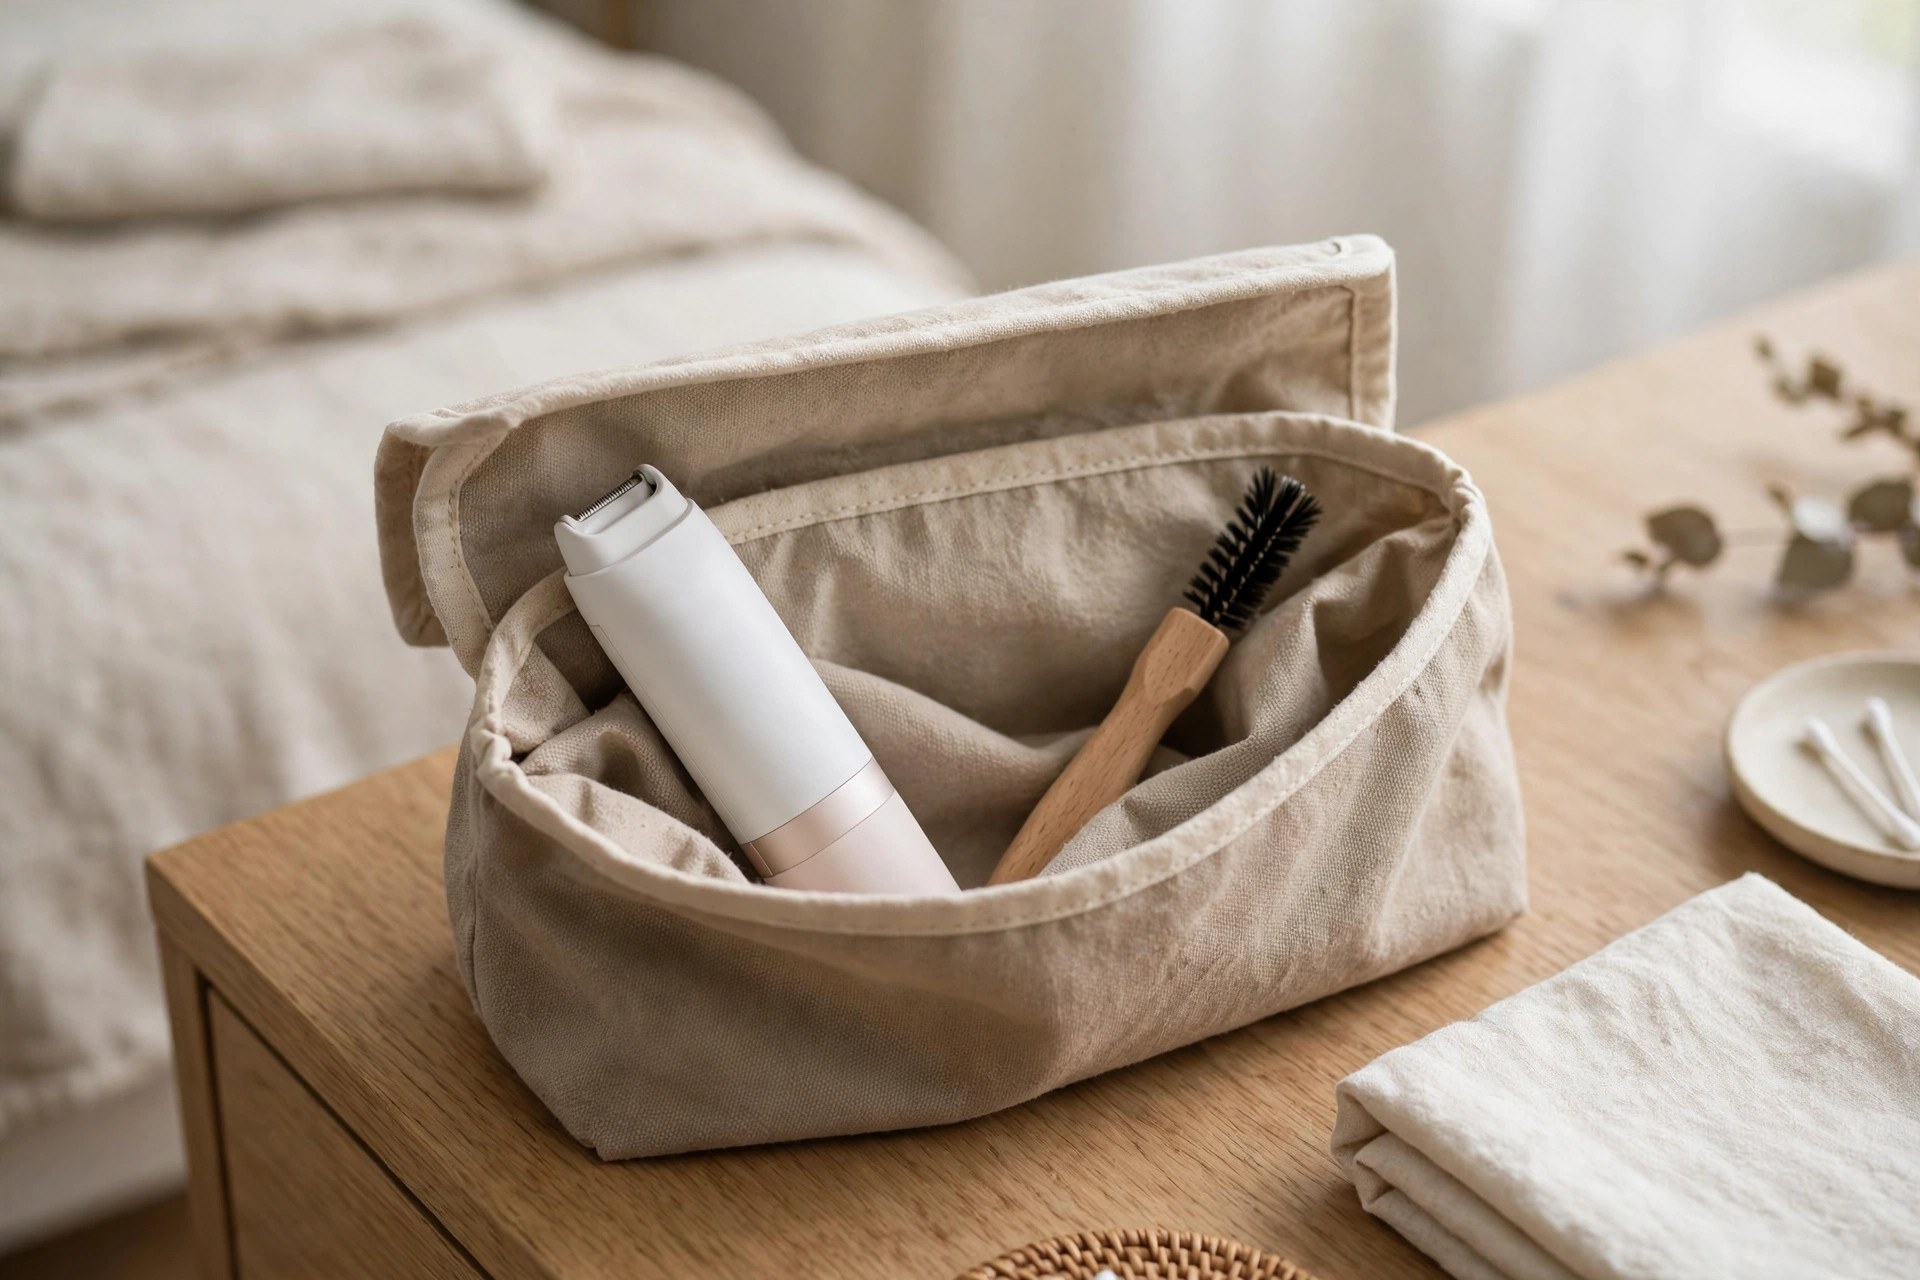
A clean tool after trimming keeps the trimmer working well. Brush hair bits out of the blades first. Waterproof models can rinse under warm water with no risk. Our water cleaning guide explains which models rinse safely. Dry the trimmer in full before you store it. Brush first. Dry in full.

Oil the blades light on a set routine. A few drops of clipper oil most times do the job. Run the trimmer brief to spread the oil even. Our lubricating oil guide covers oiling basics in full. Good oiling stretches blade life by a clear lot. A few drops do. Oil spreads even.
Store the trimmer in a dry, cool place at all times. Its own case guards it from dust and damp. A guard pouch suits much travel far more. Check blades often for dull spots or clear harm. Dry, cool place. Check blades often.
Swap worn blades before they start to pull hair. Do not let charge-up cells drain in full between uses. Keep the cell charged for steady work at all times. Small habits keep the tool ready each time. Swap worn blades. Keep the cell charged.
Step 5: Soothe the Skin Afterwards
Care after a trim keeps skin calm and sound. Rinse the trimmed zone with cool water first. Cool water closes pores and eases redness fast. Pat dry soft with a soft, clean towel. Rubbing can make fresh-cut skin sore with ease. Cool water first. Pat, do not rub.
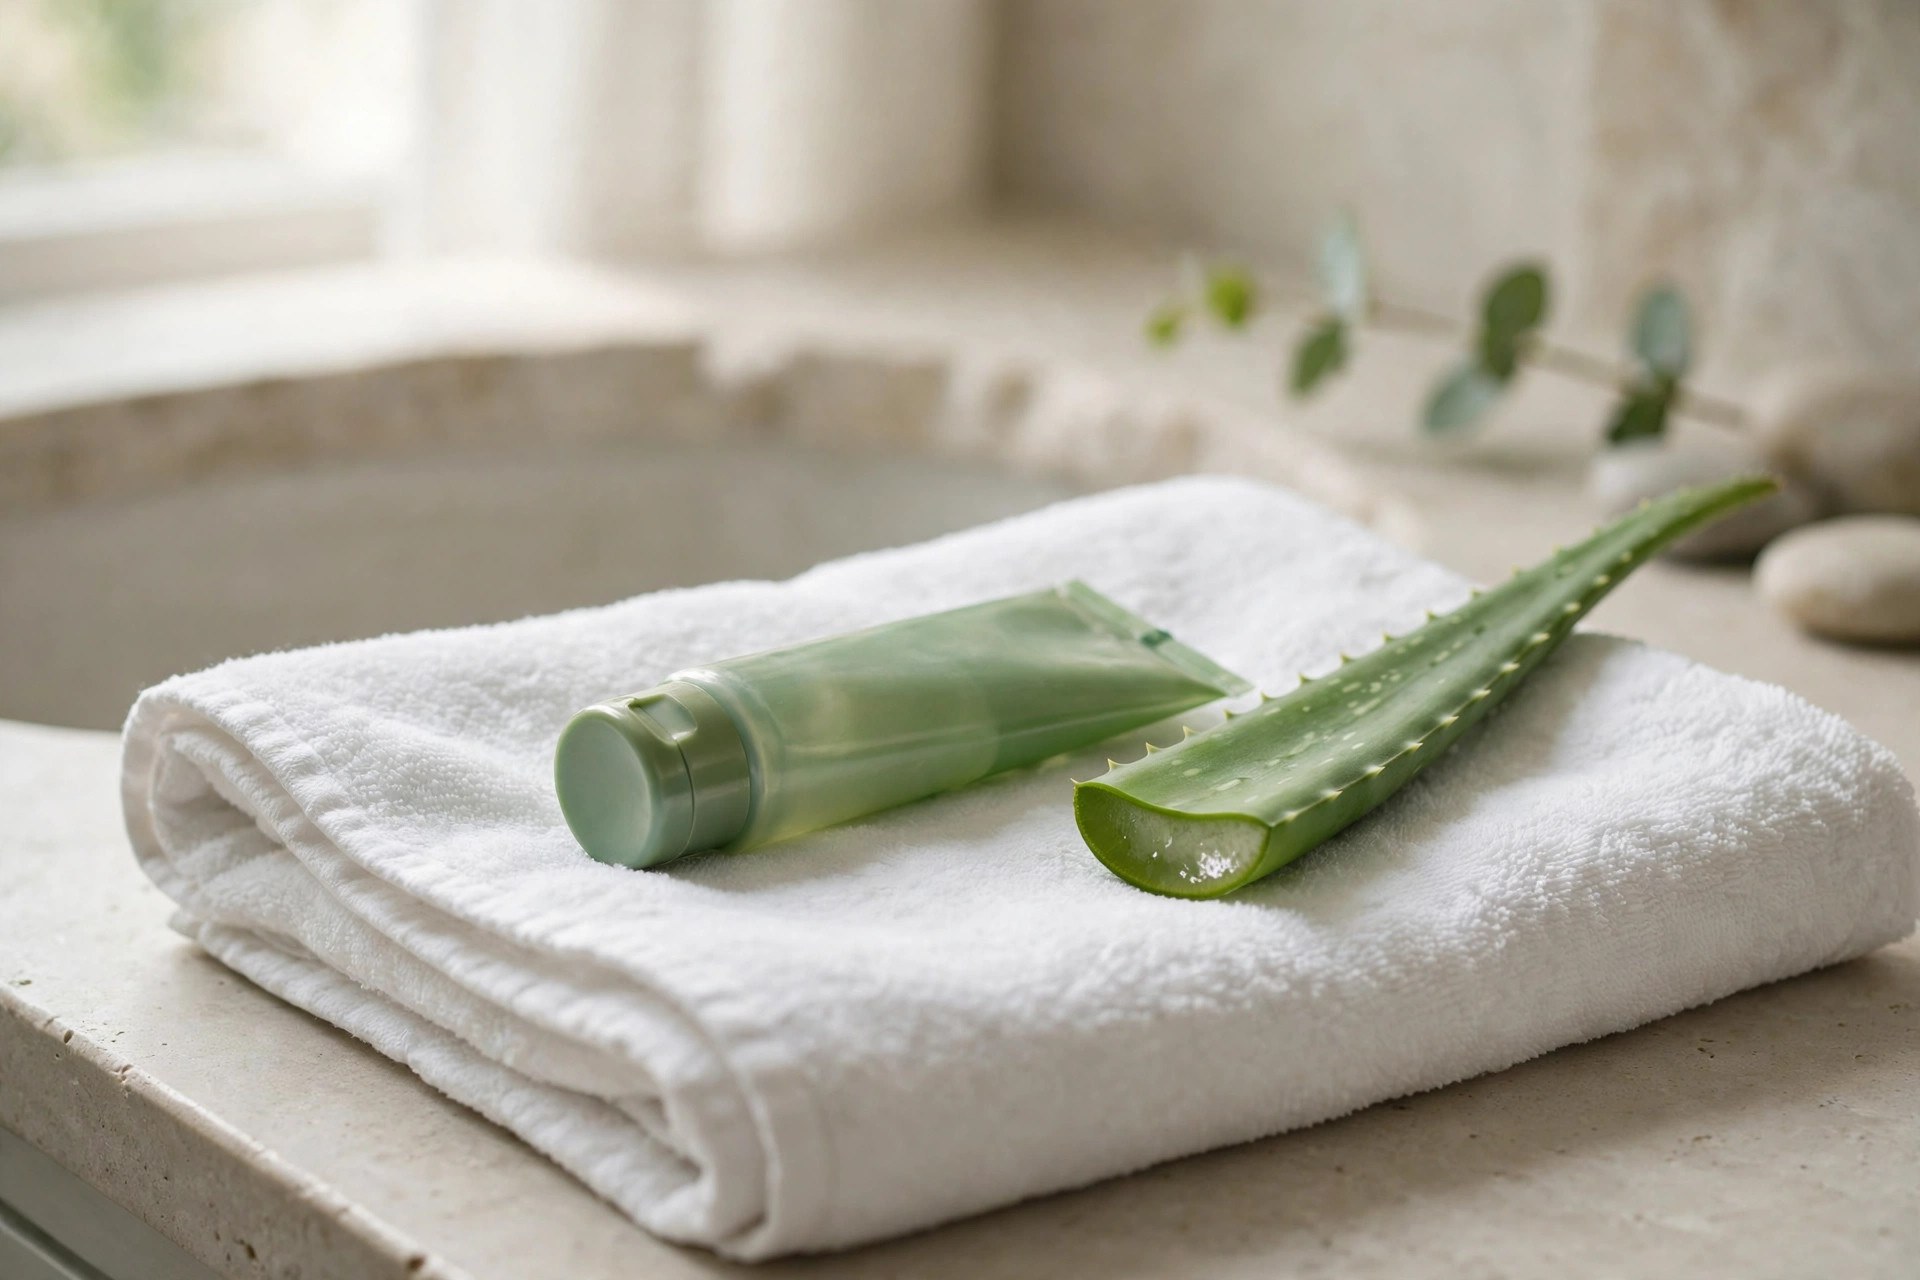
Put a soft cream on to add moisture to the skin. Aloe vera and chamomile calm redness quite well. Scent-free lotions cut extra redness risk still more. Coconut oil works as a plain plant swap. Cream calms skin. Plant oil works too.
Scrub soft a day after you trim, for smooth skin. This clears dead skin that blocks hair roots. Wear loose cotton clothes while skin calms down. A cold pack eases itch and soreness fast. Shun harsh chemicals and perfumes for twenty-four hours. Loose clothes help. Cold eases itch.
Common Mistakes to Avoid
Dull blades cause most poor trim results. They pull hair in place of a clean cut. Check blade sharpness before each session you start. Swap dull blades at once for smooth, snug trims. Dull blades pull. Swap them at once.
Trimming too quick or too harsh invites cuts with ease. Slow, soft moves keep results even and safe. Skipped prep causes clogged pores and ingrowns later. Clean, dry, scrubbed skin trims far better each time. Slow and soft. Prep pays off.
The wrong guard length ruins the style you planned. Cut hair never comes back till it grows back. Skipped aftercare risks redness and even infection at times. Loose storage cuts the working life of the tool. Right length, right style. Care guards skin.
Bikini Trimmer Versus Traditional Razor
Trimmers cut hair with no touch on the skin beneath. That design keeps nicks, cuts and razor burn low. Tender zones gain most from this softer way. Guards you can set give style freedom razors cannot match. No skin touch. Less burn, fewer nicks.
| Point | Bikini Trimmer | Traditional Razor |
|---|---|---|
| Skin contact | Cuts above skin, less irritation | Direct blade contact on skin |
| Length control | Guards set several trim lengths | One close shave result only |
| Upkeep | Clean and oil occasionally | Frequent blade replacements needed |
| Ingrown risk | Longer cut reduces curl-back risk | Close cut raises ingrown risk |
Trimmer blades last far longer than razor blades. Plain cleaning and at times oiling keep them sharp. Longer trimmed hair curls back less into skin. Some models trim other body zones with no risk too. Our precision trimmer guide covers fine detail work. Blades last long. Oil keeps them sharp.
How to Choose the Right Bikini Trimmer
Your pick starts with your own grooming needs list. Decide if waterproof shower use counts for you. Note if set lengths are a must or just a plus. A clear top list guides each buy you make. List your needs. Know your musts.
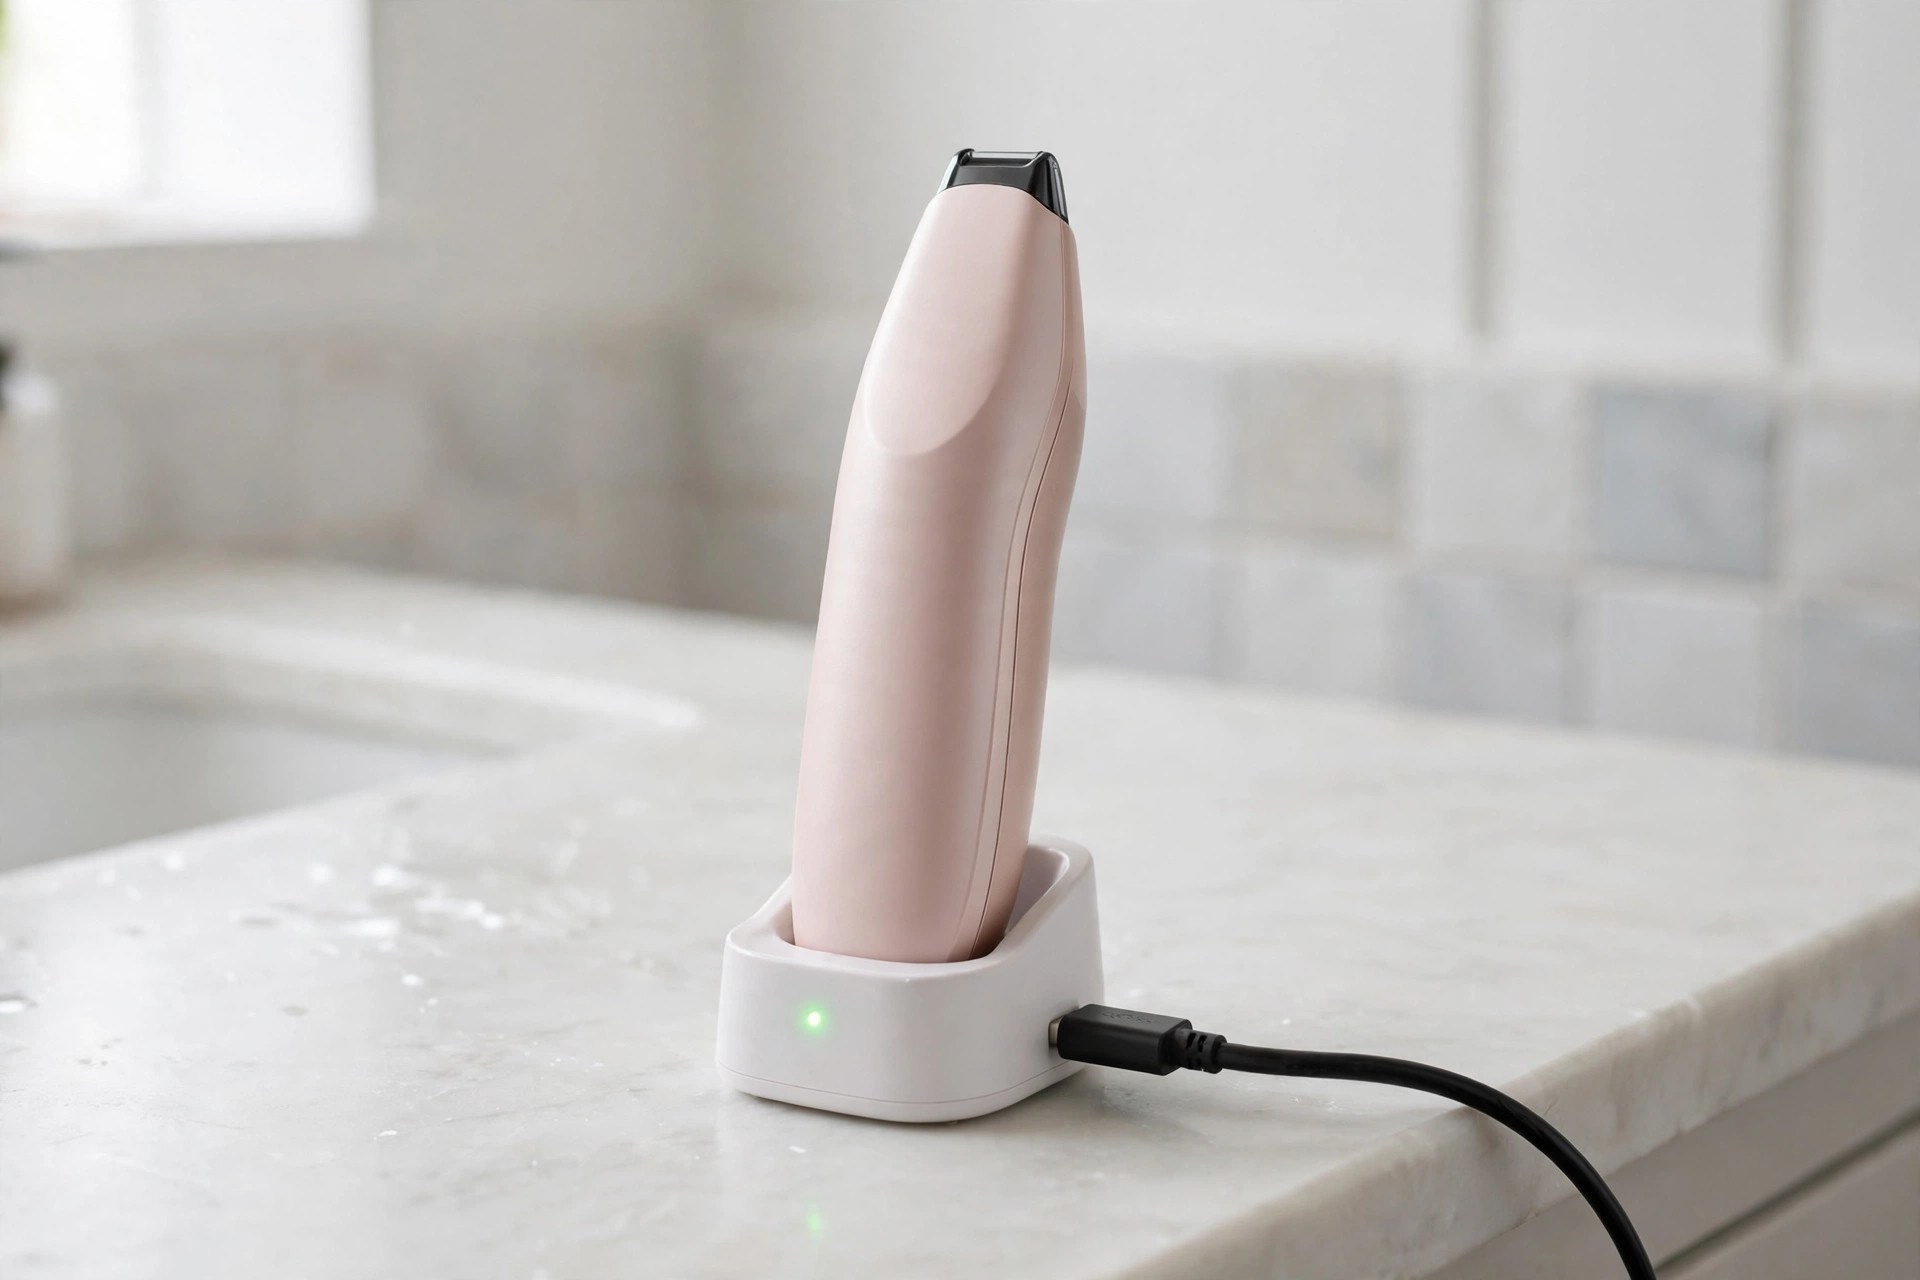
Power splits into plain cells and charge-up models. Charge-up models cost more at first but suit ease. Cell models start cheaper yet need cell swaps quite often. Pick the one that fits your life best. Cells or charge-up. Pick your fit.
Shaped grips sit snug in your hand for longer. Good build stuff makes the trimmer last much longer. Handy extras take in guards, brushes and travel pouches. Weigh features and prices before you set your budget. Our lifespan guide explains long term tool care. Weigh price and parts. Set your budget.
Frequently Asked Questions
These answers repeat this guide’s own points only. They track the same steps set out above. Short answers close the guide at the end. Maker pages like Philips publish trimmer use guidance. Same steps above. Short and clear.
Can a bikini trimmer be used for sensitive skin?
Yes, many models are made for tender skin. Hypoallergenic blades keep redness low at each trim session. Choose safety guards and start with longer lengths. Test a small patch before you trim big zones. Aloe vera after calms any redness that shows. Made for tender skin. Test small first.
How often should I trim my bikini area?
Most people trim each one to two weeks. That pace keeps the zone neat with no redness. Steady sessions stay quicker as regrowth stays small. Space sessions more apart if redness shows often. Your own growth rate sets the best plan. One to two weeks. Your growth sets pace.
Are there any specific post-care products recommended after using a bikini trimmer?
Aloe vera gel soothes and feeds trimmed skin. Scent-free lotions also calm redness and tender skin well. Shun products with alcohol, which stir skin up more. Anti-inflammatory creams help people prone to bumps. Soft scrubbing a day later guards against ingrowns. Aloe calms skin. Shun alcohol in creams.
What features should I look for in a bikini trimmer for best results?
Look for sharp, hypoallergenic blades first of all. Guard lengths you can set tune the trim to your taste. Waterproof models make cleanup after shower use much more plain. Cord-free use dodges tangles and tight cord limits. These features make sessions smoother and safer. Sharp blades first. Guards tune length.
Conclusion: How to Use a Bikini Trimmer
So, how to use a bikini trimmer well each day? Prep dry skin, then pick your length with care. Trim soft with growth in steady, light strokes. Soothe the skin and clean the tool after. Small steps shield soft skin each and every time. Prep, pick, trim soft. Soothe after.
Dodge common slip-ups and each session stays calm. New features make grooming safer and easier today. Steady care keeps skin smooth and free of redness longer. Take time to pick gear that suits you best. Your routine improves fast with patient, steady practice. Dodge slip-ups. Practice builds skill.

I’m Patricia D. Johnson, an affiliate marketer and blogger specializing in trimmers and grooming tools. I create honest reviews, buying guides, and practical tips to help readers choose the right trimmer for their needs. With a focus on quality, performance, and value, I simplify the decision-making process so consumers can make confident purchases.