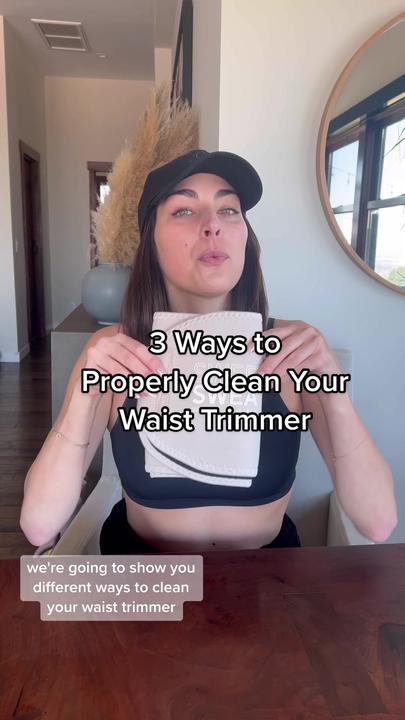
How to Clean a Waist Trimmer
Sweat and dirt build up inside waist trimmers. Regular cleaning keeps the belt fresh and hygienic. Knowing how to clean a waist trimmer protects its fabric. Gentle methods preserve elasticity and shape over time. This guide covers washing, drying and storage.
The process needs only simple household supplies. Mild soap, warm water and cloth suffice. Harsh chemicals damage the fabric quite quickly. A few careful minutes after workouts help. Clean belts simply last much longer overall.
Five steps structure the whole cleaning routine. Gathering materials comes before any washing begins. Washing, rinsing and drying follow in order. Proper storage finishes the routine every time. Small habits keep the trimmer ready daily.
Quick answer: Rinse the waist trimmer in warm water first. Scrub it gently using mild soap and cloth. Rinse thoroughly until no soap residue remains anywhere. Press out the water without wringing the fabric. Air-dry it flat away from direct heat sources.
- How to Clean a Waist Trimmer in Five Steps
- Step 1: Gather the Cleaning Materials
- Step 2: Prepare the Trimmer and Basin
- Step 3: Wash the Waist Trimmer
- Step 4: Dry the Waist Trimmer Correctly
- Step 5: Store It for Longevity
- Common Mistakes to Avoid
- Frequently Asked Questions
- Conclusion: How to Clean a Waist Trimmer
How to Clean a Waist Trimmer in Five Steps
Five steps keep any waist trimmer clean. Work through them slowly in order shown. Later sections explain each step more fully. Gentle handling protects the fabric throughout cleaning.
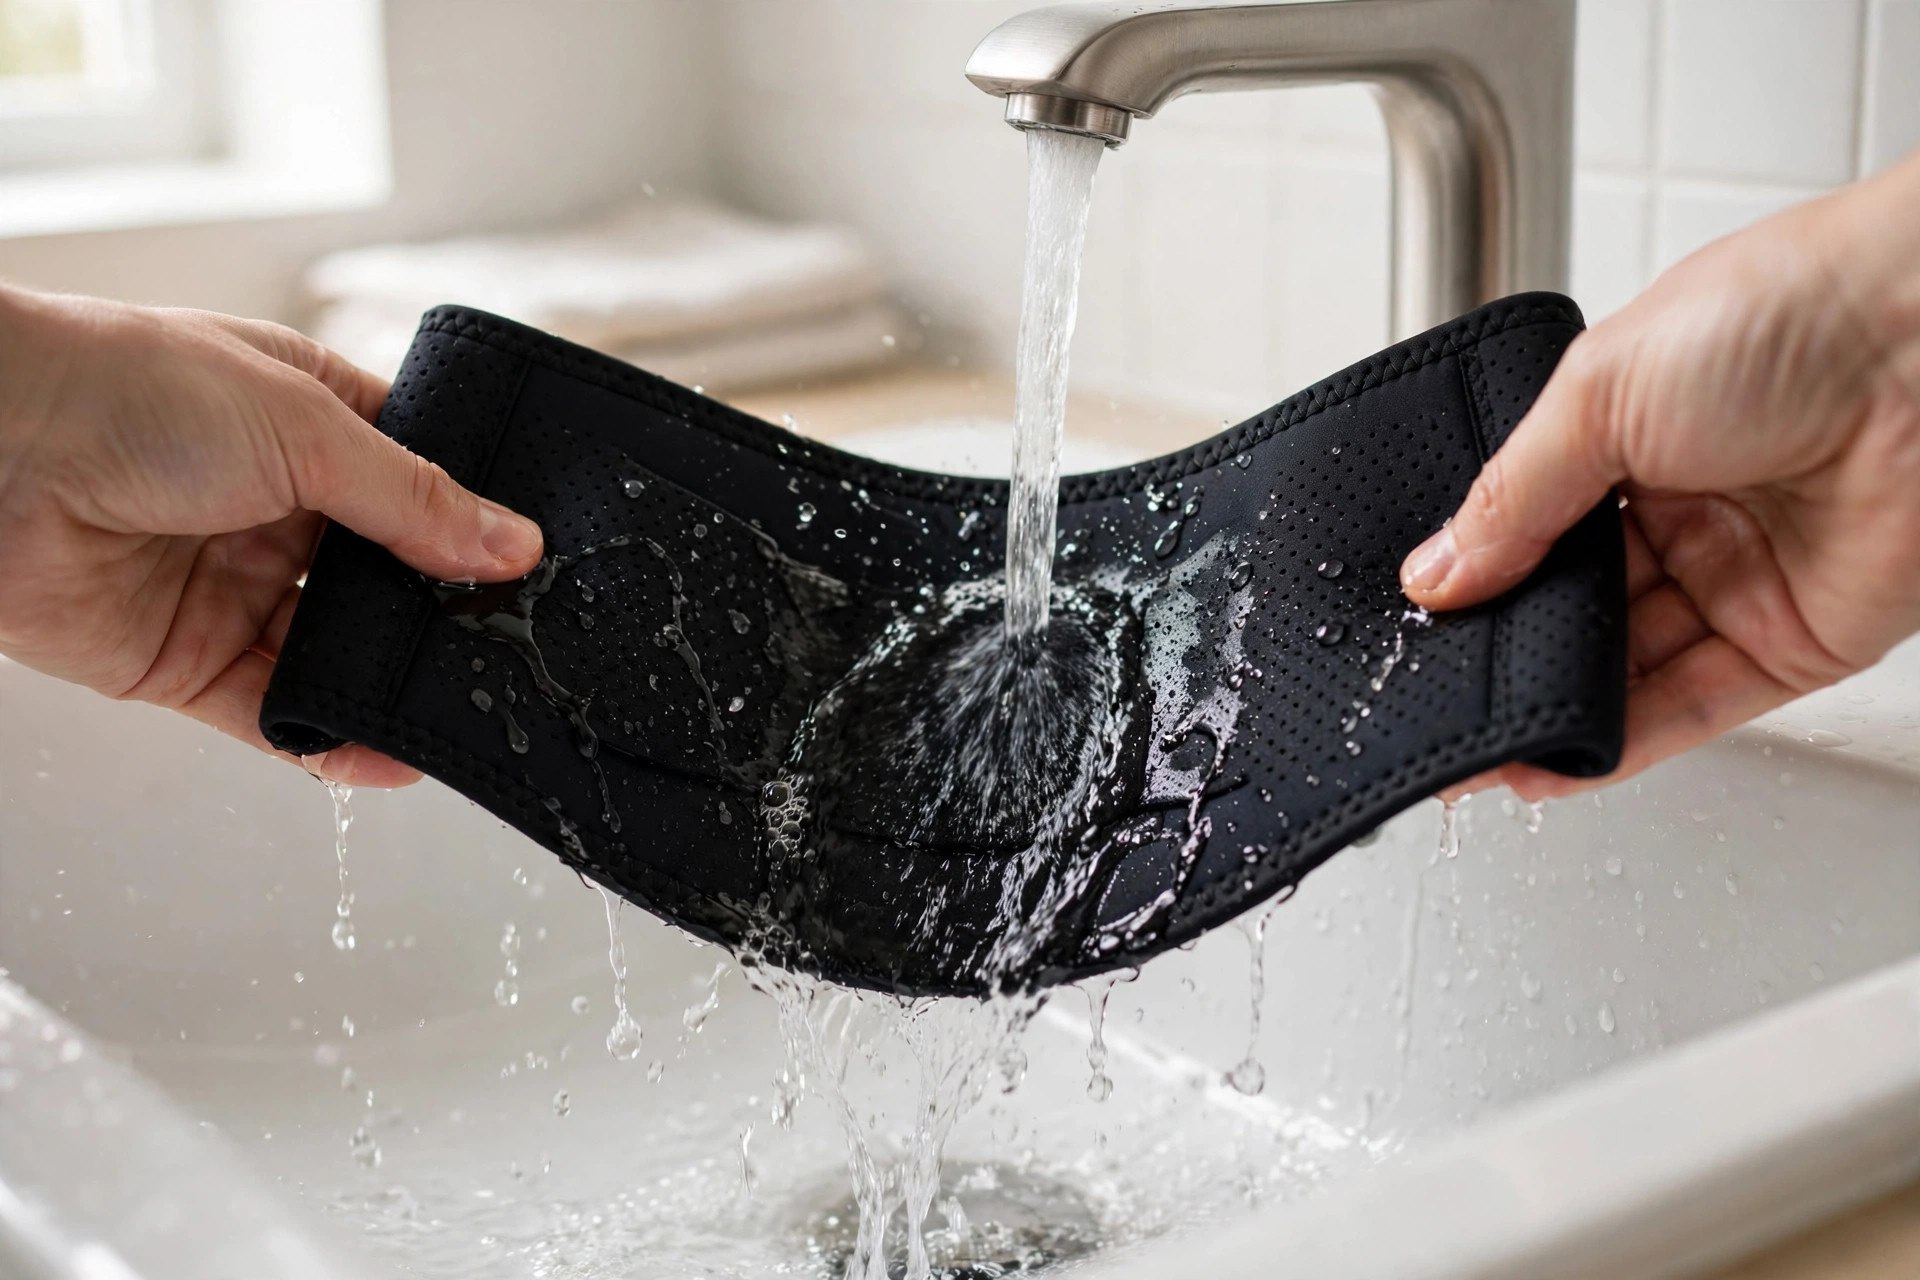
| Step | What to Do |
|---|---|
| 1. Gather materials | Mild soap, water, cloth, towel |
| 2. Prepare | Shake loose dirt, mix solution |
| 3. Wash | Scrub gently, rinse thoroughly |
| 4. Dry | Press, towel-roll, air-dry flat |
| 5. Store | Cool, dry, breathable storage |
Skipping steps leaves sweat trapped inside fabric. Residue slowly degrades elasticity over time unfortunately. Complete routines keep the belt fresh longer. Our body trimmer cleaning guide covers similar fabric care.
Step 1: Gather the Cleaning Materials
Gather everything before starting the wash properly. Mild soap and warm water form the solution. A soft cloth scrubs without harming fabric. A soft-bristled brush tackles tougher stains gently. A clean towel handles the drying stage.
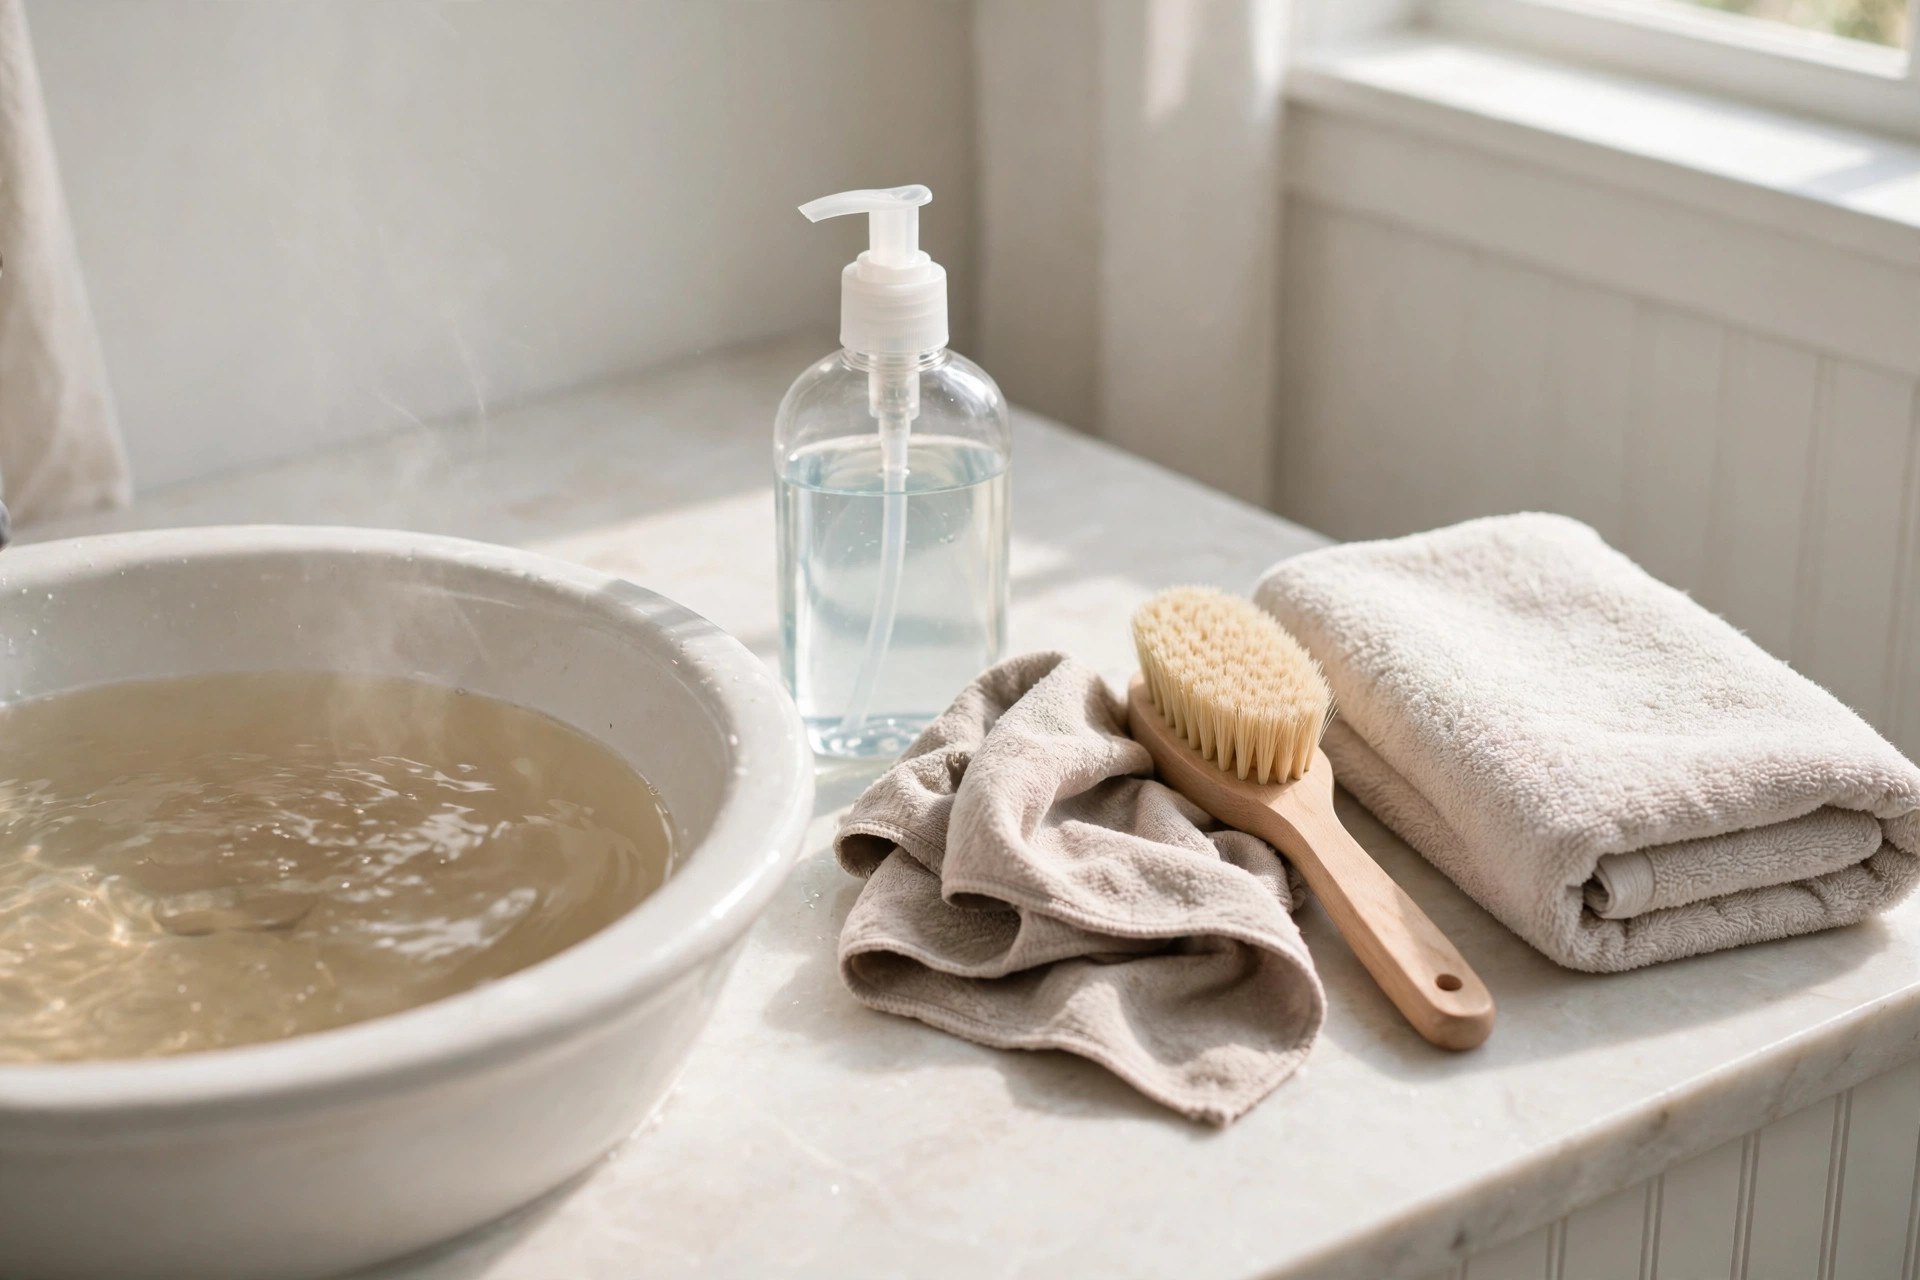
| Material | What It Does |
|---|---|
| Mild soap | Cleans gently without damage |
| Warm water | Loosens dirt and sweat |
| Soft cloth | Scrubs the surface safely |
| Soft-bristled brush | Lifts stubborn stains gently |
| Towel | Absorbs excess water afterwards |
A small basin or sink helps greatly. It holds the soapy mixture during soaking. Clean the basin before use every time. Residues could mix into your cleaning solution. Gentle agents preserve the trimmer’s fabric best.
Step 2: Prepare the Trimmer and Basin
Shake the trimmer outside before washing begins. Loose dirt and debris fall away first. This keeps grime out of your workspace. Then fill the basin with warm water. Add a small amount of mild soap.
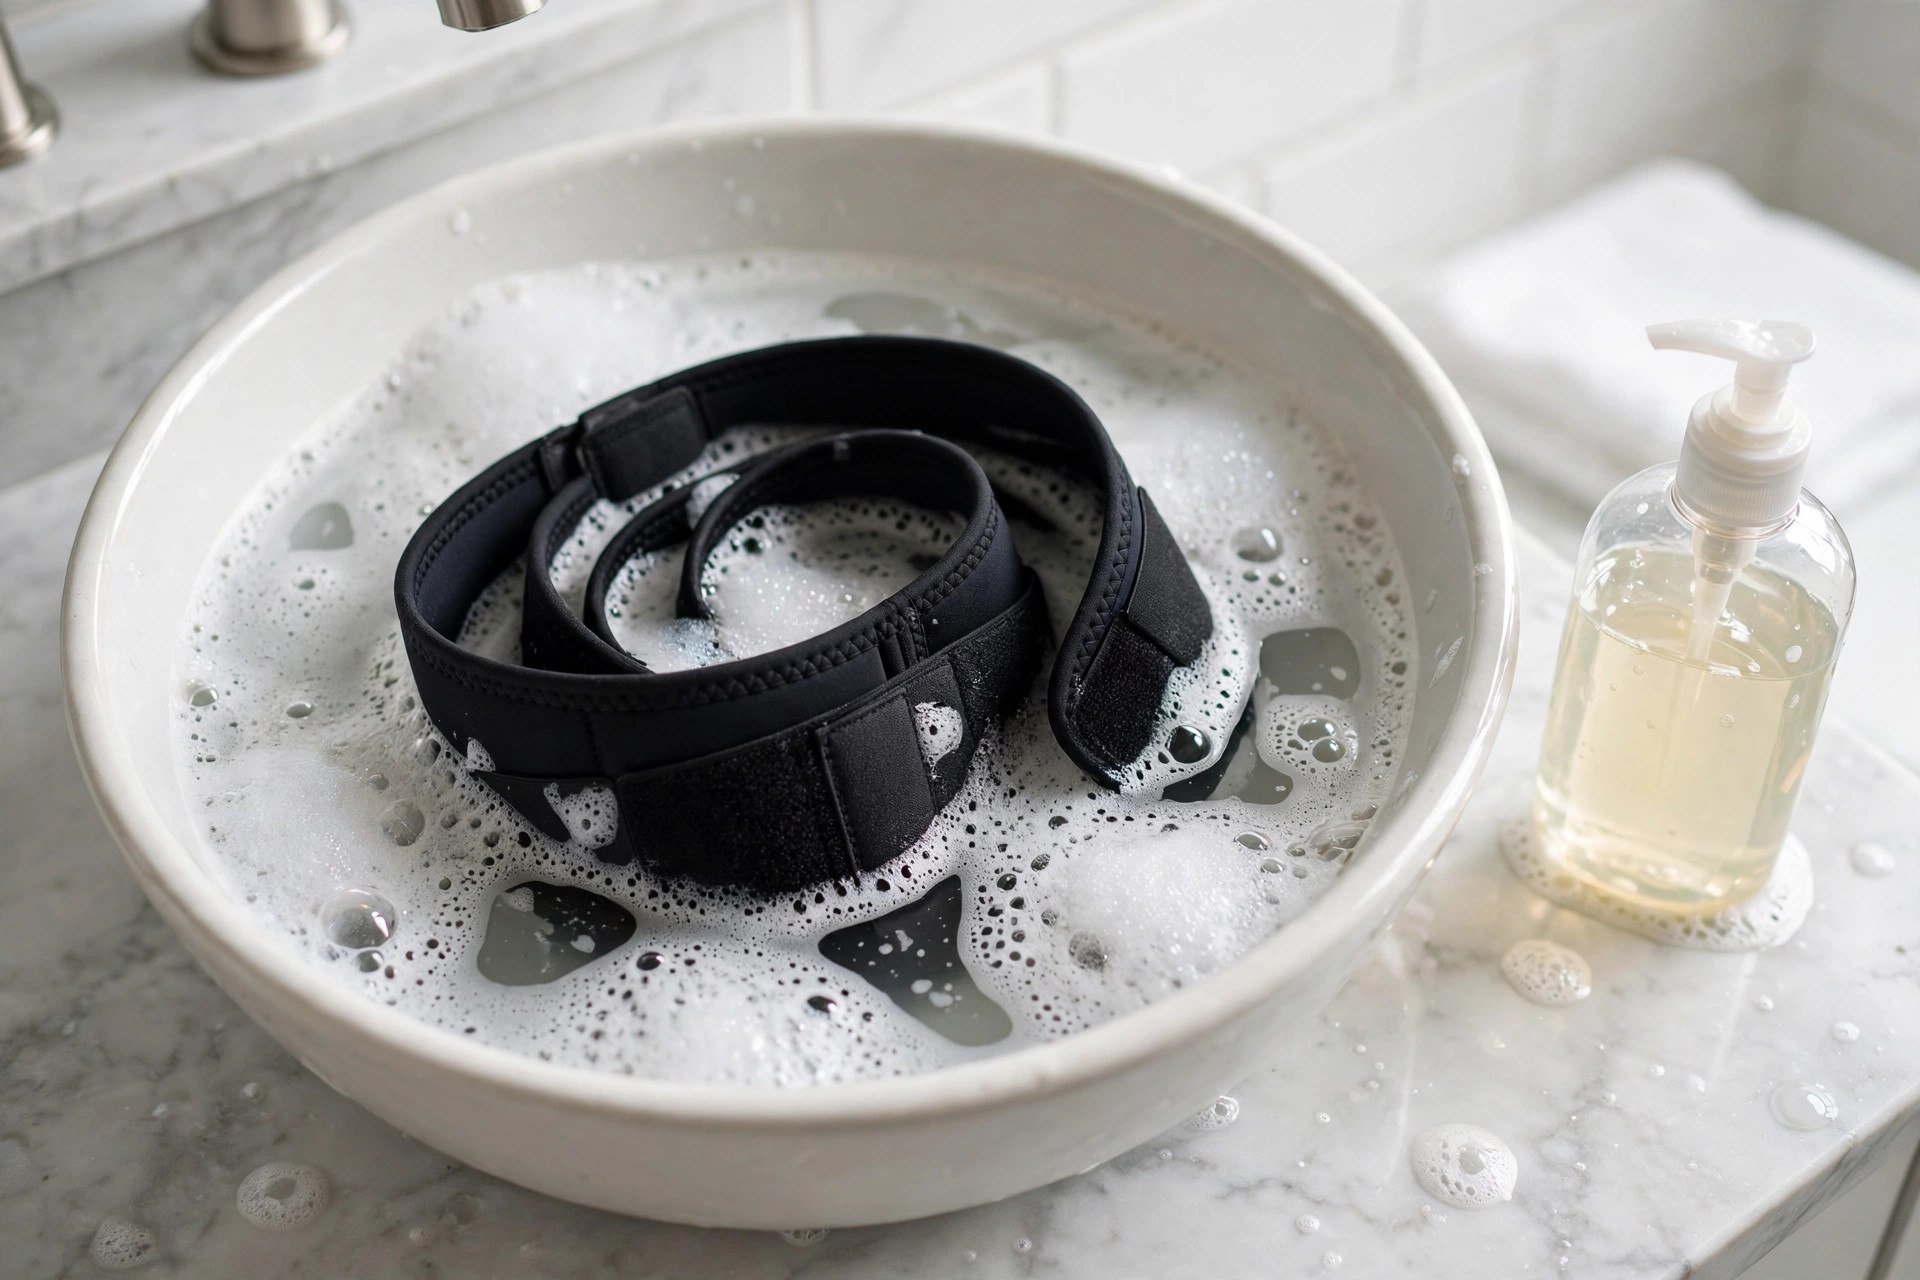
Stir the water until suds form evenly. Water should feel warm, never scalding hot. Excess heat can damage the material quickly. Submerge the trimmer for a few minutes. Soaking loosens stubborn dirt and sweat effectively.
Press the trimmer gently with your hands. This helps break down trapped grime further. Prepare a clean drying area meanwhile too. Lay a towel on a flat surface. The towel absorbs excess water after washing.
Step 3: Wash the Waist Trimmer
Place the trimmer into the soapy water. Swish it gently so soap reaches everywhere. Extra force can stretch or damage material. Focus scrubbing on the inner skin-contact side. That side accumulates the most sweat daily.
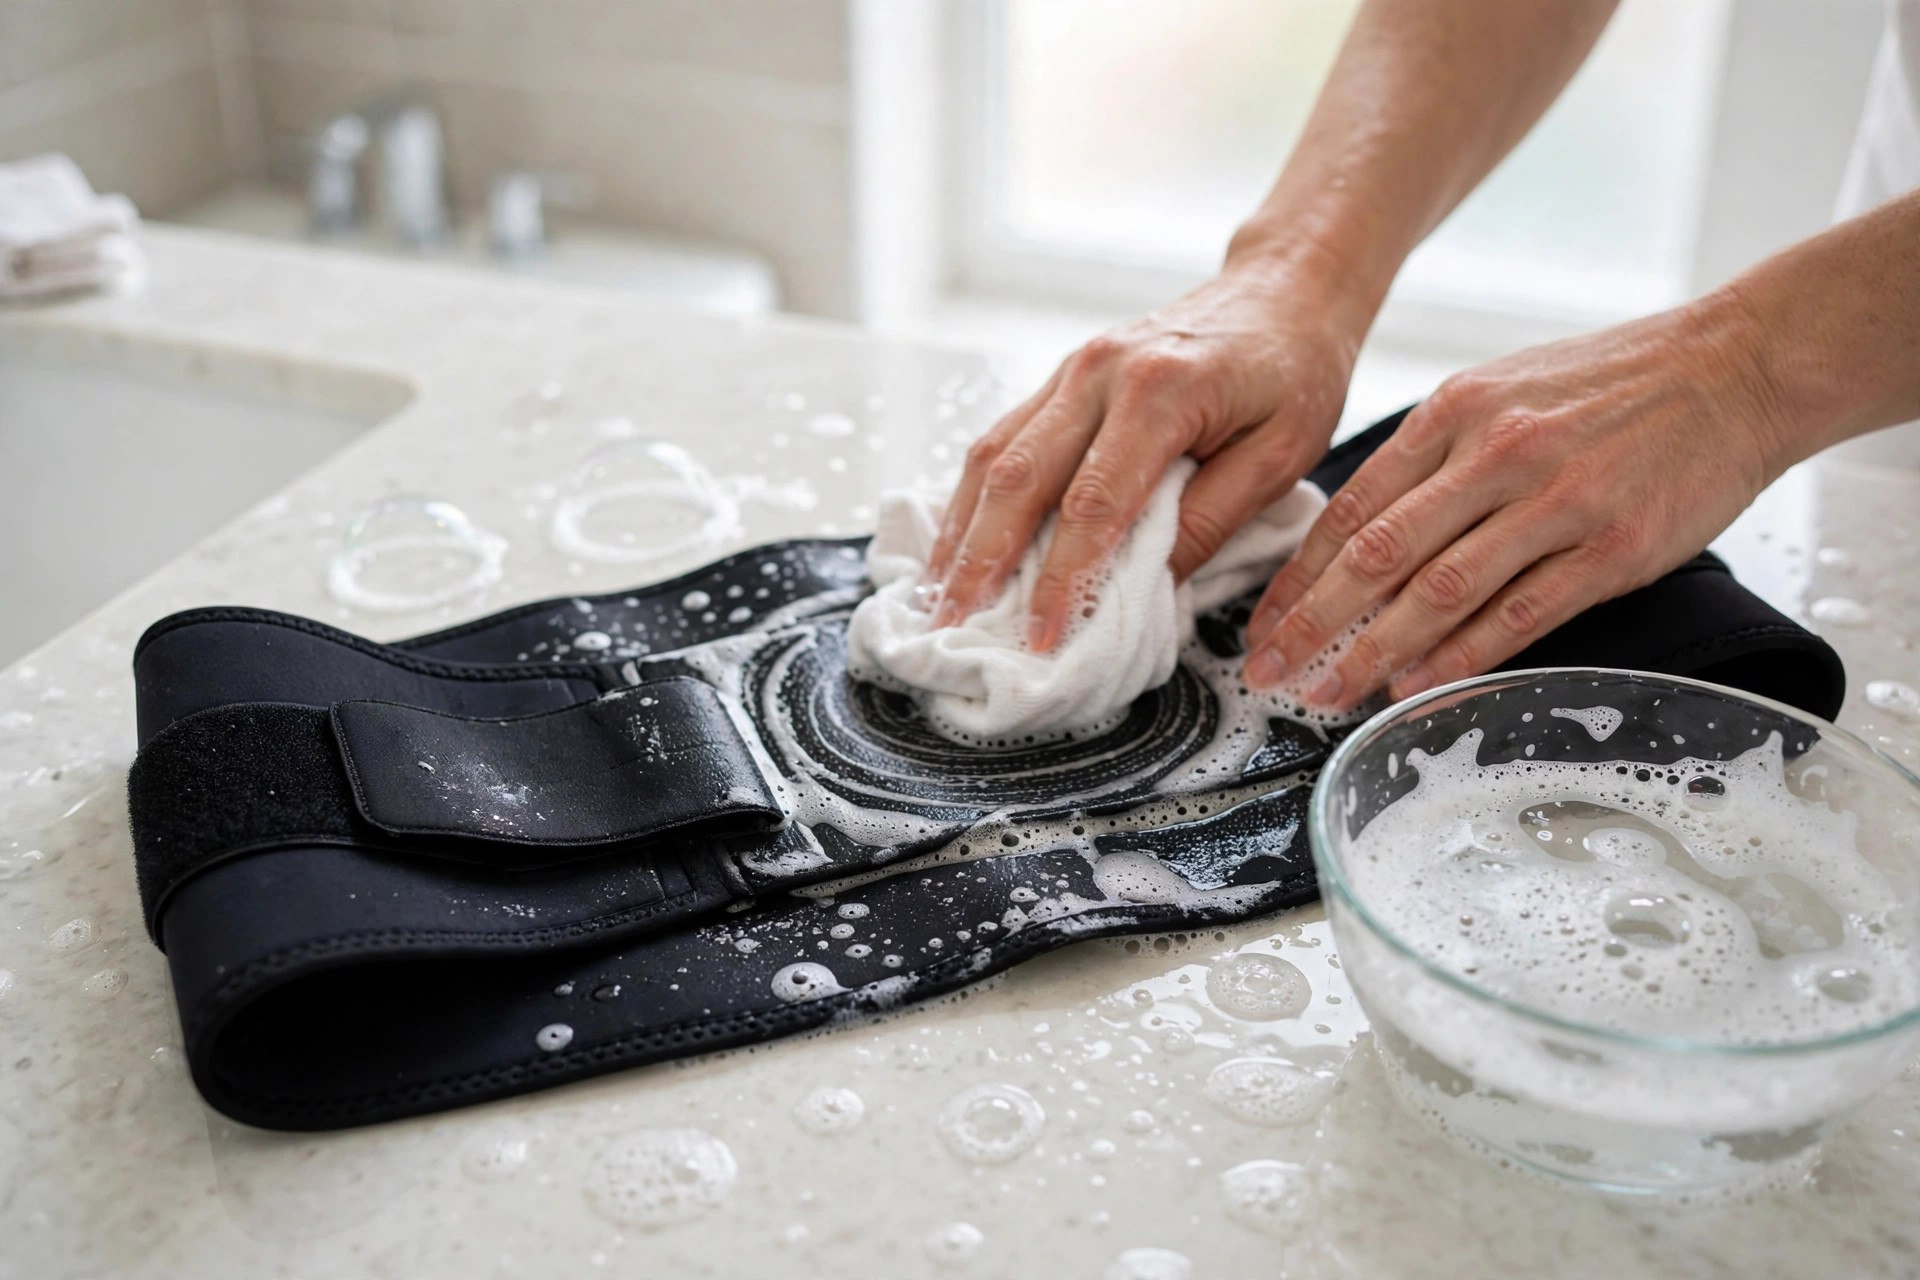
Move the cloth in circular motions carefully. A soft-bristled brush handles stubborn spots safely. Rinse it afterwards in clean water thoroughly. Let it soak briefly, then press gently. Repeat rinsing until no soap remains visible.
Leftover soap weakens fabric performance over time. Clean water ensures a truly thorough rinse. Press out water without wringing it ever. Wringing distorts the trimmer’s shape quite badly. Roll it inside a dry towel instead.
Step 4: Dry the Waist Trimmer Correctly
Squeeze excess water out gently after washing. Never wring the material during this stage. Wringing stretches and damages the fabric permanently. Press it between your hands instead carefully. This protects its original shape very well.
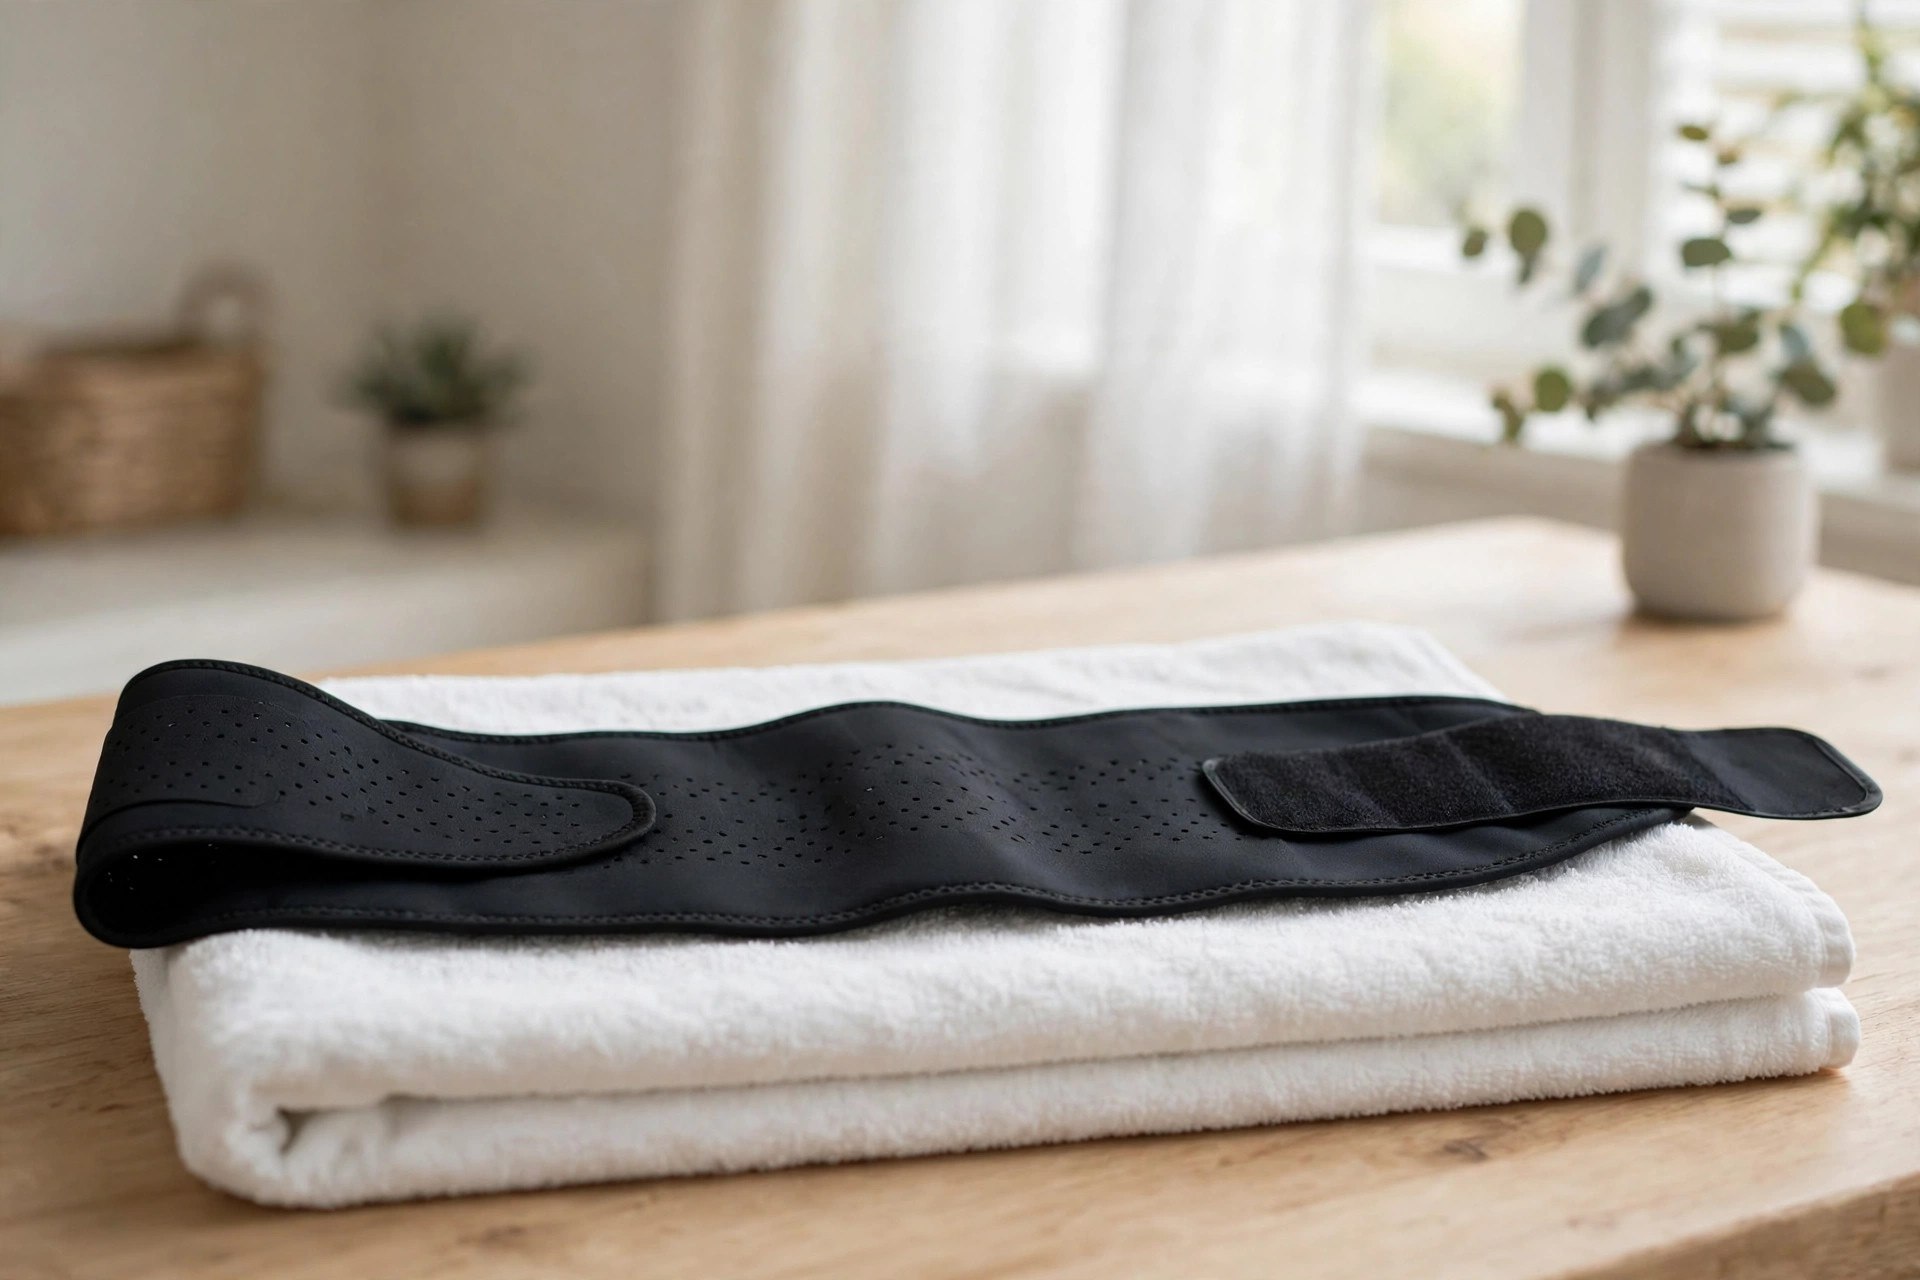
Roll the trimmer inside a dry towel. Press down slightly while rolling it up. The towel absorbs additional moisture quite effectively. Then unroll and remove the trimmer gently. Air-dry it in a well-ventilated shaded area.
Spread it flat without creases or folds. A drying rack improves air circulation greatly. Rotate it every few hours for evenness. Never use dryers, heaters or hair dryers. Heat damages elasticity and fabric very quickly.
Step 5: Store It for Longevity
Store the trimmer only when completely dry. Choose a cool, dry storage place carefully. Damp areas encourage mold and mildew growth. Ventilated spaces keep it fresh between uses. Fold it neatly or hang it instead.
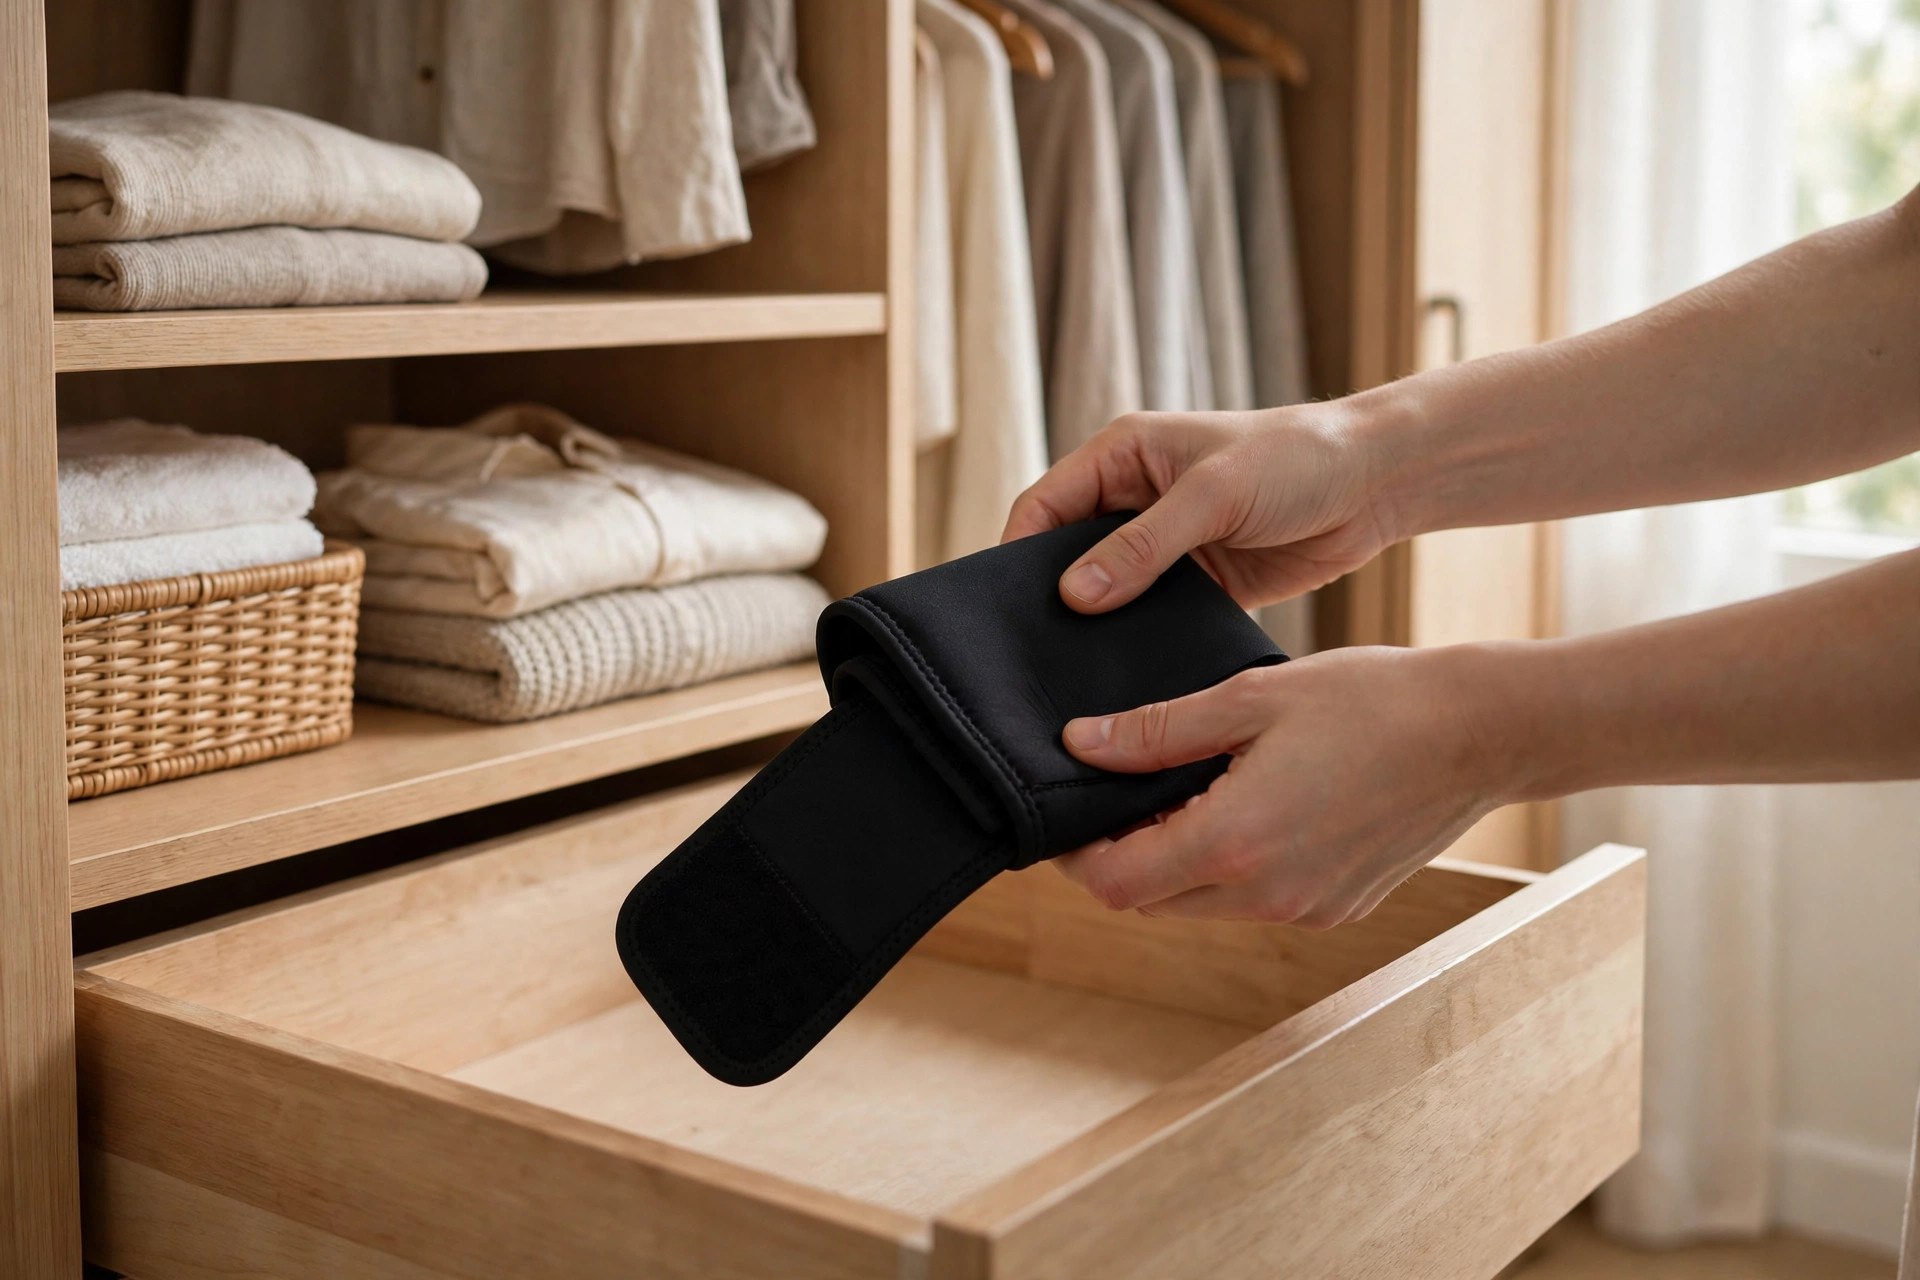
Hanging retains shape and avoids wrinkles well. Never pile heavy items on top ever. Heavy weight deforms its structure over time. A breathable fabric bag protects it nicely. Plastic bags trap moisture and invite mildew.
Inspect it regularly for wear or damage. Small issues caught early stay small longer. Replace it when wear becomes significant overall. Our trainer comparison guide explains belt style differences. Our trimmer versus trainer guide clarifies naming confusion.
Common Mistakes to Avoid
Harsh chemicals break down fabric and elasticity. Bleach and strong detergents damage it quickly. Wringing twists fabric and weakens stitching badly. Heat drying damages the material even faster. Direct sunlight fades and weakens fabric too.
Incomplete rinsing leaves soap inside the fabric. Residue reduces the trimmer’s comfort and effectiveness. Skipping regular cleaning lets sweat build up. Buildup produces odor and degrades material steadily. A simple schedule prevents every problem above.
Treat the fabric delicately at every stage. Gentle handling keeps seams and stitching strong. Our wear duration guide covers safe daily use. Our belt purpose guide explains everyday belt uses. Our buying guide helps when replacement time comes.
Frequently Asked Questions
These answers repeat this guide’s cleaning points only. They follow the same steps explained above closely. Short answers close the guide at the end. Reference pages like Wikipedia’s neoprene page explain this belt material.
How often should I clean my waist trimmer?
Rinse it after every use ideally always. Sweat-heavy workouts demand prompt rinsing every time. A weekly wash with mild soap helps. Thorough washing keeps it fresh and odor-free. Light rinses suffice when sweating stays minimal.
Can I put my waist trimmer in the washing machine?
Machine washing is generally not advised here. Agitation wears the fabric and elasticity down. Handwashing protects the material far better overall. Use mild soap and warm water instead. Scrub gently, rinse thoroughly, then air-dry completely.
What type of soap should I use to clean my waist trimmer?
Mild soap cleans without damaging the material. Harsh detergents and bleach break fibers down. Baby shampoo works as a gentle cleanser. Natural liquid soap also works quite well. Rinse every trace of soap out thoroughly.
Is air drying better than using a dryer for my waist trimmer?
Air drying is strongly recommended over machine drying. Dryer heat weakens material fibers quite quickly. It also reduces elasticity and warps shape. Lay it flat on an absorbent towel. A ventilated area speeds drying without damage.
How should I store my waist trimmer after cleaning?
Store it only when completely dry always. Choose a cool, dry, ventilated place carefully. Fold it neatly or hang it up. A breathable fabric bag protects it well. Avoid plastic bags that trap moisture inside.
Conclusion: How to Clean a Waist Trimmer
So, how to clean a waist trimmer properly today? Rinse first, then scrub gently with real care. Rinse again until no soap remains anywhere. Press out water without wringing the fabric. Air-dry it flat away from heat sources.
Store it dry in a breathable space. Regular cleaning keeps the belt fresh much longer. Gentle habits protect elasticity and shape every day. A clean trimmer stays comfortable to wear. Small weekly effort preserves it for many workouts.

I’m Patricia D. Johnson, an affiliate marketer and blogger specializing in trimmers and grooming tools. I create honest reviews, buying guides, and practical tips to help readers choose the right trimmer for their needs. With a focus on quality, performance, and value, I simplify the decision-making process so consumers can make confident purchases.