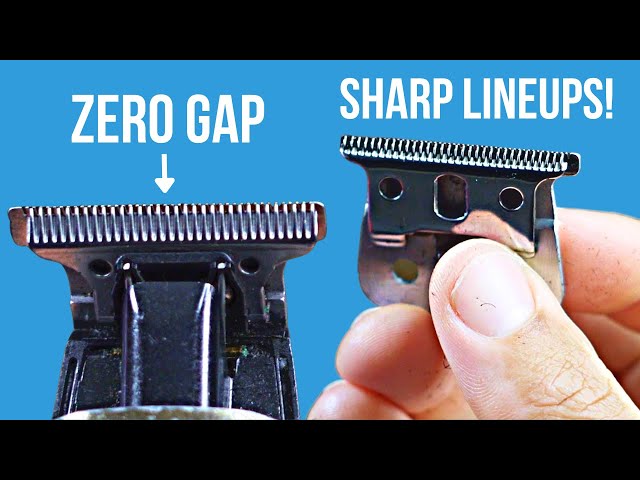
How to Adjust Trimmer Blades
A good trimmer can all at once cause sore skin or rough cuts. Blades out of line oft cause that strife in hush. To know how to adjust trimmer blades brings smooth cuts back. Fine tuning stretches the work life of the tool too. This guide walks through the job step by step. Each step is plain and short.
The job calls for care and a firm hand. You need just a screwdriver and a small brush. Blade oil keeps all parts on the move with ease when done. Clean blades make true line-up far more apt. Small shifts bring big gains in how it cuts. Take your time with each one.
Seven steps run from tools to the last test. Later parts spell out each stage in full. Names, gains, and pro tips come next. Short answers close the guide at the end. Care in the work keeps trimmers keen as new. Read on for the full path.
Quick answer: Unplug the trimmer and take the blade guard off first. Brush each trace of hair off the blades. Loosen the screws a bit, but do not take them out. Shift the top blade till it sits in line. Tighten slow, test the cut on real hair, then fine-tune.
- How to Adjust Trimmer Blades in Seven Steps
- Step 1: Gather Tools and Prepare the Trimmer
- Step 2: Understand Trimmer Blade Alignment
- Step 3: Execute the Blade Adjustment
- Step 4: Test and Fine Tune the Blades
- Step 5: Maintain Blades and Stay Safe
- Aliases of Trimmer Blade Adjustment
- Benefits of Properly Adjusted Trimmer Blades
- Common Issues During Trimmer Blade Adjustment
- Professional Tips for Trimmer Blade Adjustment
- Frequently Asked Questions
- Conclusion: How to Adjust Trimmer Blades
How to Adjust Trimmer Blades in Seven Steps
Seven steps make one exact blade fix. Work through them slow, in the order shown. Later parts spell out each stage in full. Haste breeds bad line-ups and hurt screws. Slow work wins here. Each step builds on the last.
| Step | What to Do |
|---|---|
| 1. Gather tools | Screwdriver, brush and blade oil |
| 2. Prepare trimmer | Unplug, remove guard, clean blades |
| 3. Check alignment | Hold at eye level, look closely |
| 4. Loosen screws | Loosen slightly, never remove fully |
| 5. Shift blades | Top blade parallel, not overlapping |
| 6. Tighten slowly | Tighten in small steps, check the line as you go |
| 7. Test and fine-tune | Test on hair, repeat until smooth |
Skipped steps leave grit stuck in the blades. Grit harms free motion and the cut as well. Full runs keep each fix true and right. Our Oster blade adjustment guide covers one brand path. Brand paths share the same base steps. Learn the base first.
Step 1: Gather Tools and Prepare the Trimmer
Pick up a screwdriver, small brush, and blade oil. All gear in reach saves hunts mid-job. A clean work spot stops slips in the work too. Lay your tools out in a neat row. Good prep is half the job done. Start right, end right.
Turn the trimmer off and unplug it for safe work. Safety comes first in blade work, each time. Take the blade guard off for clear reach. A clean blade makes true line-up apt later on. Our bikini trimmer cleaning guide covers care with blades. Clean first, adjust next.
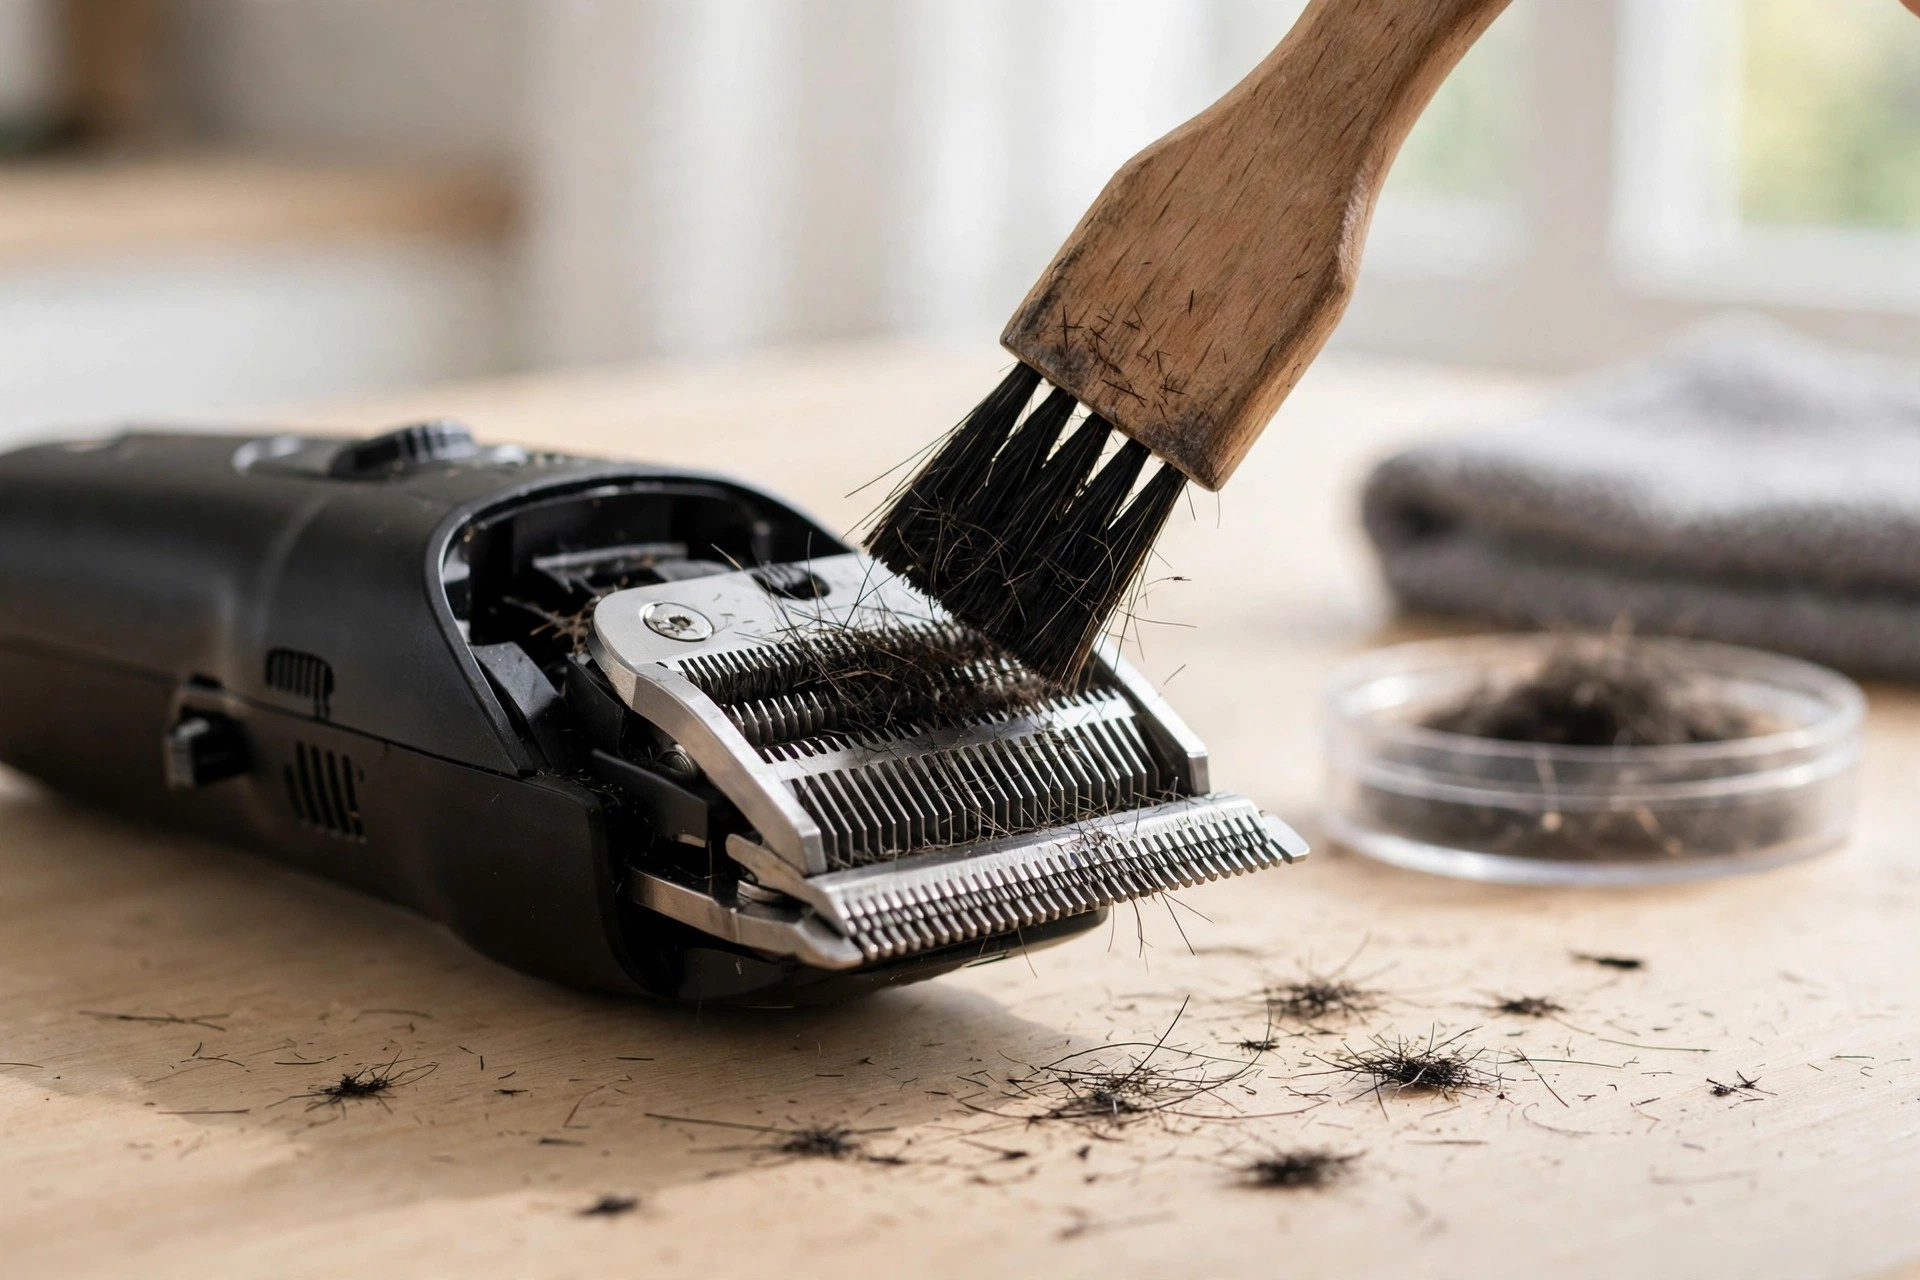
Brush hair and grit off the blades in full. Small bits sway line-up and the cut too. Take time to make the blades spot-free. This step looks small but proves key. Clean blades work well and last long. Do not skip the brush.
Step 2: Understand Trimmer Blade Alignment
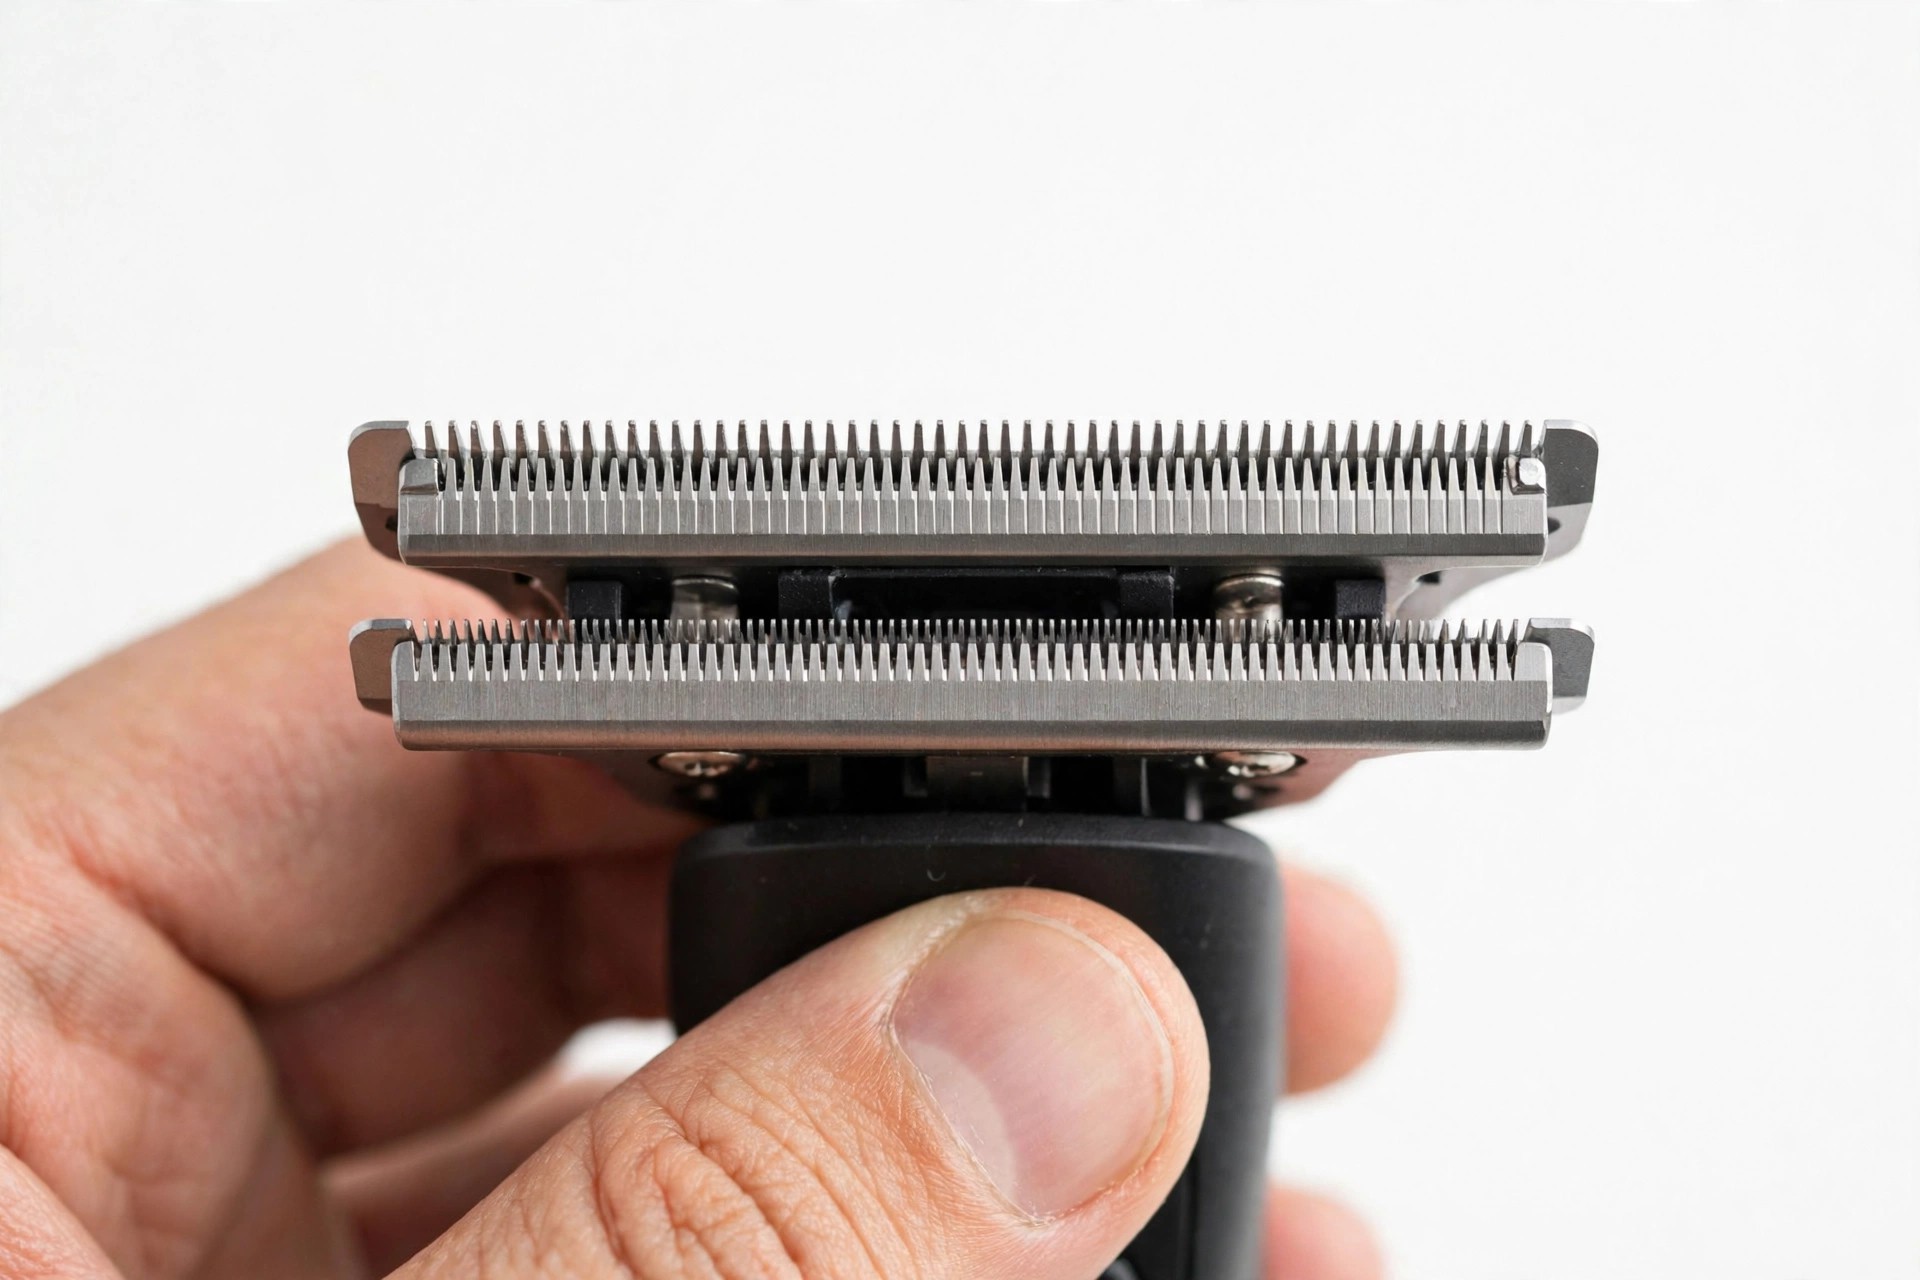
True line-up rules how the trimmer cuts, most of all. Blades out of line pull hair and cut rough. They rub skin sore at each use too. Hold the trimmer at eye height to check. The top and base blades should sit in line. Your eyes catch most faults.
Blades must not lap past each other at all. Blades that lap harm hair and the tool. The top cut edge sits a bit above the base. That set-up gives a smooth trim each time. Use a small ruler for fine checks if you need. Small gaps, big strife.
Test the line-up fast with a sheet of paper. Switch on and touch the paper with a soft hand. It should cut smooth with no tears. Tears mean more work on the fix is due. Your guide book gives line-up facts for your type. The paper test tells no lies.
Step 3: Execute the Blade Adjustment
Loosen the screws that hold the blades in place. Use a small screwdriver that fits them just right. Do not take the screws all the way out in the fix. Loosen them just far for a slight shift. Firm hands count more than speed here. Small turns, big care.
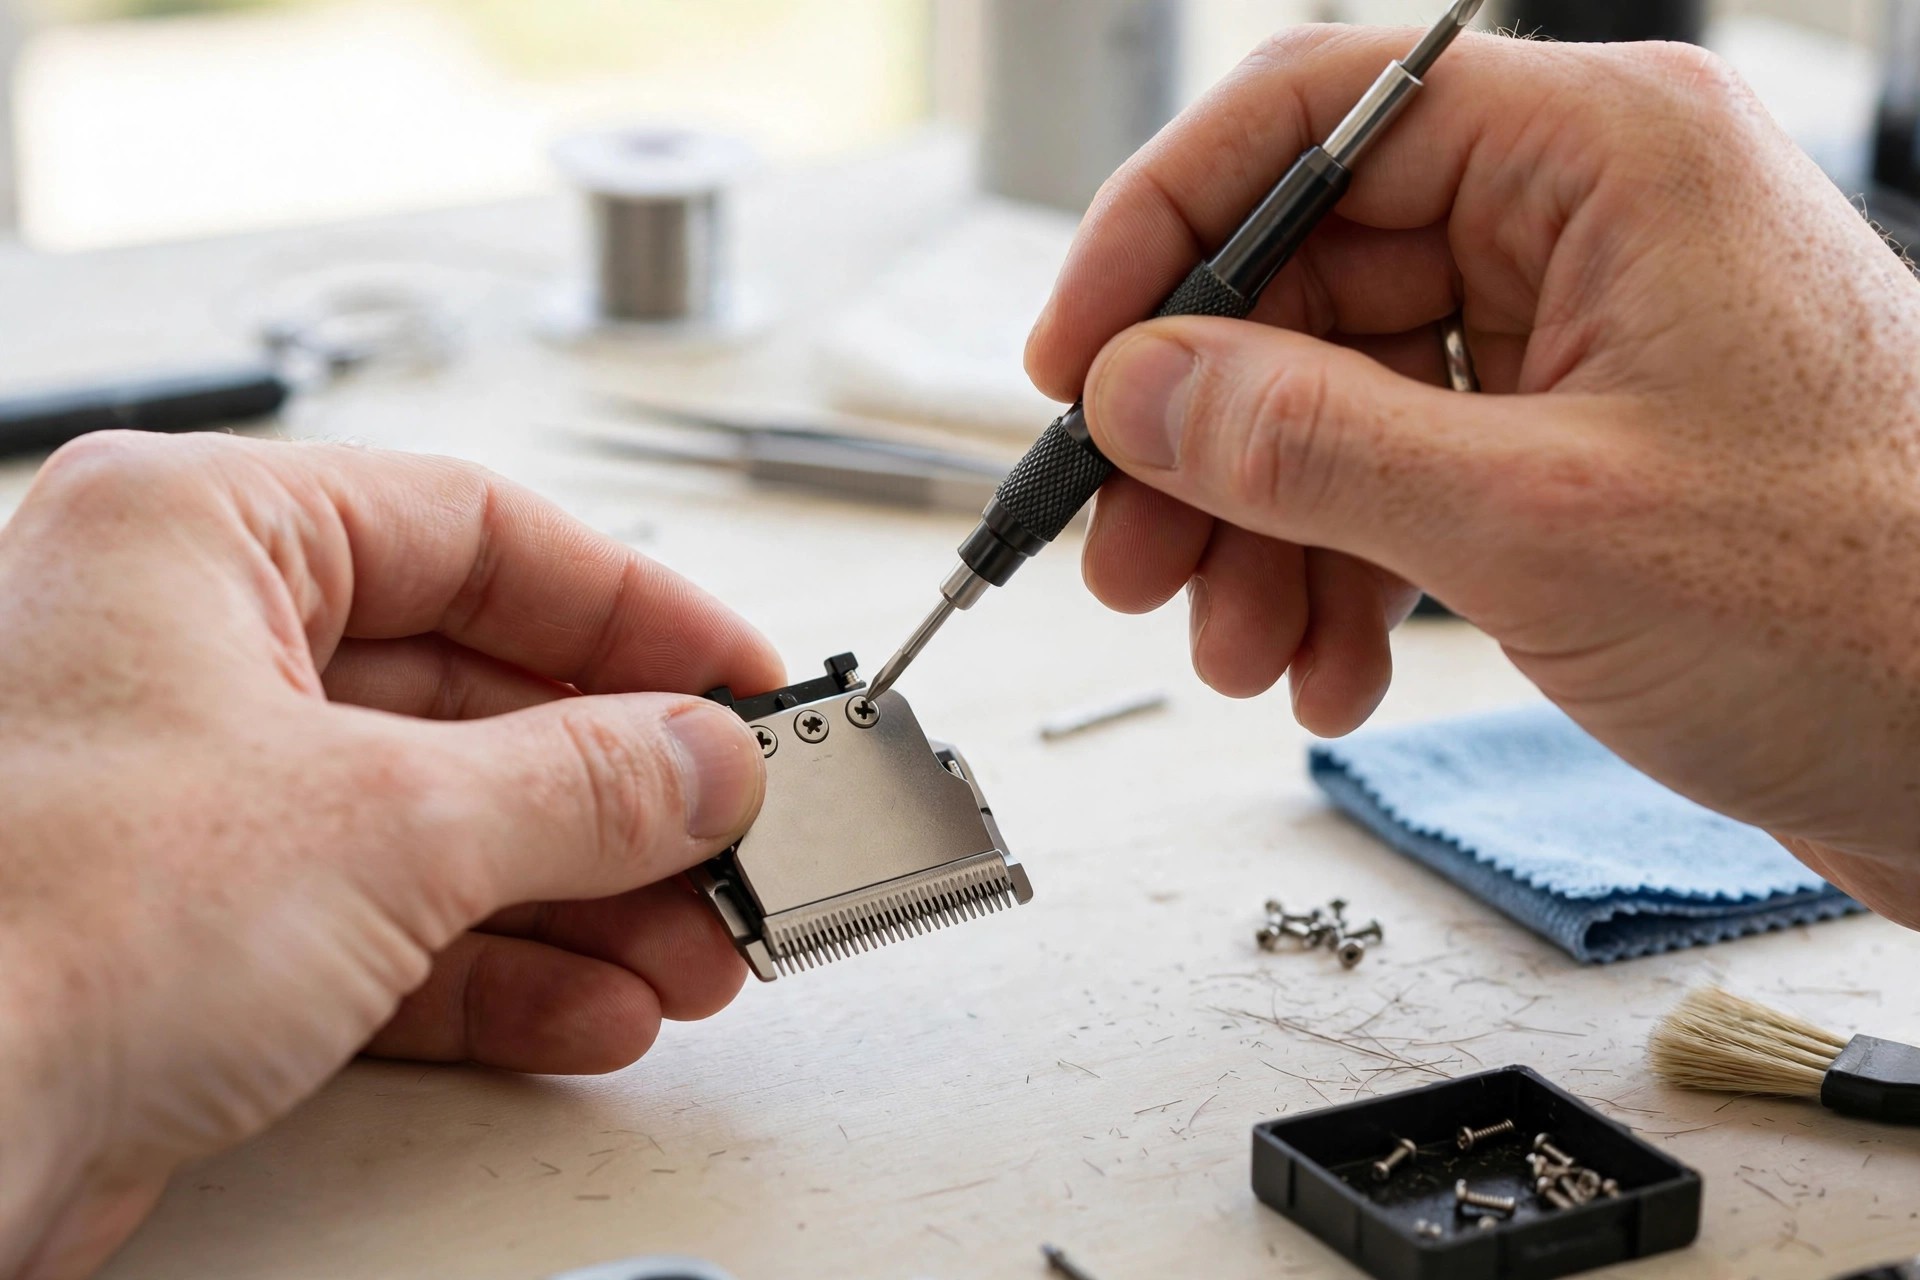
Shift the top blade till it lines up just right. Blades should stay in line with no lap at all. Move the top blade with a soft hand to its spot. Tighten screws in small steps and hold the line firm. Go slow to keep each move true. Check the line at each turn.
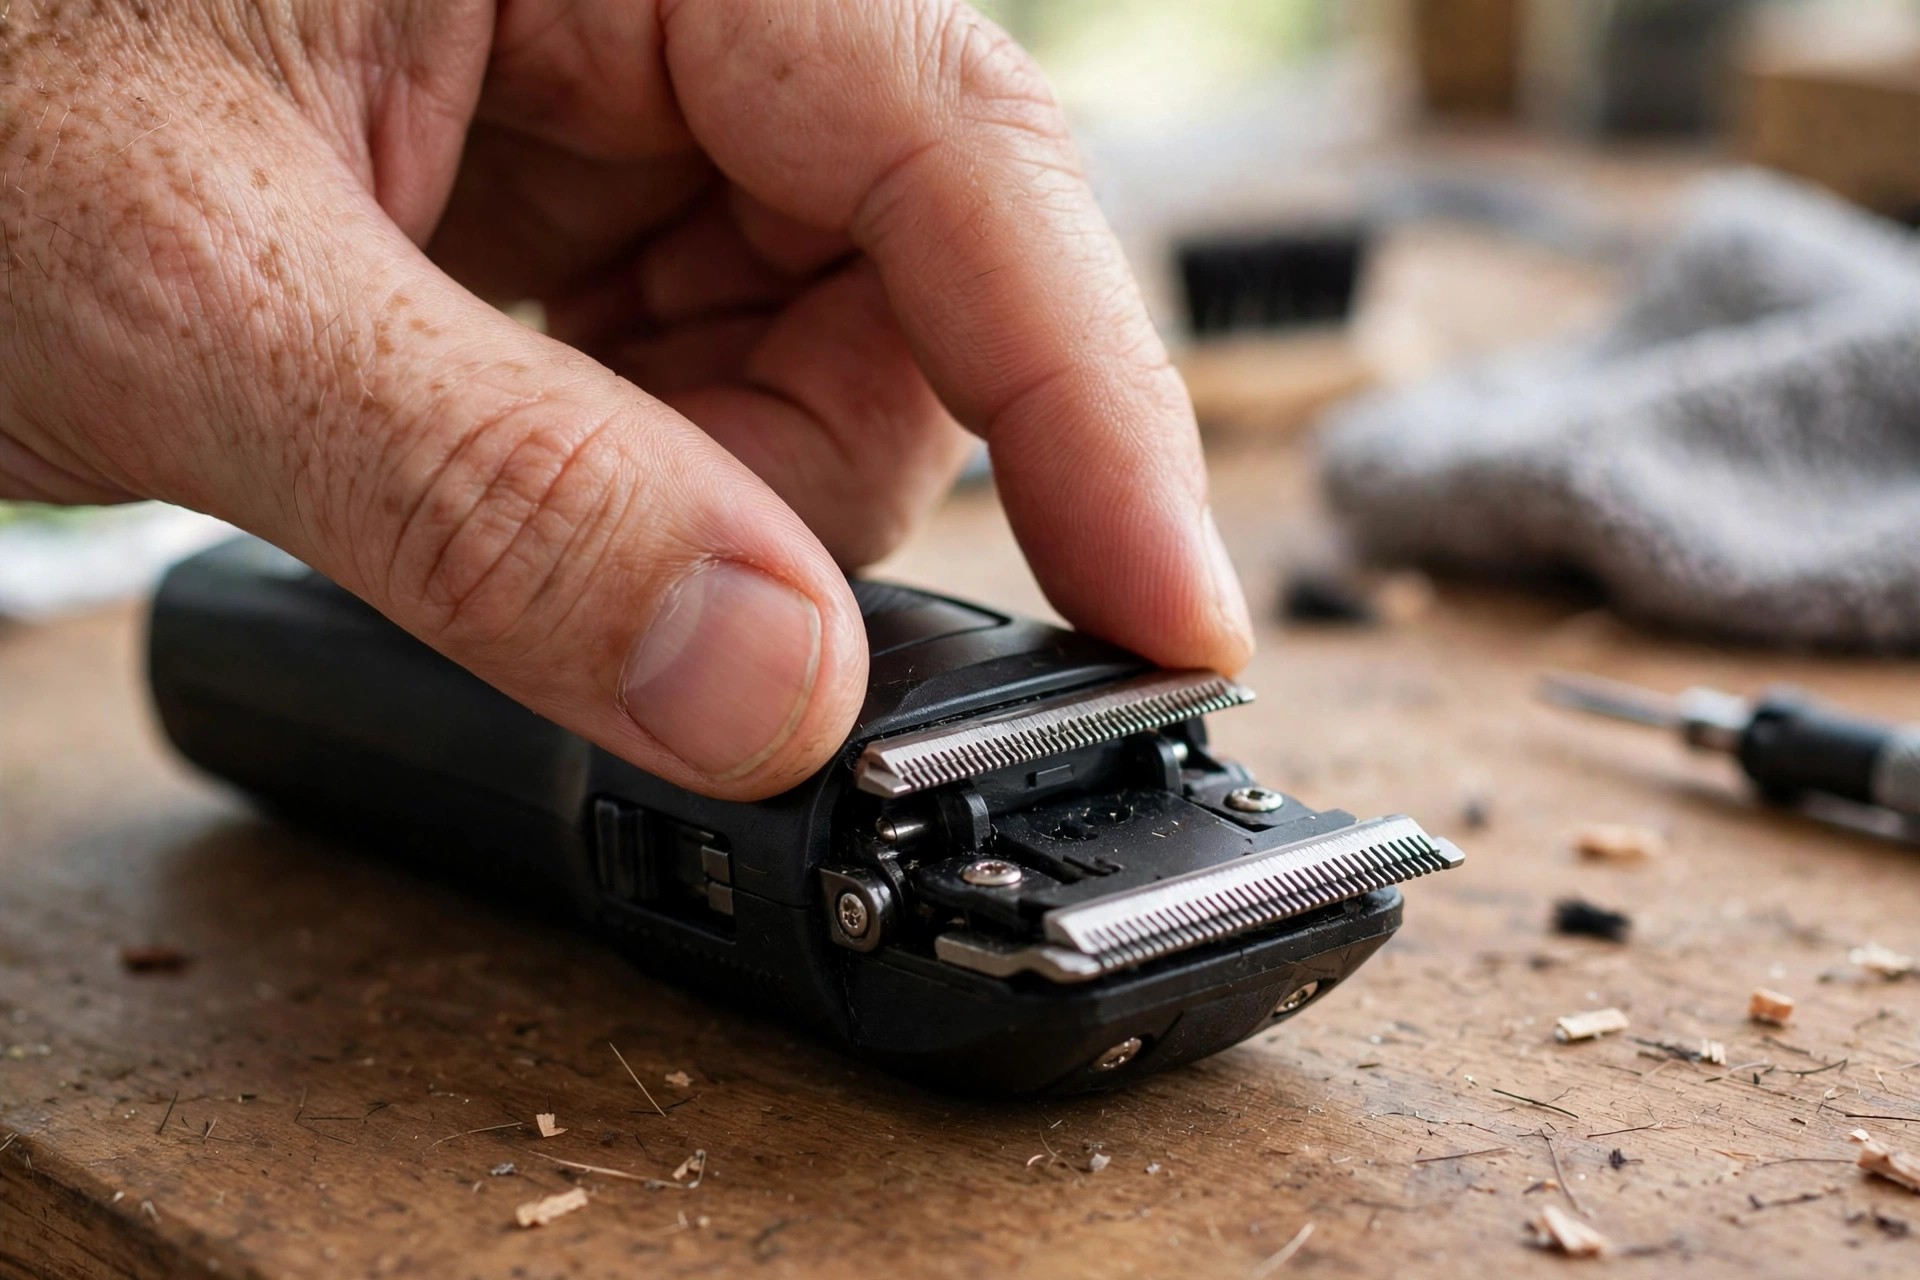
Turn the trimmer on and hear it out first. Grind sounds flag a bad line-up still in there. Test on a small patch of hair next. This real test proves the fix did its job. Loosen a bit and redo when the cut falls short. Your ears warn you first.
Steady care comes next, once the fix works well. Clean, oil, and recheck the line-up from time to time. Good care cuts how oft you must fix the line. It stretches the work life of the tool too. Our sharpening guide explains safe edge care in full. Care now saves cash later.
Step 4: Test and Fine Tune the Blades
Turn the trimmer on and hear it out close. A blade in true line runs smooth and quiet. Grind or clack sounds mean stop right now. That sound flags more fix work still due. Do not force a loud trimmer through hair. Sound is your first gauge.
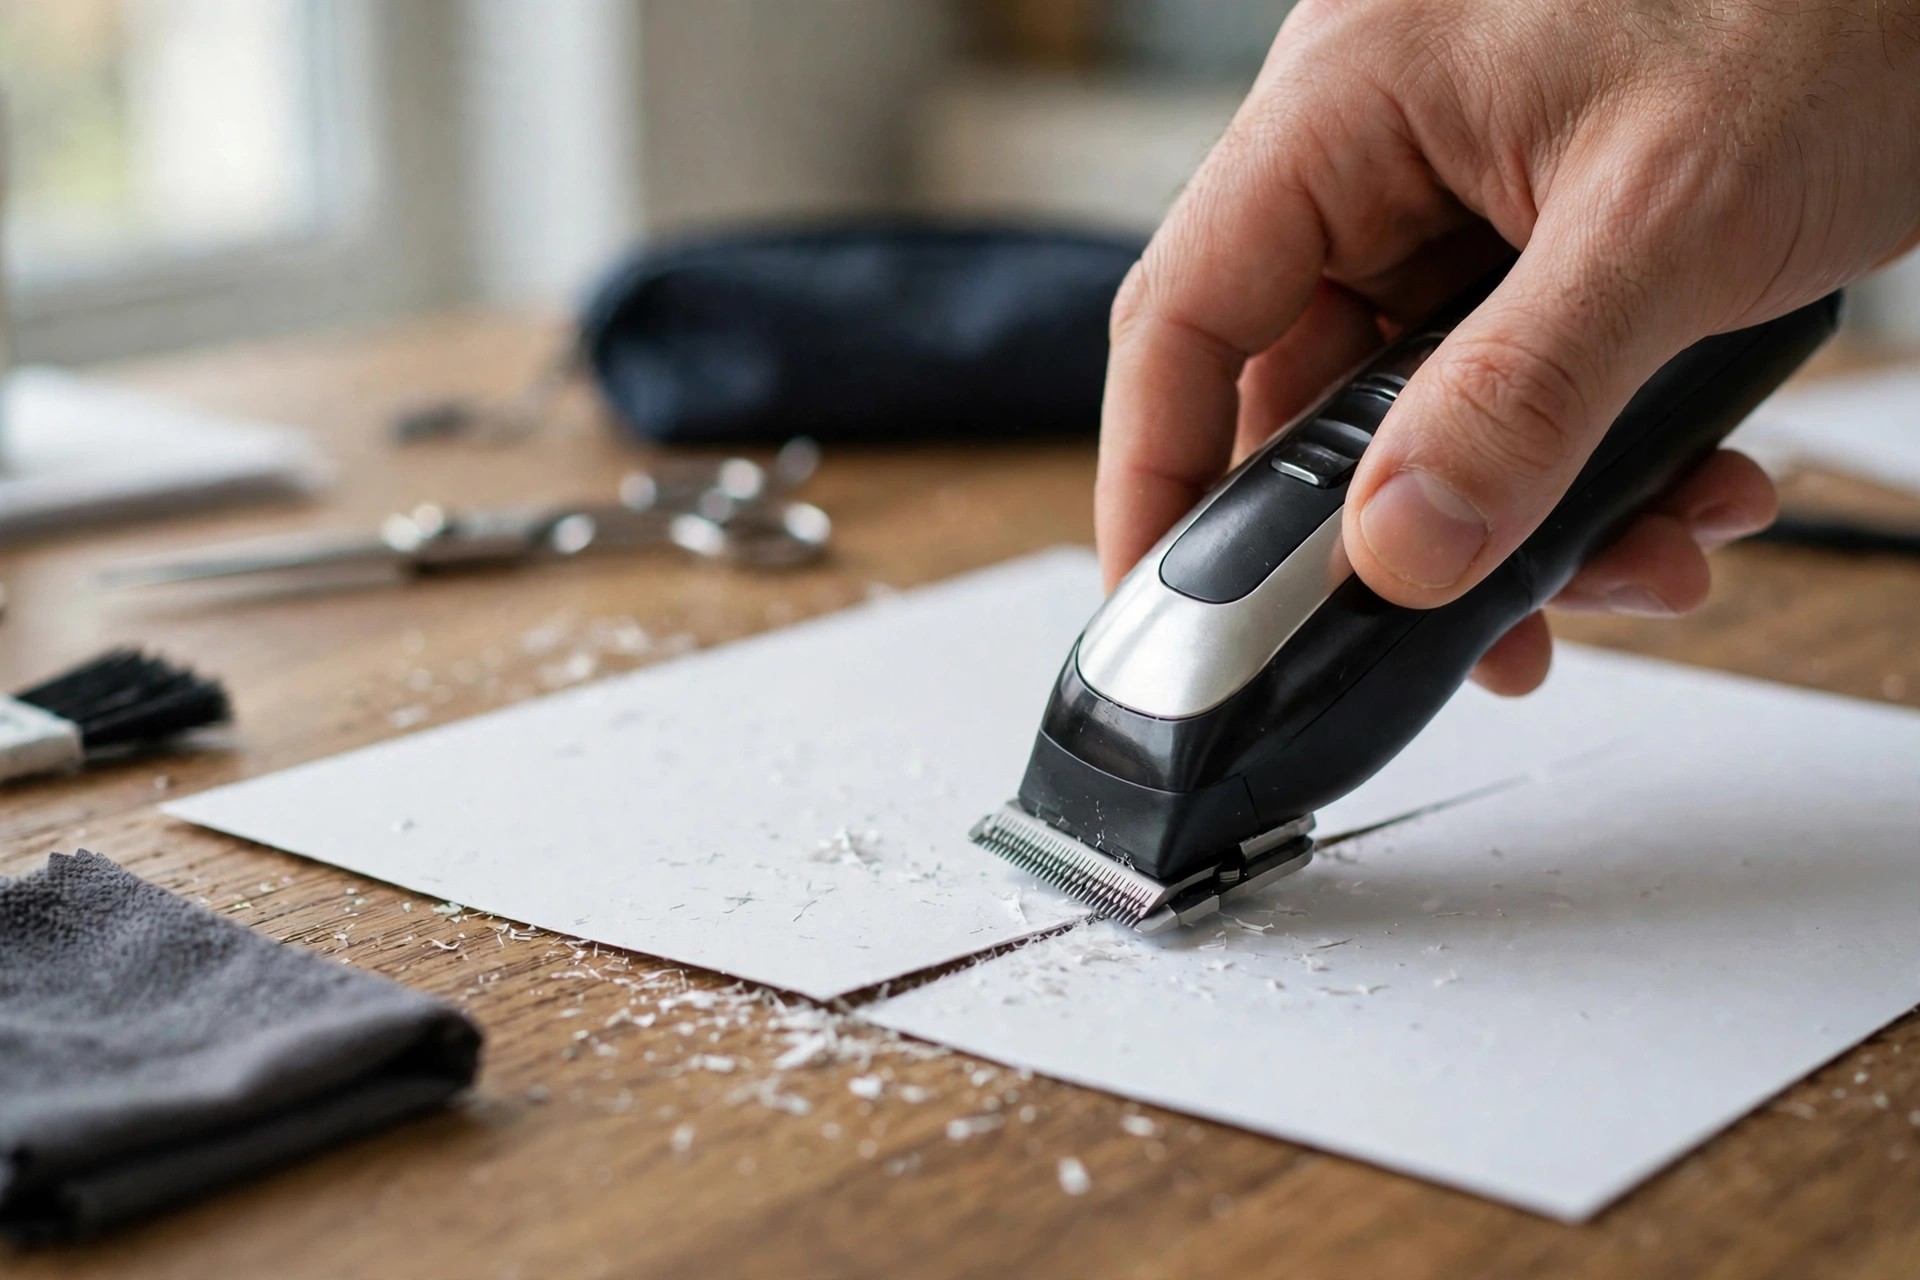
Try the trimmer on a small patch of hair. The cut should feel clean and even. Hair that pulls means blades still sit out of line. Shift a bit and test the cut once more. Redo till the cut feels just right. Small tests, true proof.
Fine tuning lifts how the trimmer cuts, bit by bit. Make small screw shifts one at a time. Test each time you make a small shift. Small shifts make a big gap here. Set screws firm once the cut feels right. One shift, one test.
Step 5: Maintain Blades and Stay Safe
Clean the blades each time you use the tool. Use a small brush and blade oil. Oil stops rust and keeps the run smooth. Steady cleans stretch trimmer life a great deal. Check the line-up from time to time for best cuts. Clean blades, keen cuts.
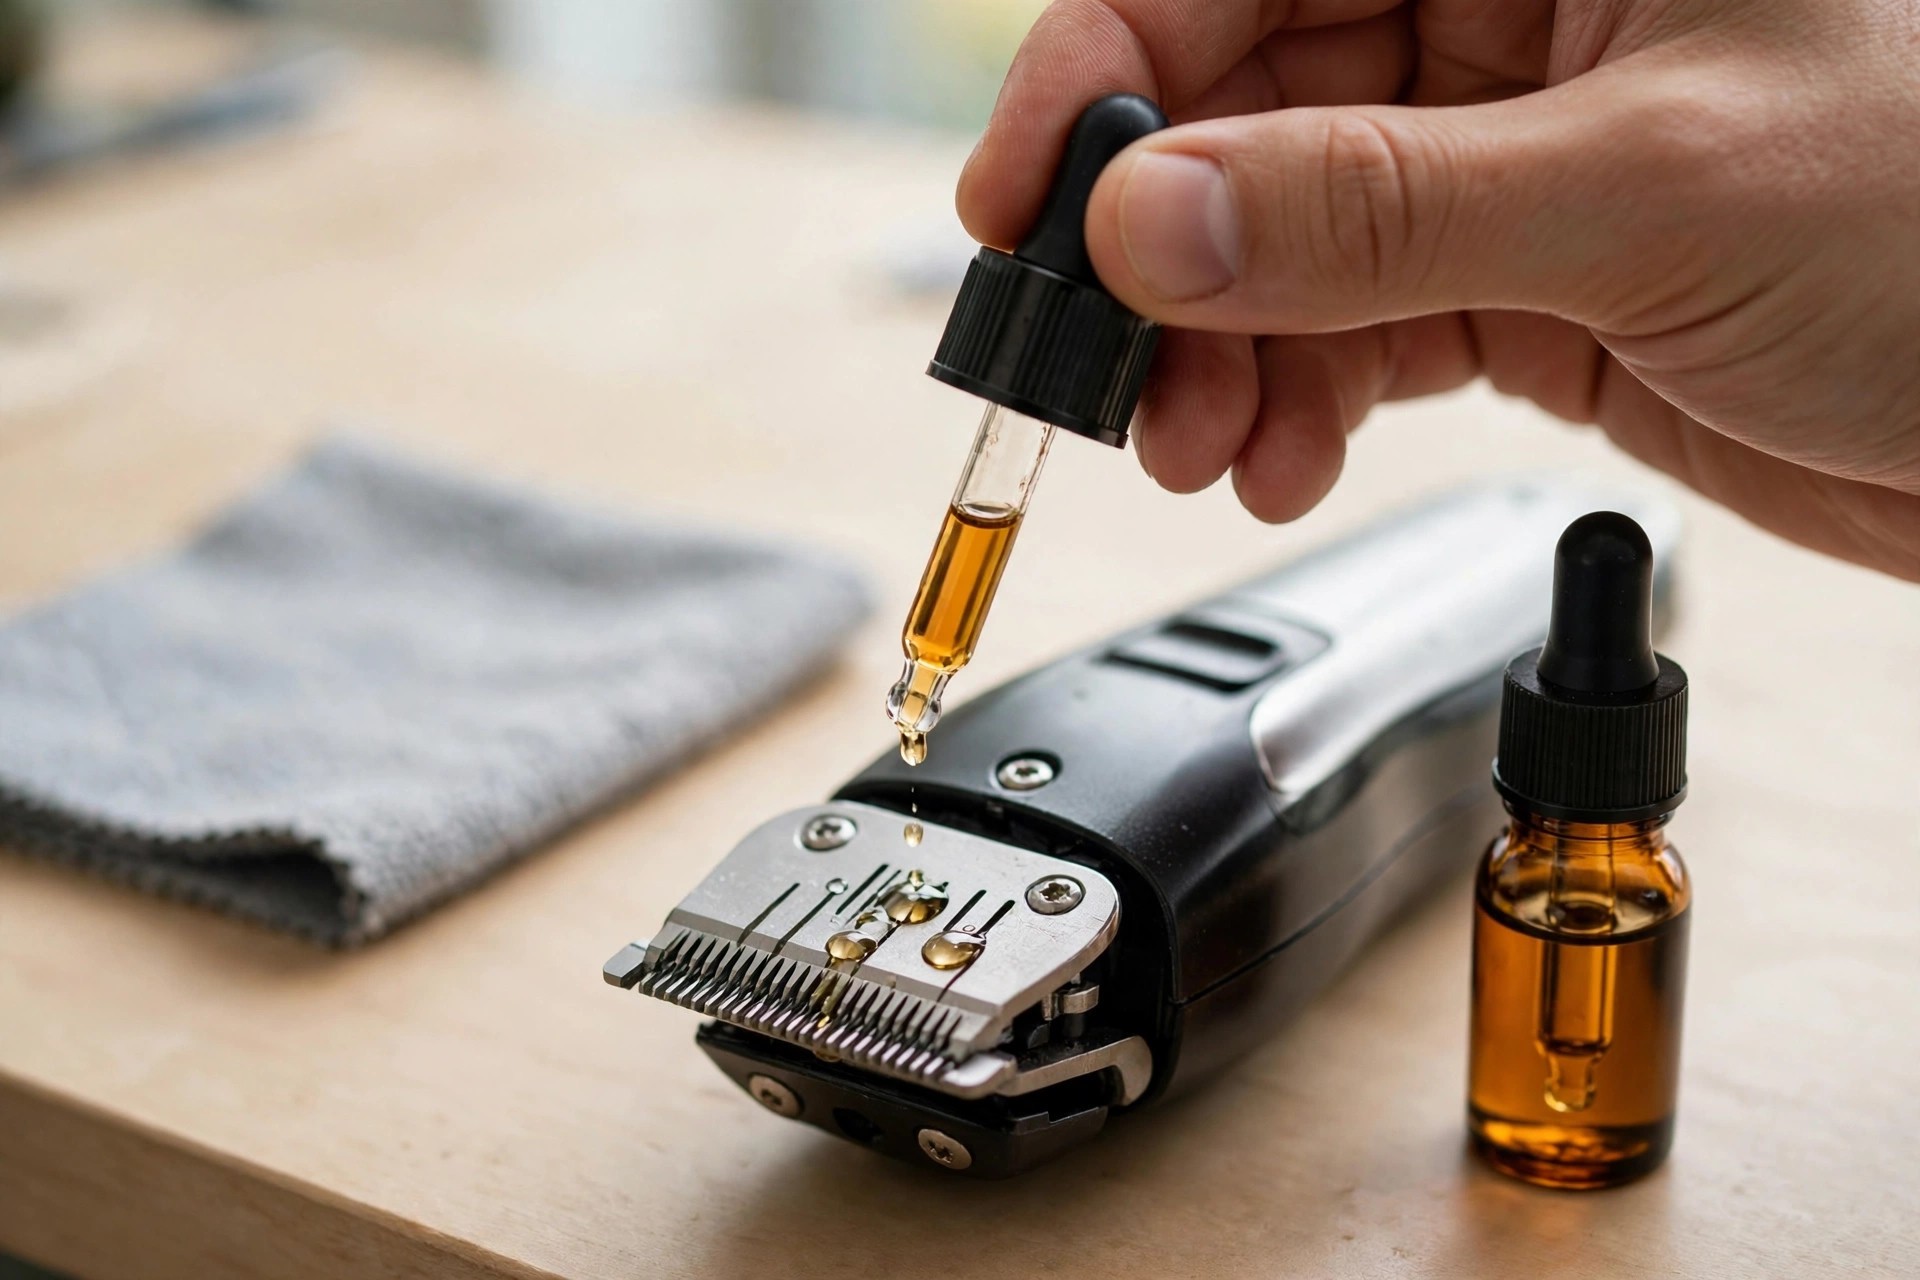
Store the trimmer in a case that guards it. Steer clear of damp spots, since damp breeds rust. Good storage keeps the trimmer in fine form. Watch for dull blades that pull at hair. Our blade changing guide shows safe swap steps. Dry spots guard your tool.
Unplug the trimmer each time before blade work. That stops stray cuts and shocks from the cord. Use the right tools so screws stay sound. These steps keep all hands safe each day. Our assembly guide shows the right fit order too. Safe hands, safe work.
Aliases of Trimmer Blade Adjustment
Blade adjustment goes by a few shared names these days. Barbers oft say blade tuning in its place. Tuning means small shifts for the best cut. It names just what the fix does here. The goal stays the same by each name. Names change, work does not.
Blade alignment is one more wide-spread term. It stresses blades kept straight and in line. True line-up gives smooth cuts with no pulls. Blade calibration shows up in tech books oft. That term means tools set to their best state. Each term points one way.
Blade leveling shows up in pro groom shops. Leveling means both blades made even as one. That gives an even cut on all spots. What name you use, the aim stays the same. Peak work stays the shared goal at all times. Even blades, even cuts.
Benefits of Properly Adjusted Trimmer Blades
Blades in line give smooth, even cuts each day. They stop hair from tugs and pulls. Ease grows at each trim from start to end. Smooth cuts cut skin sore risks too. A trimmer in line just grooms far well. The proof is in the cut.
Blades out of line wear the motor down fast. True line-up cuts strain on the parts in there. The trimmer then lasts far long, as a rule. Steady work counts most for pro barbers. Clients prize trust-worth work at each visit. Pros guard their tools well.
Blades in line save power as you work too. Keen blades use less power at each use. Cordless trimmers gain more life per charge. Steady fixes save cash as years go by. Fewer swaps mean low groom costs, as a rule. Small care, real savings.
Common Issues During Trimmer Blade Adjustment
Screws can fight back once years of use pile up. Rust and tight threads make turns hard work. A screwdriver of wrong size strips screws with ease. Use the right tool for each screw, each time. A drop of oil frees stuck screws quite well. Force breaks more than screws.
| Issue | Fix |
|---|---|
| Screws will not loosen | Right screwdriver plus a drop of oil |
| Blades shift back | Check screw tightness once more, find the balance |
| Blades too tight | Loosen bit by bit, add oil, test for heat |
| Uneven cutting | Check the gap with a small ruler |
| Debris between blades | Clean in full before you adjust once more |
Blades set too tight cause heat from rub. Too much heat harms blades and the motor in there. Stop at once when the trimmer heats up fast. Recheck blade tightness and oil right away. Our oiling guide covers day-to-day blade care in full. Heat is a clear warn sign.
Rough cuts tend to mean line-up off, up-down or side-to-side. A small ruler checks the gap with care. Rough cuts vex you and waste your time. Steady fixes keep cuts even at all times. Clean blades first to stop most faults. Most faults start with grit.
Professional Tips for Trimmer Blade Adjustment
Clean blades before and after each fix. Use a small brush and rubbing alcohol. Clean blades cut hair pulls and lift the cut. Put good blade oil on after each fix. A few drops spread in an even coat on the blades. Clean, oil, then adjust.
Check the line-up oft, most with day-to-day use. Line-up can drift in plain use at times. A fast look with your eyes saves time later. Shift a bit when a thing looks off line. Our fixing guide covers harm signs you can mend in full. Eyes first, tools next.
Make small shifts, one step at a time, each time. Big shifts cause bad line-ups and harm fast. Loosen screws just far for a slight shift. Tighten in small steps and check the line all the while. Good tools lift grip and fine work a great deal. Small steps, sound work.
Think of a short trimmer care course one day. Pro schools teach skills and tips of use. What you learn from pros lifts skill and trust. Good tools and habits stretch trimmer life. That spend pays off for lots of years. Skill is a tool too.
Frequently Asked Questions
These answers use this guide’s own points and no more. They track the steps set out above with care. Short answers close the guide at the end. Maker pages like Philips OneBlade share their own blade facts. Brand facts back these steps up. Read them if you wish.
What tools do I need to adjust trimmer blades?
You need a screwdriver, a small brush, and blade oil. The screwdriver loosens and tightens the screws. The brush clears grit from the blades. Blade oil keeps blades slick as they run. Gear at hand makes the job smooth and fast.
How often should I check my trimmer blade alignment?
Pro barbers check the line-up before each use. Home users should check it once a month. Oft checks keep cuts at their best each time. They cut down on pulls and rough cuts too. Once a month suits most home users well.
Why are my trimmer blades overheating?
Heat comes from rub in blades out of line. Dry blades with no oil build heat fast too. Good oil cuts rub and stretches blade life. Heat that stays may flag strain in the motor. That fault needs a pro check and fix.
Can poorly adjusted trimmer blades cause skin irritation?
Yes, blades set wrong pull hair in place of cuts. Bad line-ups cause rough trims and pain oft. They can cause nicks at trim time too. Steady checks stop sore skin and guard it well. Ease turns on true line-up each time.
How can I extend the life of my trimmer blades?
Clean, line up, and oil blades on a set plan. Store the trimmer in a dry, cool spot. Keep it off all but hair when you use it. That habit stops blades from dull too fast. These steps keep top work for a long time.
Conclusion: How to Adjust Trimmer Blades
So, how to adjust trimmer blades with full trust these days? Pick up your tools, clean the blades, and loosen the screws. Line them up straight and tighten them slow. Test the cut and fine-tune till it runs smooth. Steady care keeps the cut the same each time. The steps are short and plain.
To know shared faults saves time and cash at all times. Pro tips lift each groom round still more. Keep your trimmer clean, oiled, and in line. It will serve you well for years. Small habits give pro-grade cuts each day.

I’m Patricia D. Johnson, an affiliate marketer and blogger specializing in trimmers and grooming tools. I create honest reviews, buying guides, and practical tips to help readers choose the right trimmer for their needs. With a focus on quality, performance, and value, I simplify the decision-making process so consumers can make confident purchases.