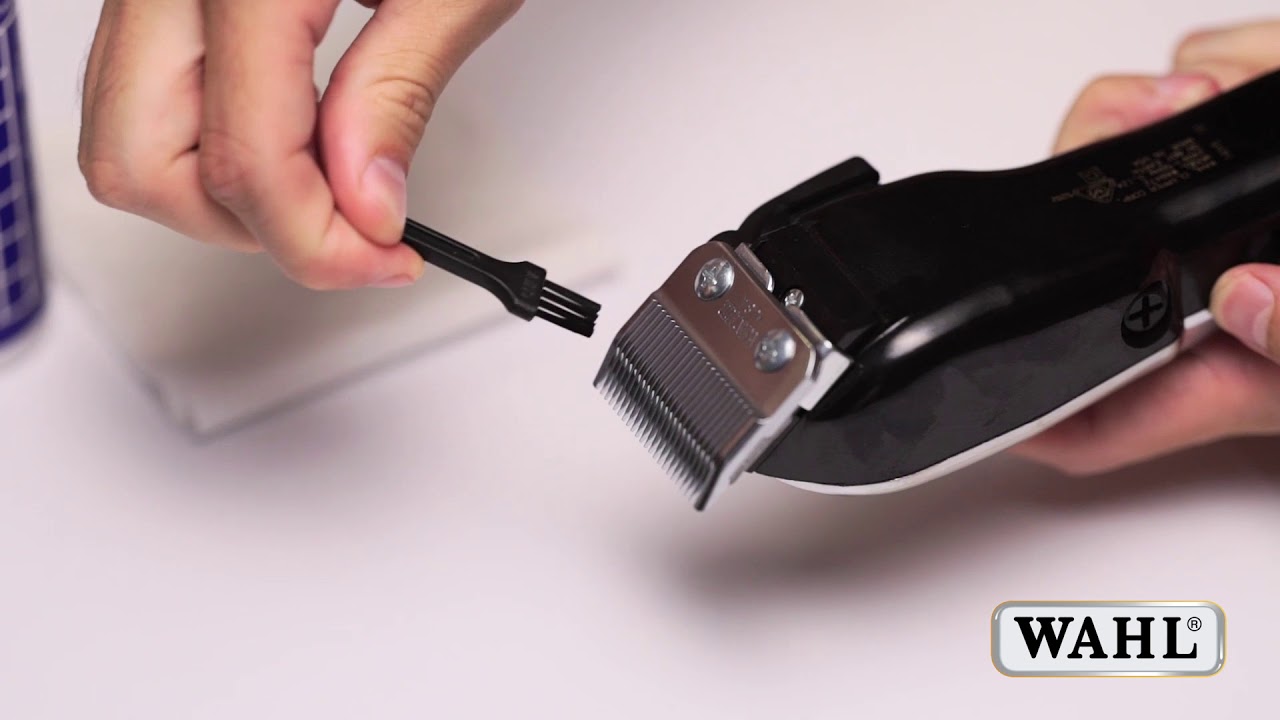
Where to Apply Oil in Trimmer
Apply oil to the blades and moving parts of your trimmer. This keeps the trimmer smooth and extends its lifespan greatly. Oil cuts friction and stops wear on blades and moving parts. Skipping this step can cause poor cuts and costly damage. A well-oiled trimmer cuts better and lasts longer each year.
Use a few drops of oil after each use. Your manual may also give its own oiling schedule for you. This guide shows oil spots for electric and gas trimmers. It also covers oil types, steps, and common mistakes clearly. Short answers close the guide at the end for quick help.
Later sections explain oil spots and oil types in detail. Blade, motor, and shaft steps follow after those sections. Mistakes and a maintenance schedule close the guide at last. Careful oiling keeps trimming safe and smooth always. Small routines deliver clean results every single time.
Quick answer: Apply oil to the blades and moving parts of your trimmer. Electric trimmers need oil on blades, and sometimes the spool shaft. Gas trimmers also need 2-cycle oil mixed with gasoline for engines. Use light machine oil on blades and trimmer oil on shafts. A few drops are enough, and never use motor or cooking oil.
Where to Apply Oil in Trimmer: The Main Spots
Oil goes on the blades and moving parts of your trimmer. Electric and gas trimmers have different oil spots and needs. Knowing each spot helps you oil the right parts with care. The sections below cover electric and gas trimmers in detail. Check your manual for spots that are unique to your model.
Electric Trimmers
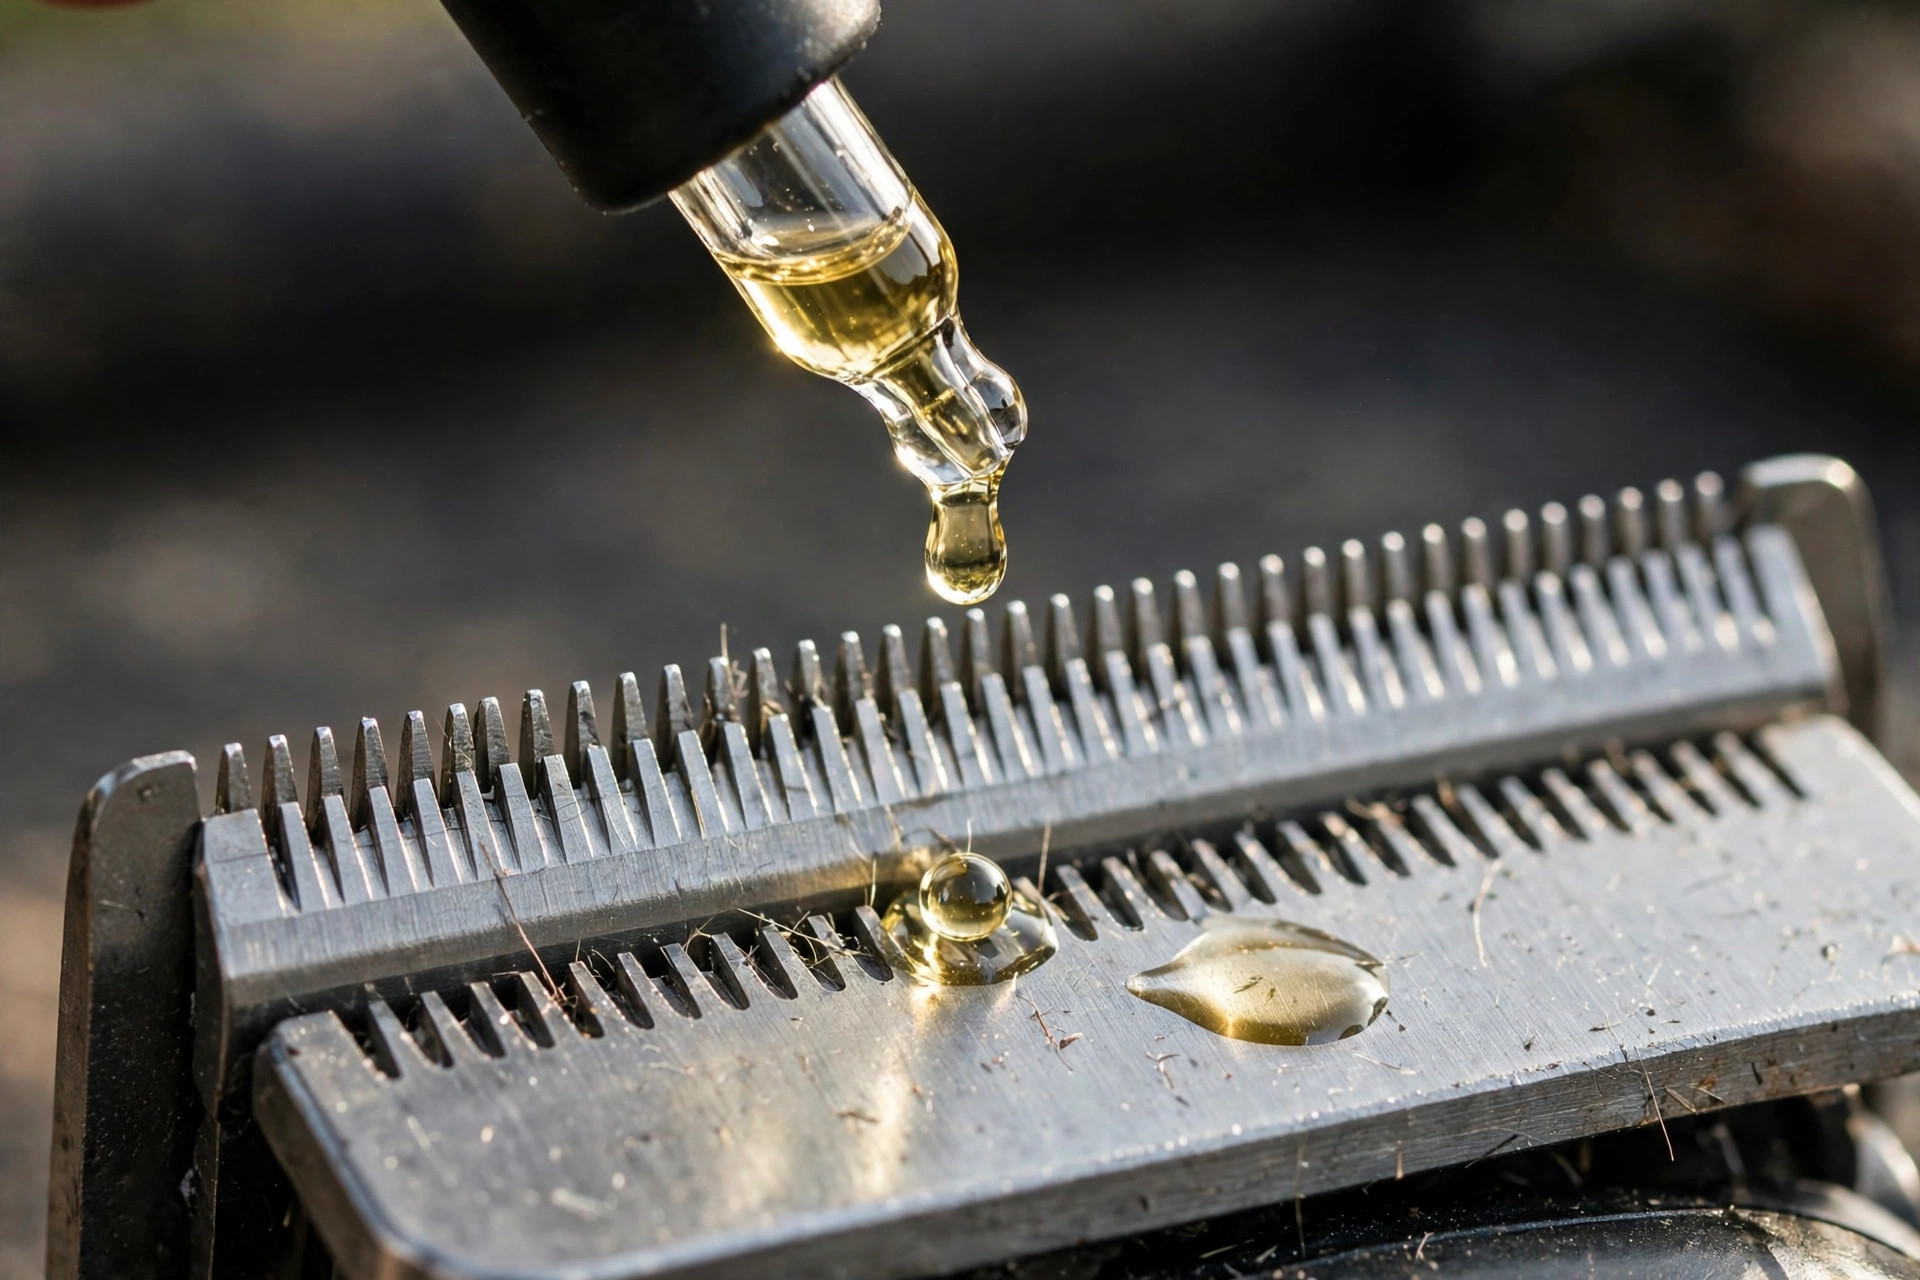
Electric trimmers are easy to use and need little care. Apply a few drops of oil directly on the blades daily. Check the manual to see if the motor needs oil. Some models might need oil on the spool shaft too. Our oiling guide explains blade lubrication for smooth use.
Gas-Powered Trimmers
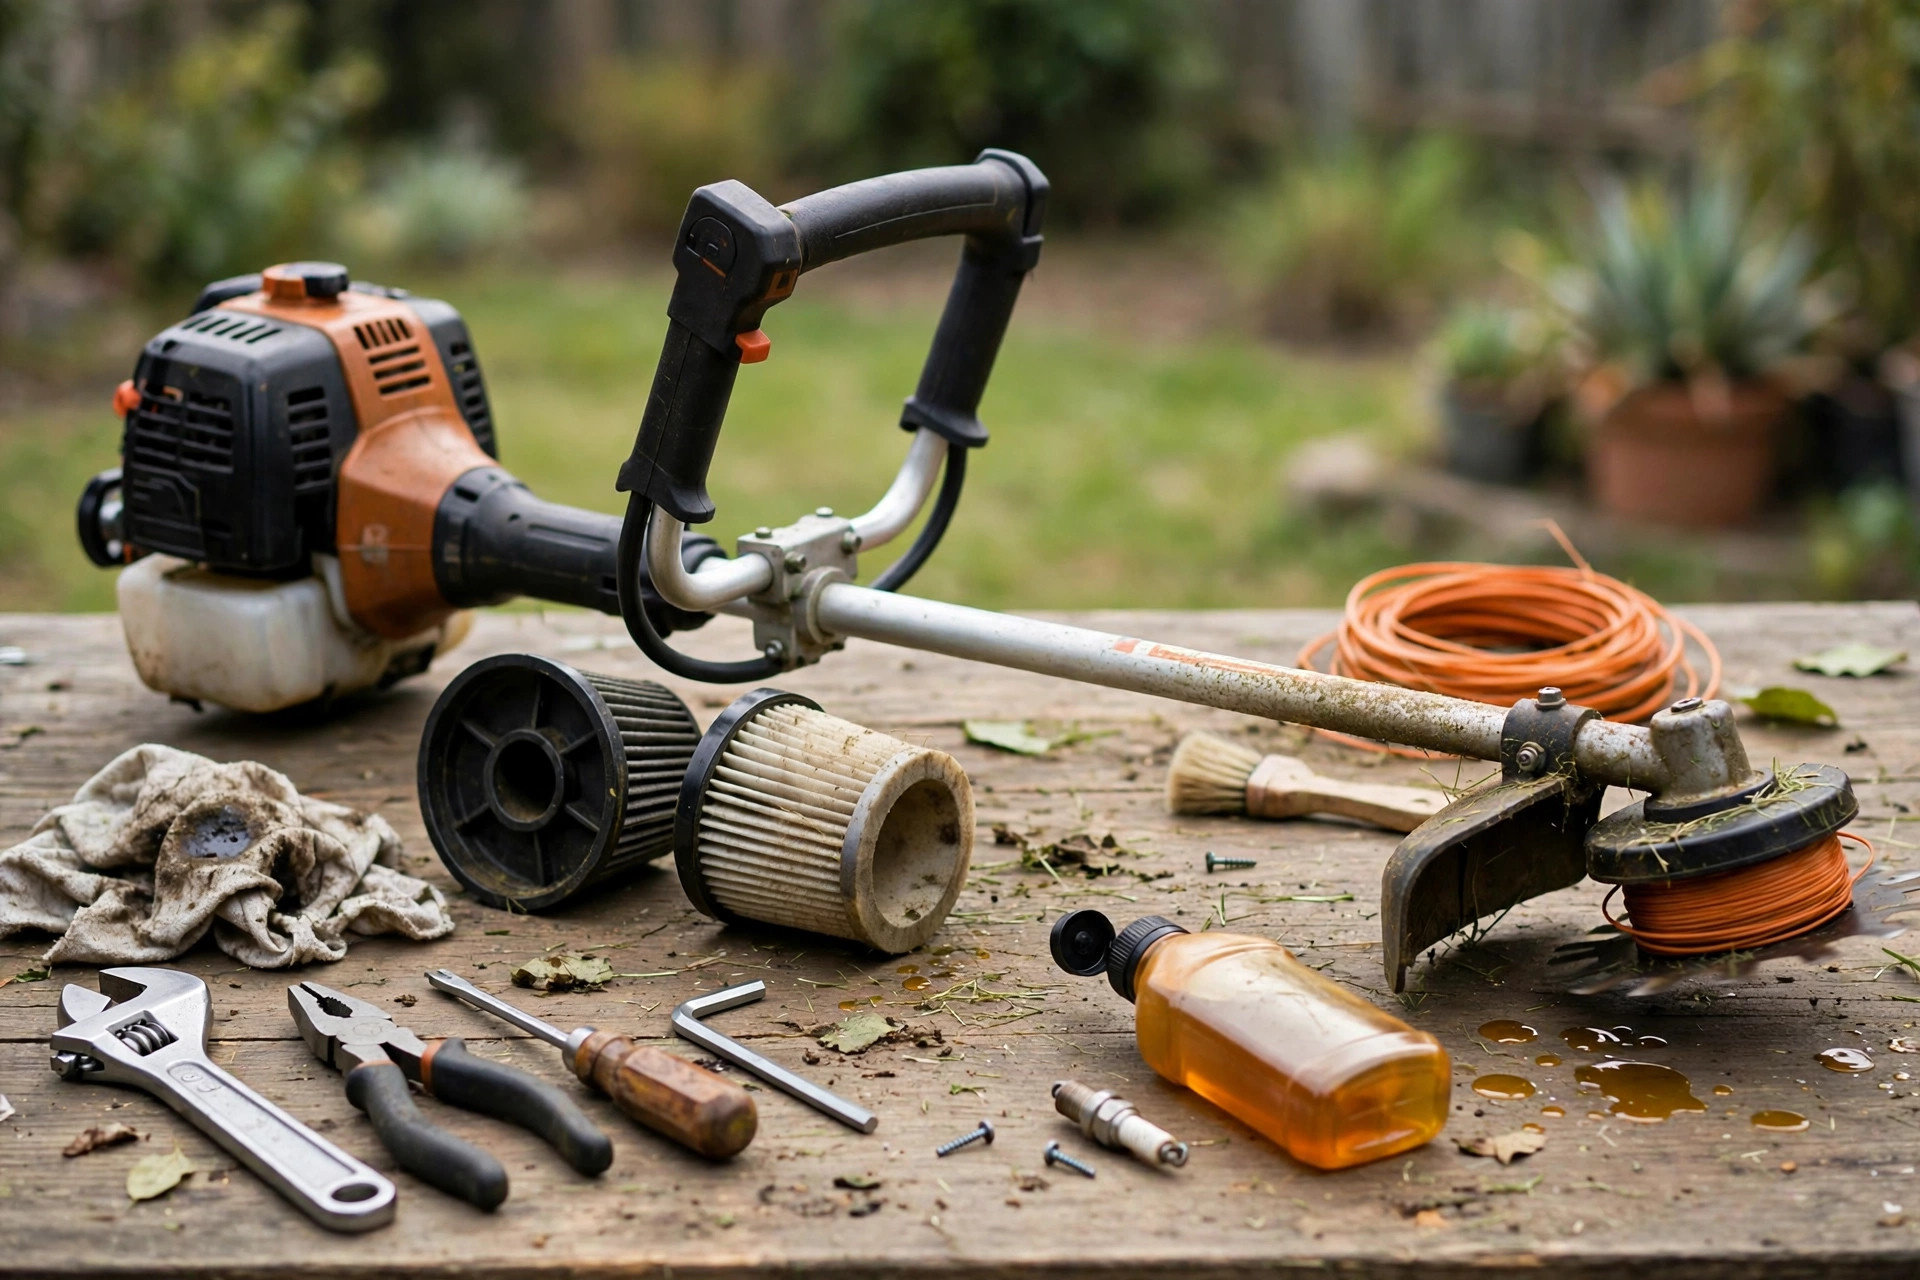
Gas-powered trimmers suit larger areas and have more parts. They need oil on the engine, blades, and air filter. Mix 2-cycle oil with gasoline as the instructions say. Lightly coat the air filter with filter oil for clean air. Always follow the maker guidelines for your exact trimmer model.
| Part | Oil Type | Application |
|---|---|---|
| Engine | 2-cycle oil | Mix with gasoline as per instructions |
| Blades | Light machine oil | Apply directly on the blades |
| Air filter | Filter oil | Lightly coat the air filter |
Choosing the Right Oil
The right oil keeps your trimmer parts smooth and working well. Different oils serve different purposes, so choose with care daily. The sections below explain oil types and trimmer fit clearly. Always use the oil type your manual recommends for your model. The wrong oil can clog parts and damage blades over time.

Oil Types
Mineral oil suits basic lubrication needs at a low cost. It is affordable and widely available in most hardware stores. Synthetic oil offers superior protection under extreme conditions daily. Blended oil mixes mineral and synthetic oils for balanced performance. Pick the oil that matches your trimmer and your workload.
Compatibility With Trimmers
Not all oils work with every trimmer, so check first. Check your trimmer manual for its recommended oil type. Mineral oil suits basic trimmers and home use each day. Synthetic oil suits pro trimmers and high-performance models well. Blended oil suits all-purpose trimmers for general yard work.
| Oil Type | Compatible Trimmers |
|---|---|
| Mineral Oil | Basic trimmers, home use |
| Synthetic Oil | Professional trimmers, high-performance models |
| Blended Oil | All-purpose trimmers |
Oiling the Blades
Oiling the blades keeps them smooth and rust-free each day. It also extends the life of your trimmer by years. The steps below take only a few minutes at home. The table after them shows how often to oil by use. Follow your maker guidelines for the best results each time.

Step-by-Step Guide
Turn off and unplug the trimmer before you start work. Clean the blades with a brush or cloth to remove debris. Hold the trimmer with the blades facing down for oiling. Our cleaning guide covers careful cleaning routines for tools.
Apply a few drops of blade oil or light machine oil. Turn the trimmer on for a few seconds to spread oil. Wipe off any excess oil with a clean cloth.
Frequency of Oiling
Oiling frequency depends on how often you use the trimmer. Daily use needs oiling every week for sharp, smooth blades. Weekly use needs oiling every month for best results daily. Occasional use needs oiling every two months for smooth cuts. Our sharpening guide explains safe edge care for blades.
| Usage | Oiling Frequency |
|---|---|
| Daily | Every week |
| Weekly | Every month |
| Occasionally | Every two months |
Please note: This guide says to oil after each use in its intro. The table above gives a usage-based schedule instead of that. Both lines are kept as written in the original post. Follow the schedule that matches how often you use it. Check your manual for its own oiling advice as well.
Oiling the Motor
Motor oil keeps the motor smooth and stops heat buildup. It lowers friction and wear so the motor lasts longer. Without oil, the motor may overheat and fail over time. The steps below show how to oil a motor with care. Our cut safety guide explains how to avoid nicks and cuts.
Importance of Motor Lubrication
Motor lubrication is crucial for the best trimmer performance daily. It lowers friction and heat while stopping wear and tear. A well-oiled motor runs quietly and works with great ease. Without proper oiling, your trimmer might overheat and fail fast. Regular oiling keeps the motor parts moving smoothly each day.
Motor Oiling Techniques
Turn off and unplug the trimmer before you oil the motor. Locate the motor area, which sits near the blades inside. Use a small brush to remove dust and debris with care. Add a few drops of high-quality motor oil to marked spots. Rotate the motor by hand, then wipe off extra oil.
Oiling the Drive Shaft
The drive shaft links the motor to the blades inside. Oil keeps it moving smoothly and stops wear over time. A dry shaft can seize up and make trimming fail. The sections below explain why it matters and how to oil it. Oil the shaft every few uses for smooth trimming daily.
Why It Matters
The drive shaft is a crucial part of your trimmer. It connects the motor to the blades for each cut. Oil lowers friction and wear on the shaft each day. This extends the life of your trimmer by years. A dry shaft can seize and stop the trimmer at once.
How to Apply Oil
Turn off and unplug the trimmer before you start work. Locate the drive shaft access point near the motor inside. Remove the cover to expose the drive shaft with care. Clean the shaft with a dry cloth to remove dirt. Apply a few drops of trimmer oil, then replace the cover.
Plug in the trimmer and turn it on now. Run it for a few seconds to spread the oil. Do not over-oil, since a few drops are enough each time. Our repair guide explains deeper fixes for stubborn trimmer faults.
Common Mistakes to Avoid
Many people oil trimmers the wrong way and cause harm. Two mistakes cause most damage: over-oiling and wrong oil. The sections below explain both mistakes in clear detail. Avoid both to keep your trimmer sharp and working well. A few drops are enough for almost every trimmer model.
Over-Oiling
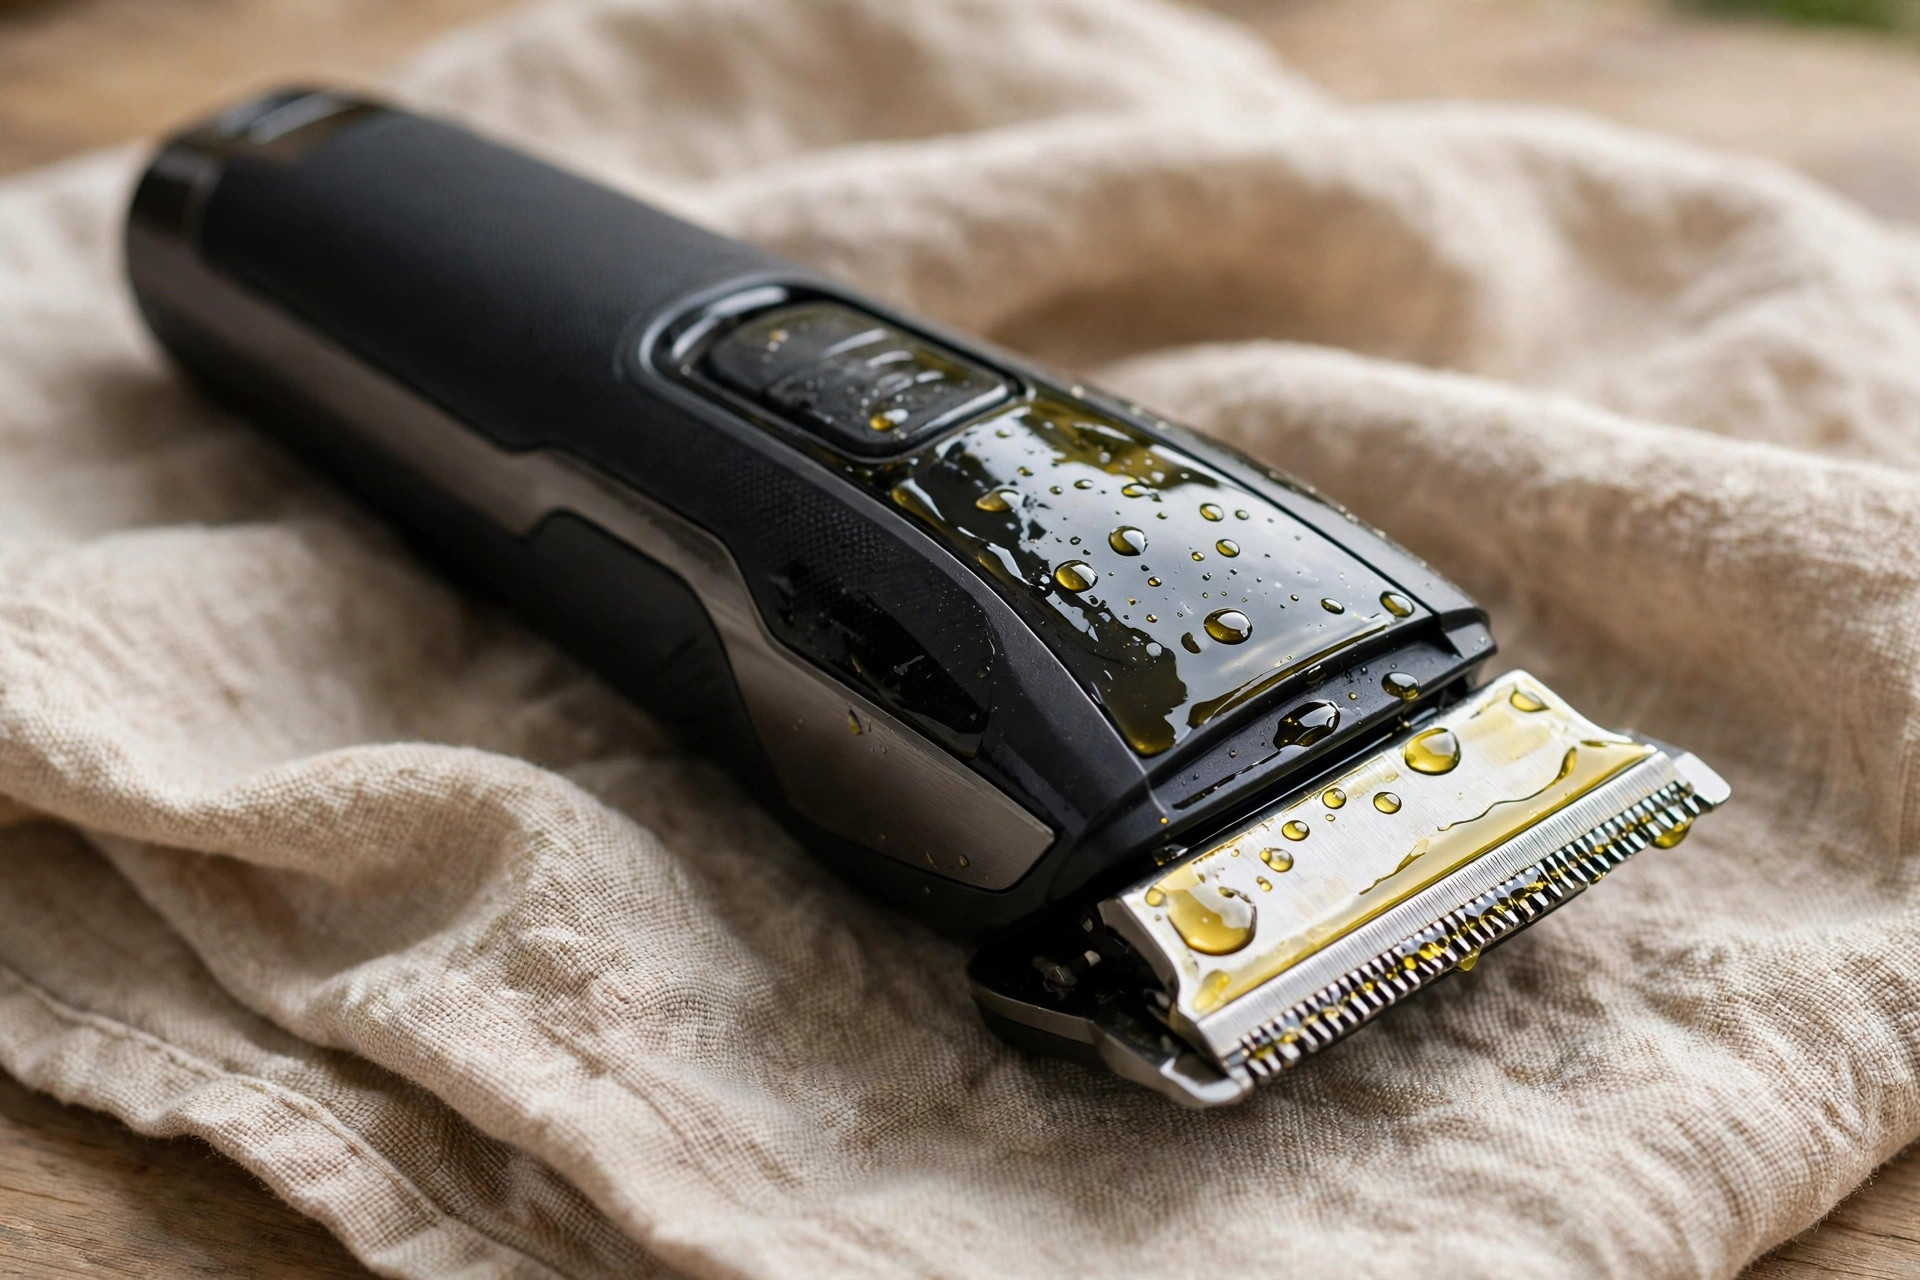
Too much oil can cause problems for your trimmer fast. Excess oil attracts dirt and debris that clog trimmer parts. Oil dripping from the trimmer shows you used too much. Sticky blades and weak cuts also point to over-oiling daily. Follow the manual, since a few drops are enough each time.
Using Incorrect Oil
Not all oils suit trimmers, so check before you pour. Motor oil or cooking oil can damage the blades badly. Always use oil your maker recommends for your trimmer model. The right oil keeps blades sharp and the trimmer smooth. Our blade fix guide explains how to fix a damaged trimmer blade.
| Suitable Oils | Unsuitable Oils |
|---|---|
| Trimmer Oil | Motor Oil |
| Clipper Oil | Cooking Oil |
| Light Machine Oil | Olive Oil |
Maintenance Schedule
A regular schedule keeps your trimmer in top shape daily. It stops surprise breakdowns and extends the trimmer life greatly. The sections below cover a daily routine and seasonal tips. Follow the routine that matches your trimmer use each week. The STIHL site lists trimmer guidance for many yard jobs.

Creating a Routine
Daily care means wiping the trimmer clean after each use. Weekly care means checking blades and adding a few drops. Monthly care means a deep clean and tightening loose screws. Remove the blades and brush out trapped debris each month. Our full-charge guide explains how to know charging is done.
Seasonal Maintenance Tips
Spring means checking for winter damage and oiling the blades. Summer means cleaning more often and storing in cool shade. Fall means checking wear from summer and oiling the blades. Winter means a deep clean and oil before long storage. Store the trimmer dry to stop rust during cold months.
| Season | Maintenance Tips |
|---|---|
| Spring | Inspect the trimmer for any winter damage. Oil the blades to prepare for increased use. |
| Summer | Clean the trimmer more frequently due to sweat and increased use. Store in a cool, dry place to avoid overheating. |
| Fall | Check the trimmer for any wear and tear from summer. Oil the blades to keep them in top condition. |
| Winter | Store the trimmer in a dry place to prevent rust. Perform a deep clean and oil the blades before long-term storage. |
Frequently Asked Questions
These answers repeat this guide’s own points only. They follow the same steps explained above closely. Short answers close the guide at the end. Read them before you oil your trimmer at home.
Where do you put oil in a trimmer?
Open the oil fill cap near the engine or motor. Pour oil into the designated reservoir with care daily. For blades, apply a few drops directly on the edges. Check your manual for the exact oil spots on your model.
How do I put oil in a hair trimmer?
Turn off and unplug the hair trimmer before you start. Apply a few drops of oil on the blades with care. Turn it on briefly to spread the oil evenly each time. Wipe off extra oil and repeat this care on a schedule.
How do I lubricate a trimmer blade?
Clean the blade with a soft brush before you oil. Apply a few drops of clipper oil along the blade. Turn on the trimmer for a few seconds to spread oil. Wipe off extra oil and repeat this care on a schedule.
Are you supposed to oil trimmers?
Yes, you should oil trimmers on a regular schedule. Oil keeps the trimmer smooth and extends its lifespan greatly. Use the oil your maker recommends for your trimmer model. A few drops are enough for almost every trimmer model.
How often should I oil my trimmer blades?
Daily use needs oiling every week for sharp, smooth blades. Weekly use needs oiling every month for best results daily. Occasional use needs oiling every two months for smooth cuts. Check your manual for its own oiling advice as well.
Conclusion: Where to Apply Oil in Trimmer
So, where to apply oil in trimmer parts at home? Oil the blades, motor, and drive shaft with a few drops. Gas trimmers also need 2-cycle oil mixed with gasoline. Use light machine oil on blades and trimmer oil on shafts. Never use motor oil, cooking oil, or olive oil.
Follow the oiling schedule that matches your trimmer use. Oil the blades weekly for daily use and monthly for weekly use. Store the trimmer dry and clean it after each use. A few drops keep your trimmer smooth for years daily. Good care delivers clean results every single time.
