
To restring a Hart 20V weed eater, first, ensure the device is off and remove the battery. Unscrew the trimmer head and wind the new line spool following the arrows.
Maintaining your Hart 20V weed eater is crucial for optimal performance in yard maintenance. A common task for any line trimmer is the replacement of the string. Whether you’re an experienced gardener or a new homeowner, knowing how to restring your weed eater is an essential skill that can save time and frustration.
This guide will provide straightforward instructions on how to replace the string, ensuring your Hart 20V weed eater continues to efficiently trim grass and weeds. With the right technique, restringing can be done quickly, getting you back to perfecting your lawn with minimal downtime. Keep your Hart trimmer in top condition by following these simple step-by-step instructions.
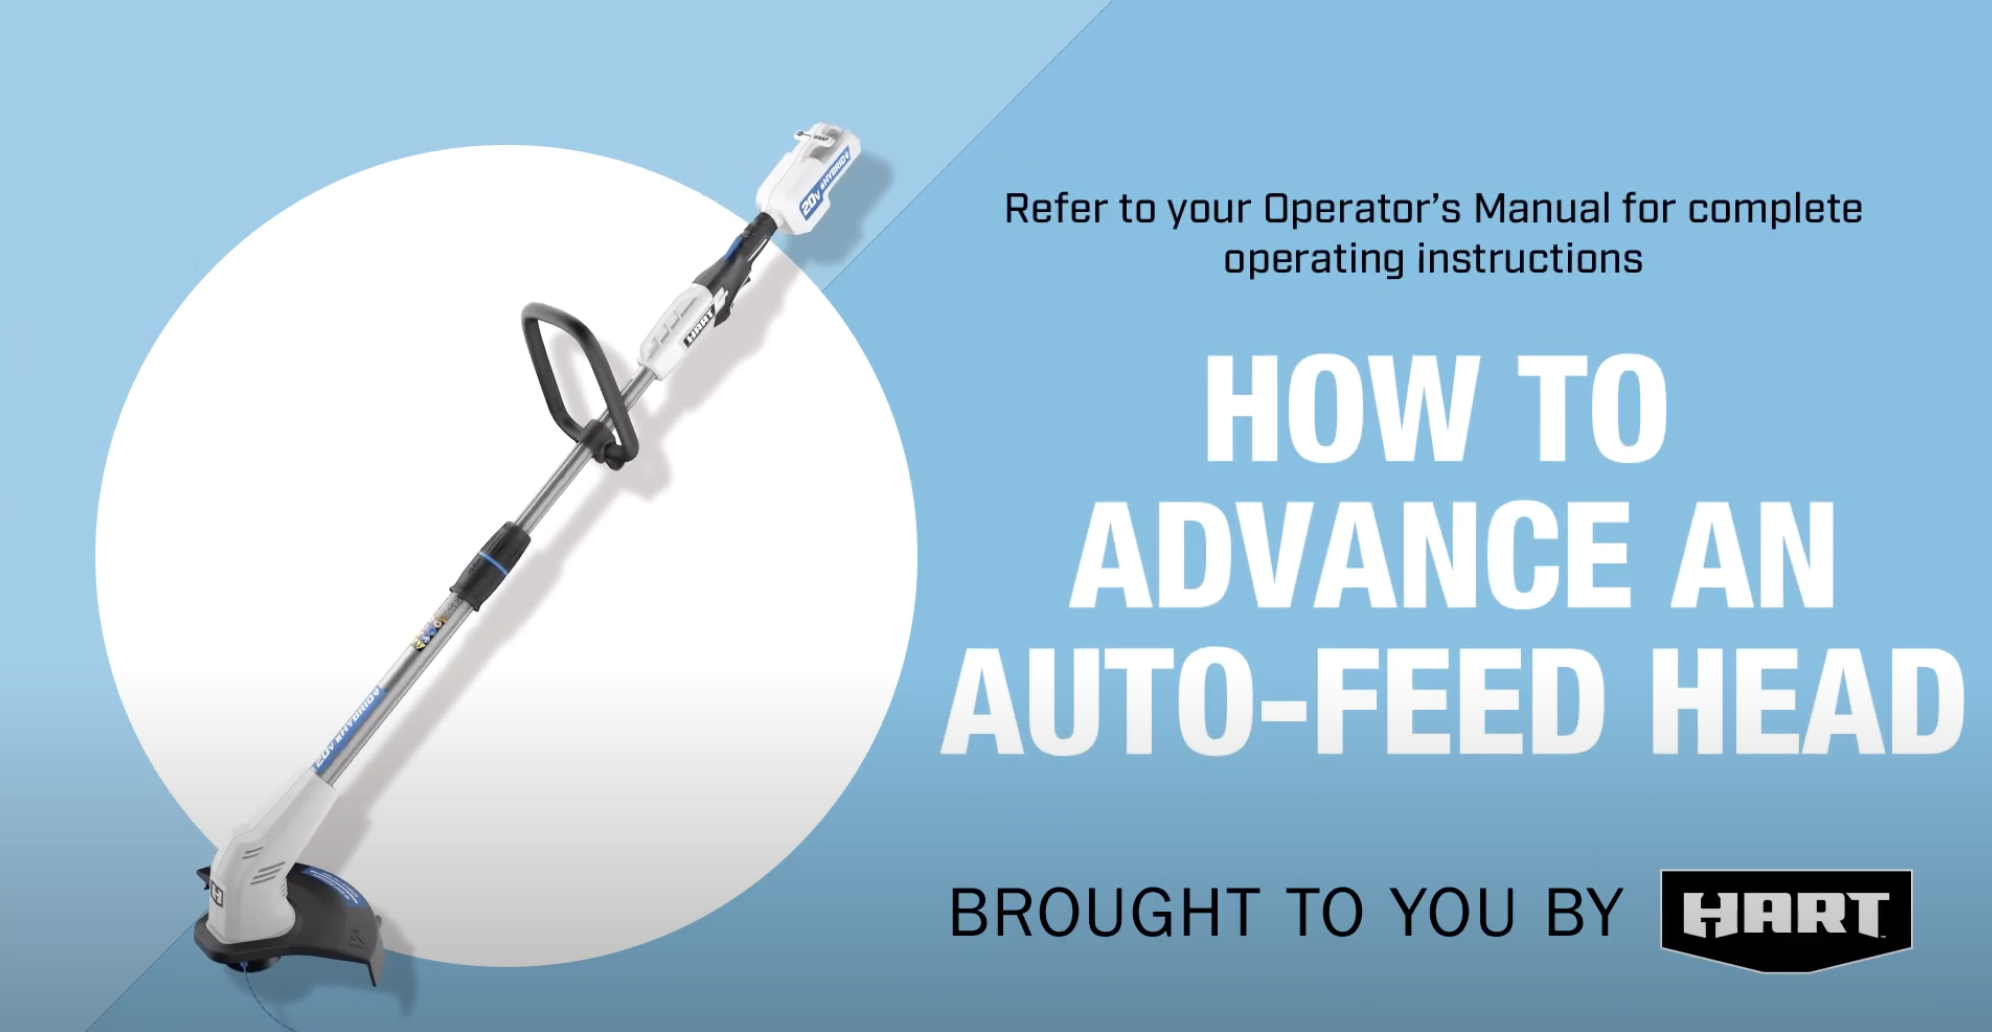
Credit: www.harttools.com
The importance of maintaining your Hart 20V Weed Eater
Maintaining your Hart 20V Weed Eater is crucial to ensure its optimal performance and longevity. As with any tool or equipment, regular maintenance is key to keeping it in top shape and ready for use whenever you need it. The weed eater’s string, in particular, plays a vital role in its functionality. Over time, the string may become worn out, tangled, or even break, making it necessary to restring your weed eater. Neglecting this maintenance task can result in inefficient cutting, reduced power, and an overall frustrating experience.
By taking the time to restring your Hart 20V Weed Eater, you will not only improve its performance but also save yourself from unnecessary expenses of purchasing a new one. In this step-by-step guide, we will walk you through the process of restringing your weed eater, ensuring that you have all the information and guidance you need to successfully complete the task. So, let’s dive in and learn how to maintain your Hart 20V Weed Eater like a pro!
Gather the necessary tools and materials
Before you begin the process of restringing your Hart 20V Weed Eater, it’s essential to gather all the necessary tools and materials. Having everything prepared beforehand will help streamline the restringing process and avoid any unnecessary delays or interruptions.
Here are the tools and materials you’ll need:
- Replacement Trimmer Line: Ensure you have the correct type and size of trimmer line suitable for your Hart 20V Weed Eater. Check the user manual or consult with the manufacturer to determine the appropriate specifications for the trimmer line.
- Safety Gloves: It’s always recommended to wear safety gloves to protect your hands while working with the weed eater. Choose gloves that provide a good grip and are comfortable to wear for an extended period.
- Safety Glasses: Protect your eyes from any flying debris or trimmer line fragments by wearing safety glasses. Opt for glasses that offer proper coverage and have impact-resistant lenses.
- Screwdriver or Allen Wrench: Depending on the model of your Hart 20V Weed Eater, you may need either a screwdriver or an Allen wrench to detach certain components for restringing.
- Towel or Cloth: Keep a towel or cloth handy to clean any dirt or debris that may have accumulated on the weed eater during the restringing process.
Once you have gathered all the necessary tools and materials, you’ll be ready to move on to the next step of restringing your Hart 20V Weed Eater with confidence and efficiency.
Safety precautions before starting the restringing process
Before you begin the restringing process for your Hart 20V Weed Eater, it is crucial to prioritize safety. Taking the necessary precautions will not only protect you from potential accidents but also ensure a smooth and efficient restringing experience.
Firstly, make sure the weed eater is turned off and disconnected from any power source. This is a basic but essential step to prevent any accidental injuries while working on the equipment. Unplug the battery or remove it entirely, if applicable.
Next, put on appropriate safety gear such as safety goggles or glasses to shield your eyes from flying debris. Gloves can also provide added protection for your hands. Remember, prevention is always better than cure, so taking these simple measures can go a long way in keeping you safe.
Additionally, it is advisable to work in a well-ventilated area to avoid inhalation of any potential fumes or dust particles. If you are working outdoors, be mindful of the weather conditions. Windy conditions can make it difficult to control the weed eater and may pose a hazard, so it’s best to wait for calmer weather.
Lastly, familiarize yourself with the manufacturer’s instructions and guidelines specific to your Hart 20V Weed Eater. Different models may have slight variations in their restringing process, so it’s crucial to have a clear understanding of the recommended steps to follow.
By following these safety precautions, you can ensure that your restringing process is carried out safely and effectively, allowing you to maintain your Hart 20V Weed Eater in optimal condition.
How to Restring Hart 20V Weed Eater? Easy Step-by-Step Guide
Restringing a Hart 20V weed eater is a straightforward process that ensures optimal performance when tackling yard work. Follow this easy step-by-step guide to restring your weed eater efficiently and get back to maintaining your lawn with ease.
Step 1: Remove the spool cover and old trimmer line
To restring your Hart 20V weed eater, the first step is to remove the spool cover and old trimmer line. This step is crucial in preparing the weed eater for the restringing process.
Start by locating the spool cover on your Hart 20V weed eater. It is usually situated at the bottom of the trimmer head and can be easily identified by its distinct shape and design. Look for any fasteners, such as screws or clips, securing the spool cover in place.
Once you have located the fasteners, use the appropriate tool, such as a screwdriver or pliers, to carefully remove them. Make sure to keep these fasteners in a safe place to avoid misplacing them during the restringing process.
With the fasteners removed, gently lift off the spool cover from the trimmer head. Take your time and be cautious not to damage any components or lose any small parts.
After removing the spool cover, you will notice the old trimmer line wrapped around the spool. Carefully unwind and remove the old line, making sure to dispose of it properly.
Inspect the spool and trimmer head for any debris, tangled line, or damage. Clean out any dirt or debris that may have accumulated using a soft brush or cloth. This will ensure smooth and efficient operation of your weed eater.
With the spool cover removed and the old trimmer line taken off, you are now ready to move on to the next step in the restringing process. Stay tuned for step 2, where we will guide you through loading the new trimmer line onto the spool.
Step 2: Prepare the new trimmer line
Now that you have removed the old trimmer line from your Hart 20V Weed Eater, it’s time to prepare the new one. Follow these steps to ensure a smooth and successful restringing process.
- Select the right trimmer line: Before you begin, make sure you have the correct replacement trimmer line for your Hart 20V Weed Eater. Refer to the user manual or consult with a professional if you are unsure about the appropriate size and type of line to use.
- Measure and cut the trimmer line: Take the new trimmer line and measure out the desired length, keeping in mind that it should be sufficient to effectively trim your lawn or garden. Use a pair of sharp scissors or a utility knife to cut the line to the appropriate length.
- Check for any tangles or knots: After cutting the trimmer line, inspect it for any tangles or knots that may hinder its proper functioning. If you notice any, carefully untangle or remove them to ensure a smooth operation.
- Preparing the line for insertion: Depending on the type of trimmer head on your Hart 20V Weed Eater, you may need to prepare the trimmer line in a specific way before inserting it. Some trimmer heads require the line to be wound in a particular pattern or threaded through specific holes. Refer to the user manual to determine the correct preparation method for your trimmer head.
- Optional: Soak the trimmer line in water: If you are using a nylon trimmer line, you may want to soak it in water for a few minutes before proceeding. This can help soften the line and make it more flexible, which can enhance its durability and cutting performance.
By following these steps, you will have properly prepared the new trimmer line for restringing your Hart 20V Weed Eater. The next step will be to insert the line into the trimmer head, which we will cover in the next section.
Step 3: Wind the new trimmer line on the spool
Now that you have removed the old trimmer line from your Hart 20V Weed Eater, it’s time to wind the new line onto the spool. This step is crucial for ensuring that your weed eater functions properly and efficiently.
First, locate the trimmer line that is specifically designed for your Hart 20V Weed Eater. It is important to use the correct size and type of trimmer line as recommended by the manufacturer to achieve optimal performance.
Next, take the end of the trimmer line and find the small hole or notch on the spool where you will secure it. Insert the end of the line through this opening, leaving a few inches of excess line sticking out.
Now, start winding the trimmer line evenly and tightly onto the spool. Follow the directional arrows or indicators on the spool to ensure that you wind the line in the correct direction. This is usually indicated by an arrow that shows the clockwise or counterclockwise direction.
As you wind the line, make sure to keep it neat and avoid any overlapping or tangling. Maintaining a smooth and even layer of trimmer line on the spool will help prevent any issues while using the weed eater.
Once you have wound the desired amount of trimmer line onto the spool, leave a small section (about 6 inches) of the line unwound. This will be used for feeding through the trimmer head later on.
Finally, secure the end of the trimmer line in the designated slot or groove on the spool. This will keep the line in place during operation and prevent it from unraveling.
Congratulations! You have successfully wound the new trimmer line onto the spool of your Hart 20V Weed Eater. Now, you’re ready to move on to the next step and reassemble the weed eater for its optimal performance.
Step 4: Thread the trimmer line through the spool eyelets
Once you have prepared the trimmer line by cutting it to the appropriate length, it’s time to thread it through the spool eyelets. This step is crucial in ensuring that your Hart 20V Weed Eater functions properly and efficiently.
Start by locating the eyelets on the spool. These are small holes or slots where the trimmer line will pass through. The number of eyelets may vary depending on the model of your weed eater, but typically there are two or more.
Take one end of the trimmer line and insert it into one of the eyelets. Push it through until a few inches of the line are sticking out from the other side of the spool. Make sure the line is securely inserted into the eyelet to prevent it from coming loose during operation.
Next, move to the next eyelet and repeat the process. Guide the trimmer line through the eyelet, making sure it follows the correct path. It’s essential to follow any guides or arrows indicated on the spool to ensure proper line alignment.
Continue threading the trimmer line through each eyelet, taking care to maintain tension and prevent any tangles or knots. Keep in mind that the line should be evenly distributed around the spool to ensure balanced cutting performance.
Once you have threaded the line through all the eyelets, check that it is securely in place. Gently pull on both ends of the trimmer line to ensure it is tightly held within the spool. If any adjustments are needed, carefully rethread the line or trim any excess length.
Properly threading the trimmer line through the spool eyelets is a crucial step in the restringing process. Taking the time to do it correctly will ensure optimal performance and ease of use when operating your Hart 20V Weed Eater.
Step 5: Reinstall the spool and cover
In this step-by-step guide, we have reached a crucial point in restringing your Hart 20V Weed Eater – reinstalling the spool and cover. This step ensures that your weed eater is ready to get back in action and tackle those overgrown areas with ease.
First, take the spool that you previously removed from the weed eater. Make sure the line is properly wrapped around the spool and secured in place. Double-check for any tangles or loose ends that may hinder the smooth operation of the weed eater.
Next, locate the spool housing on your weed eater. Align the spool with the housing, ensuring that it fits snugly into place. You may need to rotate the spool slightly to align it correctly.
Once the spool is aligned, press it down firmly until you hear a satisfying click. This indicates that the spool is securely in position and ready for use. Take a moment to ensure that all sides of the spool are flush against the housing for optimal performance.
Now, it’s time to put the cover back on. Locate the cover that you removed earlier and align it with the housing. Gently press it into place, making sure that all the tabs and hooks align correctly.
Once the cover is in position, give it a gentle tug to ensure it is secure. You don’t want it coming loose while you’re in the middle of trimming those unruly weeds.
Congratulations! You have successfully reinstalled the spool and cover of your Hart 20V Weed Eater. With this step complete, your weed eater is now ready to be used again, providing you with a well-manicured lawn or garden.
Remember, always refer to your user manual for specific instructions and safety guidelines. By following this step-by-step guide, you can confidently restring your weed eater and keep it in optimal working condition for all your landscaping needs.
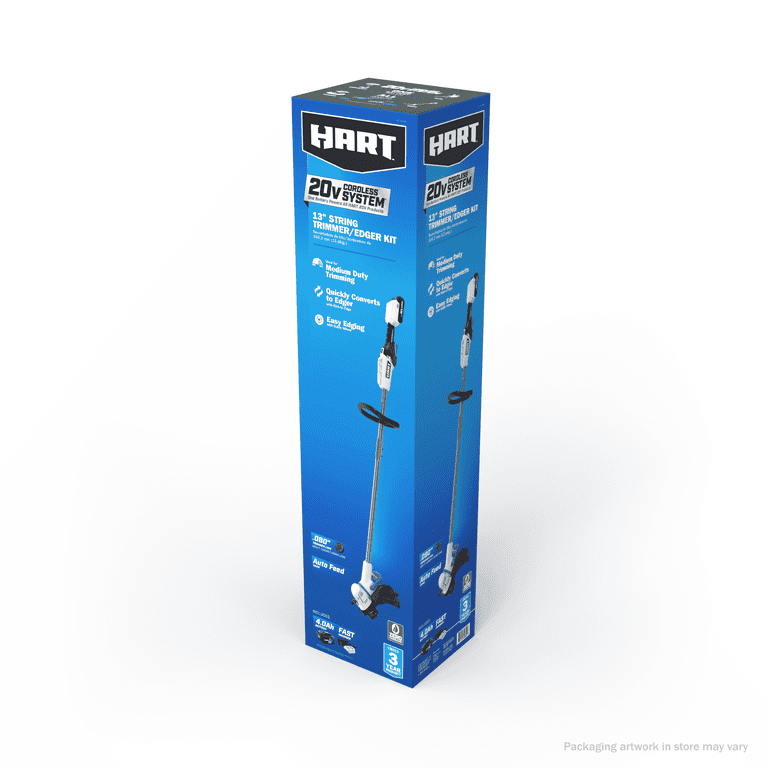
Credit: www.walmart.com
Test and adjust the trimmer line length
Once you have successfully restrung your Hart 20V weed eater, it’s crucial to test and adjust the trimmer line length before putting it to use. This step ensures optimal performance and prevents any potential issues while trimming your lawn or garden.
To begin, turn on the weed eater and let it run for a moment without engaging the cutting head. Observe the length of the trimmer line protruding from the head. Ideally, you want the line to extend just enough to effectively cut through grass and weeds without causing any strain on the motor.
If the trimmer line is too short, it may not be able to efficiently cut through vegetation, leading to an uneven trim or frequent line breakage. On the other hand, if the line is too long, it may cause unnecessary drag, reducing the weed eater’s efficiency and potentially damaging the motor.
To adjust the trimmer line length, follow these steps:
1. Turn off the weed eater and disconnect it from the power source to ensure safety.
2. Carefully remove the spool housing cover, exposing the spool and trimmer line.
3. Examine the length of the line and assess if it needs adjustment.
4. If the line is too short, carefully unwind a small amount of line from the spool. If it’s too long, trim away the excess line using a pair of scissors or a utility knife. Be cautious while handling sharp objects.
5. Once you have made the necessary adjustments, reattach the spool housing cover securely.
6. Turn on the weed eater again and observe the trimmer line length. Repeat the process if further adjustments are needed.
Remember, it’s essential to strike a balance when adjusting the trimmer line length. Aim for a length that allows for efficient cutting without straining the motor or causing unnecessary drag. By taking the time to test and adjust the trimmer line length, you can ensure that your Hart 20V weed eater performs optimally, providing you with clean and precise trimming results every time.

Credit: www.walmart.com
Frequently Asked Questions Of How To Restring Hart 20v Weed Eater
What Tools Are Needed To Restring A Hart Weed Eater?
To restring a Hart 20V weed eater, you’ll need a new spool of trimmer line and a pair of scissors or a cutter. Ensure the trimmer line is the correct diameter for your model.
How Often Should You Replace Hart Weed Eater String?
Replace the string on your Hart 20V weed eater when it becomes frayed or broken, which might be after several uses or more, depending on usage frequency and the toughness of the vegetation.
Can You Use Any Brand Of String On Hart Weed Eaters?
For optimal performance, use the recommended string brand and diameter for your specific Hart 20V weed eater model. Using the wrong type could damage the tool or decrease efficiency.
What Is The Correct String Diameter For Hart 20v Weed Eaters?
The correct string diameter for Hart 20V weed eaters is typically 0. 080 inches. However, check the user manual to ensure compatibility with your specific model.
Conclusion: Enjoy a well-rested and efficient Hart 20V Weed Eater
You’ve successfully restringed your Hart 20V Weed Eater, and now you can enjoy the benefits of a well-rested and efficient gardening tool. By following the step-by-step guide provided, you’ve not only saved money on professional restringing services but also gained valuable knowledge on how to maintain and care for your equipment.
With your freshly restrung weed eater, you’ll experience improved cutting performance, allowing you to tackle even the toughest of weeds with ease. Say goodbye to tangled and ineffective cutting lines, as your newly restrung weed eater will provide you with a smooth and precise trimming experience.
Remember, regular maintenance is key to prolonging the lifespan of your gardening tools. By taking the time to restring your weed eater, you’ve demonstrated your commitment to keeping your equipment in top-notch condition. This will not only save you money in the long run but also ensure that your gardening tasks are completed efficiently and effectively.
Now that you’re equipped with the knowledge and skills to restring your Hart 20V Weed Eater, you can confidently approach future restringing tasks with ease. As you continue to use and maintain your weed eater, don’t forget to regularly inspect the cutting lines and replace them as needed. This will ensure that your gardening experience remains hassle-free and enjoyable.
So go ahead, put your newly restrung Hart 20V Weed Eater to work and enjoy the satisfaction of a well-groomed garden. Happy gardening!
We hope this step-by-step guide on how to restring your Hart 20V weed eater has been helpful to you. Taking care of your gardening tools is essential to ensure their longevity and optimal performance. By following these easy-to-follow instructions, you’ll be able to restring your weed eater with confidence, saving time and money on professional services.
Remember to always prioritize safety and take the necessary precautions when working with power tools. Happy gardening, and may your Hart 20V weed eater be ready for any weed that comes its way!
