To put string on a DR Trimmer, follow these simple steps:
- Turn off the power and make sure the trimmer is cool.
- Remove the trimmer head cover by pressing the release button.
- Take out any remaining string from the spool.
- Cut a piece of new string and insert one end into the hole in the trimmer head.
- Wind the string around the spool and secure the other end in the slot.
- Replace the trimmer head cover, making sure it clicks into place.
- Turn on the power and test the trimmer.
When it comes to maintaining your DR trimmer, one important task is putting string on it. Did you know that using the right technique can make this process much easier and more efficient? With a few simple steps, you’ll be able to get your trimmer ready for tackling those tough weeds and grass. Let me guide you through the process of putting string on your DR trimmer.
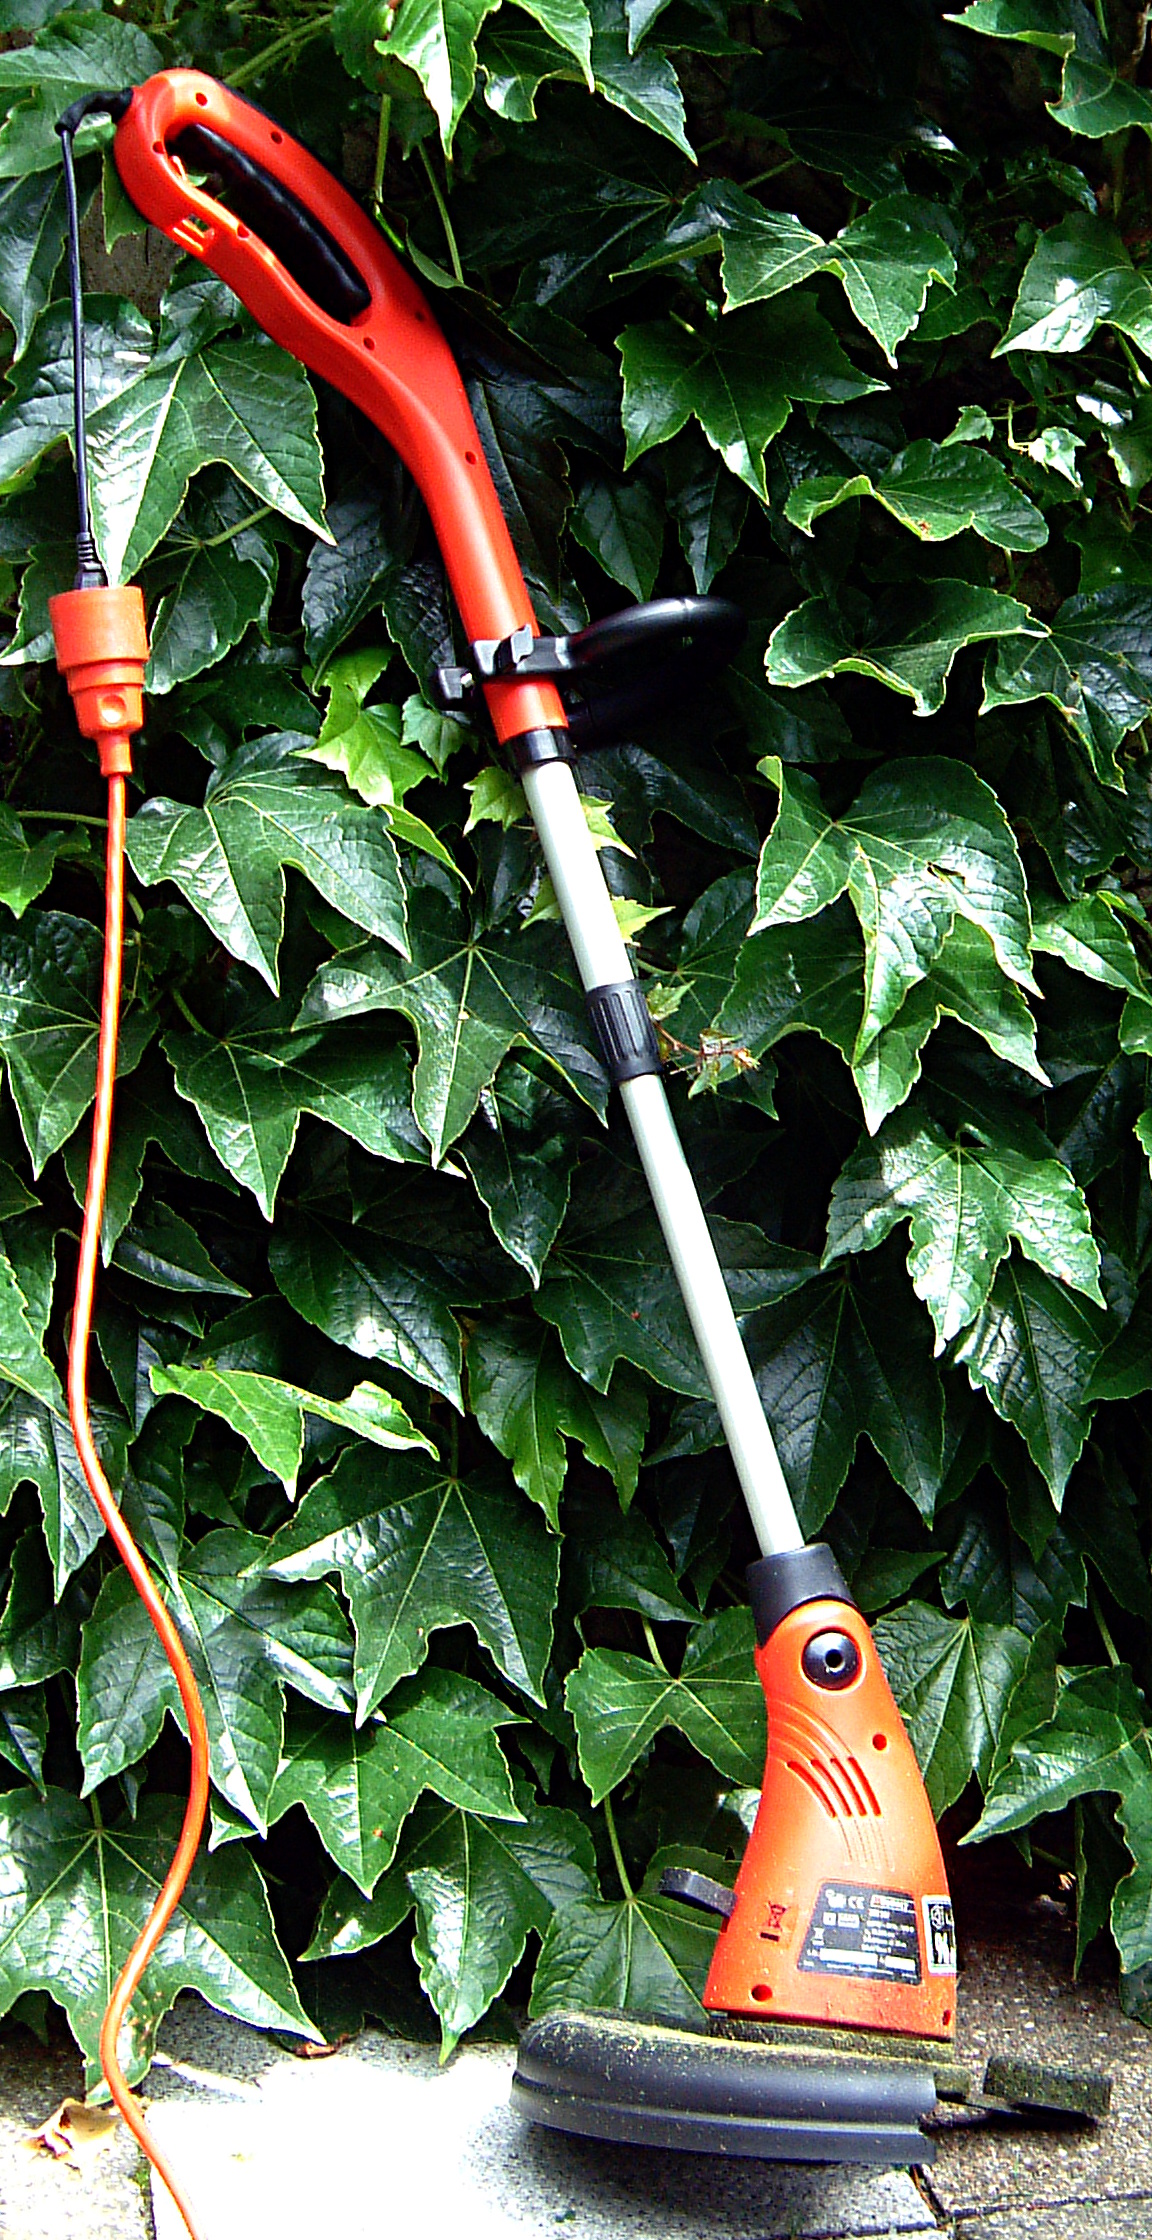
First, you need to gather the necessary materials. Grab a replacement spool of string that is compatible with your DR trimmer, ensuring that it is the appropriate thickness and length. Next, locate the trimmer head on your machine. It is usually situated at the bottom end of the trimmer shaft, and it may have a cover that needs to be removed. Once you have the materials and have located the trimmer head, you are ready to move on to the next step.

As an expert in maintaining your lawn, you have probably come across the need to replace the string on your DR Trimmer. Whether you’re a seasoned user or new to this equipment, knowing how to put string on your DR Trimmer is essential for effective trimming. In this guide, I will take you through a step-by-step process to ensure you can easily replace the string on your DR Trimmer and keep your lawn looking pristine. Let’s get started!
Step 1: Gather the Necessary Tools and Equipment
Before you begin replacing the string on your DR Trimmer, it’s important to gather all the necessary tools and equipment to make the process smooth. Here’s what you’ll need:
- A replacement trimmer string
- Gloves for hand protection
- A pair of pliers
- A bench vise (optional)
Once you have all these items ready, you can move on to the next step.
Step 2: Prepare the Trimmer for String Replacement
Now that you have gathered the necessary tools, it’s time to prepare your DR Trimmer for string replacement. Follow these steps:
- Turn off the trimmer and disconnect it from the power source.
- Place the trimmer on a stable surface, such as a workbench or table.
- If your trimmer has a detachable trimmer head, remove it by following the manufacturer’s instructions.
- If your trimmer head is not detachable, use a bench vise to secure the trimmer in place.
By preparing your DR Trimmer correctly, you ensure a safe and hassle-free string replacement process.
Step 3: Remove the Old String
With the trimmer prepared, it’s time to remove the old string. Follow these steps:
- Locate the string on the trimmer head. It is usually wound around the spool.
- If the string is still intact, cut it close to the trimmer head using a pair of pliers.
- If the string has broken or is not visible, remove the spool from the trimmer head according to the manufacturer’s instructions.
- Once the spool is removed, unwrap the old string from it and discard it.
Make sure to dispose of the old string properly and avoid any contact with it as it may still be sharp.
Step 4: Prepare the New String
Now that the old string has been removed, it’s time to prepare the new string for installation. Follow these steps:
- Take the replacement trimmer string and unwind an appropriate length based on the manufacturer’s recommendation.
- Thread one end of the string through the hole or eyelet in the trimmer head.
- If necessary, wind the string around the spool in the direction indicated by the arrows on the trimmer head.
- Leave a small amount of string unwound to ensure proper operation.
Preparing the new string correctly ensures that it will feed properly during trimming and reduce any potential tangles or issues.
Step 5: Install the New String
With the new string prepared, it’s time to install it on your DR Trimmer. Follow these steps:
- If you removed the spool, reinsert it back into the trimmer head according to the manufacturer’s instructions.
- If your trimmer head does not use a spool, simply thread the new string through the trimmer head and make sure it is securely in place.
- If your trimmer has a detachable trimmer head, reattach it according to the manufacturer’s instructions.
- Ensure that the new string is properly tensioned and aligned with any guides or holes in the trimmer head.
Once the new string is installed, you can test your DR Trimmer to ensure that the string feeds properly during operation.
Congratulations! You have successfully replaced the string on your DR Trimmer. With this knowledge, you can now easily maintain your trimmer and keep your lawn looking its best. Remember to always follow safety guidelines and refer to your trimmer’s manual for specific instructions. Happy trimming!
How To Install String on a DR Trimmer Mower
Frequently Asked Questions
Are you wondering how to put string on your DR trimmer? Look no further! I have compiled a list of common questions and answers to help you with this task. Follow these steps and you’ll have your trimmer string in place in no time.
How do I load string on my DR trimmer?
To load string on your DR trimmer, follow these steps:
First, make sure your trimmer is turned off and the engine is cool. Locate the trimmer head and remove the cover by unscrewing it. Take out any remaining string and clean the head if necessary. Then, cut a piece of trimming line to the desired length, usually around 10-12 feet. Insert the ends of the string into the holes on the trimmer head, making sure they are secure. Finally, wind the string onto the head by rotating it in the direction indicated on the head. Replace the cover and you’re ready to go!
What type of string should I use on my DR trimmer?
When selecting the string for your DR trimmer, it’s important to choose the right type for your specific needs. Most models can accommodate either nylon or composite string. Nylon string is durable and suitable for most trimming tasks, while composite string is stronger and more resistant to breakage. Consider the type of vegetation you will be trimming and choose the string that best suits your requirements.
How often should I replace the string on my DR trimmer?
The frequency of string replacement on your DR trimmer depends on several factors, such as the intensity and duration of use, the type of vegetation being trimmed, and the terrain conditions. As a general rule, it’s a good idea to check the condition of the string before each use. If the string is worn, frayed, or broken, it’s time to replace it. Regularly inspecting the string and replacing it as needed will ensure optimal performance and efficiency.
Can I use any brand of trimmer string on my DR trimmer?
While most trimmer strings on the market are compatible with DR trimmers, it’s recommended to use the manufacturer’s recommended string or a high-quality replacement. This is because different trimmer models may have different specifications and requirements. Using the right string ensures proper fit and performance, reducing the risk of damage to your trimmer and achieving the best possible results.
How can I make my trimmer string last longer?
To extend the life of your trimmer string, follow these tips:
First, avoid cutting against hard surfaces such as pavement or rocks, as this can wear out the string more quickly. Additionally, try to keep the trimmer head at an appropriate distance from the ground to prevent unnecessary strain on the string. Proper maintenance, including regular cleaning of the trimmer head, can also help prolong the life of the string. Finally, store your trimmer in a dry and secure place when not in use to prevent damage to the string.
Installing DR Trimmer Line
Final Words
To conclude, putting string on a DR trimmer is a simple process that can be done in a few steps. First, make sure you have the correct size and type of string for your trimmer. Then, follow the instructions provided by the manufacturer to open the trimmer head and remove any old string. Next, carefully thread the new string through the eyelets or holes on the trimmer head, making sure it is securely in place. Finally, close the trimmer head and test the string to ensure it is properly aligned and functioning.
Remember to always refer to the instruction manual for your specific DR trimmer model, as the process may vary slightly. With a little practice, you’ll become comfortable with putting string on your trimmer and maintaining its optimal performance. Now you can confidently tackle your outdoor trimming tasks and enjoy a well-kept yard!
