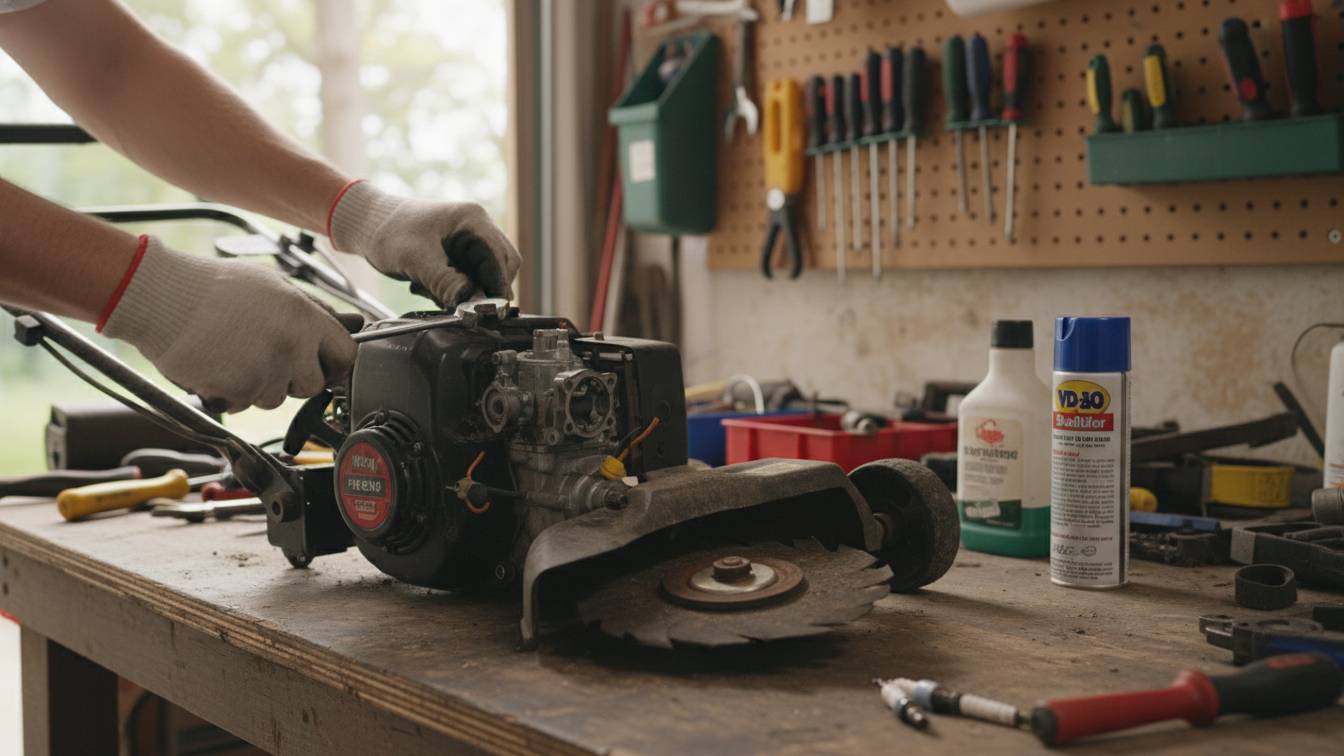
Who would believe that a seemingly sturdy tool like a lawn edger could be brought to a standstill by something as minuscule as a hardened mud clot or a rusty engine part? It’s true. In my experience, I’ve found that most lawn edger issues tend to be straightforward fixes, as long as you’re equipped with a little know-how and some basic tools.
Fixing a faulty lawn edger can often be boiled down to three primary areas: clearing clogs, replacing worn-out parts, and tuning the engine. Remarkably, according to a statistic from a popular gardening forum, a whopping 80% of lawn edger issues reported by users lay in one of these three categories. That idea is a great relief, isn’t it? Arming ourselves with a basic awareness can turn a daunting task into a manageable and satisfying project.
- Determine the type of issue your lawn edger is facing; it could be mechanical or power related.
- Inspect the blade condition, fuel, oil, and air filter if it’s a gas-powered edger.
- For electric edgers, check the cord, the motor, and the trigger.
- Once the faulty part is identified, replace or repair it promptly.
- Regular maintenance is key in preventing future malfunctions.
 Source: staticflickr.com
How to Fix a Lawn Edger: Easy Troubleshooting & Repair Guide
Many homeowners are faced with the challenge of maintaining a well-manicured lawn. An integral part of achieving this is the routine use of a lawn edger. However, like any mechanical tool, lawn edgers can break down over time and need repair. Mastery in understanding ‘how to fix a lawn edger?’ can turn these frustrating moments into opportunities for learning and growth. This guide will simplify the process of fixing common issues that occur with lawn edgers, enabling you to be your own tool expert.
Step-1: Assess the Situation
Before diving into the repair, it’s crucial to understand the problem. Just like a doctor diagnosing an illness, take time to ‘listen’ to your machine by observing it in operation. Paying attention to unusual sounds, smoking, and the edger’s inability to start or run smoothly can hint at the problem.
Check the edger while it’s off and observe any broken or worn out parts. Common problems like a broken blade, a cracked belt, or even a damaged drive shaft can often be diagnosed visually. Remember, safety first, make sure your edger is powered off and unplugged before starting the inspection.
If you still are unsure about the source of malfunction, consult the manual that came with your edger. It often outlines common issues and troubleshooting methods specific to your machine model. If your machine is still under warranty, this might be the right time to contact the manufacturer’s customer service department for guidance.
If professional help seems too costly or is not readily available, getting your hands dirty might be the best option. Figuring out ‘how to fix a lawn edger?’ becomes easier with every try. Here’s how to tackle it.
Step-2: Gather Essential Tools and Replacement Parts
Before moving forward with repairs, gather essential tools. Common tools required for lawn edger repair include: a socket set, pliers, screwdrivers, a wrench set and possibly a multimeter if the issue is suspected to be electrical. Gather your fixture kit beforehand to ensure a smooth and efficient repair process.
Next, source the required replacement parts. If your edger’s manual dictates, source brand-specific replacements. However, generic parts may work equally well. Replacement blades, belts, spark plugs, filters, and drive shafts are easily available both in retail stores and online.
Lastly, if you are unsure about the exact part, take a picture and consult a lawn equipment specialist. An expert’s word can make a difference in ensuring that you buy the right replacements.
Once you have gathered all the essential tools and replacement parts, it’s time to move to the next step.
Step-3: Disassemble and Replace Damaged Parts
With the edger unplugged and secure, use your tools to disassemble the parts needing replacement. If you’re unfamiliar with this process, refer to your edger’s manual or online tutorials. Use caution not to force anything apart as this can result in further damage.
Once the parts are disassembled, inspect each one to verify whether it needs replacing or just a good cleaning. Sometimes, a part might appear faulty but is hindered by debris or rust. A comprehensive clean-up can often restore it to functioning condition.
Replace the faulty parts with the new ones, ensuring a perfect fit. If something seems off, you might have the wrong part or incorrect installation. Recheck your steps and consult your manual or guide again if necessary.
Before reassembling the parts, perform a final check to ensure nothing has been missed. Once confident, reassemble the parts using your tools and the guidelines provided in your manual.
Step-4: Test the Operation
Once everything is back together, it’s time to test the repair. Start your lawn edger and allow it to run idle for a few minutes. Keep an ear out for any unusual sounds and observe its operation. Test its functionality by applying it to a small patch of grass.
If the operation is smooth and without issues, it indicates a successful repair. However, if problems persist or new ones arise, consider consulting a professional or repeating the assessment process.
Mechanical expertise comes with experience and learning. Don’t be disheartened by setbacks and seek professional assistance when in doubt of your safety. The knowledge about ‘how to fix a lawn edger?’ is rewarding not just economically but also in equipping you with vital DIY skills.
Step-5: Regular Maintenance
Maintaining a lawn edger in optimal condition is the key to preventing breakdowns. Perform regular maintenance including cleaning after each use, replacing blades and filters as per the manufacturer’s guidelines, and lubricating moving parts regularly.
Keep an eye on wear and tear of belts and cables, which can often go unnoticed but lead to significant damage. Regular replacement of the spark plug can improve performance and prolong the life of your edger.
If you’re storing your edger for extended periods, ensure it is clean and dry with no fuel in the tank. A little preventative care goes a long way in sustaining the life of your machine.
Knowledge about ‘how to fix a lawn edger?’ is not just about fixing broken parts; it is also about understanding your equipment, its needs and overall care. This measure of control allows you a firsthand understanding of your tool, enriches your DIY capability, and empowers you to troubleshoot minor issues, saving time and money.
Mastering the art of understanding and fixing your lawn edger is a rewarding journey. As homeowners, our lawn is a reflection of our commitment and love towards our homes. Caring for it with the right tools is synonymous with this sentiment. Empowering yourself to fix your tools enhances this bond while ensuring your tools’ longevity and saving on unnecessary repair costs.
How to replace string trimmer edger line
Frequently Asked Questions
Maintaining your lawn edger in good working order is essential for a neat and tidy garden. But what if it breaks down? Here are some of the common questions about fixing a lawn edger.
1. What should I do if my lawn edger won’t start?
Start by checking the basics. Are the fuel and oil levels sufficient? Have you primed the engine properly? If all these check out, you might be dealing with a spark plug issue. Examine the spark plug for visible damages. If there is no visible damage, you can replace it because spark plugs are inexpensive and might solve your problem.
If changing the spark plug doesn’t help, your carburetor may be clogged. Cleaning it might solve the issue. Otherwise, you may need to replace it. If your edger still refuses to start, it’s best to contact a professional for further diagnostics.
2. How can I fix an idling problem in my lawn edger?
An idling problem generally means that your lawn edger runs roughly at low speed, or the RPM drops below the recommended level. Start by cleaning your carburetor. Over time, carburetors accumulate dirt, resulting in clogged passages affecting the fuel flow.
If cleaning doesn’t solve the issue, check the idle speed adjustment. Adjusting it according to your manufacturer’s specifications may fix the problem. If the problem persists, your lawn edger might require a professional inspection for deeper issues.
3. The blades of my lawn edger have stopped spinning. What can I do?
If the blades of your lawn edger have stopped spinning, you may be dealing with a worn-out or broken drive belt. Check your owner’s manual for instructions on how to inspect and replace the drive belt. Ensure you have the correct replacement part before proceeding.
If the problem isn’t the drive belt, the issue might stem from a gearbox problem. Gearboxes can wear out over time and hinder proper blade rotation. At this stage, consider enlisting professional help.
4. How can I fix a leaking oil problem in my lawn edger?
An oil leak is often a sign of a damaged gasket in your lawn edger. The gasket sits between the crankcase and the oil tank, ensuring that oil stays inside the engine. If this gasket is damaged, oil can leak out. It can be difficult to replace this gasket on your own, but you can attempt it if you’re confident with mechanical tasks.
If replacing the gasket doesn’t solve your problem, the culprit could be a cracked oil tank. If the tank has a crack in it, oil will leak out. This repair usually requires a professional, as it involves disassembling the entire engine.
5. What should I do if the lawn edger is vibrating excessively?
Excessive vibration from your lawn edger can indicate loose or damaged parts. Start by inspecting the blade of the lawn edger. If the blade is out of balance, this can cause significant vibration. You can balance the blade by removing the heavier side and reinstalling the blade.
If balancing the blade doesn’t help, inspect the engine’s mounting bolts. If these have loosened over time, they can cause the engine to vibrate excessively. Tighten them, and if this doesn’t help, then seek the help of a professional.
How To Fix Lawn Edger That Won’t Start – Southland – Craftsman – McLane
Conclusion
We’ve discussed the steps you need to take to fix your lawn edger. Remember, maintaining your lawn edger regularly can decrease the chances of encountering problems. It’s always a good idea to clean it after each use, check for worn or damaged parts, and replace them when necessary. If the problem persists, don’t hesitate to seek the help of a professional.
Using these tips, you should feel confident about tackling your lawn edger’s issues. Stay patient while fixing it, as rushing may lead to mistakes that can worsen the condition. Remember, it’s all about the right knowledge, tools, and safety precautions to extend the life of your lawn edger and keep your lawn looking its best. Happy fixing!

I’m Patricia D. Johnson, an affiliate marketer and blogger specializing in trimmers and grooming tools. I create honest reviews, buying guides, and practical tips to help readers choose the right trimmer for their needs. With a focus on quality, performance, and value, I simplify the decision-making process so consumers can make confident purchases.