
How to Use a Black and Decker Lawn Edger
Learning how to use a black and decker lawn edger transforms borders. Crisp edges make any yard look professionally finished. The tool cuts clean lines along paths quickly. This guide covers setup through final cleanup fully.
You will assemble the edger before starting it. Then you set the cutting depth you need. Simple safety habits protect you during every pass. Our starting guide covers edger startup checks separately.
The Wikipedia lawn edger page explains edger types. Our lawn edger guide defines the tool itself. Careful preparation prevents ragged edges and damaged blades. Slow steady passes beat rushed sloppy work always.
Quick answer: Assemble the edger before plugging it in. Set the cutting depth with the adjustment lever first. Hold the safety button and squeeze the trigger. Walk slowly forward with gentle downward pressure applied. Clean the blade after every edging session ends.
How to Use a Black and Decker Lawn Edger: Overview
This edger assembles quickly before its first use. You attach the handle and blade guard first. Then you set the cutting depth you want. A safety button and trigger start it together. Our edging guide covers full lawn edging technique.
| Quick Step | What the Post Says |
|---|---|
| Assemble the edger | Attach the handle and the blade guard |
| Set the depth | Turn the adjustment knob or lever first |
| Start it safely | Press the safety button and squeeze the trigger |
| Edge slowly forward | Walk straight with gentle downward pressure |
Stay Safe Before You Start
Wear safety glasses and gloves before starting work. Closed-toe shoes protect your feet from debris too. Check the blade and edger for damage first. Clear rocks and debris from the edging area.
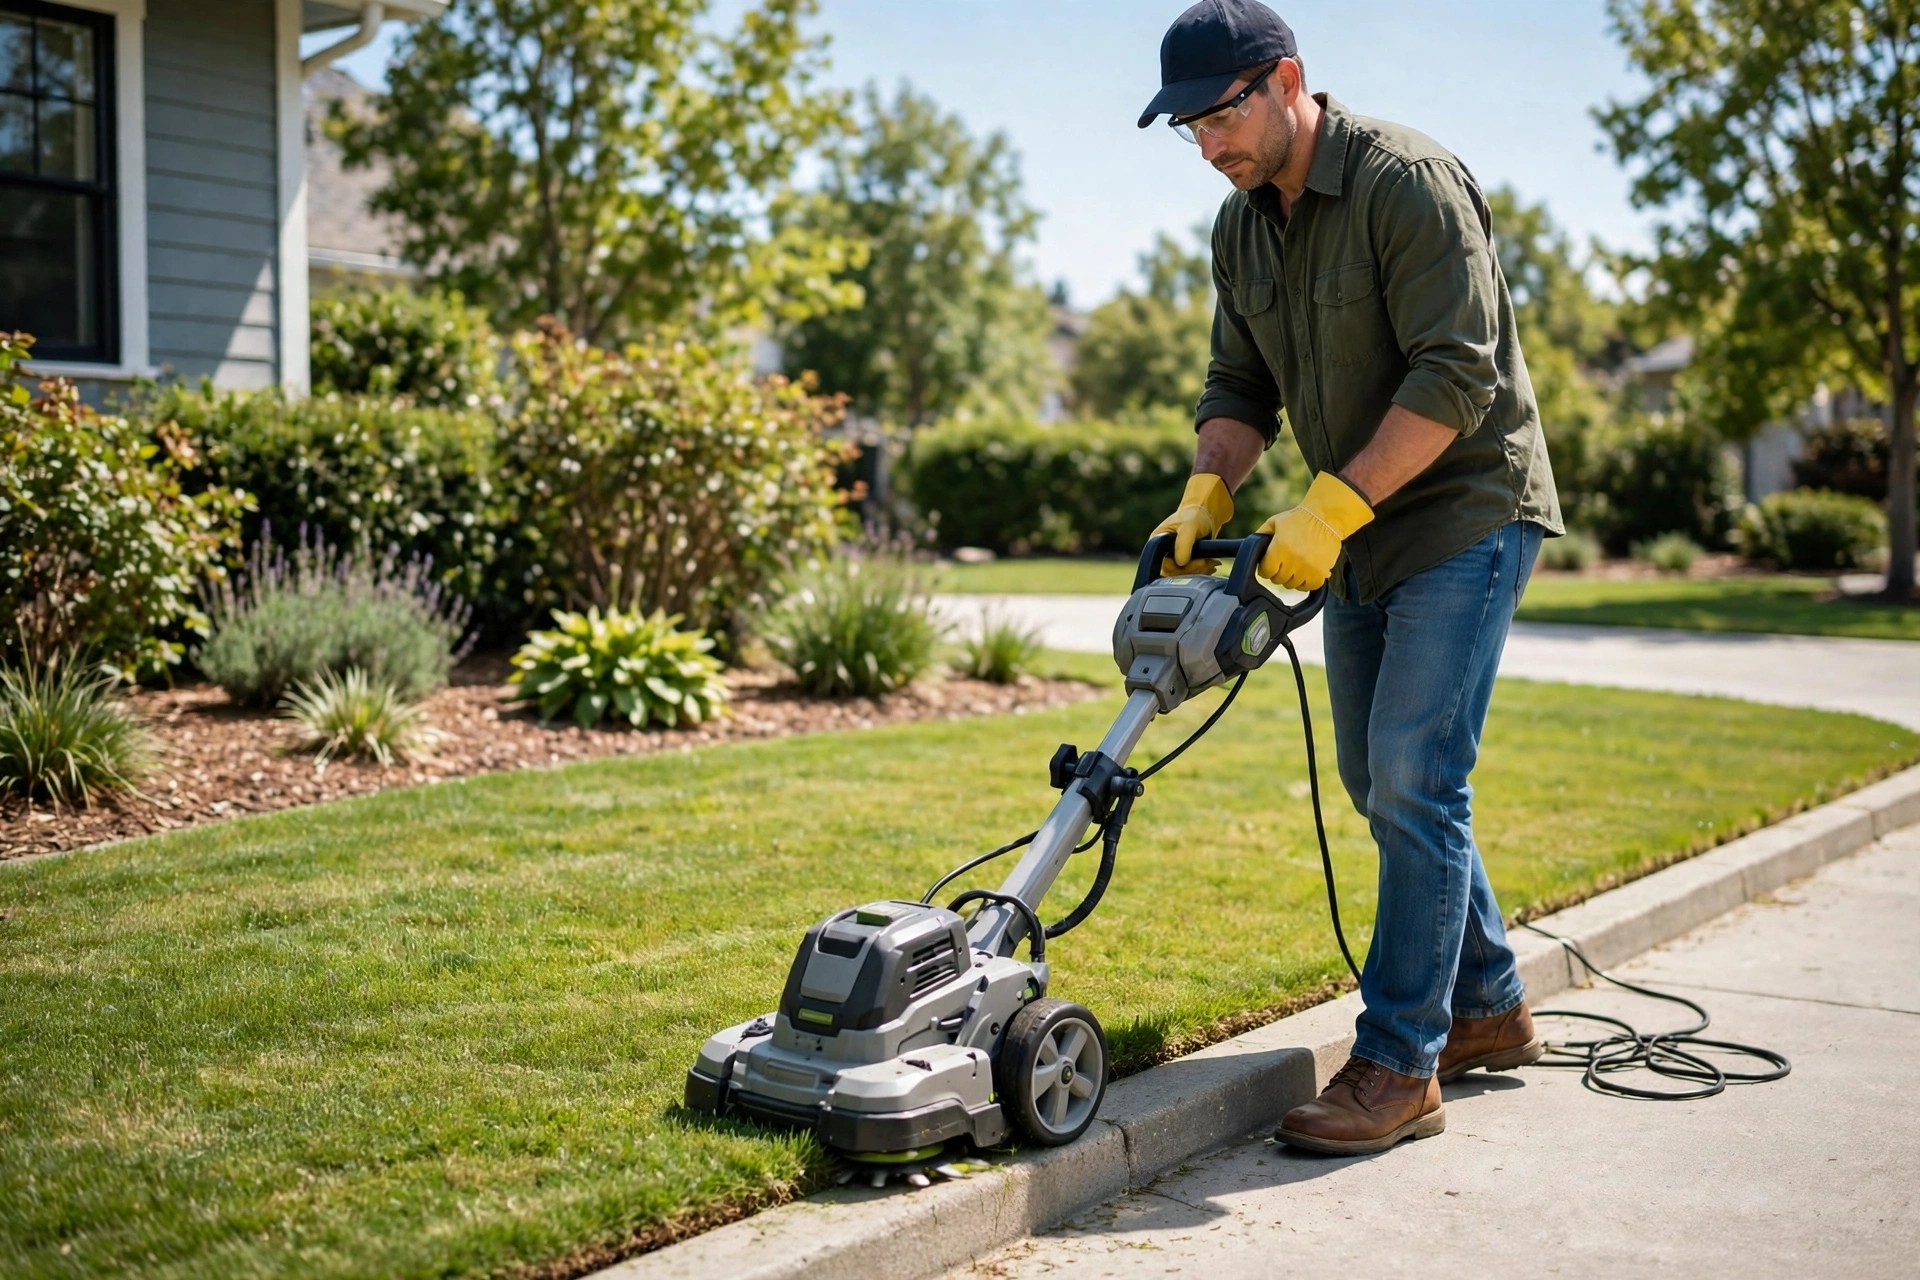
Keep bystanders and pets away from the area. Never leave the edger running unattended at all. Disconnect it before any maintenance or cleaning work.
Know the Main Components
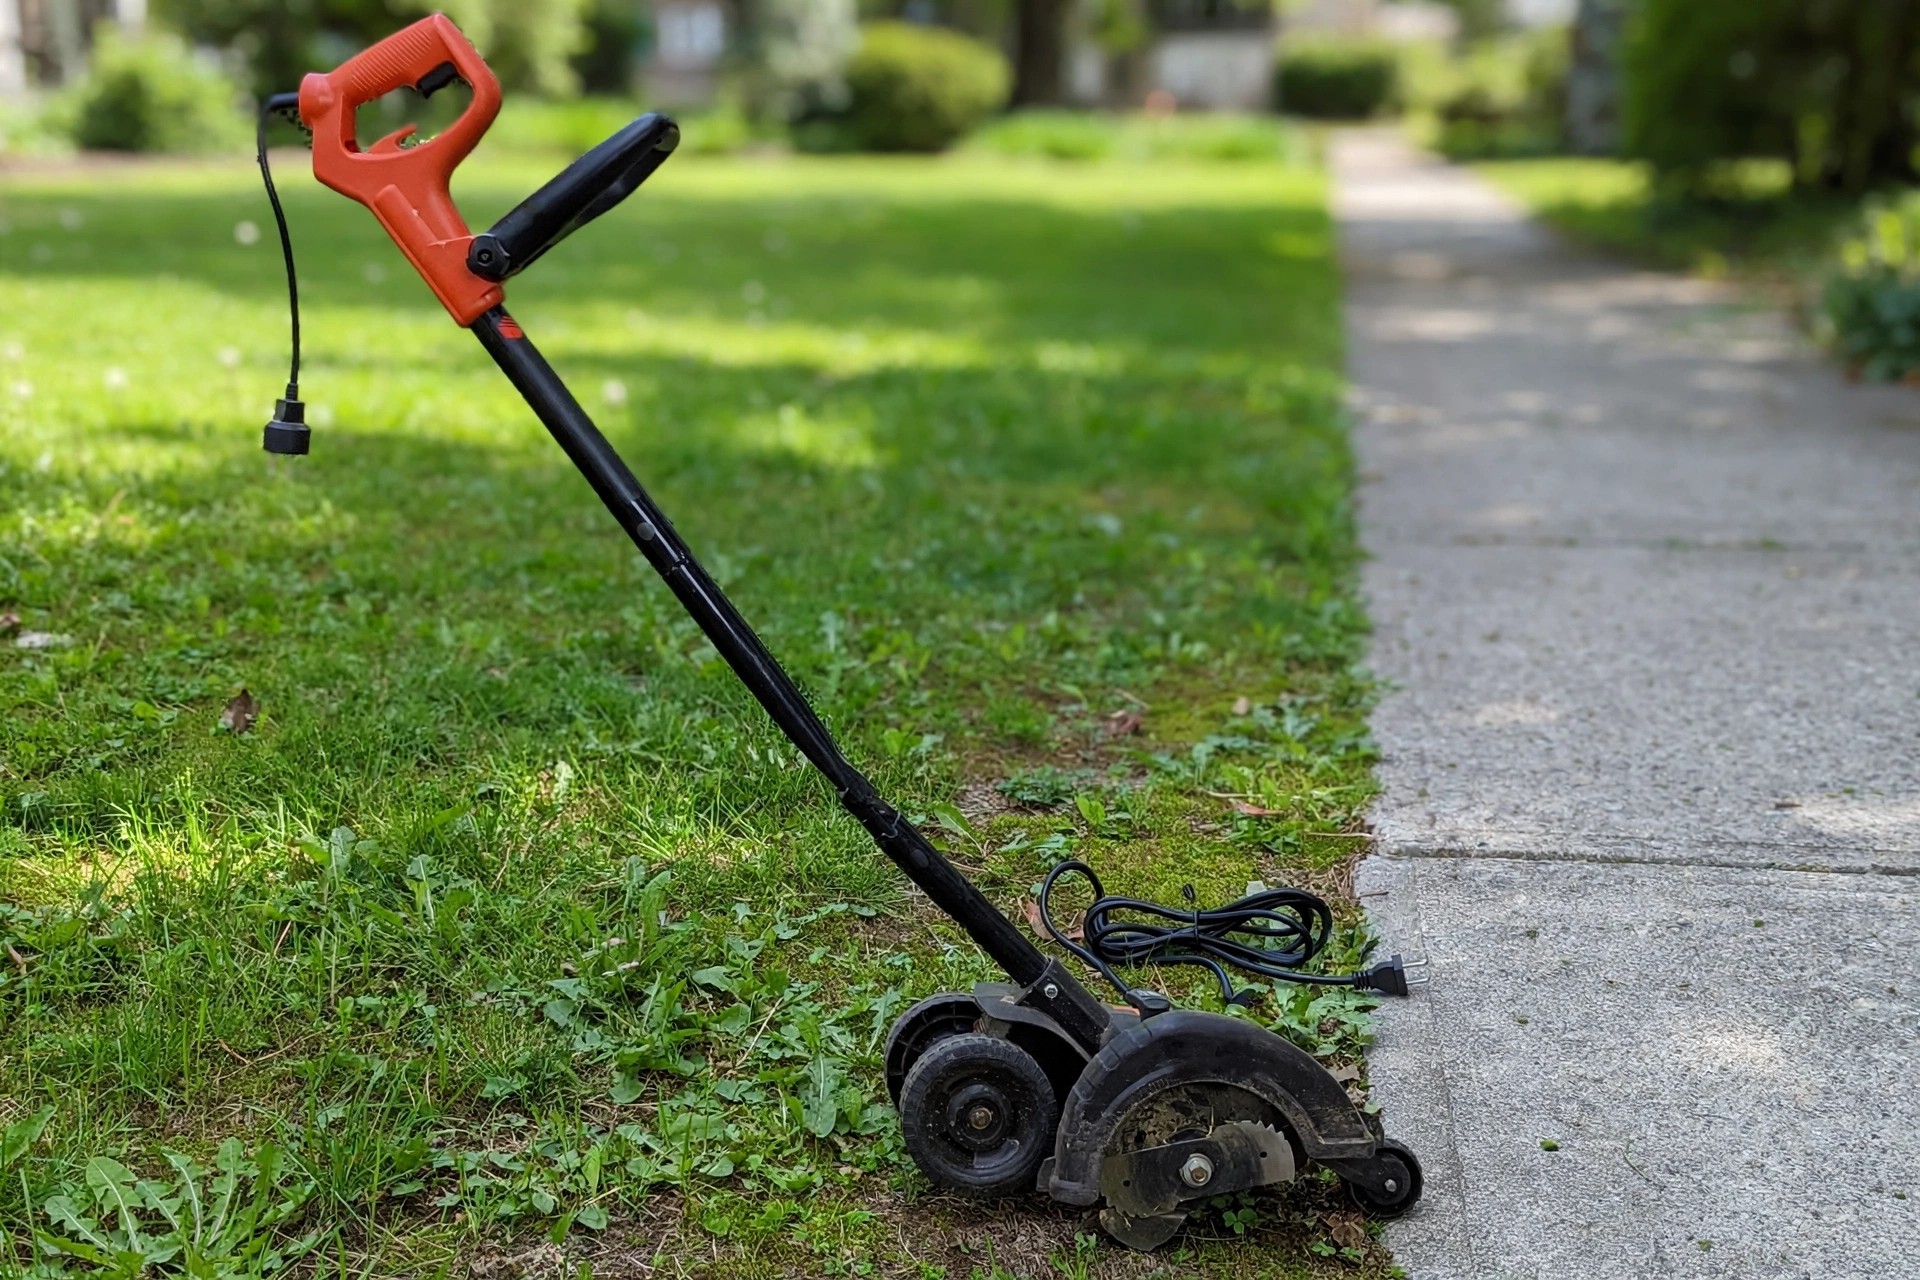
Five main parts control this corded electric edger. The handle and switch sit up top always. The blade and guide wheel work below together. The Wikipedia string trimmer page describes its cousin.
| Component | What the Post Says |
|---|---|
| Handle | Grips the edger and carries the controls |
| Power Switch | Turns the edger on and off during work |
| Blade | Cuts the edge into the lawn cleanly |
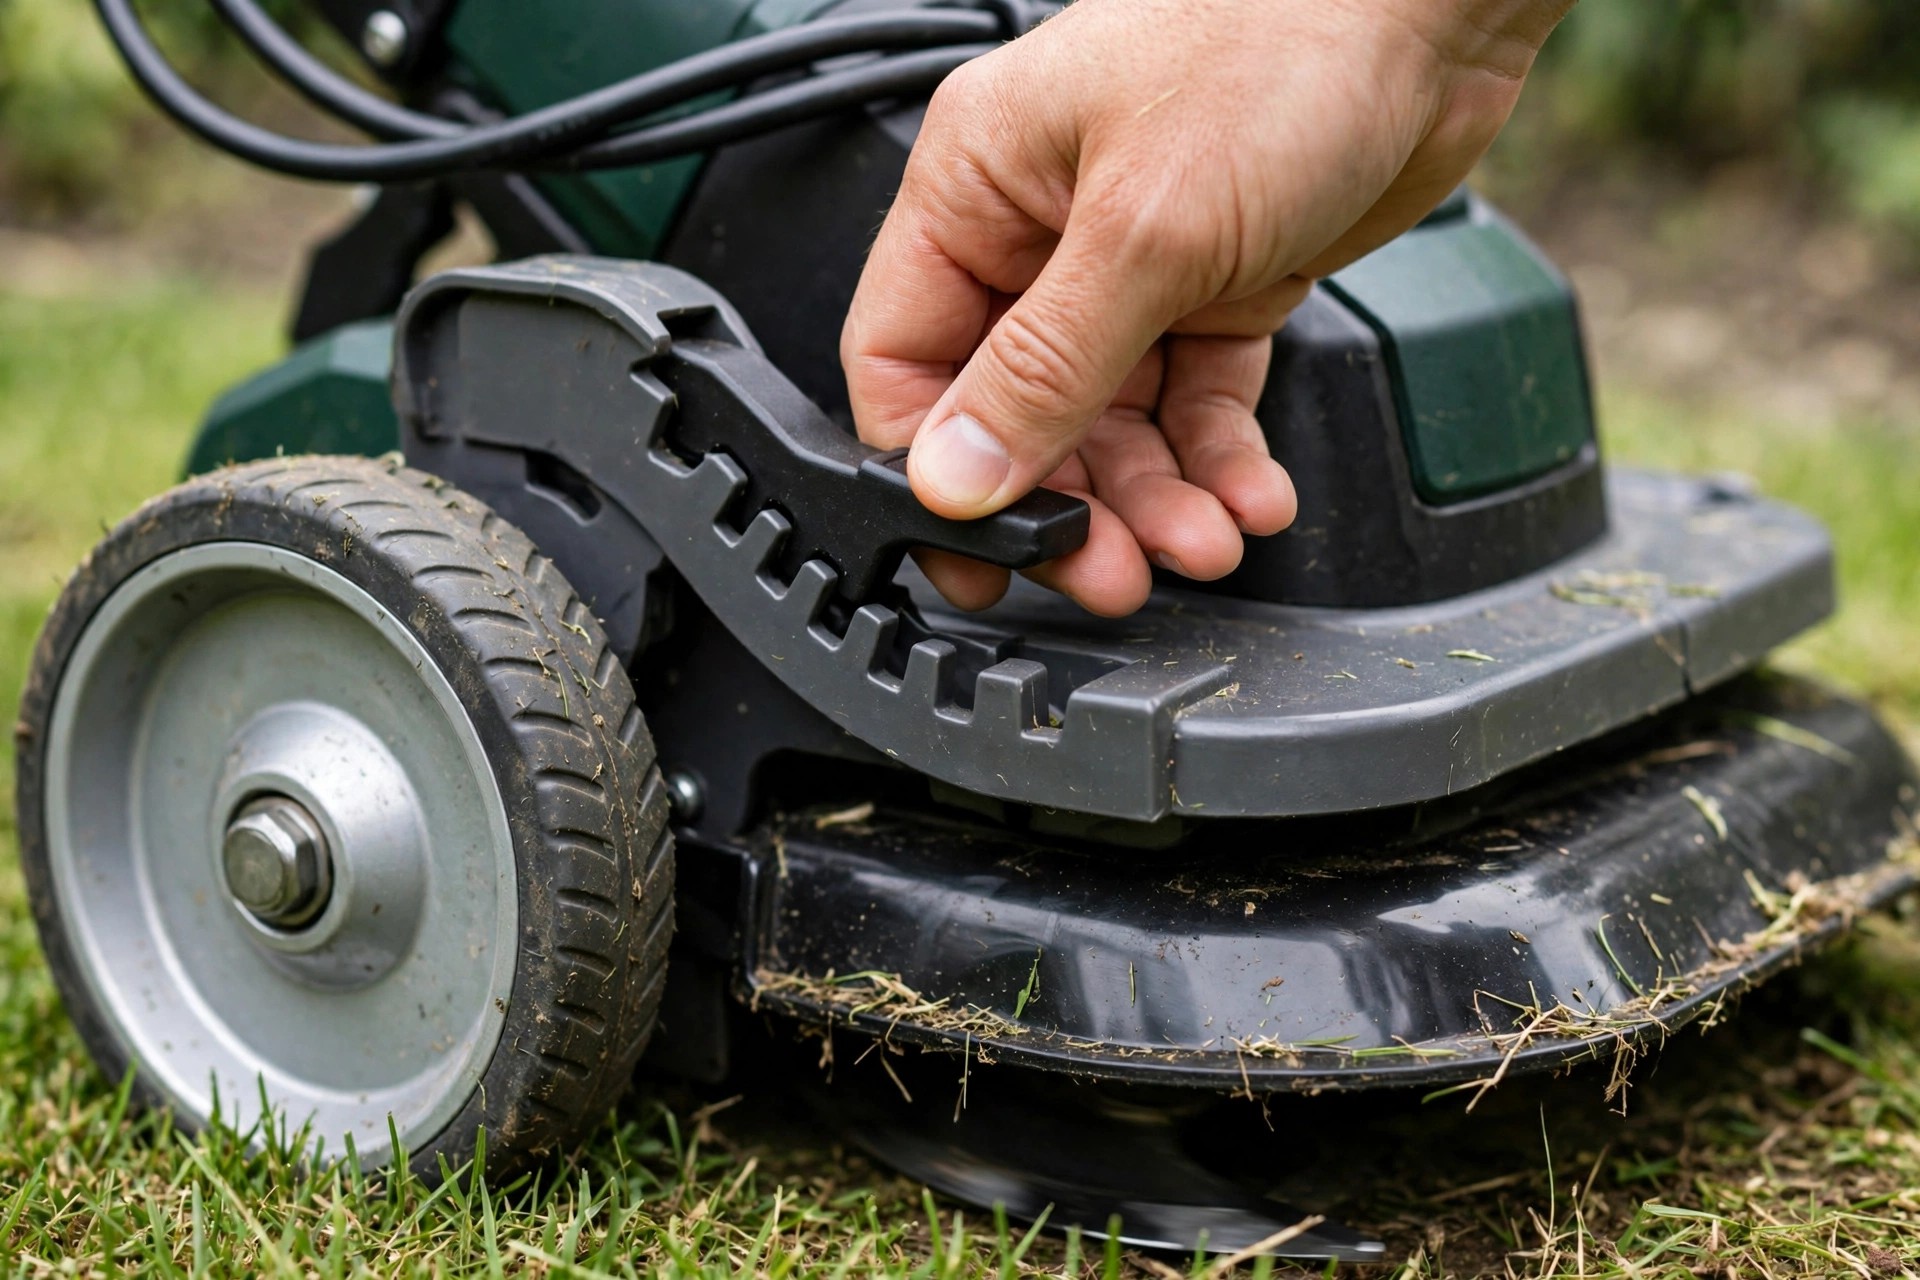
| Height Adjustment Lever | Controls the cutting depth of the blade |
| Guide Wheel | Guides the edger along the lawn edge |
Prepare the Lawn First
Mow the grass near the edges first today. Shorter grass lets the blade cut more cleanly. Clear the area of rocks and debris next. Mark your line with string or garden hose. Our hand edger guide covers manual edging tools.

Edge the Lawn Step by Step
Place the edger at your starting point carefully. Rest the guide wheel on the marked line. Keep the blade off the ground while positioning. Press the power switch to start the blade.
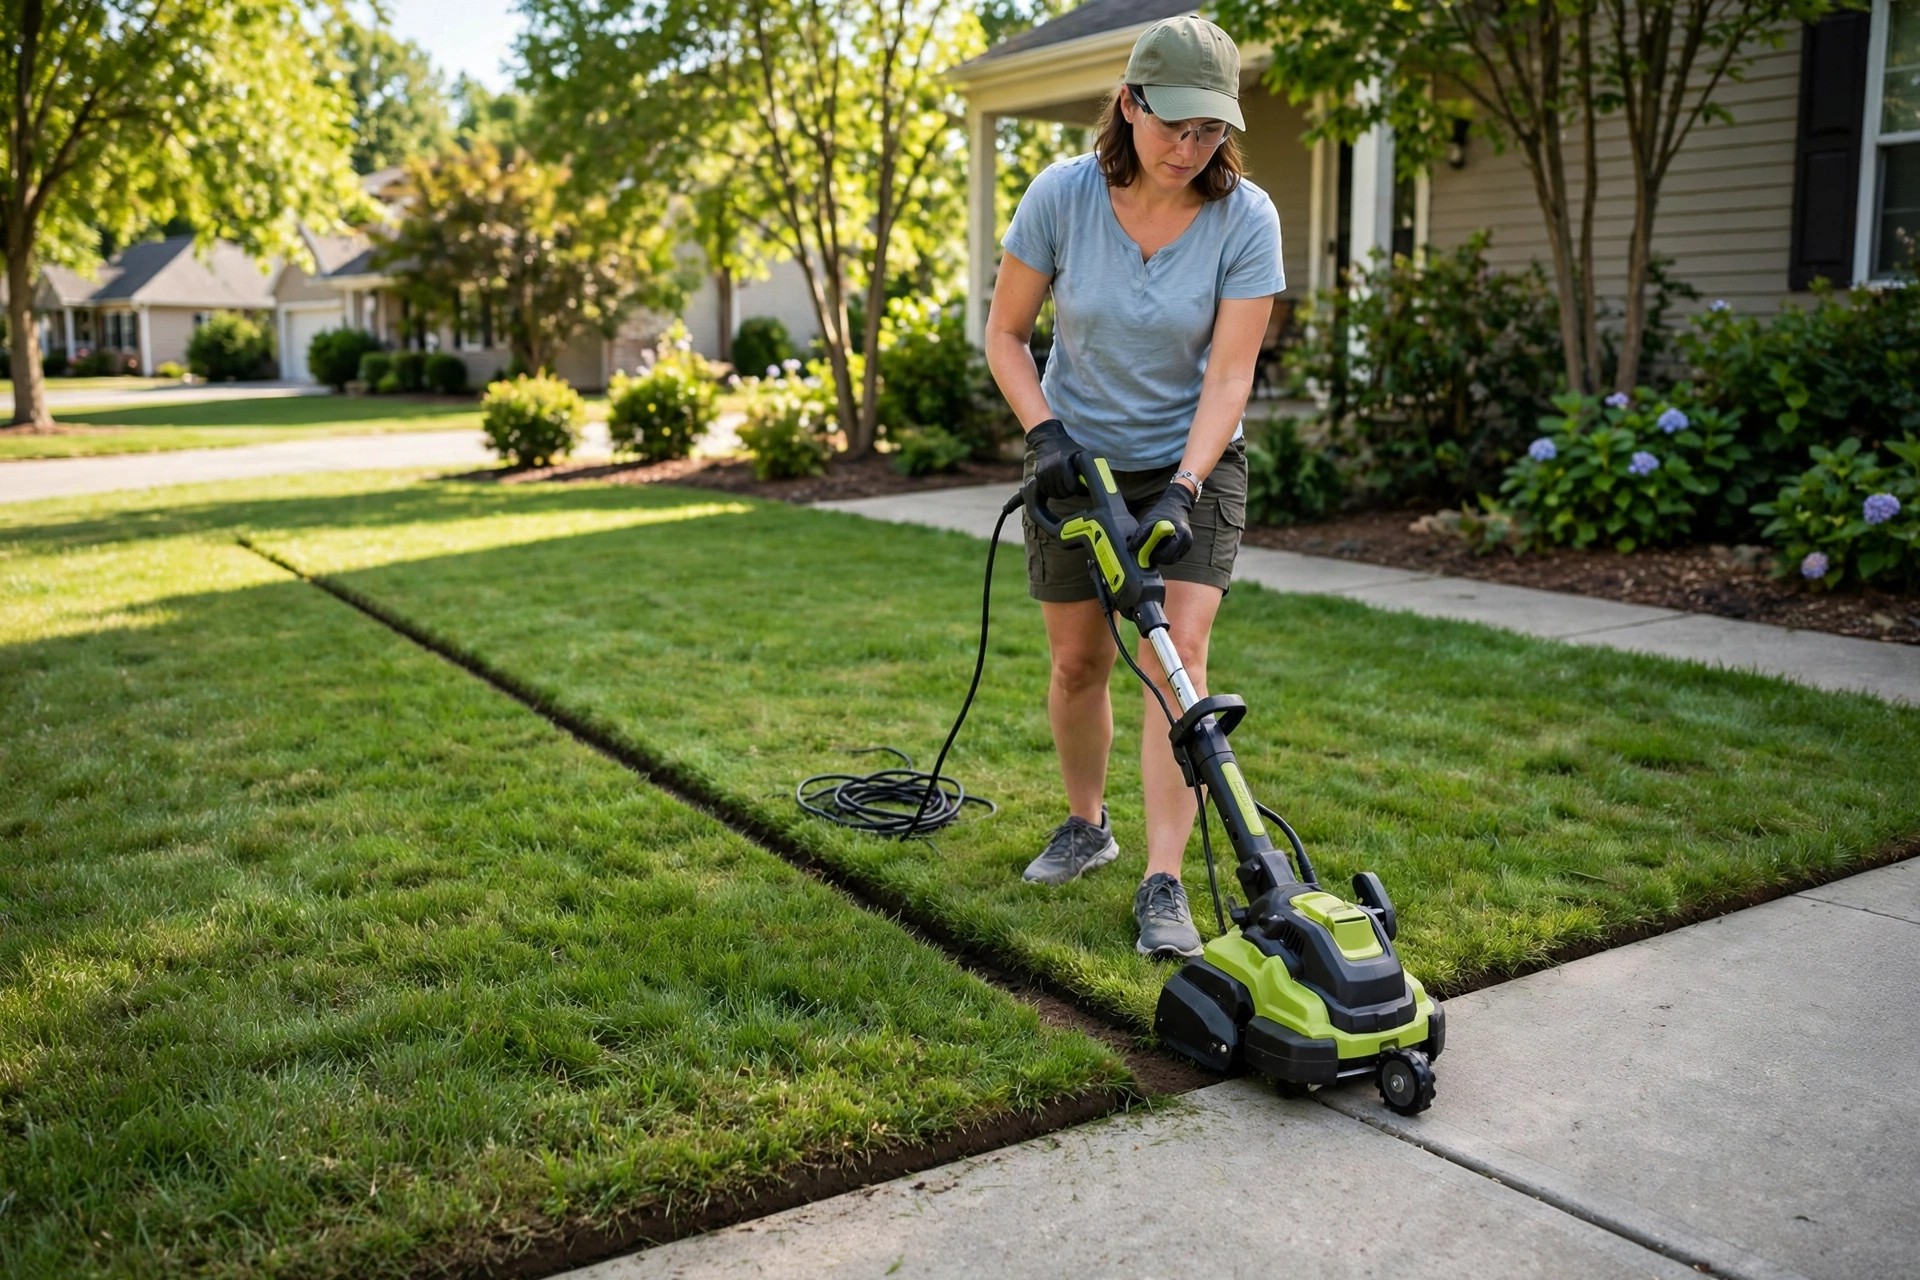
Push the edger slowly forward along the line. Keep a consistent speed with gentle even pressure. Adjust cutting depth with the lever when needed. Keep the guide wheel aligned with the path.
Please note: The opening summary above puts the blade against the grass. Step 4 of this same post says the blade should not touch the ground. Both instructions stay here exactly as the post published them.
Take breaks only after switching it off first. Disconnect the edger before resting or moving it. Rushed passes leave ragged and uneven edges behind.
Care for the Edger Afterwards
Remove grass clippings and debris after edging finishes. Clean the blade with a brush or cloth. Inspect the blade for wear or damage carefully. Replace the blade whenever it looks worn out.
| Care Task | What the Post Says |
|---|---|
| Clean after each use | Remove grass clippings and debris every time |
| Check the blade | Inspect sharpness and replace it when worn |
| Keep controls clean | Keep the handle and controls free of debris |
| Store it dry | Store in a dry place away from weather |

Frequently Asked Questions
How do I assemble the Black and Decker lawn edger?
Make sure the edger is unplugged or off. Attach the handle by aligning the holes carefully. Secure it with the provided bolts tightly fastened. Slide the blade guard onto the front next. Push it until it clicks into place firmly.
How do I adjust the cutting depth?
Locate the depth adjustment knob or lever first. Turn it clockwise to increase the cutting depth. Turn it counterclockwise to decrease the depth instead. Set your desired depth before starting the edger. The edging steps use this lever mid-job too.
How do I start the Black and Decker lawn edger?
Ensure the edger is assembled and depth set. Plug the edger into a power source nearby. Hold the handle firmly with both hands ready. Depress the safety button with your thumb first. Squeeze the power trigger to start it running.
How do I edge a straight line with the edger?
Adjust the blade to your desired depth first. Move slowly forward keeping the blade aligned carefully. Walk in a straight line along the path. Apply gentle downward pressure for a clean edge. Keep a consistent speed throughout the whole pass.
How do I maintain the Black and Decker lawn edger?
Clean the edger after each use thoroughly first. Remove grass clippings and debris from it completely. Check blade sharpness and replace when needed promptly. Keep the handle and controls clean and clear. Store it somewhere dry and protected always.
Edgers reward owners who maintain them after use. Our manual edger guide covers hand powered alternatives. Our trimmer edging guide shows another edging method. Our electric edger guide compares corded edging basics.
Conclusion: How to Use a Black and Decker Lawn Edger
So, how to use a black and decker lawn edger well? Assemble it carefully and set the depth first. Start it with both controls pressed together firmly. Walk slowly and keep the wheel aligned always.
Clean the blade after every session without fail. Dry storage protects the tool between uses too. Sharp blades and steady hands make crisp edges. Your borders then look neat all season long. Practice turns every beginner into a confident edger.
