
How to Adjust Babyliss Trimmer
Barber visits add up month after month. This guide shows how to adjust babyliss trimmer length. You control the cut from home instead. Professionals and beginners both follow these steps easily. A professional-looking trim stays within reach daily.
The trimmer feels versatile and reliable overall. Adjustment confuses many first-time owners at first. Simple steps remove the hassle and confusion. Decide your length before touching the controls. The right setting suits your beard style.
First find the lever or dial position. Then slide or turn toward your length. Test small, fine-tune and clean it afterwards. Short answers at the end cover common questions. Your manual gives model specific details throughout.
Quick answer: Adjusting the length takes a few simple steps. Turn the trimmer on and find the lever. Slide the lever up or down for length. Start higher and decrease gradually until length suits. Clean the trimmer regularly to maintain optimal performance.
How to Adjust Babyliss Trimmer: Quick Steps
Four quick steps cover the whole adjustment process. Work through them in the order shown here. Later sections explain each stage more fully below. Our blade change guide covers dull blade swaps completely.
| Step | What to Do |
|---|---|
| 1. Switch on and locate | Turn on the trimmer, find the adjustment lever |
| 2. Slide the lever | Move it up or down for length |
| 3. Start longer first | Decrease gradually until the length suits you |
| 4. Clean it regularly | Keep performance optimal with regular cleaning |
Choose the Length and Work the Lever or Dial
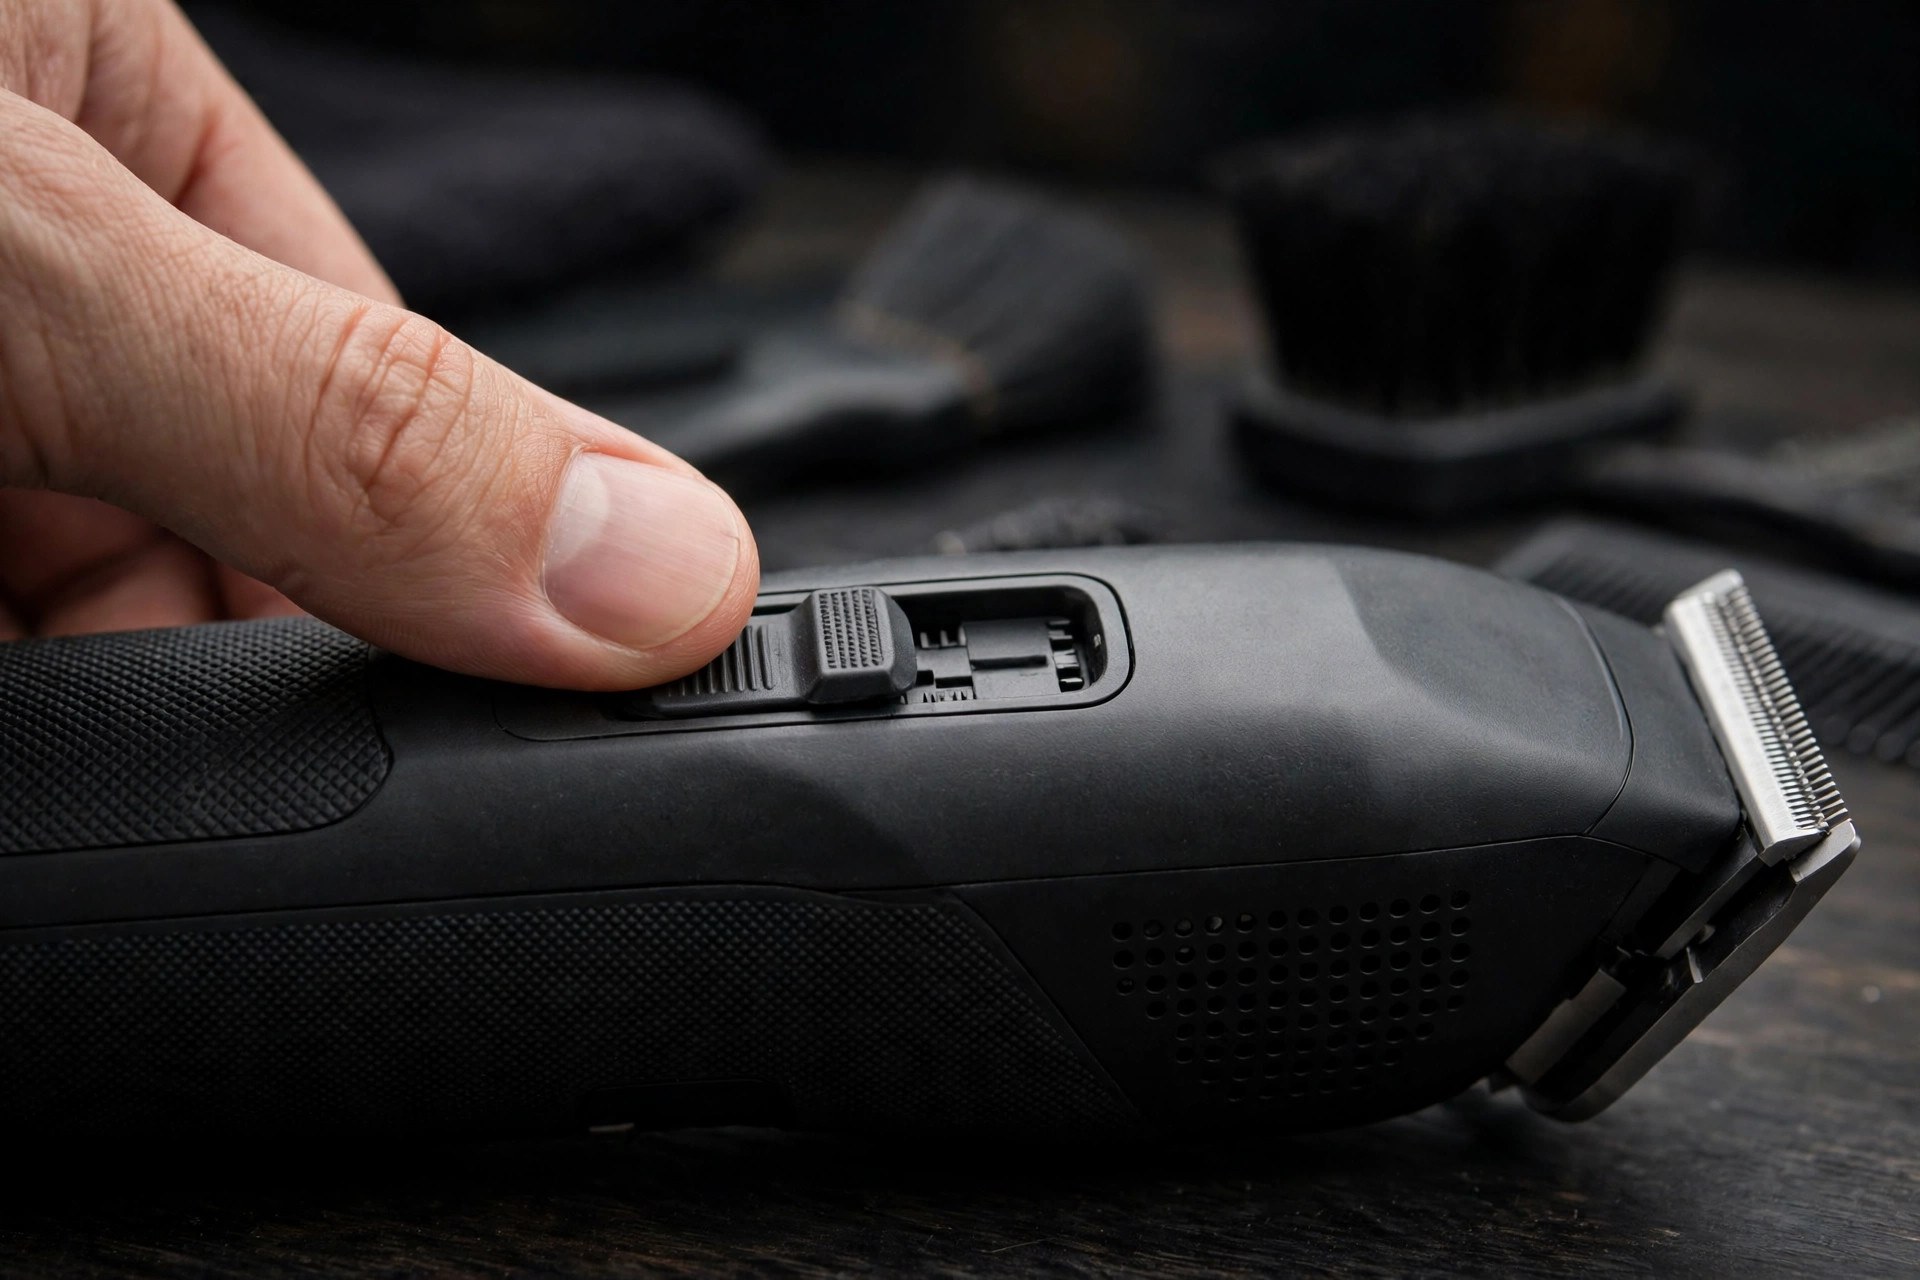
Decide the length you want to achieve first. Choices range from close shave to stubble. Pick the length that complements your style. Find the adjustment lever or dial next. It typically sits on the side or back.
The lever moves blades closer or further apart. That movement changes the cutting length directly. Our Pro cleaning guide covers the professional trimmer range.
Slide a lever up for longer cuts. Slide it down for a shorter cut. Turn a dial clockwise to increase length. Turn it counterclockwise to decrease the length. Maker pages like BaByliss host manuals for exact models.
| Control Move | Result |
|---|---|
| Lever up | Longer cutting length |
| Lever down | Shorter cutting length |
| Dial clockwise | Increases the cutting length |
| Dial counterclockwise | Decreases the cutting length |
Test, Fine-Tune and Care for the Trimmer
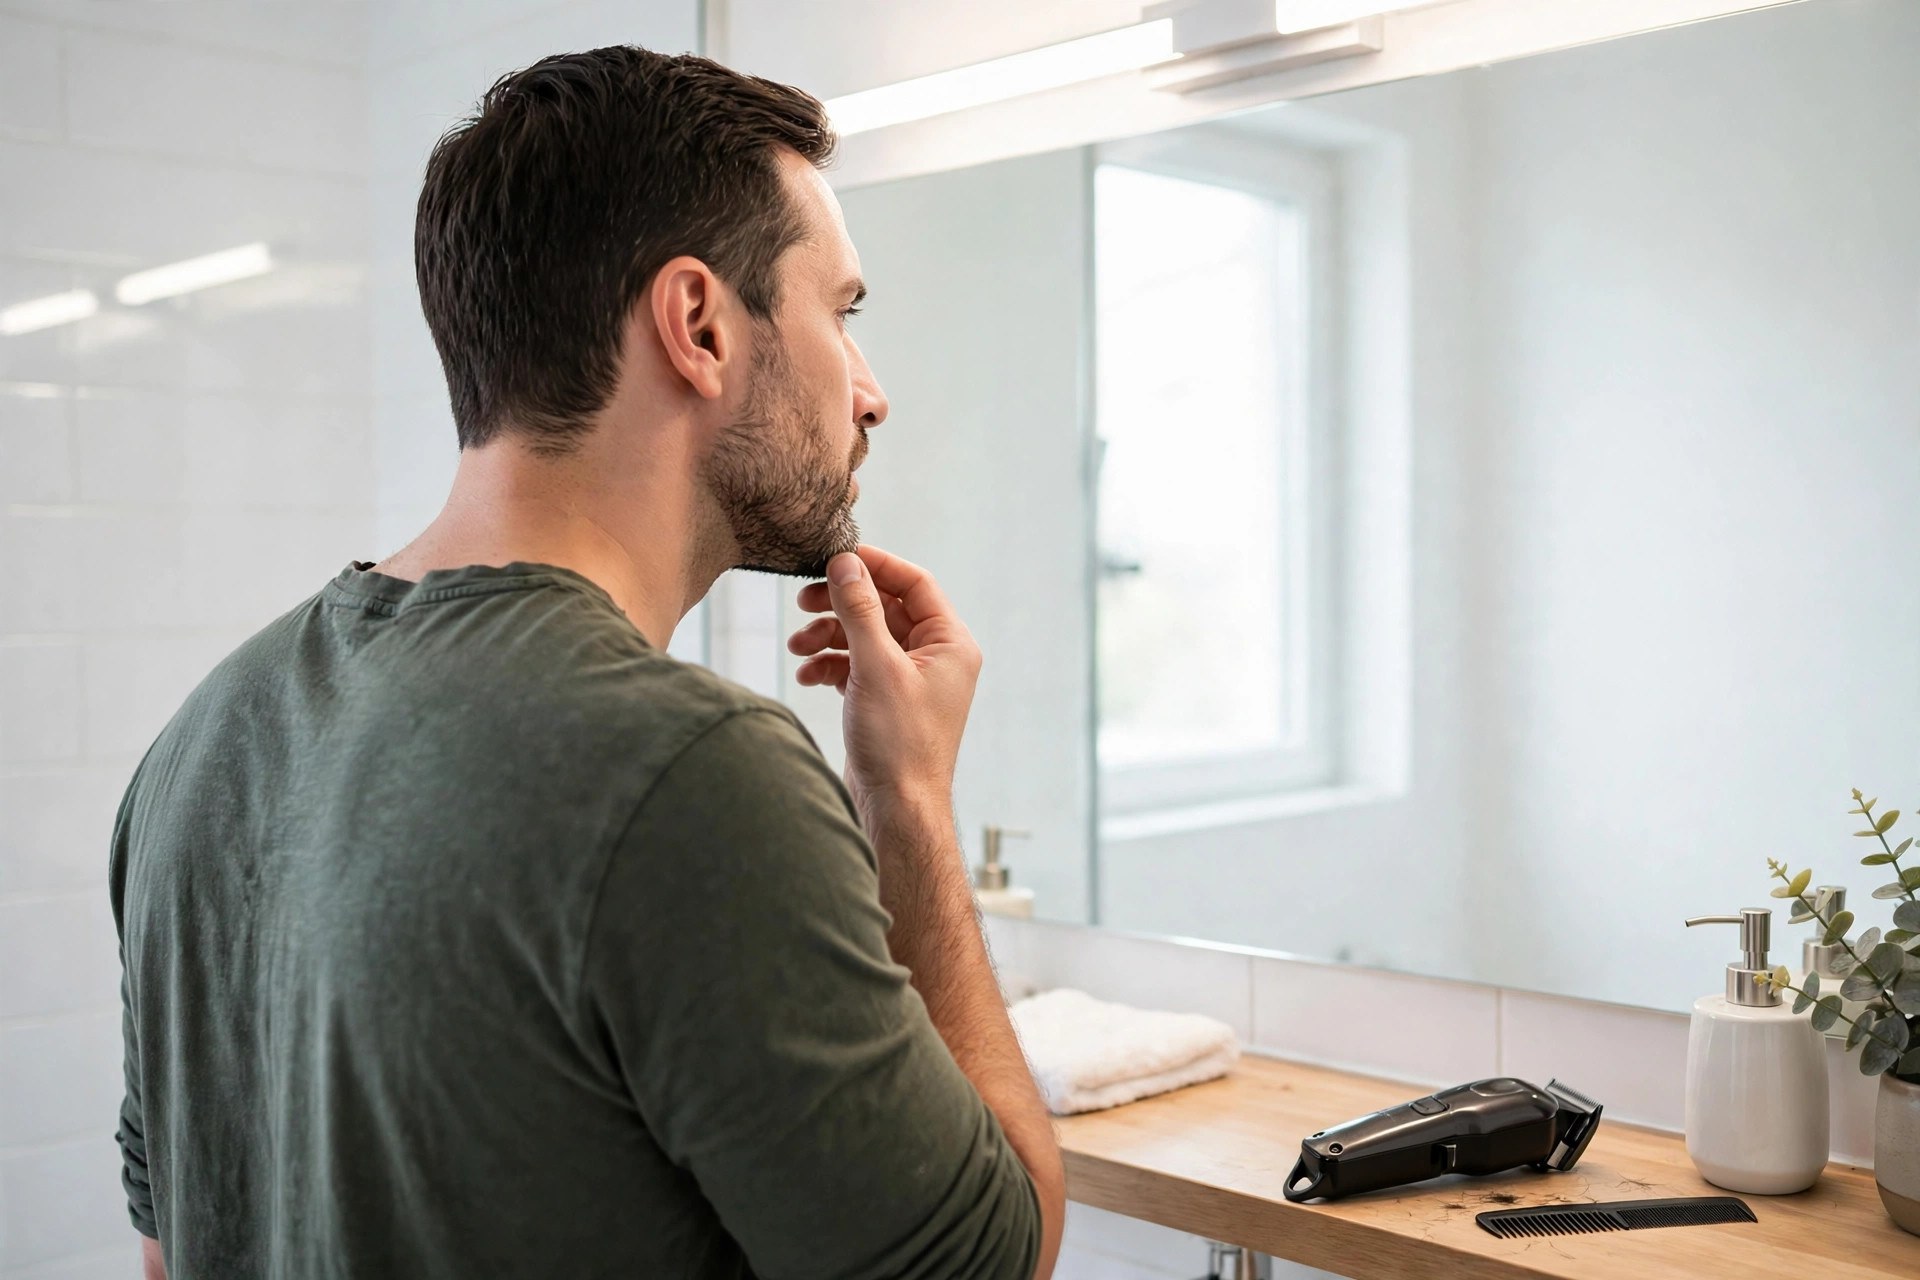
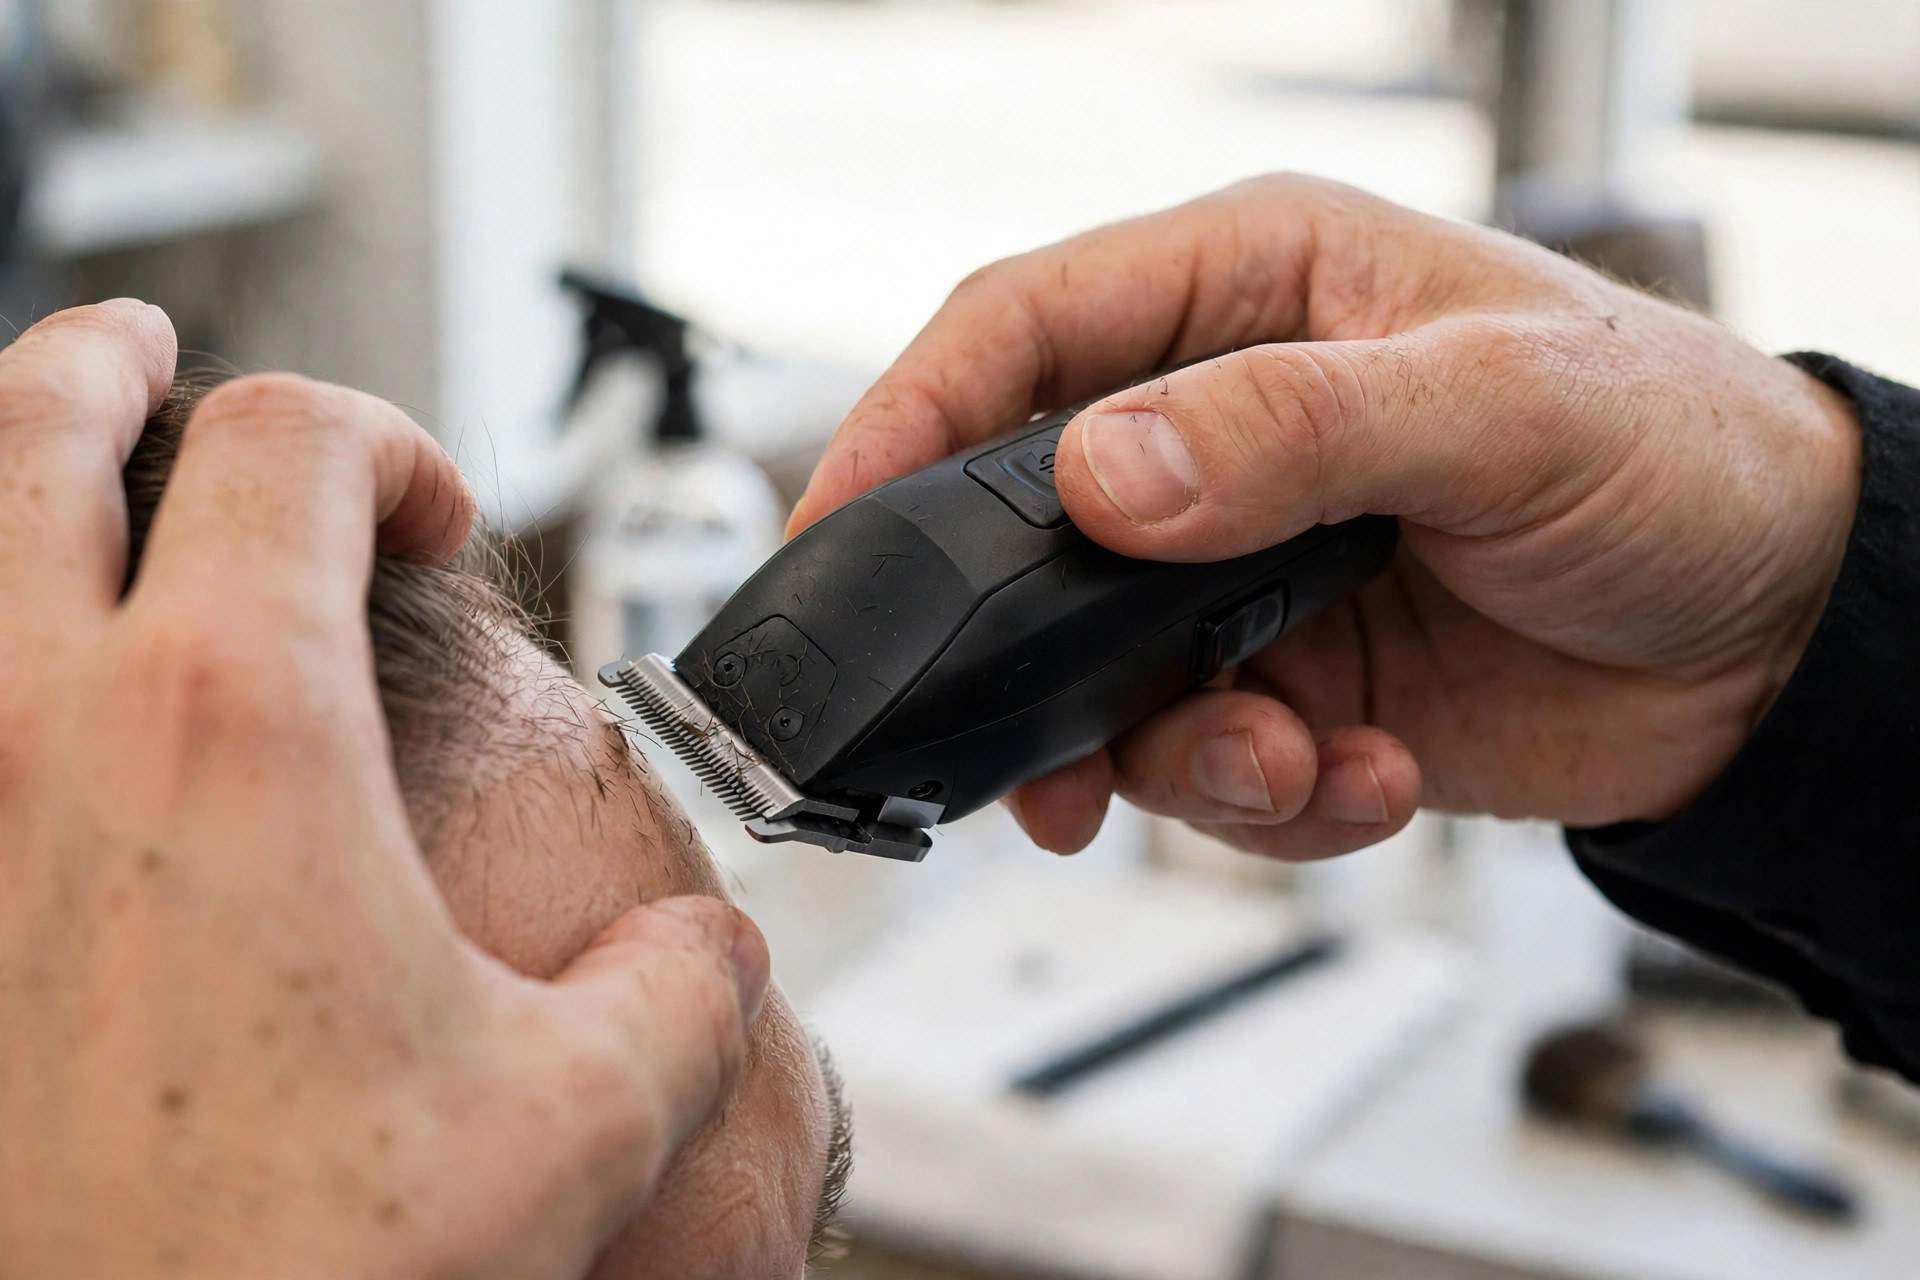
Test the trimmer on a small section. Assess the result before trimming more hair. Adjust again when length looks wrong still. Always start longer and trim shorter gradually. Cutting too short means waiting for regrowth.
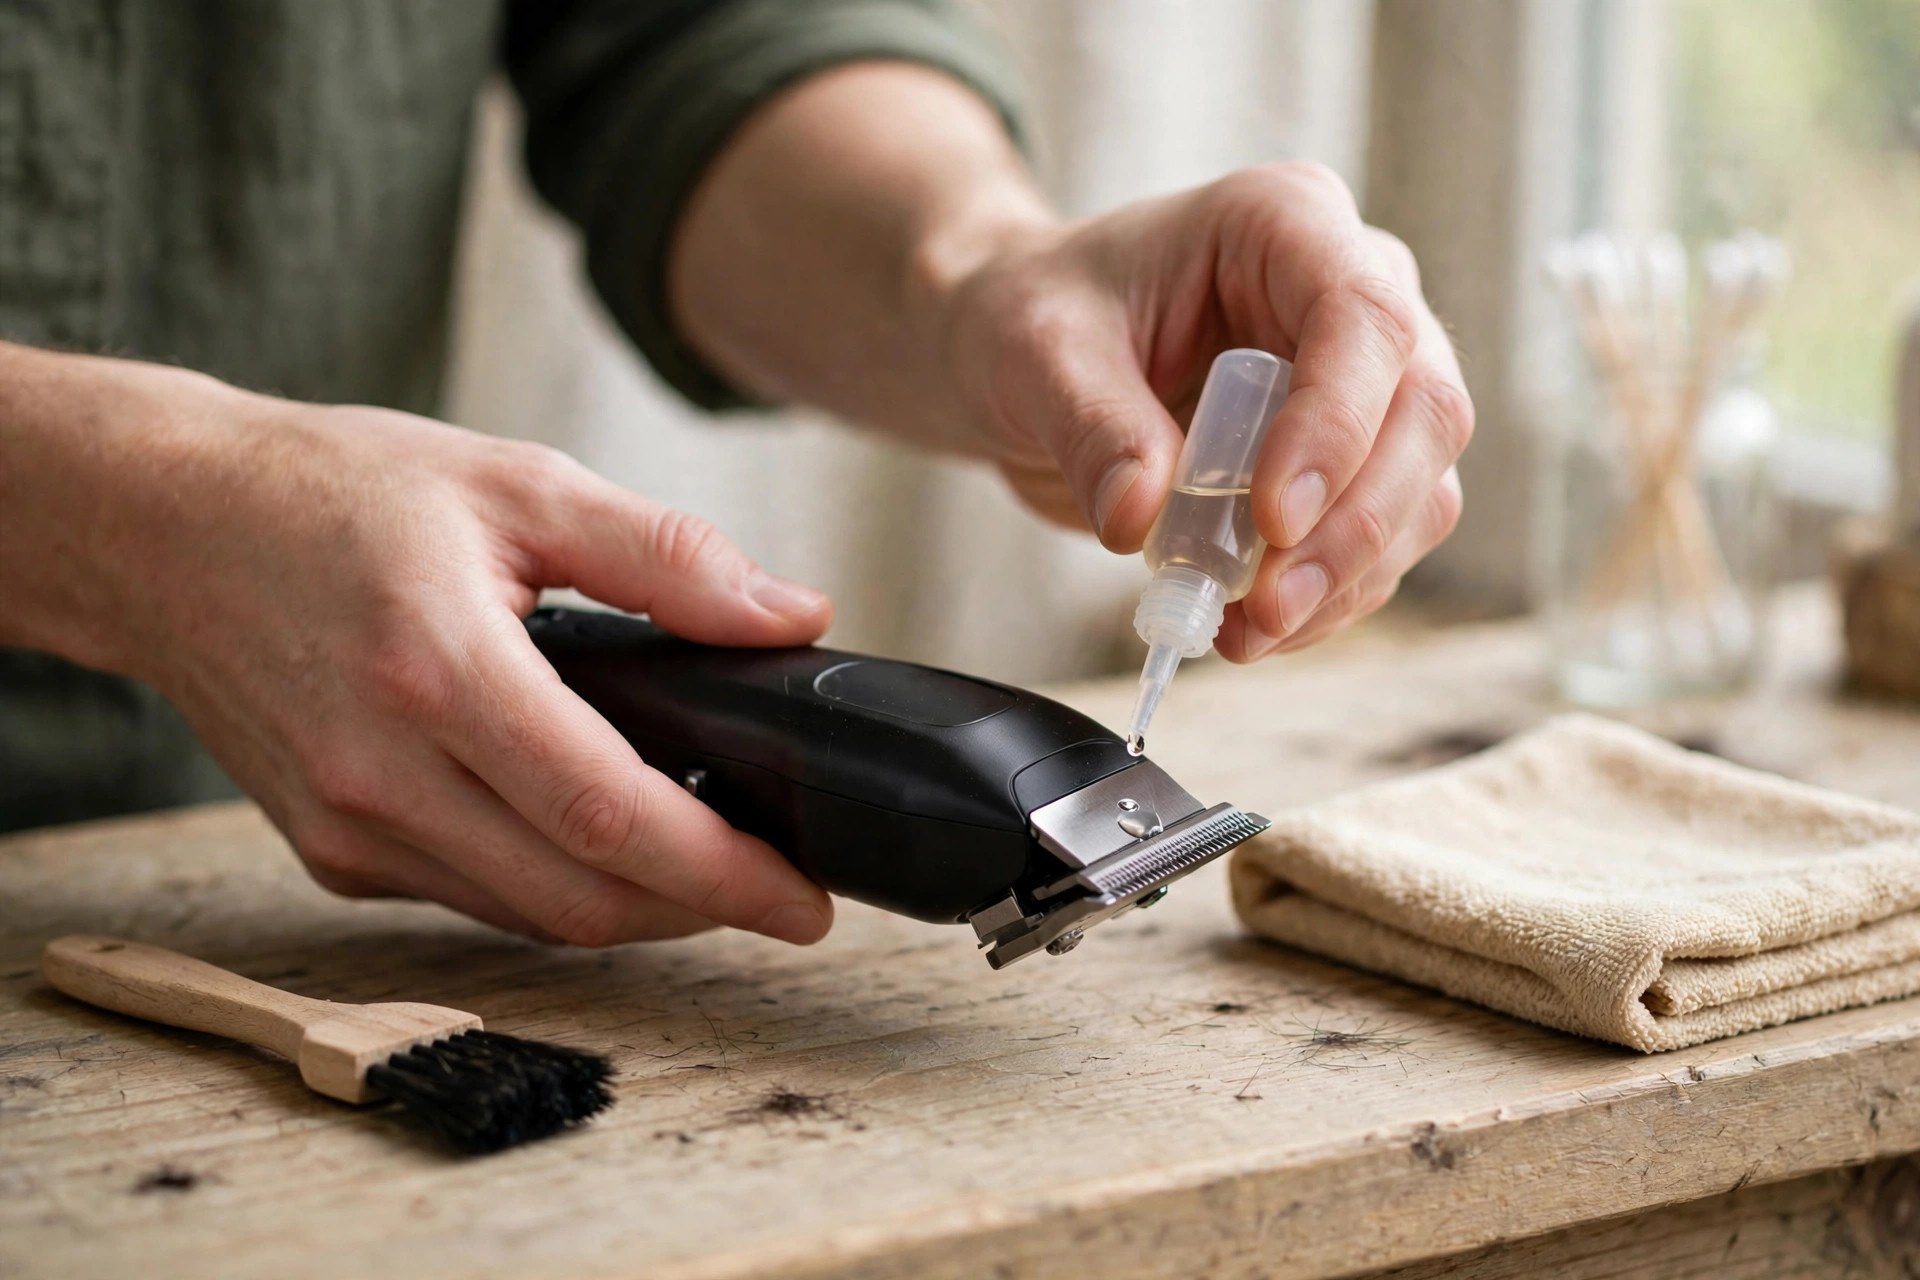
Clean and maintain the trimmer after adjusting. Regular cleaning and oiling keeps blades performing. Care also extends the trimmer lifespan greatly. Remove hair buildup and store it dry. Our cleaning guide covers the full routine step by step.
One closing line in this guide needs care. It mentions setting the perfect length and angle. Its angle answer says angles stay fixed though. The note below explains the safer reading clearly.
Please note: This guide mentions adjusting the angle. Its closing advice pairs length and angle together. Its answer says the angle stays fixed. Treat the setting as length adjustment only. The angle stays as the maker designed.
Frequently Asked Questions
These answers repeat this guide’s own points only. They follow the same steps explained above closely. Short answers close the guide at the end.
How do I adjust the cutting length of my Babyliss trimmer?
Locate the adjustable lever or dial first. It usually sits on the side or back. Slide or turn toward your desired length. Consult your manual for model specific instructions. Test small and adjust further if needed.
How can I zero-gap my Babyliss trimmer?
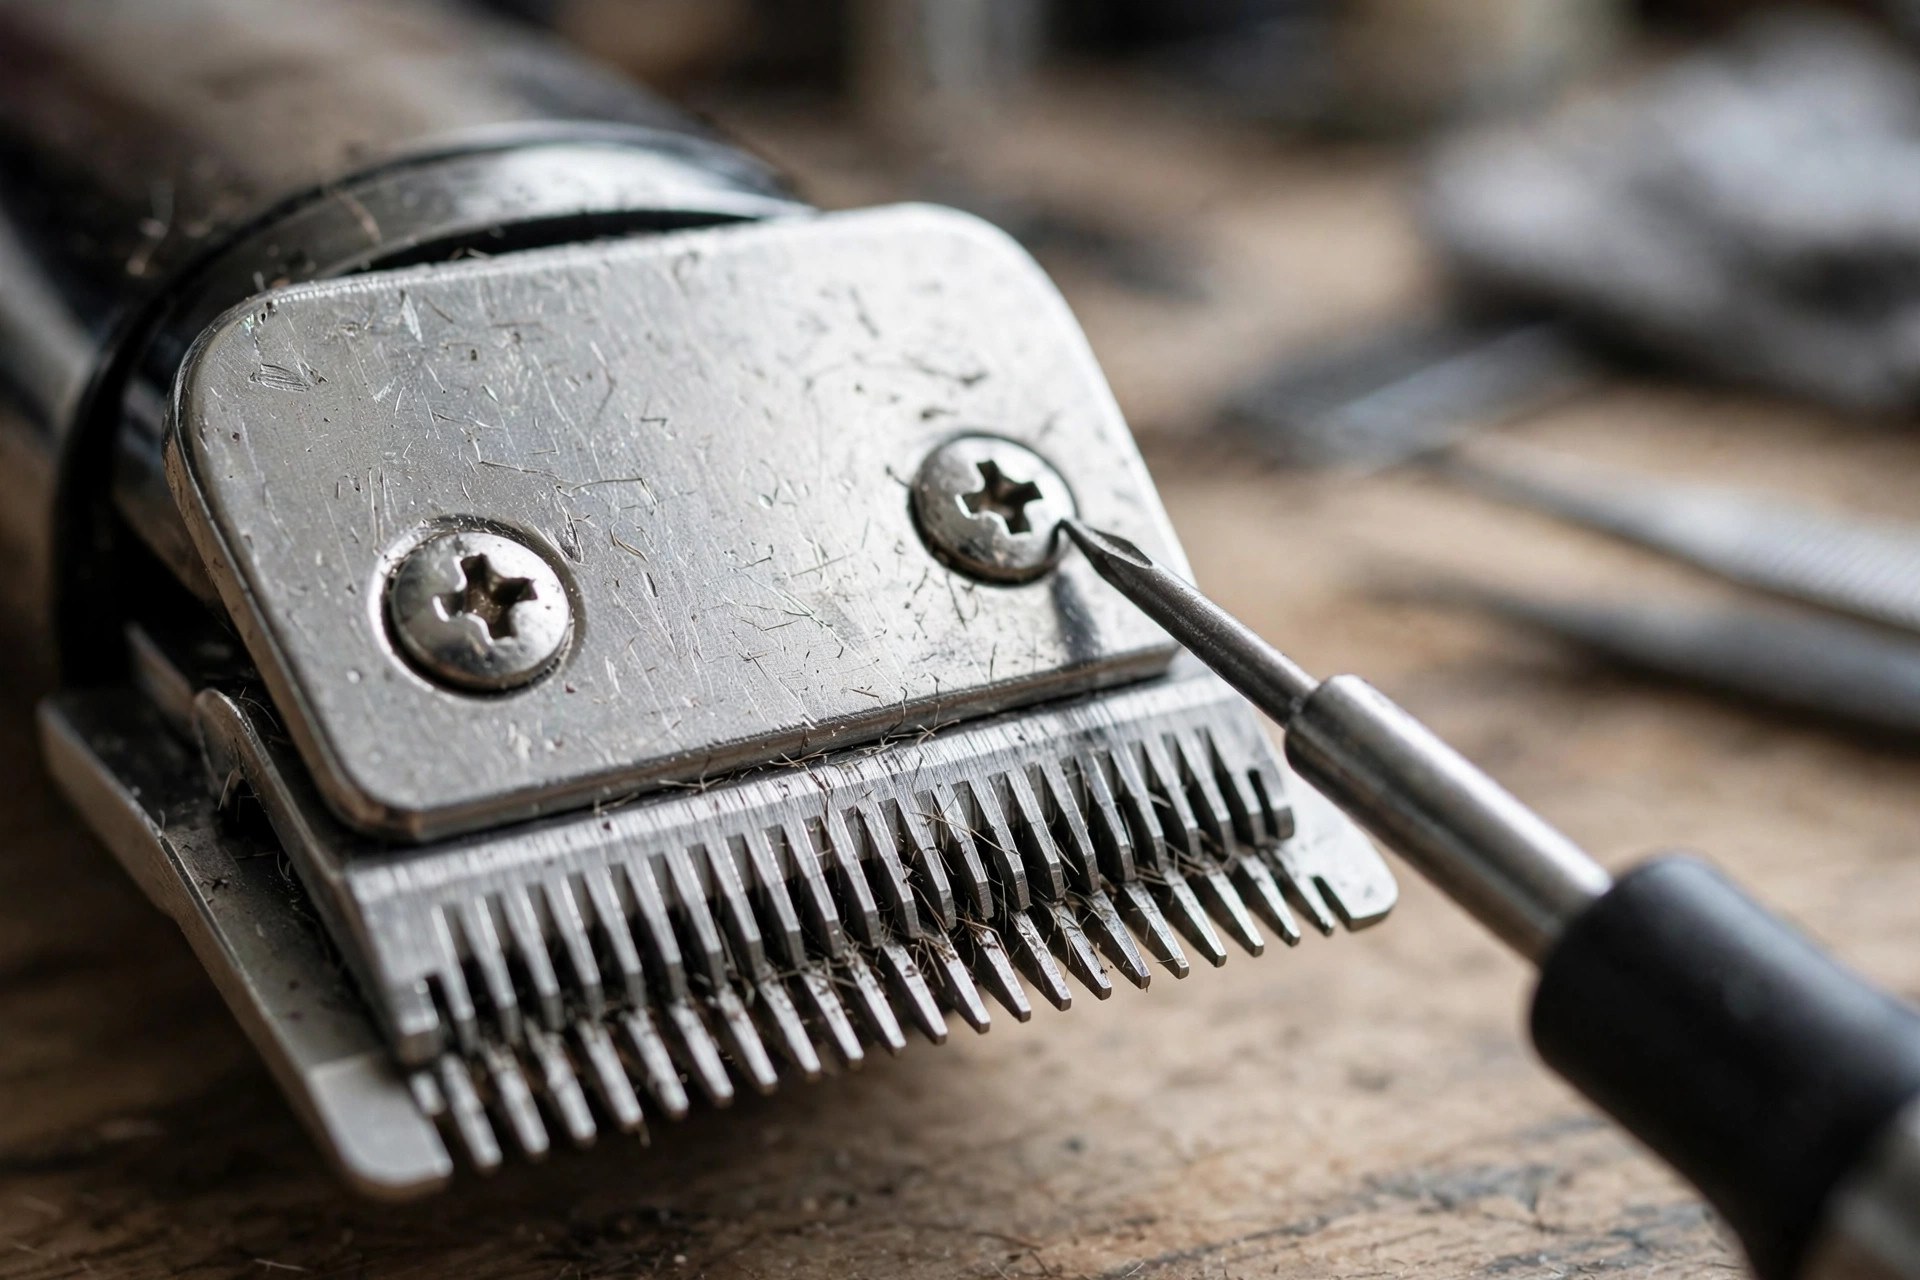
Keep the device turned off and unplugged first. Locate the screws on the blade head. Loosen them carefully with a screwdriver tool. Move the blade until it aligns perfectly. Our zero gap guide walks the full process slowly.
Can I adjust the speed settings on my Babyliss trimmer?
No, most models lack adjustable speed settings. The speed stays fixed by design here. Fixed speed suits varied grooming tasks well. Some advanced models offer multiple speed options. Check your manual or specifications to confirm.
How often should I adjust the blades of my Babyliss trimmer?
Inspect and adjust blades every few months. Frequency depends on use and hair type. Snagging or pulling signals adjustment is due. Weaker cutting points the same way too. Our pulling hair guide explains snagging causes in depth.
Can I adjust the trimming angle of my Babyliss trimmer?
Most models lack adjustable trimming angles entirely. The cutting angle stays fixed by design. That fixed angle supports precise, efficient trimming. Adjustable angles require other brands or models. Our water cleaning guide covers safe rinsing methods.
Conclusion: How to Adjust Babyliss Trimmer
So, how to adjust babyliss trimmer length well? Set the trimmer to your perfect length and angle. Follow the simple steps outlined above carefully. Take time to learn the different adjustments. Experiment with settings to find your fit.
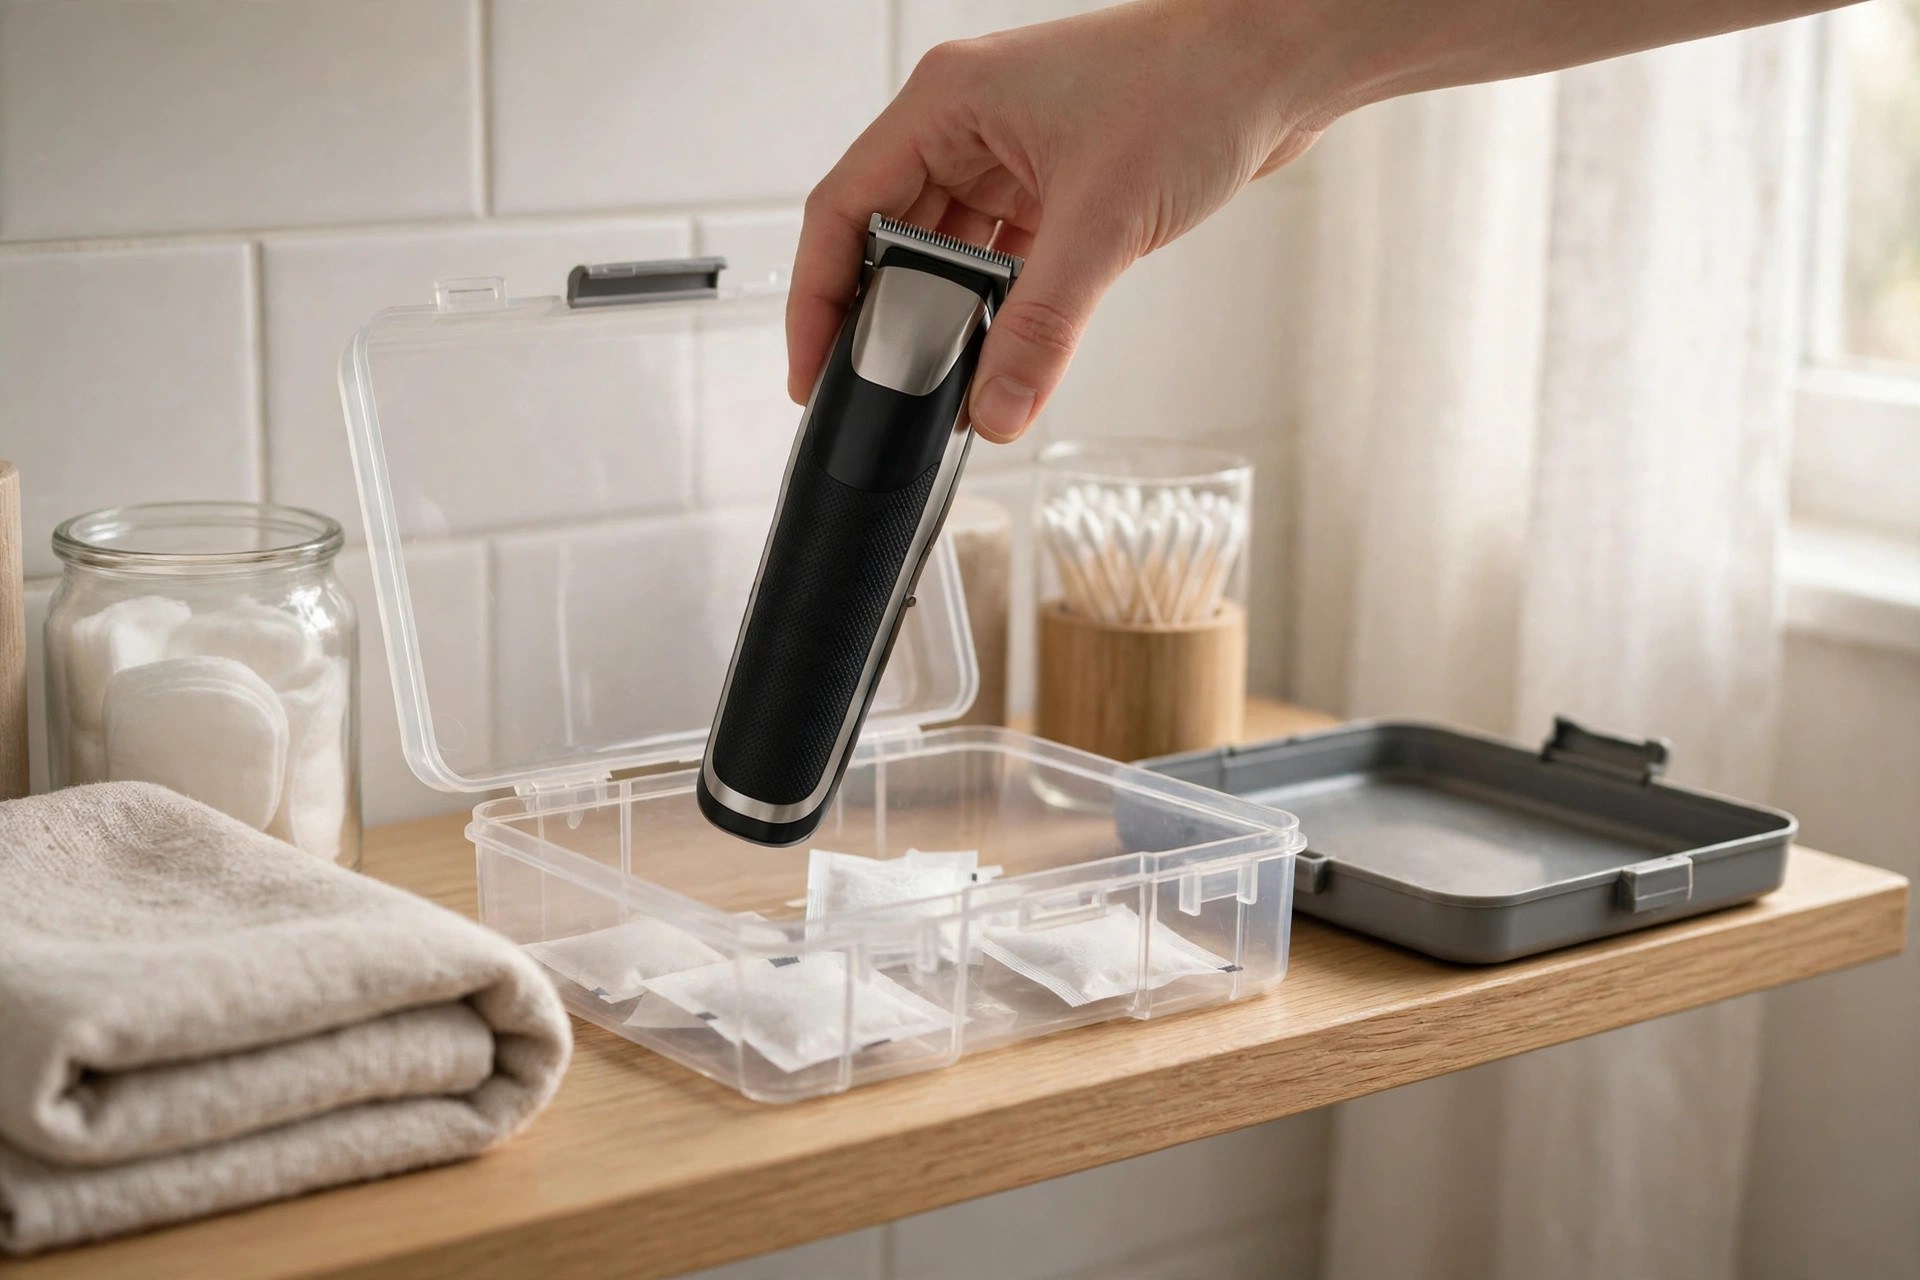
Regular cleaning and maintenance prolong the lifespan greatly. Oil the blades and clear hair buildup. Store the trimmer somewhere safe and dry. Confident, precise results follow with little practice. Our lifespan guide explains long term wear expectations.

I’m Patricia D. Johnson, an affiliate marketer and blogger specializing in trimmers and grooming tools. I create honest reviews, buying guides, and practical tips to help readers choose the right trimmer for their needs. With a focus on quality, performance, and value, I simplify the decision-making process so consumers can make confident purchases.