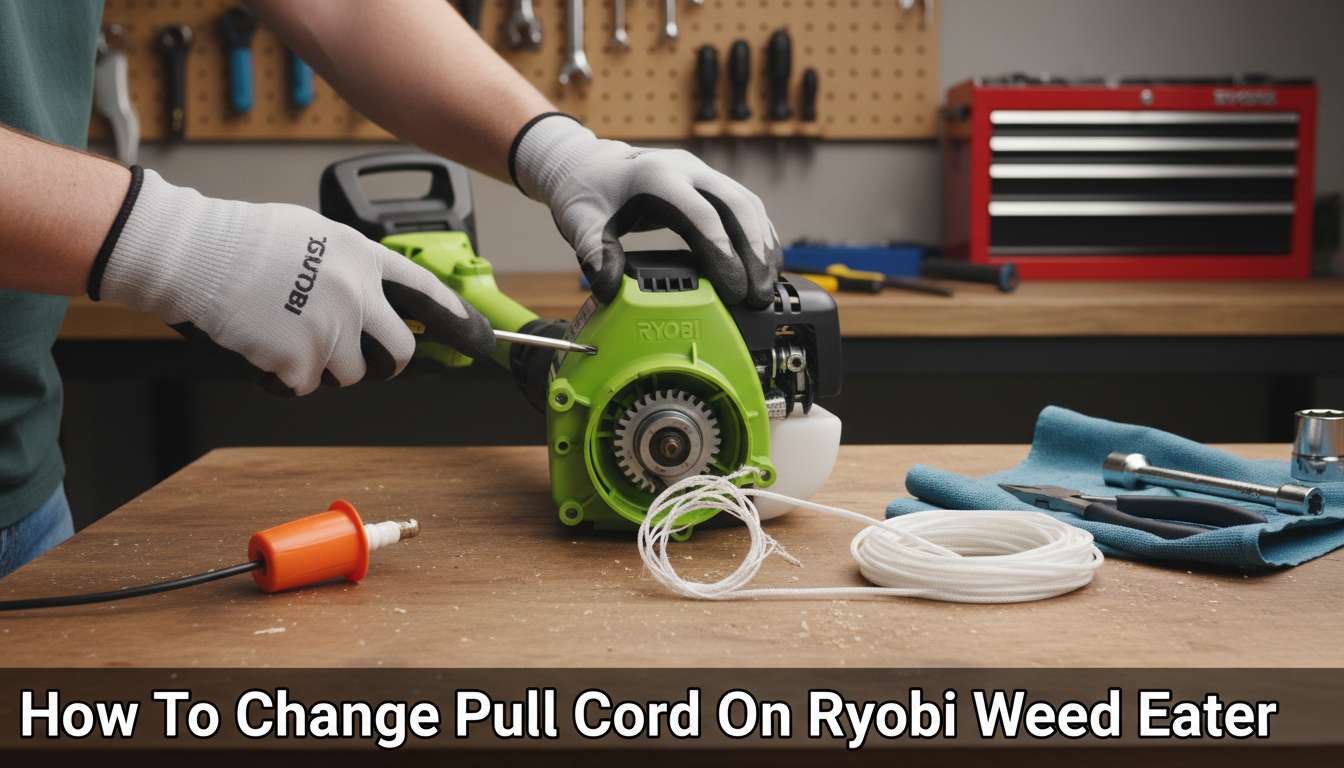
- First, disconnect the spark plug for safety.
- Remove the starter housing, exposing the rewind pulley and spring.
- Take out the old cord.
- Thread new cord through hole in the pulley, knotting one end.
- Wind pulley to add tension, aligning rope exit with housing hole.
- Insert cord through housing, affix the handle, and release pulley.
Ever found yourself stuck halfway through a gardening task due to a broken pull cord on your Ryobi weed eater? Then you’re part of a sizable group of gardening enthusiasts that have confronted this pitiable scenario. As it turns out, however, replacing the pull cord isn’t as daunting as you might think.
The Ryobi weed eater, first popularized in the 1970s, has a history of robustness and longevity, owed in large part to easily replaceable parts like the pull cord. More so, a recent study illustrates that homeowners able to perform basic maintenance like this can save up to $100 yearly. This means, with a little patience and the right instructions, not only will you return to your gardening, but you could also be keeping some cash in your pocket.
 Source: trustedreviews.com
How to Change the Pull Cord on a Ryobi Weed Eater (Step-by-Step Guide)
Regular use of your Ryobi weed eater will eventually wear out the pull cord, the critical element that allows you to start the engine. Understanding how to change pull cord on Ryobi weed eater is a handy skill that can save you both time and money. Here’s a detailed step-by-step guide to walk you through the process confidently and efficiently.
Step 1: Gather the Necessary Tools and New Cord
Before you can start the task, you’ll need to gather a few essential tools. It’s mostly items you likely have around the house: a screwdriver, a pair of pliers, and of course, a new pull cord.
For the pull cord, ensure that it is of the same thickness and length as the old one. You can either refer to your Ryobi weed eater’s manual for the cord specifics or take the old one to a hardware store for a match.
Ensure you are working in a spacious and well-lit area, laying down a cloth or towel to place the weed eater on, which helps protect the machine and keeps the small parts from disappearing.
Have a container or tray nearby to hold the screws once removed. Organizing them as per their positions can be incredibly helpful when you reassemble the device.
Step 2: Remove the Old Pull Cord
First, make sure the weed eater is powered off and unplugged to mitigate the risk of accidental injuries. Locate the recoiling starter, which is usually at the back of the weed eater, and start unscrewing it using your screwdriver. As you remove the cover, remember to remove the pull handle as well.
Once you have the cover off, you will see the old pull cord wrapped around a pulley. Unwind the old cord till you see its knot at the center hole of the pulley. Carefully cut it, remove the leftover from the handle, and dispose it off properly.
Inspect the pulley system for any wear or damage. If it looks overly worn or broken, you might need to replace this part as well.
Finally, clean the internal components with compressed air or a stiff brush to remove any dirt, dust or debris as this can reduce the lifespan of the new pull cord.
Step 3: Install the New Pull Cord
Now, it’s time to install the new cord. Start by threading one end through the hole in the starter handle and tying a knot. Make sure the knot is tight and secure to prevent it from slipping out while operating the weed eater.
Then, lead the other end of the cord through the hole on the pulley’s center and tie a knot as you did with the handle. Wind the cord onto the pulley, making sure to follow the direction indicated on it.
The last few turns can get a bit tricky as the pulley spring tends to get tighter. Hold down the pulley level to maintain tension while ensuring the cord is neatly coiled.
Once done, slowly let go of the pulley, allowing the cord to retract into place. Remember not to let go suddenly as it can cause the pulley to snap back too quickly, possibly damaging the new cord.
Step 4: Reassemble the Weed Eater
With the new cord in place, you can now start to reassemble your Ryobi weed eater. Place the starter cover back onto the weed eater ensuring the cord protrudes out from its notch, and then start to secure the cover with the screws you had kept aside earlier.
Attach the handle back to its original position. Double-check to make sure everything is in its correct place and tightened securely.
As a final check, pull the cord a few times to make sure it extends and retracts smoothly. If there is any resistance or if the cord doesn’t wind back correctly, you might need to adjust the tension on the pulley or check the cord’s winding.
It is alright to take your time during this process. Patience and attention to detail are essential to ensure the weed eater functions properly once reassembled.
Step 5: Test the Weed Eater
The final step is to test your weed eater. Now that everything is back in place, it’s time to make sure the new pull cord works perfectly.
Start your Ryobi weed eater as you normally would – by giving the pull cord a sharp tug. The machine should start without any issues. If it doesn’t, review the entire procedure to see if you’ve missed or incorrectly done a step.
If the issue persists, you may need to consult a professional since the problem might not be with the pull cord but something more complex inside the weed eater.
Don’t be too hard on yourself if something goes wrong. Like any other new skill, learning how to change pull cord on Ryobi weed eater involves a learning curve. Practicing these steps will certainly aid you in mastering this maintenance task and keeping your weed eater in top condition for your gardening requirements.
How to: Reset the Pulling Cord on a Ryobi 2 Stroke Weed Eater
Frequently Asked Questions
Are you considering changing the pull cord on your Ryobi weed eater? Here are some frequently asked questions and the respective answers to guide you through.
1. What signs should I look for to know that my pull cord needs replacing?
In general, if you find it difficult or impossible to start your Ryobi weed eater, and you’ve ruled out other issues such as an empty gas tank or a faulty spark plug, then the pull cord might be your problem. It might be worn, cracked, or broken.
Also, if the cord doesn’t retract back into the weed eater after you’ve pulled it or if it has visible signs of fraying, these could be indications that you should replace the pull cord.
2. Do I need any special tools to change the pull cord on my Ryobi weed eater?
Most likely, the tools you need to change your pull cord are readily available in your toolbox. These include a set of pliers, a wrench, and a screwdriver. The specific size of wrench you need will depend on your particular Ryobi model.
It’s a fairly straightforward process. It would be best if you had a new rope handy, preferably one that matches the specifications of your weed eater to ensure optimal performance.
3. How long does it usually take to change the pull cord?
This largely depends on whether you’re an experienced DIY-er when it comes to small engine repair. If you are, it could take around 20-30 minutes. However, if this is your first time dealing with such a task, you might want to set aside an hour or so.
Remember, rushing can lead to mistakes. It’s more important to get the task done right than to get it done quickly. Take your time; ensure all the parts are correctly installed before you put them back together.
4. Can I use a different brand of pull cord for my Ryobi weed eater?
Yes, as long as the pull cord you choose is of the same size and thickness as the one specified by Ryobi for your model. Not every pull cord will work with every Ryobi weed eater. Ensure the rope you pick is compatible with your Ryobi weed eater for optimal performance.
When in doubt, I always recommend sticking with OEM (Original Equipment Manufacturer) parts. This way, you can be sure they’ll fit and function exactly as needed. After-market parts can sometimes present issues with compatibility and performance.
5. I tried to change my pull cord, but my Ryobi weed eater still won’t start. What should I do?
The problem could be beyond just replacing the pull cord. It may be something with the engine itself, the carburetor, or the spark plug. Do a quick check of these if changing the pull cord hasn’t worked.
Alternatively, don’t hesitate to consult a professional. Small engine repair shops can usually diagnose and fix the problem carefully and quickly if you’re uncomfortable doing it yourself. Sometimes, the problem may be more technical than it seems.
Pull Cord – Starter Rope Replacement Ryobi Trimmer / strimmer – Do It Your Self Fix
Conclusion
Thus, it’s evident that changing the pull cord on your Ryobi weed eater is a fairly simple task that can be achieved with a little patience and a few basic tools. Always remember, you should disconnect the spark plug before starting to ensure safety. Follow the proper steps to remove the recoil assembly, replace the cord and then put everything back together.
By doing this task yourself, not only will you save money but also gain a better understanding of your equipment. And most importantly, you’ll be back to tending your garden or lawn in no time. Changing the pull cord doesn’t need to be intimidating; with the right knowledge and tools, it’s definitely within your grasp.

I’m Patricia D. Johnson, an affiliate marketer and blogger specializing in trimmers and grooming tools. I create honest reviews, buying guides, and practical tips to help readers choose the right trimmer for their needs. With a focus on quality, performance, and value, I simplify the decision-making process so consumers can make confident purchases.