It’s a common scenario, you’re in the middle of trimming your garden, when suddenly the string in your Atlas trimmer runs out. Not to worry, restringing your trimmer isn’t as daunting as it may seem. By the end of this, you’ll be well adept in handling such a situation.
Learning how to restring your Atlas string trimmer not only increases the longevity of your tool, but also enhances its performance. The practice dates back to the invention of string trimmers, with improvements in technology making the process easier than ever. It is estimated that regular maintenance, including restringing, can increase the lifespan of your trimmer by up to 35%.
- First, turn off your Atlas string trimmer and ensure it’s cool.
- Next, remove the spool from the trimmer head.
- After that, take the new string and insert it into the hole in the spool, winding the string tightly around it.
- Then, retain some string out before reinserting the spool into the trimmer head.
- Finally, power on the device and let the string advance itself.
The Art of Restringing Your Atlas String Trimmer
If your Atlas string trimmer isn’t cutting as well as it used to, chances are it’s time to replace the string. The process of restringing an Atlas string trimmer is relatively easy once you know how. Here’s a step-by-step guide to help you.
Step 1: Gather Necessary Tools and Equipment
Before you learn how to restring atlas string trimmer, it is important to gather all the necessary tools and materials. The crucial tools you’ll need include a new string trimmer line to replace the old one and a pair of safety gloves for protection purposes. Depending on the model of your Atlas string trimmer, you might need a screwdriver or pliers.
The type of trimming line you choose matters. Typically, Atlas string trimmers use a 0.065-inch diameter monofilament line but consult your model’s specific user manual to be sure. You can easily buy one from a hardware store or online.
Always prioritize safety when dealing with sharp objects. Your hands are particularly vulnerable when replacing the string, so wearing gloves is a necessity. The right pair of gloves will also give you a better grip when restringing the trimmer.
Now that you have all the necessary tools and materials, it’s time to get down to the restringing process.
Step 2: Prep the Trimmer
Firstly, ensure that you have disabled your trimmer to prevent any accidental startups. Disconnect it from any power source if it’s an electric model, or remove the spark plug if it’s a gas-powered trimmer. Safety should always come first when learning how to restring atlas string trimmer.
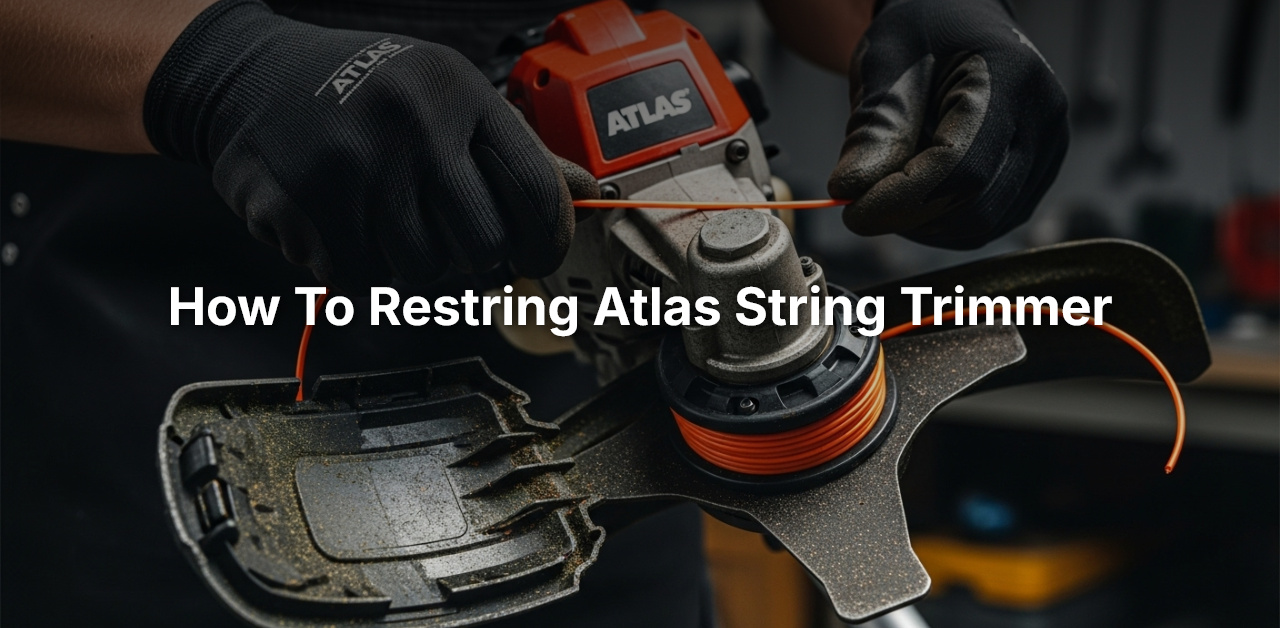
Next, turn the trimmer upside down to locate the trimmer head. This is the circular bulb at the base of the trimmer shaft where the string is housed. Understanding the structure of the trimmer head is key to successful restringing.
Most atlas string trimmers have a two-piece head. Remove the top part by pressing down the tabs located at the sides. If it doesn’t have tabs, check for screws securing the top. In such cases, you’ll need a screwdriver to reach the string spool.
Once you’ve removed the top, locate the old string spool in the bottom part. Gently pull it up and out of the head to remove it.
Step 3: Remove the Old Line
With the trimmer spool out, next we’ll focus on how to restring Atlas string trimmer by first taking off the old line. Hold the spool firmly in one hand and with the other, unwind the line in a counter-clockwise direction. Be cautious as worn-out line can be brittle and prone to snapping.
Once you’ve completely unwound the line, discard it properly. Make sure to examine the empty spool for damage or wear. If the spool is in bad shape, consider replacing it altogether.
Don’t forget to clean the spool and the head before you proceed. Wipe them down with a clean cloth to remove any dust, grass clippings, or other debris. This helps extend the life of your trimmer.
Now, with the old line removed, you’re ready to string your trimmer with the new line.
Step 4: Install the New Line
To install the new line, take the end of the trimmer line and insert it into the anchor hole on the spool’s center. This hole is where the line will securely sit as you wind it onto the spool. Don’t force the line into the hole, it should slide in relatively easy.
With the line in the anchor hole, start winding the line onto the spool. Always wind in the direction indicated by the arrow printed on the spool. Typically, for Atlas trimmers, this is in a clockwise direction. Make sure to wind the line neatly and tightly without overlaps. A sloppy wind results in the line jamming or breaking during use.
Continue winding until you have about 6 inches of the line left unwound. This tail end will stick out of the trimmer head to cut grass and weeds. Keep it at a reasonable length as a longer line reduces the trimmer’s efficiency.
With the line fully wound, clip it into the notch on the edge of the spool to hold it in place. Then, guide the tail end of the line through the exit hole on the trimmer head.
Step 5: Reassemble the Head
With the new line in position, carefully replace the winding spool back into the bottom of the trimmer head. Ensure the line feeds out through the exit hole cleanly without obstruction. Furthermore, ensure the spool sits flush with the bottom of the head and doesn’t wobble.
Take the top part of the head and align it with the bottom. Hold both parts together while double checking the alignment of the tabs or screws. For models with tabs, snap them back into place and for those with screws, tighten them using your screwdriver.
Give the head a good twist to make sure everything is secure. Don’t force it as this may cause unnecessary damage. Once everything feels secure, pull on the trimming line to release it from the edge notch. The line should freely spin out when pulled.
Finally, restore the power to the trimmer. Carefully, switch it on and off a couple of times to check the line feeds correctly and the trimmer operates efficiently. Congratulations, you’ve successfully learned how to restring Atlas string trimmer!
With restringing your Atlas string trimmer becoming such an easy task, you no longer need to worry about interruptions during your trimming sessions. Nurture your gardening skills and keep your lawns and landscapes immaculate. With a high-performing string trimmer at your disposal, gardening tasks will become enjoyable like never before.
Atlas 40v String Trimmer: Replacing the Line
Frequently Asked Questions
Keeping your Atlas string trimmer in optimum working condition involves regular restringing. Below are some frequently asked questions to guide you through the process.
What type of string should I use for restringing my Atlas string trimmer?
The type of string you need depends on your specific Atlas string trimmer model. The majority of models use a .080 or .095 trimmer line. Assure to check your model’s manual, where the recommended string diameter will be specified.
An important reminder is to always use the correctly sized string for your trimmer. Using a line that’s too thick might strain your machine, while a line that’s too thin can break off easily, requiring frequent replacements.
How often should I restring my Atlas string trimmer?
The frequency of restringing your Atlas string trimmer depends on how often you use it and the toughness of the vegetation you’re trimming. Regular use, dense weeds, or hard objects can wear out the string much faster, requiring more frequent restringing.
A good practice is to inspect the string before each use. If it appears frayed, worn out, or is shorter than 6 inches, consider restringing your trimmer. A sharp line will always offer better cutting performance.
Do I need any special tools to restring my Atlas string trimmer?
Restringing an Atlas string trimmer doesn’t require any specialized tools. You would only need a new trimmer line and maybe a pair of scissors or a knife to cut the line to the appropriate length. No additional tools are required.
Before you start, always ensure that your trimmer is turned off and unplugged if it’s an electric model. Remember to wear safety glasses during the entire restringing process for eye protection.
Can I use a different brand’s trimmer line for my Atlas string trimmer?
Yes, you can use trimmer lines from different brands, as long as the trimmer line is the correct size for your Atlas string trimmer model. Always refer to your model’s manual to ascertain the recommended string diameter.
It’s also crucial to consider the quality of the trimmer line. Some cheaper lines from lesser-known brands may not offer the durability you need and could end up costing more in the long run due to more frequent replacements.
Is it possible to restring my Atlas string trimmer on my own, or should I hire a professional?
You absolutely can restring your Atlas string trimmer on your own. The process is straightforward and doesn’t require any special skills. Your trimmer’s user manual should provide step-by-step instructions to guide you through the process.
If you’re not confident about doing it yourself or if you’re dealing with a particularly stubborn trimmer, consider hiring a professional. But with a little patience, this is a task you should be able to handle comfortably on your own.
Harbor Freight Atlas 80v Weed Eater String Replacement #262
Final Words
I trust now you have a firm grasp on the steps involved in restringing an Atlas string trimmer. To sum it up, you have to safely disassemble the head of the trimmer, remove the old line, wind the new string around the spool, and then carefully reassemble the trimmer. It’s a relatively straightforward process once you get the hang of it.
Remember, keeping your resources handy and maintaining patience during the process will ensure success. Restringing an Atlas string trimmer isn’t very complicated, and it’s a necessary task to keep your equipment running smoothly. As a final note, always prioritize your safety when dealing with such equipment, this includes wearing appropriate protective gear and following the user manual closely.
