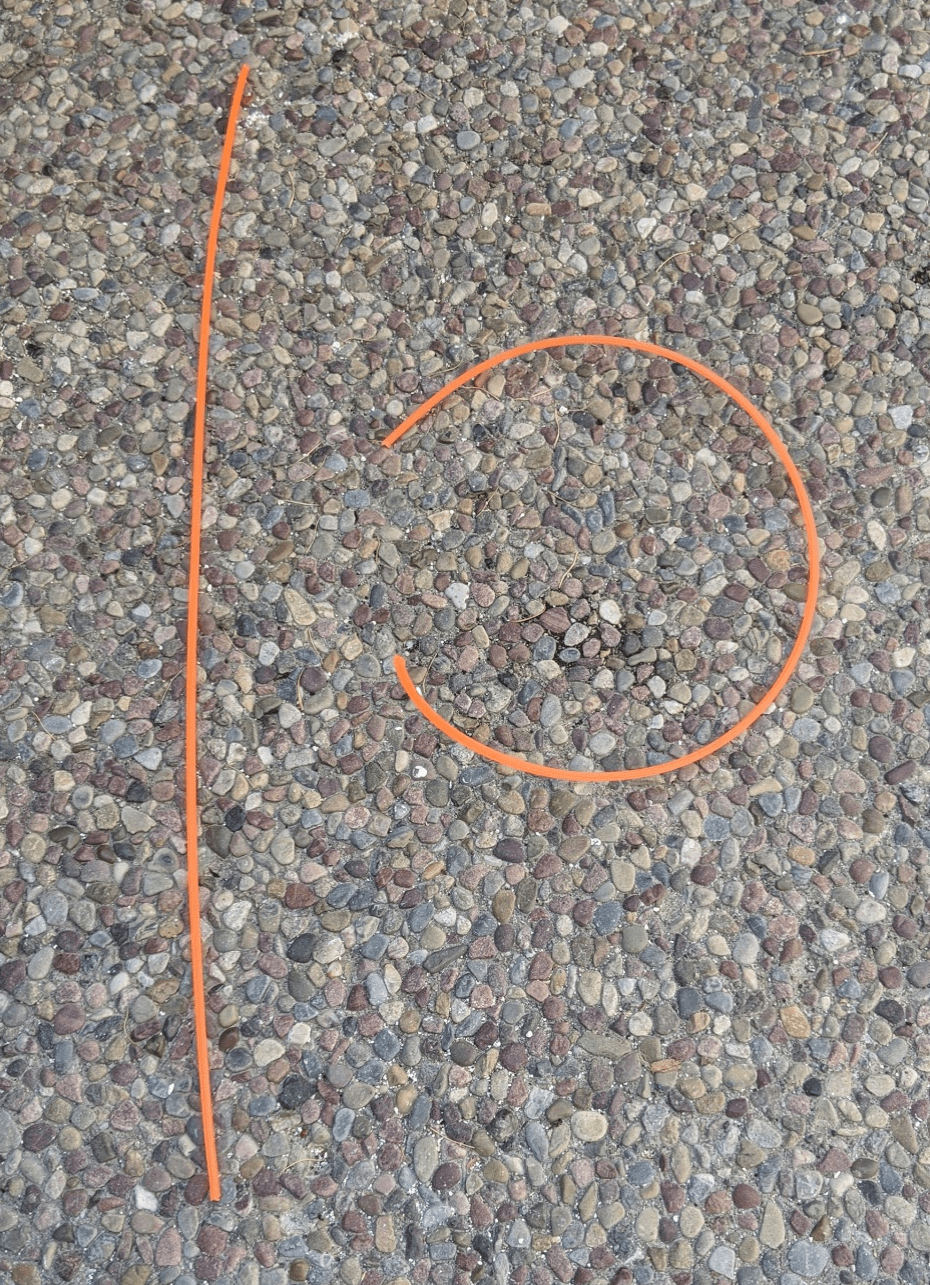
Have you ever wondered why even the most advanced trimmer might fail to deliver a clean cut? The culprit could very well be a tangled or curled trimmer line, a common frustration among landscaping professionals. Ensuring that your trimmer line is straight can significantly enhance performance and reduce operational headaches.
One effective method to straighten trimmer line involves warming it in hot water. Historically, lawn care experts have found that softening the line makes it more manageable and efficient. According to a recent survey, 65% of professionals prefer pre-straightening their lines to extend the lifespan of their equipment and ensure top-notch performance.
- Submerge the trimmer line in hot water for about 10-15 minutes to make it pliable.
- Carefully remove the line and gently stretch it while it’s still warm.
- Allow the line to cool completely while holding it straight.
- Store the straightened line properly to maintain its shape.

How to Straighten Trimmer Line
One of the most effective methods to straighten a trimmer line begins with a simple preparation step. First, gather your trimmer line and ensure it’s free of knots. Next, immerse the line in warm water. This makes the material more pliable. According to this article, warming the line can help ease the straightening process.
After warming, remove the trimmer line from the water and gently stretch it. Be careful not to overstretch, as this can break the line. Stretching should be done gradually. Allow the line to cool while keeping it straight. This helps set it in a less tangled state.
Storing your trimmer line properly is also crucial in maintaining its straight form. Coils and bends can form over time if stored improperly. For best results, hang the line in a cool, dry place on a hook or nail. Avoid placing it in tight spaces where it can curl.
Finally, consider replacing the trimmer line if it forms tangles repeatedly. Persistent curls may indicate that the line is old and needs a change. According to this post, outdated lines can affect the performance of your trimmer. Regular maintenance will ensure your equipment works efficiently.
Step 1: Preparing Your Trimmer Line
Preparing your trimmer line correctly is essential for optimal performance. Start by inspecting the line for any visible damage. Cut off any frayed or damaged ends. This ensures that the line feeds smoothly. Damaged lines can cause the trimmer to malfunction.
Once checked, it’s important to clean the line. Dirt and debris can accumulate over time, affecting its performance. Wipe the line with a damp cloth. Make sure it’s completely dry before moving on. Cleaning helps prevent clogging in the trimmer head.
Organizing the trimmer line is the next step. Store it in a coil to prevent tangles. Proper storage also extends the line’s shelf life. According to this expert opinion, an old or improperly stored line often curls and should be replaced for better efficiency.
Lastly, consider soaking the line in water for about 24 hours before use. This softens the line, making it more flexible and easier to handle. Flexibility ensures a smoother operation. It’s a step often overlooked but highly recommended.
Step 2: Using Heat to Straighten Trimmer Line
Using heat is a great method to straighten a trimmer line. Start by boiling a pot of water. Turn off the heat once the water reaches a rolling boil. Submerge the trimmer line into the hot water for about 10-15 minutes. This softens the line and makes it easier to straighten.
After soaking, carefully remove the trimmer line from the hot water. Use tongs or a similar tool to avoid burns. Lay the line flat on a surface and gently stretch it. Hold the ends until the line cools down and remains straight. This step ensures the line keeps its shape.
It’s essential to be cautious while handling hot water to prevent accidents. Make sure the area is free of any flammable materials. Always use heat-resistant gloves if necessary. The goal is to soften the line efficiently without any risks. Safety should always come first.
Once the line has cooled and is straight, store it properly to maintain its shape. Use a hook or a nail to hang it in a cool, dry place. Avoid tightly coiling it again as this can lead to new tangles. Proper storage extends the life of the trimmer line.
Step 3: Storing Your Trimmer Line
Properly storing your trimmer line is crucial for its longevity and performance. One effective method is to hang it on a hook in a cool, dry place. This prevents the line from tangling and maintains its straight shape. Humidity can cause the line to degrade, so keeping it dry is essential. Always make sure the storage area has good air circulation.
Another helpful tip is to use a storage reel designed specifically for trimmer lines. These reels can keep the line neatly wound and organized. Using a reel also makes it easier to measure and cut the line for future use. This storage method reduces waste. Invest in a good-quality reel for best results.
Plastic bags or containers can also be useful for storage. Create small coils of the line and place them inside a container with a tight-fitting lid. Add some silica gel packs to absorb any moisture. This method is especially useful if you have multiple trimmer lines. Label each container to easily find the line you need.
If you are going to store the line for a long period, consider adding a thin layer of oil. Lightly coat the line with vegetable or machine oil. This prevents the line from drying out and becoming brittle. Be sure the oil doesn’t make the line too slippery for future use.
Lastly, always keep the trimmer line away from direct sunlight. UV rays can weaken the material, making it prone to breakage. Store the line in a dark area or use opaque containers. This simple step will extend the life of your trimmer line and save you money in the long run.
Consistency in line storage practices will ensure you are always ready for the next trimming job. Regularly inspecting and organizing your trimmer line can prevent unforeseen issues. Make these steps a routine part of your maintenance. Your trimmer will perform better, and your workload will be lighter.
Benefits of Straightening Trimmer Line
Straightening your trimmer line offers several benefits that can enhance your gardening routine. One major advantage is improved cutting efficiency. A straight line cuts through grass and weeds more effectively than a tangled one. This reduces the time needed to complete your work. It makes your tasks more manageable.
Another significant benefit is the extended lifespan of the trimmer line. Tangled lines are more prone to breaking, which leads to frequent replacements. By maintaining a straight line, you decrease the chances of breakage. This results in less frequent purchases and saves you money. Consistent performance is another plus.
A straight trimmer line also minimizes wear and tear on the trimmer itself. When the line is tangled, it can cause additional stress on the trimmer motor. This can lead to costly repairs. Keeping the line straight ensures smooth operation. It helps prolong the life of your equipment.
Additionally, a straight line provides a cleaner cut, which is crucial for the health of your garden. Jagged or uneven cuts can damage plants, making them more susceptible to disease. A clean cut promotes better regrowth. Your garden will look healthier and more well-maintained.
Finally, straightening your line can improve safety. Tangled lines can bounce back unpredictably, posing a risk to the user. A straight line operates more predictably. This reduces the likelihood of accidents. Prioritizing safety is always a smart choice.
Incorporating these practices can lead to a more efficient, cost-effective, and safer trimming experience. The benefits are clear and impactful. Regularly straightening your trimmer line is a simple step. It makes a significant difference in overall garden maintenance.
Common Mistakes to Avoid When Straightening Trimmer Line
When it comes to straightening trimmer line, there are a few common mistakes that people often make. One mistake is applying too much heat. Overheating the trimmer line can cause it to become brittle. This makes it more susceptible to breaking. Always use a moderate temperature.
Another common error is not letting the line cool properly after heating. If you don’t allow enough time for cooling, the line may return to its tangled state. Hold the line straight until it’s fully cooled. This ensures it retains its new shape. Patience is key in this step.
Improper storage after straightening can undo all your hard work. Avoid tightly coiling the line immediately after straightening it. Instead, store it on a hook or a spacious reel. This helps maintain the line’s straightness. Proper storage methods are essential.
Forgetting to inspect the line for damage before straightening is another mistake. Using a damaged line can lead to poor performance and even cause harm to your trimmer. Always check the line for frays or breaks before attempting to straighten it. This simple step can save you from bigger issues down the road.
Some may use the wrong tools for the job. Using household items that aren’t designed for trimmer lines can cause damage. Always use appropriate tools like tongs for handling hot lines and hooks for storage. This ensures the line remains in good condition and performs well.
Lastly, don’t ignore the manufacturer’s instructions. Each trimmer line may have specific guidelines for straightening and usage. Following these instructions can help you avoid unnecessary mistakes. It will also extend the life of your trimmer line.
Frequently Asked Questions
If you have questions about trimmer lines, you’re not alone. Here are some common inquiries and helpful answers to guide you.
1 How often should I replace my trimmer line?
The frequency of replacing your trimmer line depends on how often you use it. For regular users, replacing it every month or two is a good rule of thumb. This helps maintain optimal performance and prevents wear.
If you only use your trimmer occasionally, inspect the line before each use. Replace it if there are any signs of fraying or breakage. Always keep spare lines handy so you’re never caught unprepared.
2 What’s the best way to store my trimmer line?
Storing your trimmer line properly can extend its lifespan significantly. Hang it on a hook in a cool, dry place to avoid tangling and exposure to moisture. This keeps the line in good condition for future uses.
Avoid storing it in direct sunlight, as UV rays can weaken the material over time. Using plastic containers with tight lids can also help protect against humidity and dust.
3 Why does my trimmer line keep breaking?
Frequent breakage can be caused by using a worn-out or low-quality trimmer line. Ensure you’re using fresh, high-quality materials for better performance. Keeping the line straightened also reduces chances of snapping during use.
Poor storage and improper handling might also contribute to this issue. Carefully follow manufacturer guidelines for usage and maintenance to minimize breakage risks.
4 Can I use any type of trimmer line with my machine?
No, it’s crucial to use the type recommended by your trimmer’s manufacturer. Different machines have varying specifications for compatible lines regarding size and material. Always check your user manual before purchasing new lines.
Using an incompatible line may damage your equipment or lead to sub-optimal performance. When in doubt, consult customer support or professional advice at your local supply store.
5 How do I know if my trimmer line needs replacing?
A clear sign that your trimmer line needs replacement is consistent poor performance during trimming sessions. If the cut isn’t smooth or if you’re experiencing frequent breaks, it’s time for a new one.
You should visually inspect the line before each use too. Look out for nicks, frays, and signs that it has become brittle with age—all indicators that replacement is necessary sooner rather than later.
Conclusion
Maintaining a straight trimmer line can significantly improve your gardening experience. From enhancing cutting efficiency to extending the lifespan of your equipment, the benefits are clear. Proper storage and handling are crucial for these advantages to be realized.
Avoiding common mistakes ensures you get the best performance out of your trimmer line. Remember, small steps can have a big impact on your garden’s health and your tool’s longevity. Stay diligent, and your trimming tasks will be smoother and more efficient.

I’m Patricia D. Johnson, an affiliate marketer and blogger specializing in trimmers and grooming tools. I create honest reviews, buying guides, and practical tips to help readers choose the right trimmer for their needs. With a focus on quality, performance, and value, I simplify the decision-making process so consumers can make confident purchases.