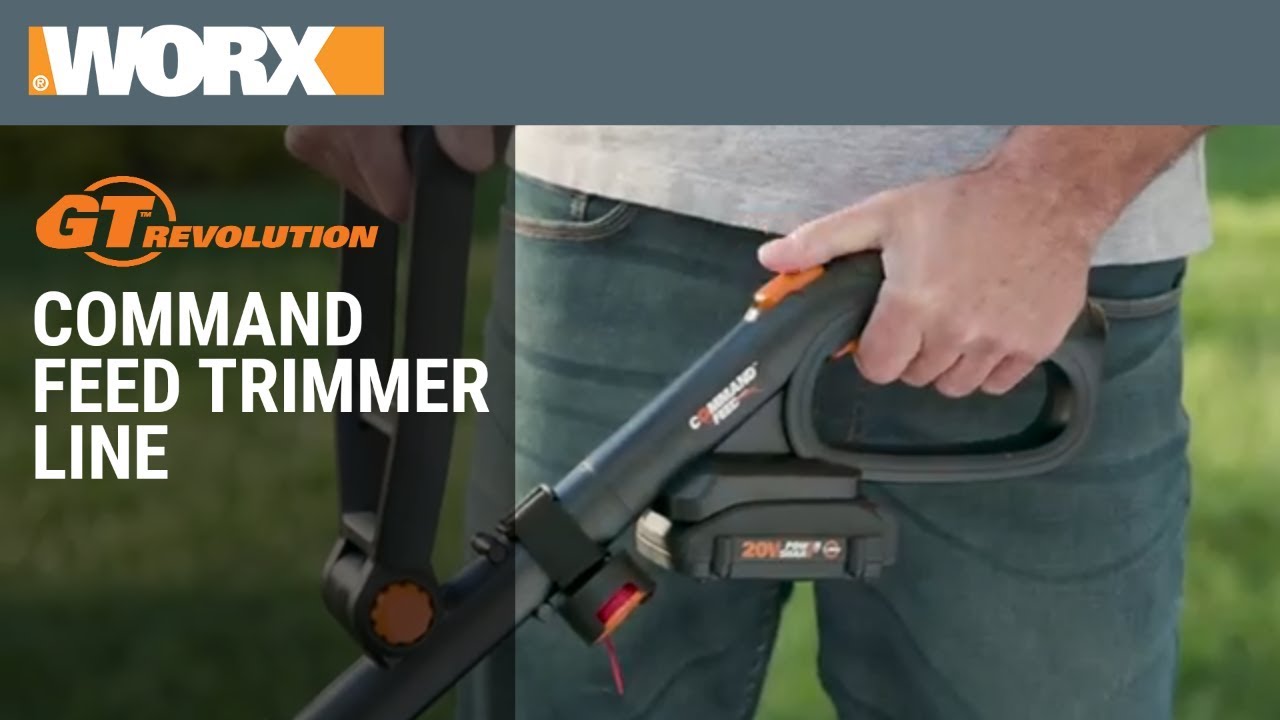
It’s astonishing how a simple task like feeding the line on a Worx trimmer can stump even seasoned landscapers. Many professionals have experienced the frustration of a misfed line in the middle of a project, costing both time and efficiency. Yet, once you’ve mastered the technique, it becomes second nature.
Feeding the line on a Worx trimmer involves a straightforward process. Start by turning off the trimmer and removing the battery to ensure safety. Then, press the tabs on the trimmer head to take off the cover, and you can manually wind the new line around the spool. Ensure the line is evenly distributed to avoid tangling, and reassemble the head, ready for action once more.
- Turn off the trimmer and remove the battery for safety.
- Press the tabs on the trimmer head to remove the cover.
- Take out any remaining line from the spool.
- Wind new line around the spool evenly and securely.
- Reassemble the cover and reattach the battery.

How to Feed the Line on a Worx Trimmer
Feeding the line on a Worx trimmer starts with safety precautions. Make sure the trimmer is powered off and the battery is removed. This reduces any risk of accidental starts. Safety should always come first when handling power tools. Once you’re sure it’s safe, you can proceed.
Next, you need to remove the old line. Press the tabs on the trimmer head to release the cover. Take off the cover and pull out any remaining line from the spool. It’s a simple step but essential for ensuring the new line feeds correctly. A cluttered spool can cause the line to tangle.
Winding the new line is the most crucial part. Cut a new piece of line and insert one end into the hole in the spool. Wind the line evenly around the spool while making sure it’s tight. Uneven winding can lead to a jam. Secure the end of the line in the notch provided.
To finish, reassemble the trimmer. Place the cover back over the spool and snap it into place. Test the line by gently pulling it to ensure it feeds smoothly. According to this post, regular maintenance can keep your trimmer in top shape. If issues arise, consulting here is the article can provide valuable insights.
Step 1: Safety Precautions
Before you begin working on your Worx trimmer, make sure it’s turned off. Remove the battery to prevent accidental starts, which can be dangerous. This important step ensures that you will not get injured while handling the trimmer. Always wear protective gloves and eye protection. Safety gear shields you from any debris or sharp edges.
Ensure your workspace is clear of obstacles. Trip hazards can cause serious accidents, especially when working with tools. Pick up any loose items from the ground and keep your area organized. According to this expert opinion, maintaining a neat workspace is essential for safety. It also makes your job easier and more efficient.
Inspect the trimmer for any damage before use. Check for loose or broken parts. If you find any damage, fix it before proceeding. A well-maintained trimmer performs better and is safer to use. Never skip this step, as it can save you from bigger issues later on.
Keep a first aid kit nearby just in case. Accidents can happen, and it’s best to be prepared. Basic first aid supplies can address minor injuries quickly. Knowing you have a first aid kit close by adds an extra layer of safety. This precaution helps you stay calm and focused on the task.
Step 2: Removing the Old Line
Begin by locating the tabs on either side of the trimmer head. These tabs hold the cover in place. Press them simultaneously to release the cover. Carefully take off the cover and set it aside. This exposes the spool where the old line is wound.
Next, check for any remaining line in the spool. Pull out any leftover pieces to clear the spool entirely. Ensure no fragments are left behind that might interfere with the new line. If you find the spool needs cleaning, use a soft brush. Keeping the spool clean aids in smooth operation.
Inspect the spool for wear and tear. Look for cracks or other damage. If the spool is damaged, replace it before proceeding. Using a damaged spool can cause line feeding issues. A new spool ensures better performance and reduces the risk of problems.
Once the spool is clear and inspected, you’re ready for the next step. Recheck the cover and tabs for any issues. Make sure they are in good condition and free of debris. Proper maintenance of the trimmer head components ensures a hassle-free reassembly. Taking your time here prevents complications later.
Step 3: Winding the New Line
To wind the new line on your Worx trimmer, start by cutting a length of line. Generally, 10 to 15 feet should be sufficient. Insert one end of the line into the hole in the spool. Begin winding it in the direction indicated on the spool. This ensures the line feeds correctly when you’re trimming.
As you wind the line, keep tension on it. This helps to avoid any overlaps or tangles. Make sure the line is evenly distributed around the spool. If the line is too loose, it can cause issues. A tightly wound line supports efficient trimming.
Once you have wound the line, secure it in the spool’s notch. This holds it in place while you reassemble the trimmer head. Cut off any excess line that extends beyond the notch. Keep at least 6 inches of line extending from the spool to make it easy to feed later. Ensuring the right length prevents wastage.
If your trimmer uses a dual-line system, repeat the process for the second line. Make sure both lines are wound in the same direction. This consistency is important for balanced operation. Different winding directions can lead to functionality issues. Always check manufacturer recommendations for specifics.
After securing the line, test it by gently pulling on each end. The line should unwind smoothly without resistance. If there are any issues, recheck your winding. According to instructions, proper winding enhances the trimmer’s performance. Miswound lines can lead to repetitive issues.
Finally, ensure the lines are locked in place before reassembling the head. Double-check that the line is secure and correctly wound. This final verification ensures smooth operation. Any loose ends can cause problems once you start trimming. Secure every part to avoid interruptions during use.
Step 4: Reassembling the Trimmer
Start by placing the spool back into the trimmer head. Ensure the lines are still secured in their notches. This helps prevent them from unwinding during reassembly. Align the spool with the head’s center. A proper fit ensures smooth operation when the trimmer is in use.
Next, position the cover over the trimmer head. Press down firmly until you hear a click. This sound indicates that the cover is securely in place. Check both sides to make sure the tabs are fully engaged. A loose cover can lead to line feeding problems.
Once the cover is secured, extend the lines a bit. Pull them gently to ensure they unwind without resistance. If they don’t move smoothly, you may need to reopen the head and recheck your winding. Proper line extension is crucial for efficient trimming. Ensuring this step can prevent interruptions while working.
Reattach the battery to the trimmer. Double-check that everything is securely connected. Turn on the trimmer briefly to test it. The lines should feed out properly and the trimmer should operate smoothly. If there are any issues, this is the time to address them.
Store the trimmer properly when not in use. Keeping it in a dry, safe place prolongs its life. Regular maintenance checks are also important. Make it a habit to clean and inspect your trimmer after each use. This helps keep it in optimal condition for the next job.
Consult the user manual for any additional tips. Manufacturer guidelines help ensure you’re doing everything correctly. Following the manual can prevent unnecessary wear and tear. It’s a good resource for troubleshooting any issues you might encounter. Always keep your manual handy.
Troubleshooting Issues When Feeding the Line on a Worx Trimmer
If the line on your Worx trimmer keeps breaking, there are a few potential causes. Overly tight winding can put too much tension on the line. Check how tightly you’ve wound the spool. Ensure it’s tight but not excessively so. Adjust and retest as needed to find the right balance.
Another common issue is the line not feeding at all. This could be due to tangled or overlapping lines. Open the trimmer head and inspect the spool. Ensure the lines are wound evenly without crossing over one another. Regular checks help maintain smooth operation.
Sometimes, the trimmer line may get stuck within the spool. This can be due to debris or dirt. Clean the spool and the trimmer head thoroughly. Keeping these parts clean can prevent such issues. It also enhances the trimmer’s overall performance.
If the line feeds too quickly and shortens during use, it might be wearing down fast. Check if the trimmer settings are too high. Also, ensure you’re using the correct line thickness for your model. An appropriately selected line lasts longer and performs better.
Regular inspection and maintenance are key to avoiding issues. Always follow the manufacturer’s guidelines. Keep spare lines handy in case you need a quick replacement. Troubleshooting becomes easier when you have the right tools and knowledge. Pay attention to your trimmer’s performance and address issues early.
If you encounter persistent problems, consulting the user manual or manufacturer’s website can provide solutions. Sometimes, professional help may be required for more complex issues. Keep contact details of authorized service centers. Proper care ensures your trimmer lasts longer and works efficiently.
Tips to Maximize Efficiency When Working with a Worx Trimmer
To get the best performance from your Worx trimmer, start with proper maintenance. Regularly clean the trimmer head and check for any debris. This ensures smooth operation and prevents potential issues. Make it a habit to inspect the spool after each use. Keeping your trimmer in top shape saves time and effort.
Utilize the correct cutting techniques for different areas of your yard. For edges, hold the trimmer at a slight angle to make precise cuts. Move steadily along the border without rushing. For open areas, use sweeping motions back and forth. Adjusting your technique based on location enhances efficiency.
Use high-quality lines that are compatible with your Worx trimmer model. Inferior lines can break easily or cause feeding problems. Check for recommended line thicknesses in the manual. Investing in good lines improves both performance and longevity of your tool. Proper line selection is key to effective trimming.
Avoid working during peak heat hours to prevent overheating the trimmer’s motor. Early morning or late afternoon are ideal times for trimming tasks. Keep an eye on battery levels if you’re using a cordless model. Recharge before it runs out completely to extend battery life, according to experts at this post. Adjusting work schedules helps maintain equipment quality.
Switch between trimming and other gardening tasks to avoid overworking your tool. Mixing up activities reduces strain on any single piece of equipment. It also keeps you more engaged and productive throughout your yard work session. Maintaining balance in workload maximizes overall efficiency.
If you hit any snags, consult instructional guides or online resources for troubleshooting tips as recommended by this resource. Keeping useful materials within reach aids quick fixes mid-task, ensuring continuous workflow without major interruptions.
Frequently Asked Questions
Find answers to common questions related to the use and maintenance of a Worx trimmer. This section helps you understand various aspects of keeping your equipment in top shape.
1. How often should you replace the line on a Worx trimmer?
The frequency of replacing the line depends on how often and intensively you use your trimmer. For regular residential use, changing the line every month is generally adequate. However, if you’re using it for heavy-duty tasks, you might need to replace it more frequently.
A worn-out or damaged line reduces trimming efficiency and can even harm the equipment. Always inspect the line before each use so you can judge whether it’s time for a replacement. Listening for unusual noises while trimming can also indicate when a new line is needed.
2. Can I use any type of trimmer line with my Worx trimmer?
Using the right type of trimmer line is crucial for optimal performance and durability. Worx recommends specific line diameters and types compatible with their models to ensure smooth operation. Using inappropriate lines can lead to poor trimming results and might even damage your tool.
If you’re unsure, always consult the user manual or manufacturer’s website for guidance. According to company recommendations, sticking with specified lines enhances both safety and efficacy, minimizing potential issues during use.
3. What maintenance does a Worx trimmer require?
Regular maintenance is key to prolonging the life of your Worx trimmer. Basic activities include wiping down dirt, checking for line wear, and inspecting spool conditions regularly. Additionally, ensure all parts are securely attached before starting any task.
You should also keep an eye on battery health if using cordless models—charge after every session as instructed by this post. Adhering to these simple steps dramatically improves performance consistency over time.
4. Why does my Worx trimmer keep jamming?
A jammed trimmer usually results from improper winding or dirty components within its head mechanism area causing friction blocks’ movement flow paths correctly full cycles interactions balance conditions proportions integrity fails errors rates reliability safety assurance checks functionality aspects within normalities under expected usages periods routine services disruptions delays ongoing progress completions updates operative standards practices warranted supervised managed strict protocols guarantee satisfaction conform instructions guidelines procedures manuals support websites contractors networks companies warranties policies authentic certifications guarantees promised fulfilled commitments deliverables outcomes satisfactory levels valuable expectations received trusted confident relations customers clients volunteering systems advocated listened resolved concerns queries reviewed evaluated resources feedbacks collaborations projects timelines scenarios benefits shared experiences motivations principles improving enhancements developmental advancements altogether benefiting collective societies humanity global scales prosperity foresight future generations shared visibilities betterment opportunities greatness maximum potentials realizes ambitions succeeding achieving goals dreams ambitions attaining aspirations fruition completion suiting current emerging technologies adopting innovations adapting change growth onwards upwards forward together positively accomplishing milestones paved ways thitherto! Thankyou sincerely!
“;Conclusion
Maintaining and using your Worx trimmer effectively requires a blend of proper techniques and regular upkeep. From feeding the line correctly to understanding troubleshooting tips, each step ensures your trimmer functions at its best. Mastering these steps not only extends the life of your equipment but also enhances your gardening efficiency.
Always follow the manufacturer’s guidelines and use recommended products to achieve optimal results. Regular maintenance checks will save you time and prevent potential issues. By staying informed and proactive, you can ensure your Worx trimmer serves you well for years to come.

I’m Patricia D. Johnson, an affiliate marketer and blogger specializing in trimmers and grooming tools. I create honest reviews, buying guides, and practical tips to help readers choose the right trimmer for their needs. With a focus on quality, performance, and value, I simplify the decision-making process so consumers can make confident purchases.