
How to Restring Hart 20V Weed Eater: Easy Steps
Worn or broken line makes any trimmer cut poorly. You may ask, how to restring Hart 20V weed eater heads? The job takes five clear steps at home. Fresh line restores clean and efficient cutting fast.
Regular restringing keeps the tool performing at its best. It also saves the cost of professional servicing. Neglected line turns trimming into a frustrating chore quickly. A few basic tools make the job easy.
This guide covers tools and safety precautions first. Then it walks through every restringing step carefully. You will finish with testing and length adjustments. Your trimmer returns to the yard working well.
Quick answer: Turn it off and remove the battery first. Then remove the spool cover and old line. Wind fresh line onto the spool following the arrows. Thread it through the eyelets and reinstall everything. Finally test and adjust the line length carefully.
How to Restring Hart 20V Weed Eater? The Short Answer
Restringing is a basic but essential maintenance task. The string wears out, tangles, or breaks over time. Fresh line improves performance and saves unnecessary replacement costs. Our general restringing guide covers the same basics. This walkthrough follows the Hart 20V specifically though.
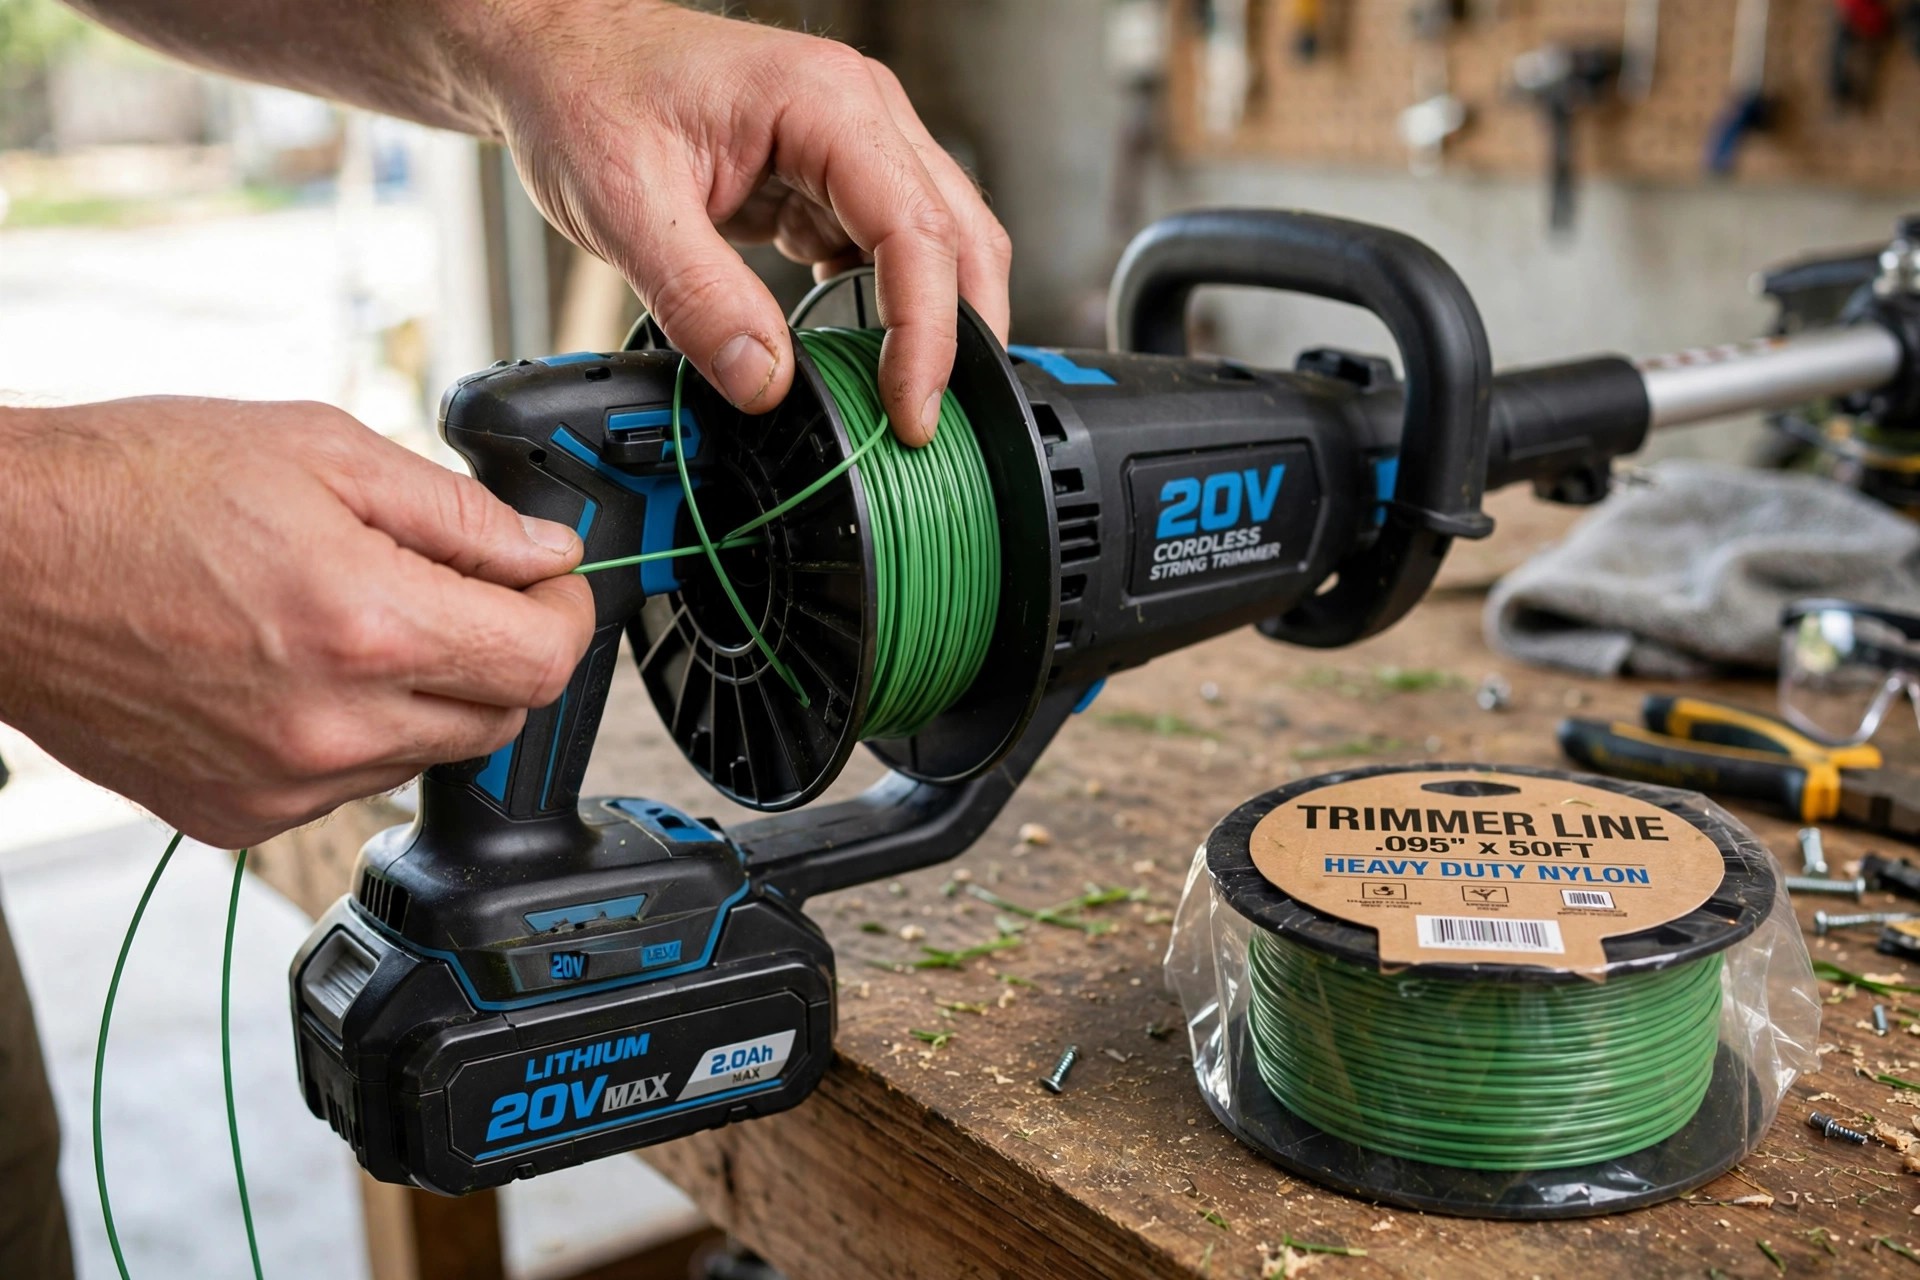
The cover sits at the trimmer head bottom. The spool inside holds the wound cutting line. The Wikipedia string trimmer page explains how line heads work. Our string trimmer basics guide covers the tool itself. Careful steps now prevent tangles during trimming later.
Gather Your Tools and Put Safety First
Gathering everything first streamlines the whole restringing process. Preparation avoids unnecessary delays or interruptions mid job. The table below lists every needed item first. Most homes already own these simple tools anyway.
| Item | Post Notes |
|---|---|
| Replacement trimmer line | Correct type and size for the model; check the manual |
| Safety gloves | Good grip and comfort for extended work sessions |
| Safety glasses | Impact-resistant lenses shield eyes from flying debris |
| Screwdriver or Allen wrench | Depends on the model; detaches the needed components |
| Towel or cloth | Wipes dirt and debris off the weed eater |
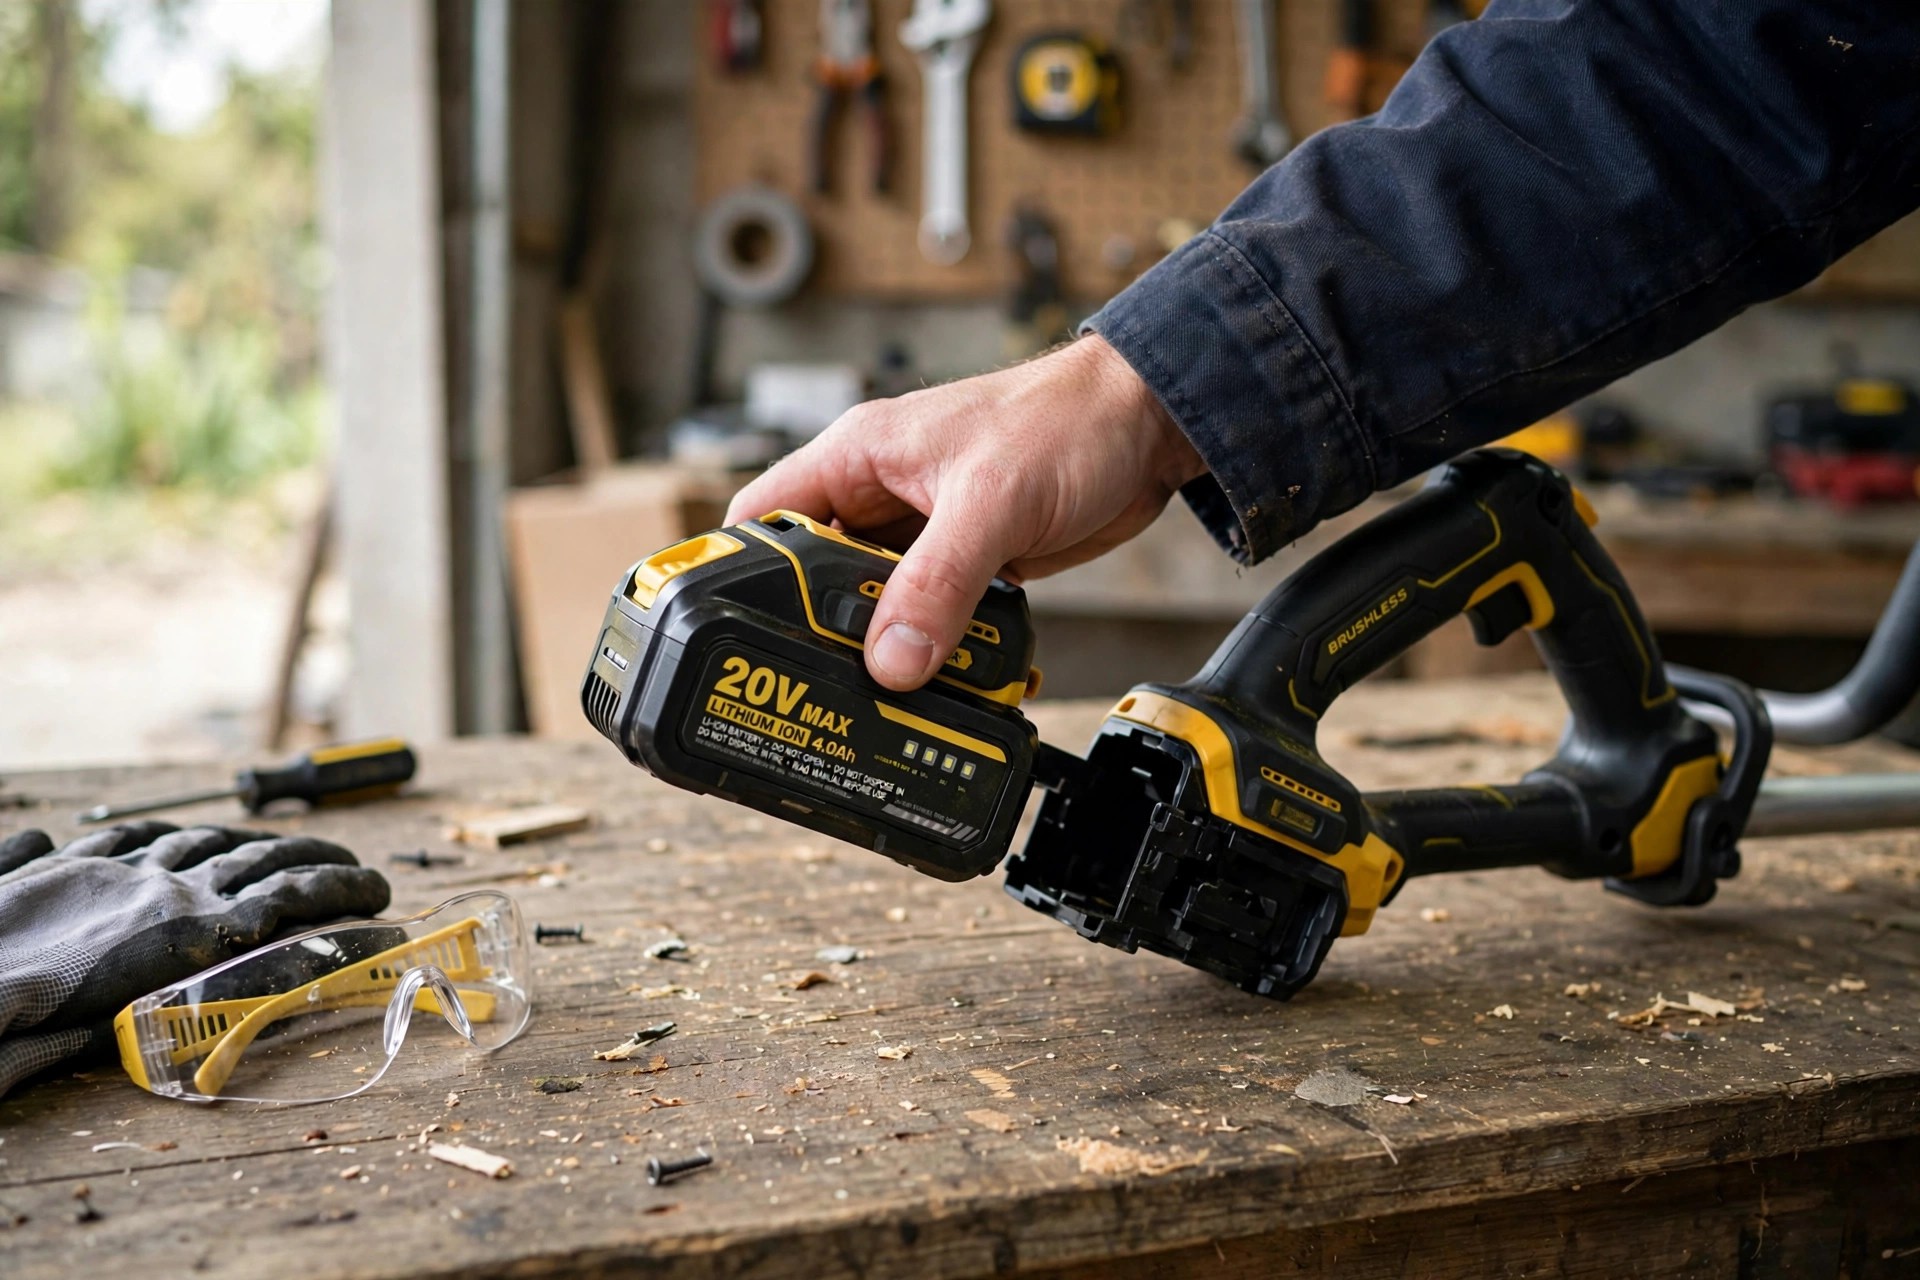
Safety Steps Before You Touch the Head
Always turn the weed eater fully off first. Remove the battery entirely before any head work. Wear goggles or glasses against flying debris pieces. Gloves add welcome protection for your hands too. Our weed trimmer handling guide covers safe operation basics.
Work somewhere ventilated and calm when possible outdoors. Windy weather makes the tool harder to control. Read the manufacturer instructions for your exact model. Models vary slightly in their restringing process steps.
Remove the Cover and Prepare the New Line
The spool cover sits at the head bottom. Its distinct shape makes it easy to identify. Screws or clips hold it in place securely. Remove the fasteners with a screwdriver or pliers.
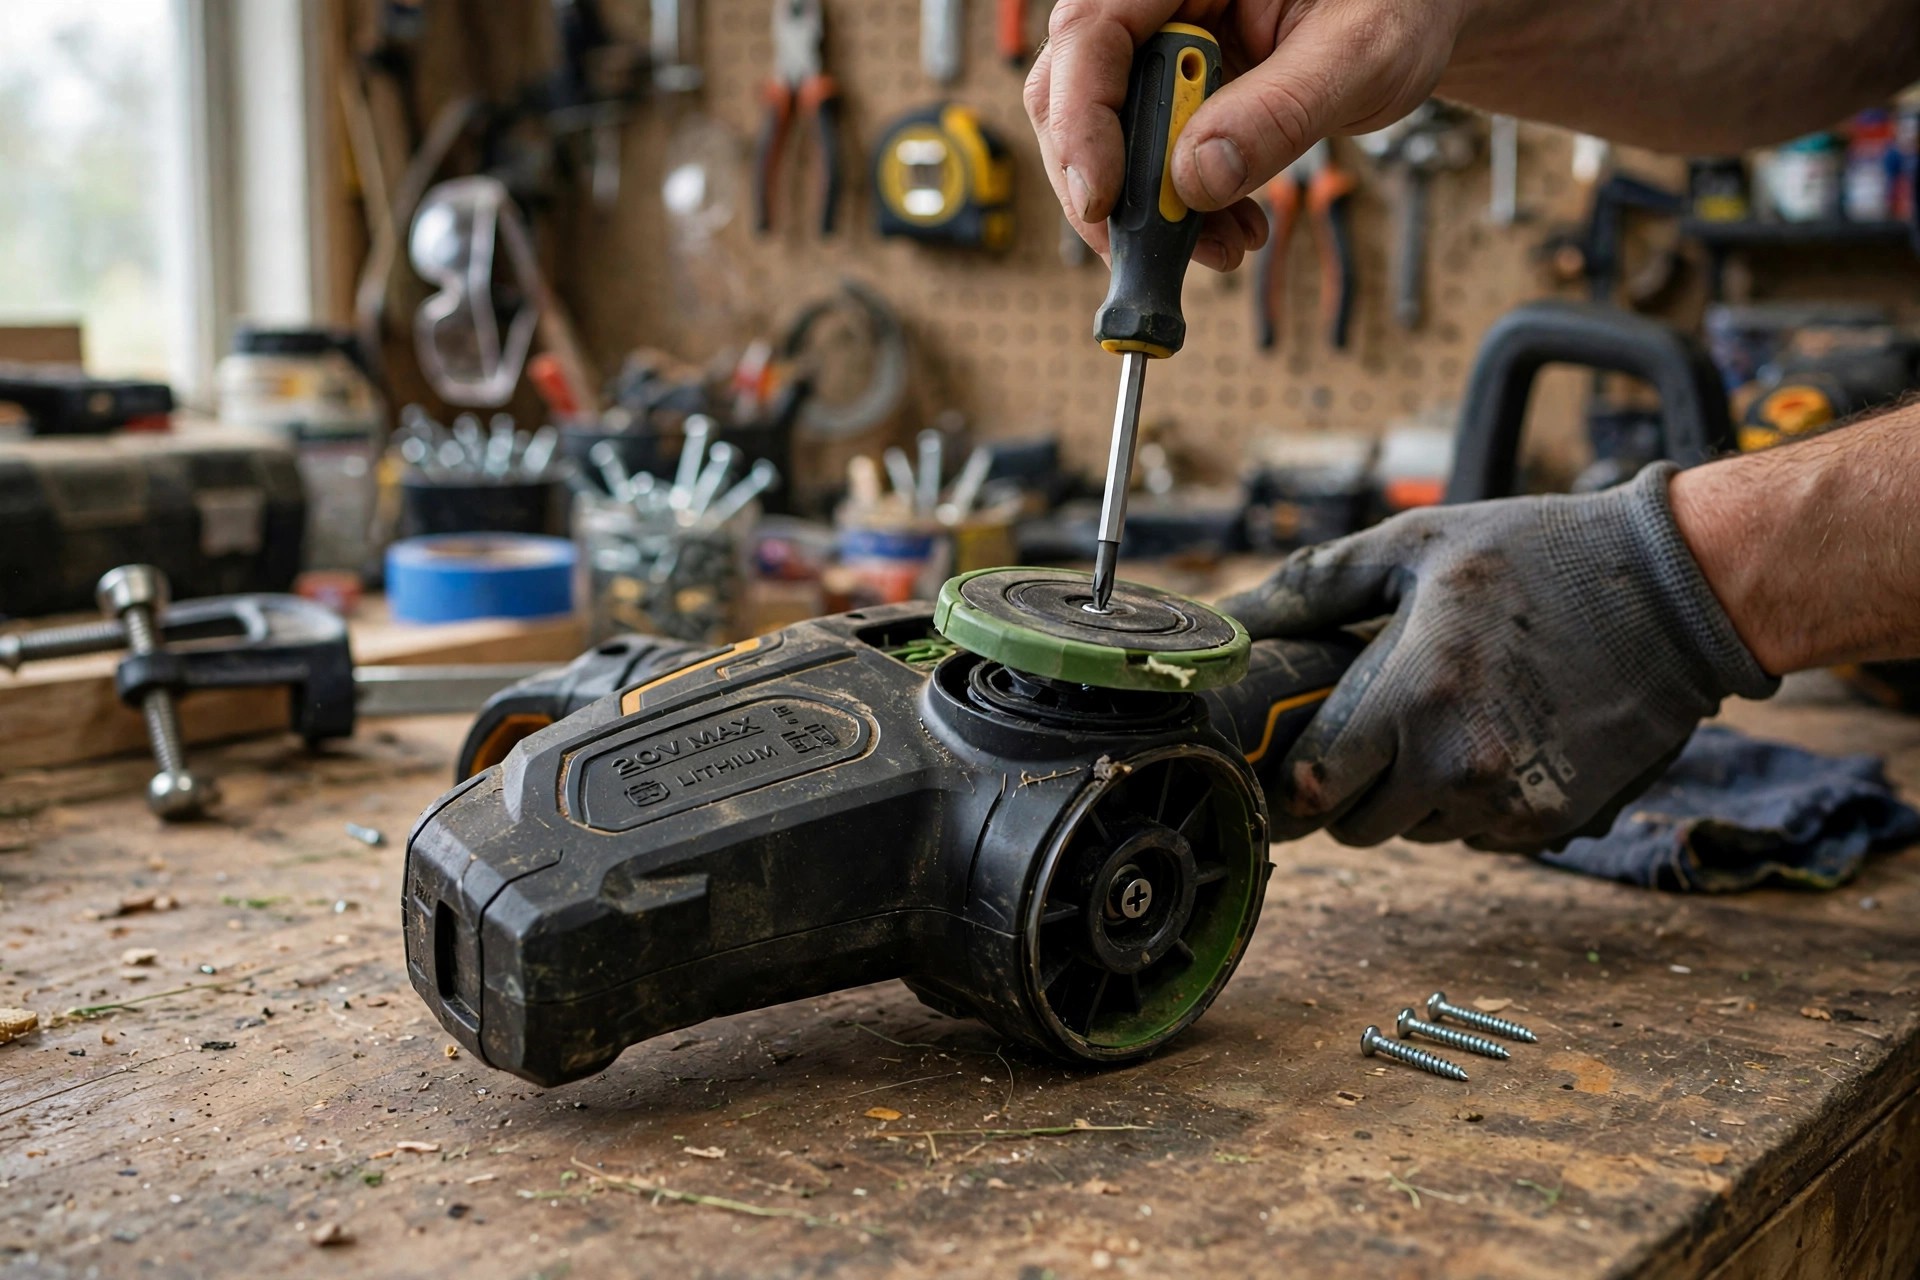
Lift the cover off the head very gently. Keep every fastener somewhere safe during the job. Unwind and remove the old line completely afterward. Dispose of the worn line properly when finished.
Clean the Spool and Pick the Right Line
Inspect the spool and head for damage carefully. Clean out dirt and debris with a cloth. A clean head runs smoothly and efficiently afterward. Our line length guide explains sizing before cutting.
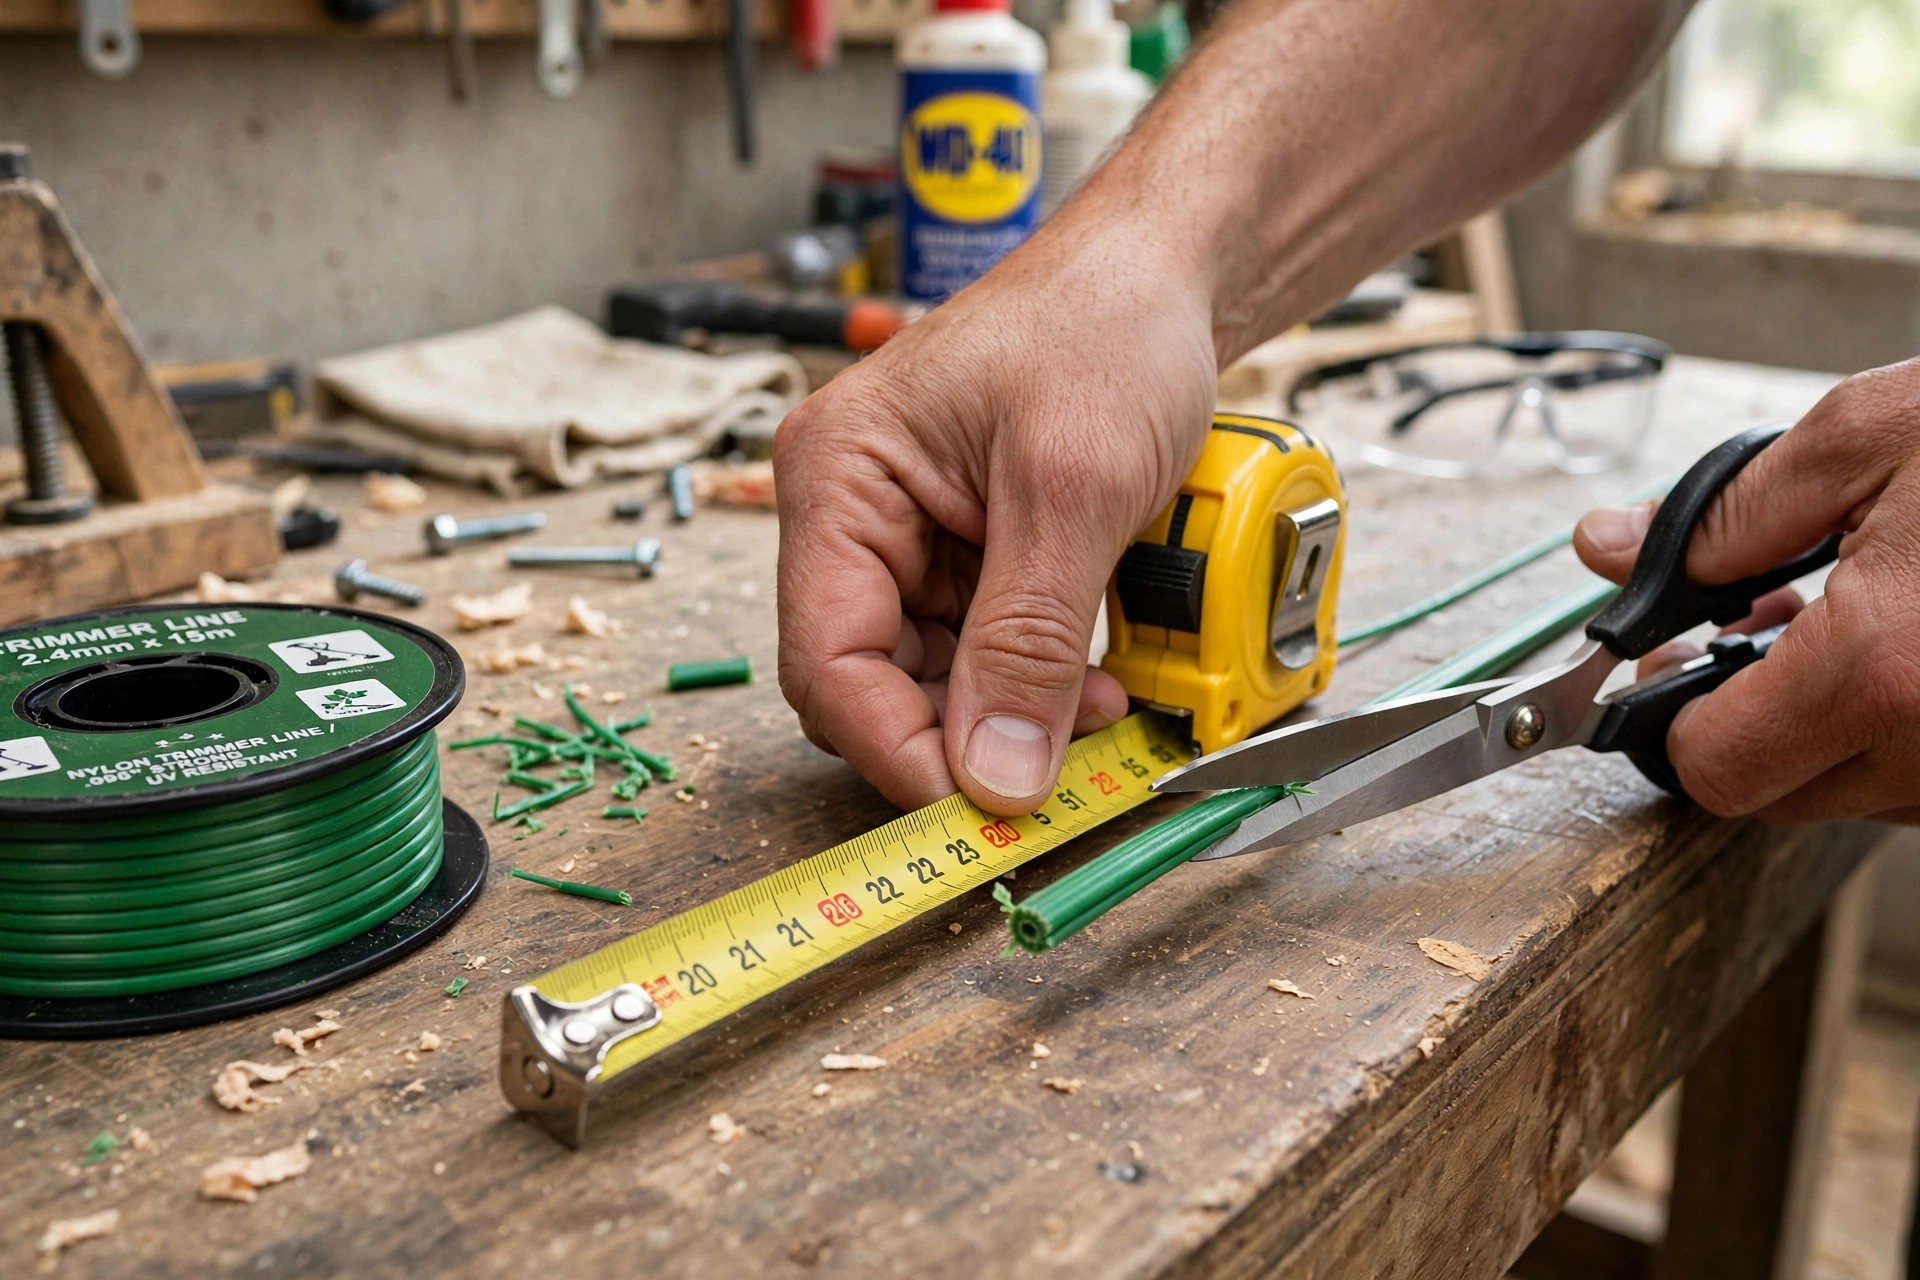
Choose the correct replacement line for your model. Measure and cut it with sharp scissors cleanly. Check the cut line for tangles or knots. Soaking nylon line softens it before winding sometimes. Our string choice guide explains matching line types.
Wind the Line and Thread the Eyelets
Anchor the line end in the spool hole. A small notch holds the line end securely. Leave a few inches sticking out at first. Then wind the line evenly and tightly onward.
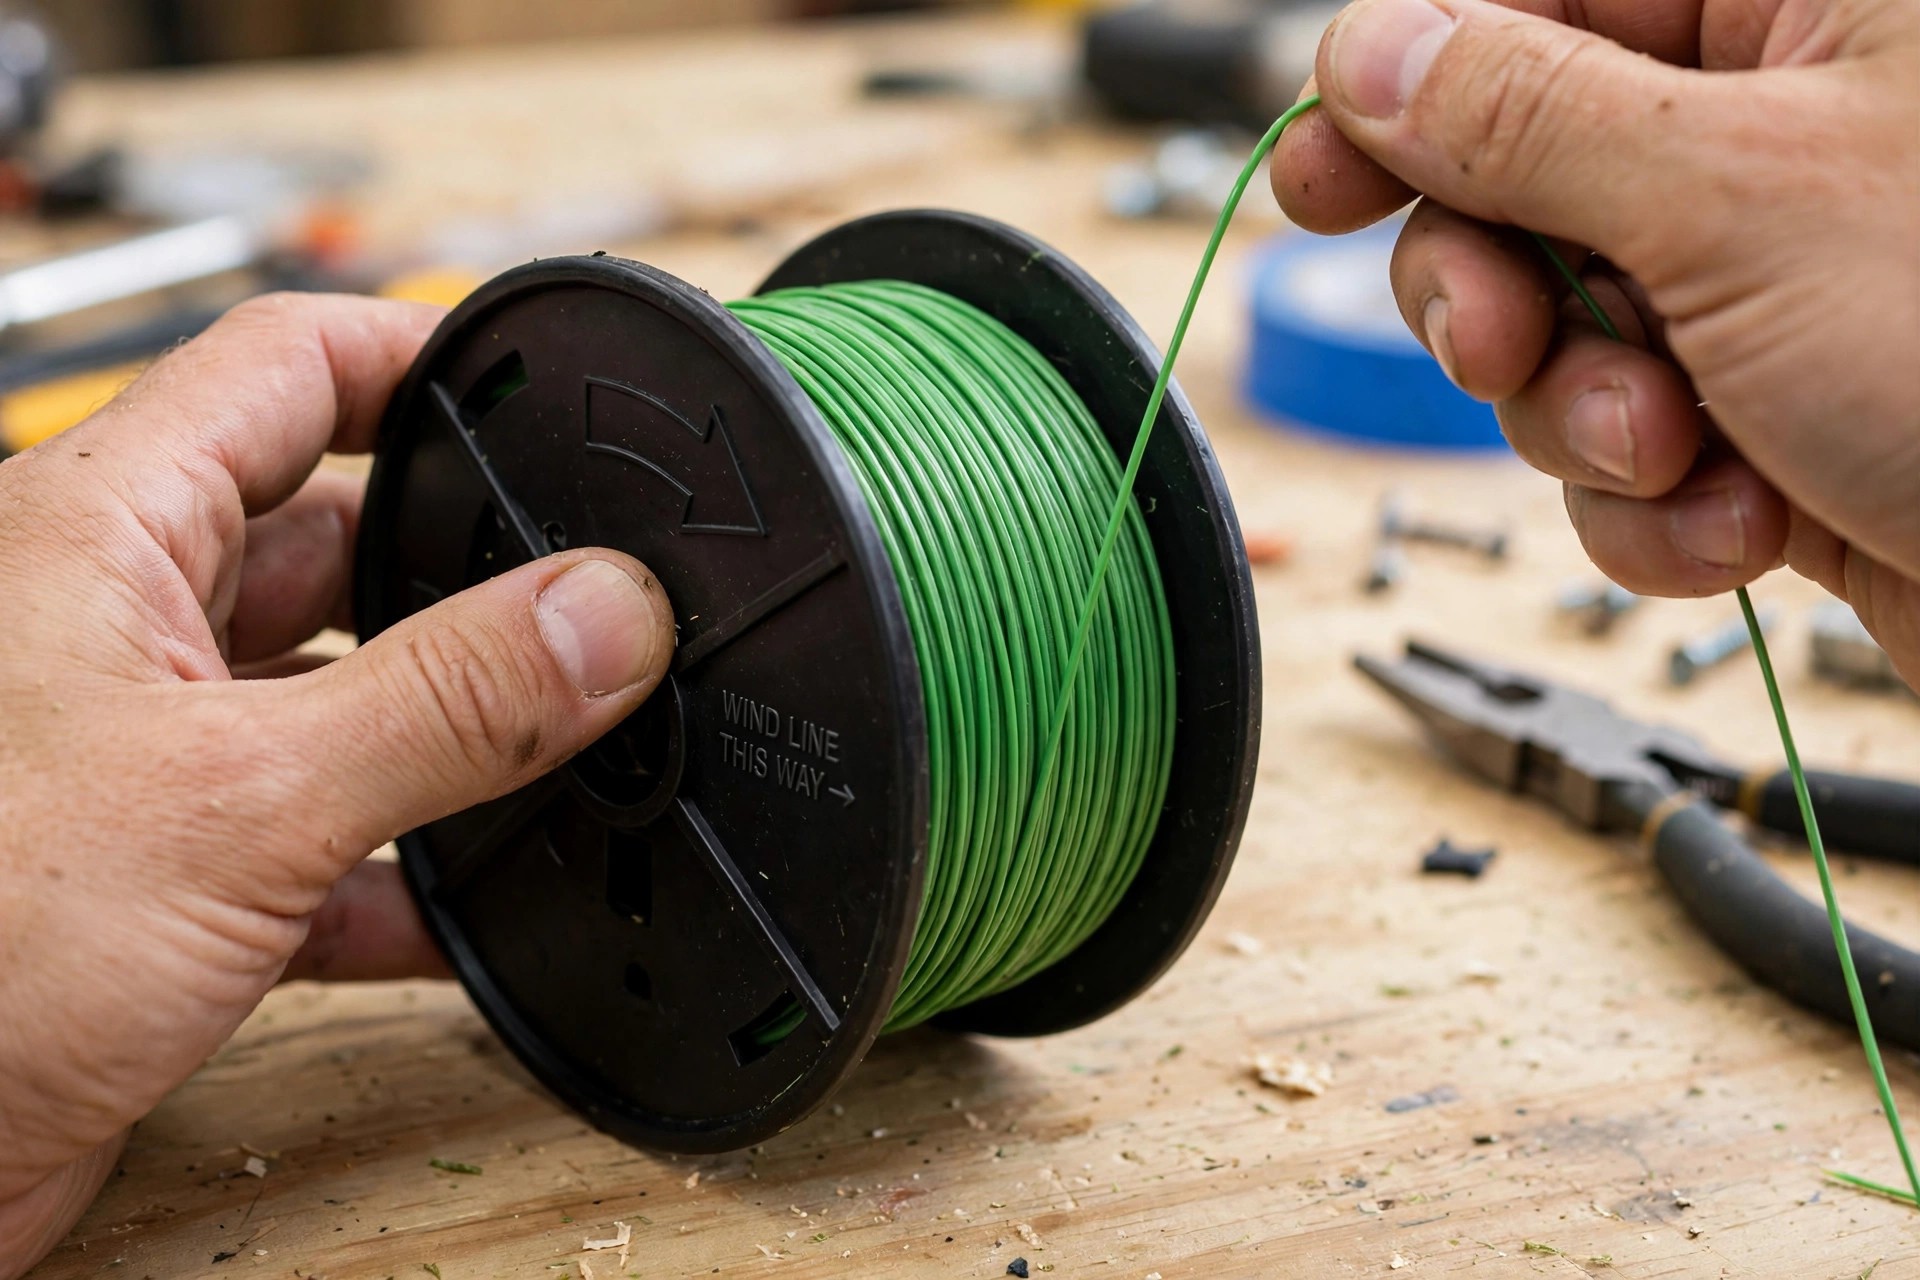
Follow the directional arrows printed on the spool. They show the clockwise or counterclockwise winding direction. Keep each layer neat without overlapping or tangling. Leave about six inches unwound at the end. Secure that end in the designated spool slot.
Thread the Line Through the Eyelets
The spool usually carries two or more eyelets. Push one line end through each eyelet opening. A few inches should stick out beyond it. Follow any guides or arrows on the spool.
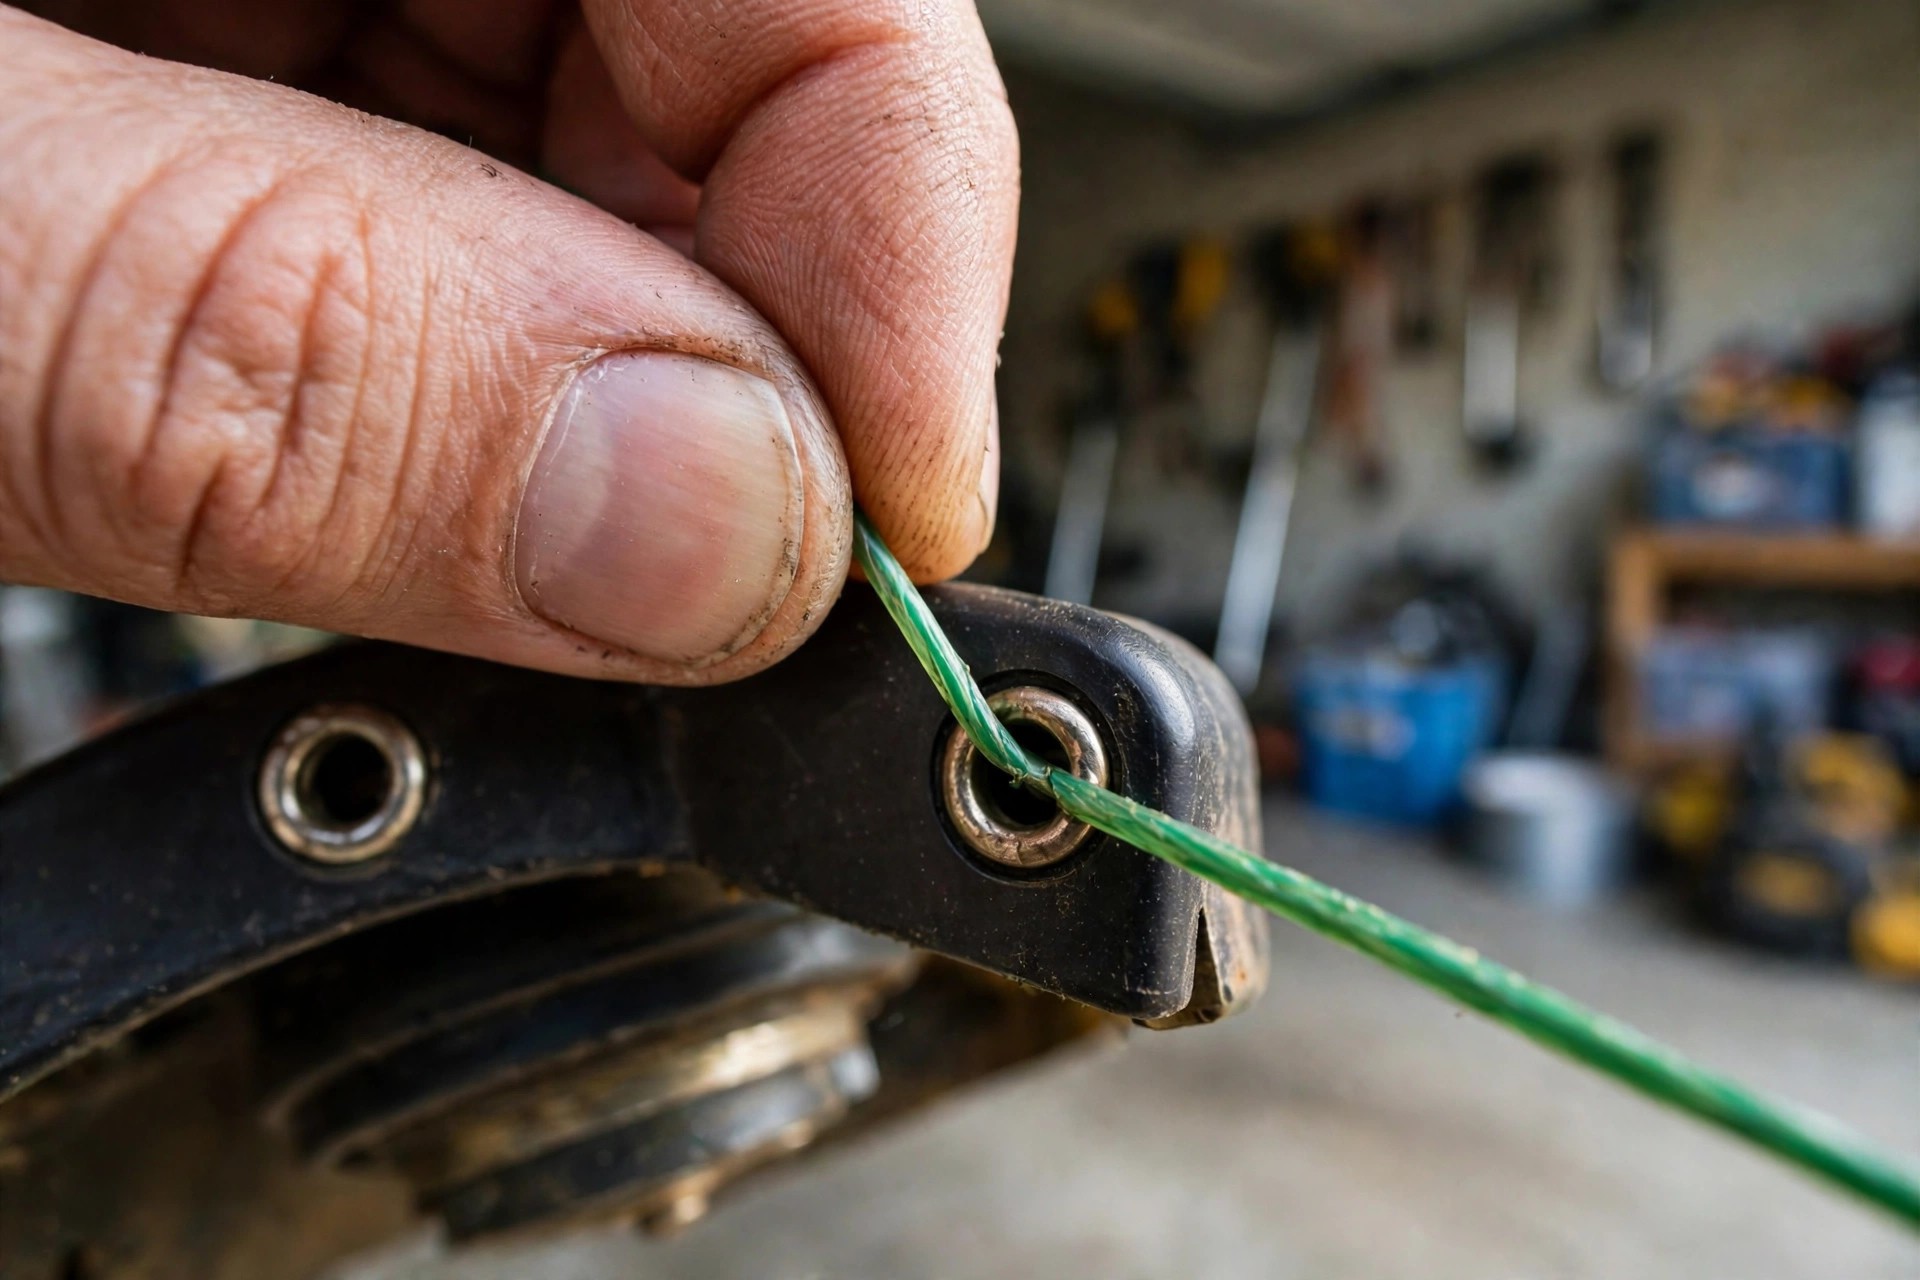
Keep gentle tension while threading each line end. Even distribution around the spool balances cutting performance. Pull both ends to confirm a secure hold. Our strongest line guide compares tougher line options.
Reinstall the Spool and Test the Length
Set the wound spool back into its housing. Rotate it slightly until everything aligns snugly inside. Press down firmly until it clicks into place. Every side should sit flush against the housing.
Align the cover tabs and hooks carefully next. Press the cover gently back into its position. Tug it lightly to confirm a secure fit. A loose cover can escape during trimming work.
Run It Briefly and Adjust the Length
Turn the trimmer on without engaging the head. Watch the line length protruding from the head. Unwind more line if it runs too short. Trim excess away carefully with scissors or knife.
| Line Length | Post Notes |
|---|---|
| Too short | Cuts vegetation inefficiently; causes uneven trims and frequent breakage |
| Too long | Creates drag; strains the motor and reduces efficiency |
Balance matters more than maximum length here overall. Our trimmer storage guide keeps the tool ready between jobs. Repeat the check after the first real trimming.
Frequently Asked Questions
What tools are needed to restring a Hart weed eater?
You need a fresh spool of trimmer line. A pair of scissors or a cutter helps. The line diameter must match your specific model. The fuller tool list sits in the table above.
How often should you replace Hart weed eater string?
Replace the string once it frays or breaks. That can happen after several uses or more. Usage frequency changes the replacement timing a lot. Tough vegetation wears line down much faster too.
Can you use any brand of string on Hart weed eaters?
Use the recommended brand and diameter instead always. Match both to your specific Hart model carefully. The wrong type can damage the tool itself. It can also decrease trimming efficiency noticeably overall.
What is the correct string diameter for Hart 20V weed eaters?
The correct diameter is typically 0.080 inches overall. Check your user manual to confirm compatibility first. Each specific model can differ slightly from another. The manual gives the final word every time.
How much line should you leave unwound on the spool?
Leave about six inches unwound at the end. That section feeds through the trimmer head later. Secure its end in the designated spool slot. The slot keeps everything in place during operation.
Conclusion: How to Restring Hart 20V Weed Eater
So, how to restring Hart 20V weed eater heads? Remove the battery and cover, then prepare line. Wind by the arrows and thread the eyelets. Reinstall everything and test the length before trimming.
Regular restringing keeps cutting performance smooth and strong. It also extends the working life of the tool. Inspect the line regularly and replace it when needed. Your Hart will tackle tough weeds with ease. Simple upkeep saves money on professional servicing later.
