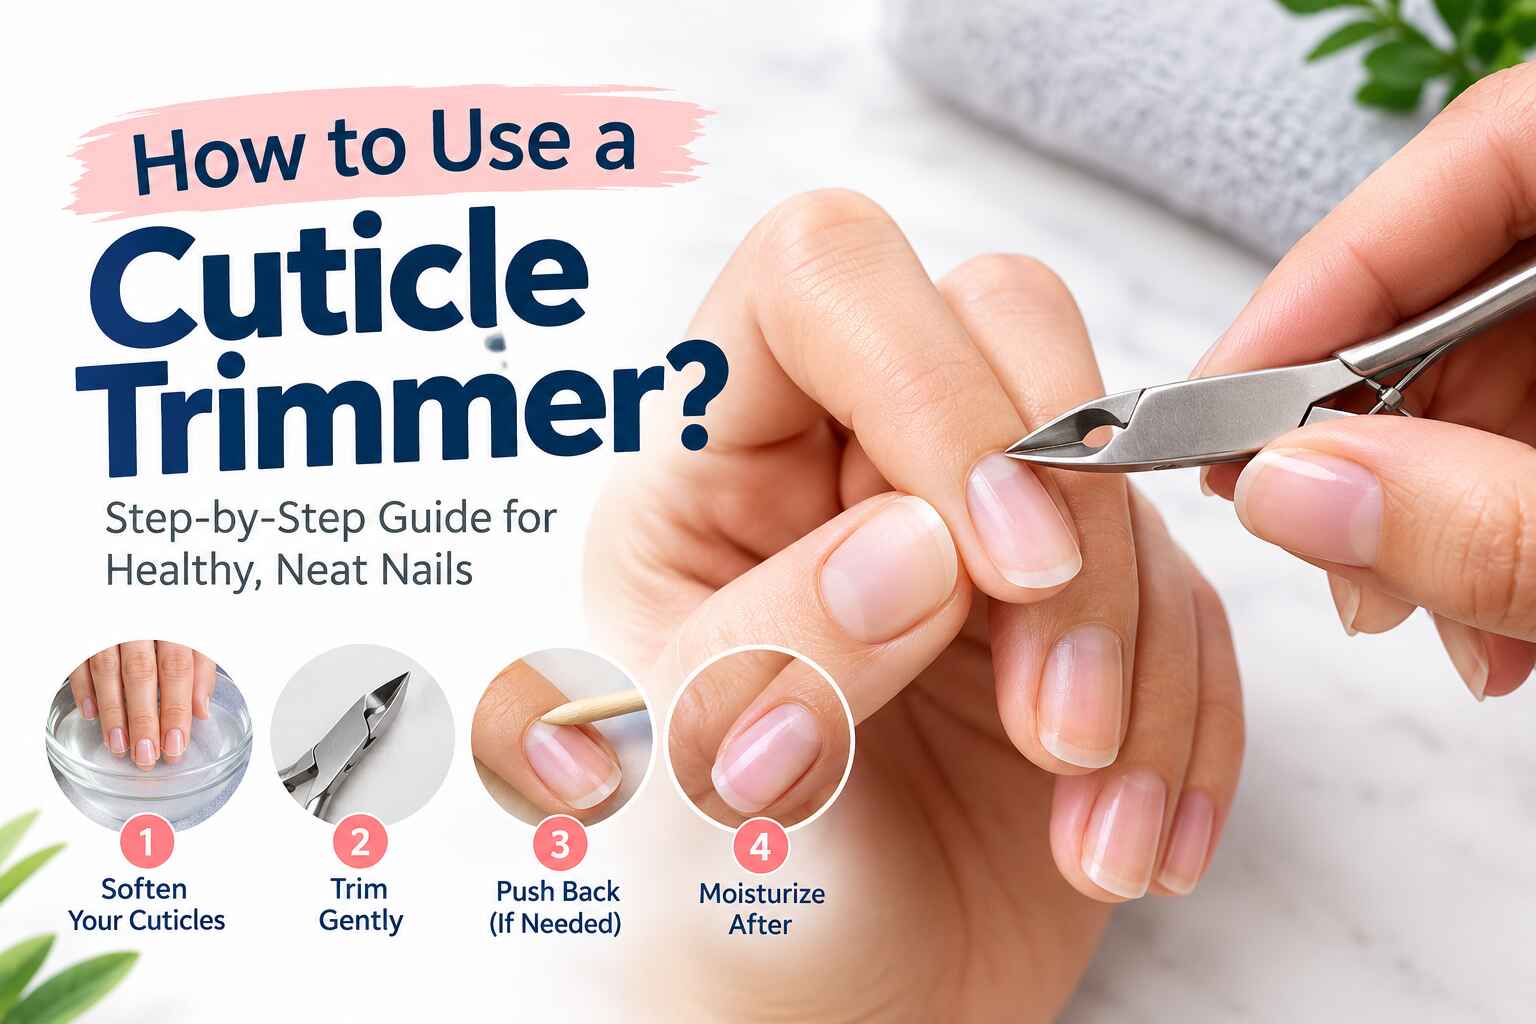
How to Use a Cuticle Trimmer Safely and Gently
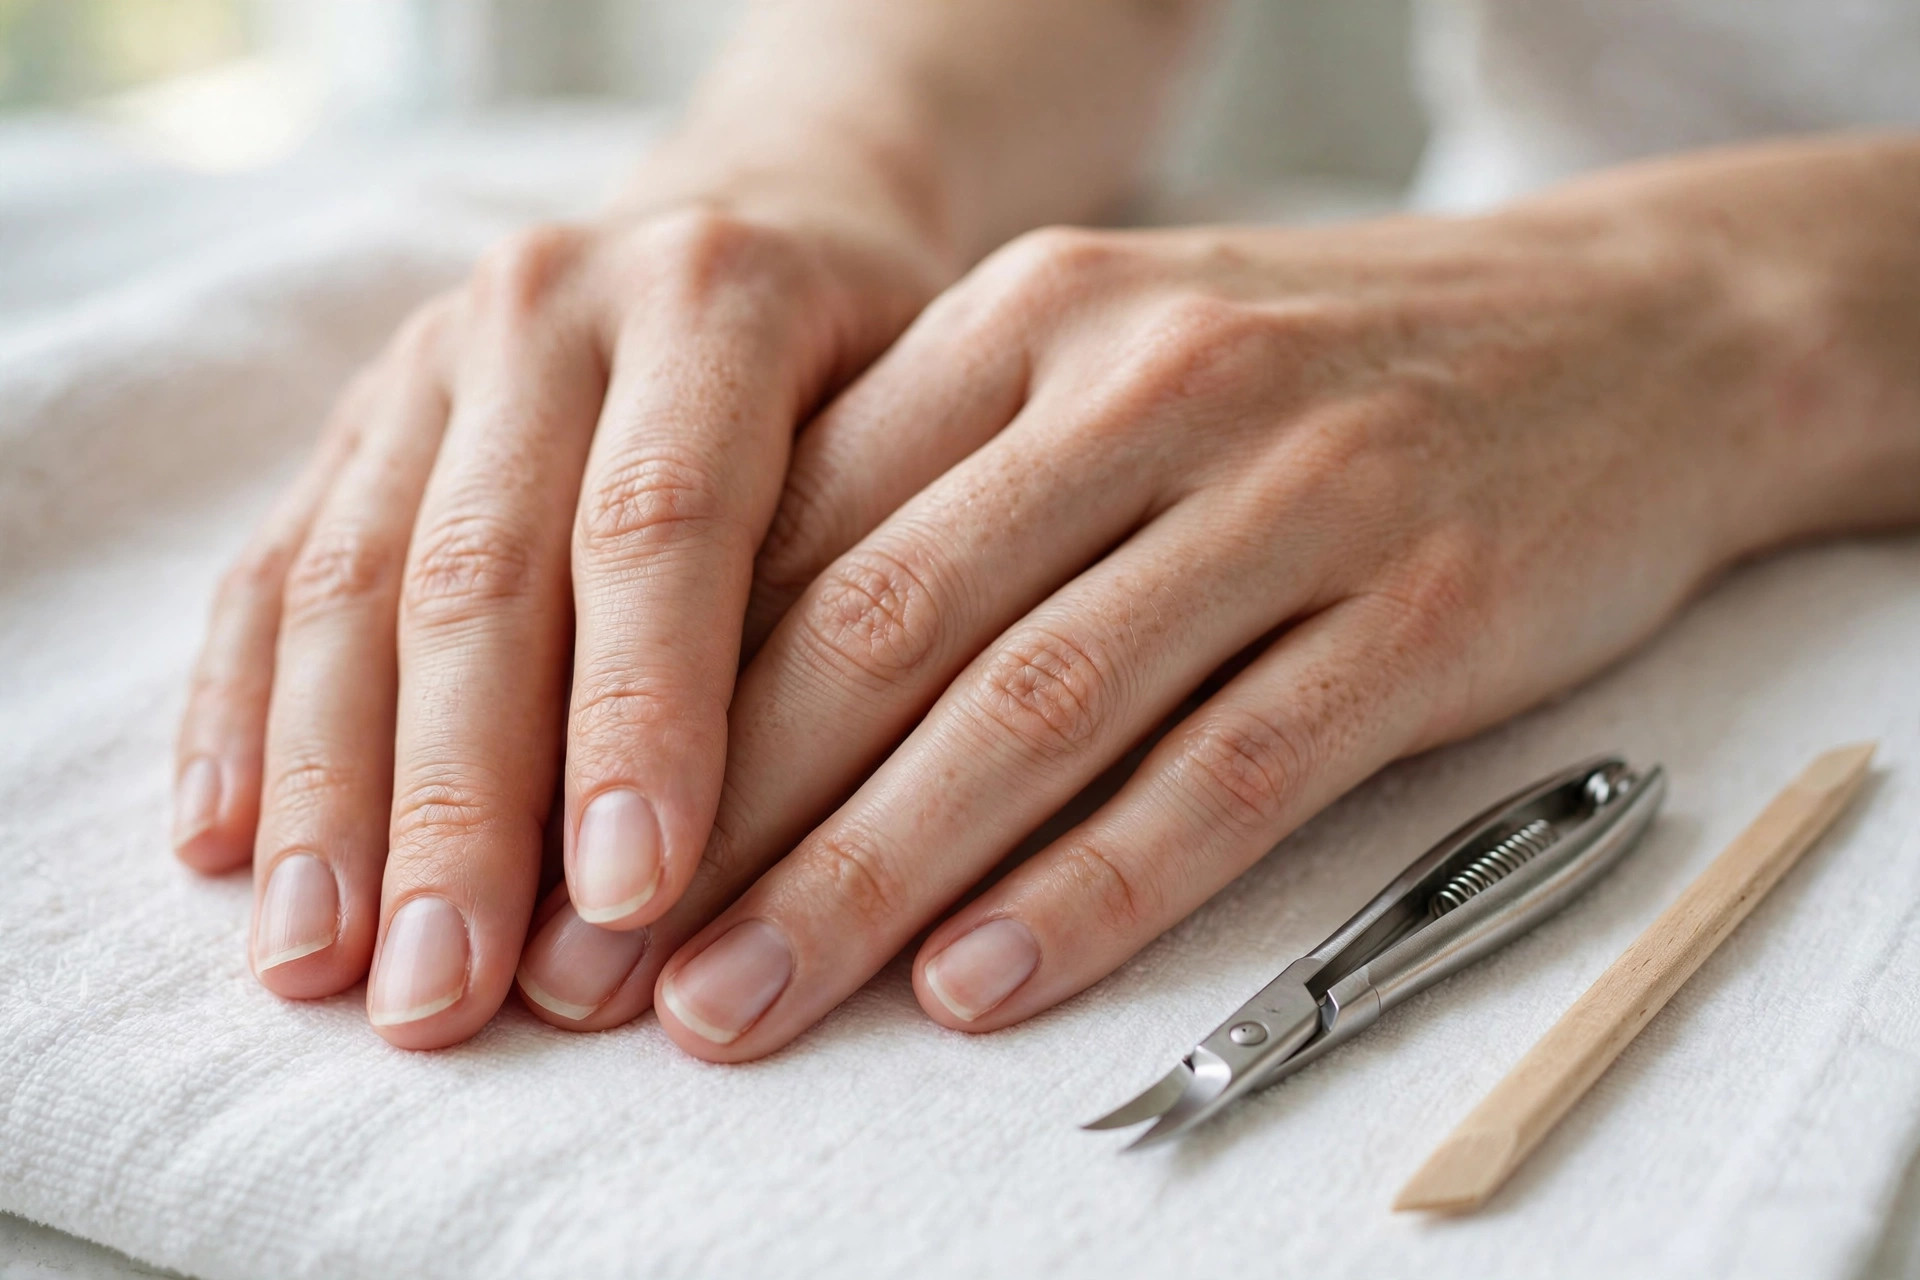
Quick answer: Learning how to use a cuticle trimmer starts with softening. You soak, push back, and snip tiny pieces gently. You never cut living skin around the nail bed. Gentle preparation keeps every session safe and simple. You finish with oil and clean, dry tools.
Welcome to your comprehensive guide on how to use a cuticle trimmer! This tool can make your nails look neat and tidy. Many people find it a bit scary at first. But you really do not need to worry.
With the right steps, you can use it safely. This guide will help you get beautiful, healthy nails. It will teach you everything you need to know.
You will learn how to prepare your nails. You will also learn how to use the trimmer correctly. Plus, you will find out how to keep your tools clean. Let’s get started on your journey to perfect cuticles!
- Understanding Your Cuticles and Why They Matter
- Essential Tools You Will Need
- Preparing for Cuticle Trimming
- Trimming Steps: Push Back and Identify
- Trimming Steps: Careful Snips
- Trimming Steps: Finish and Aftercare
- Common Pitfalls and How to Avoid Them
- When Not to Use a Cuticle Trimmer
- Maintaining Healthy Cuticles Without Trimming
- Conclusion
- Frequently Asked Questions
Understanding Your Cuticles and Why They Matter
Your cuticles are a very important part of your nail. They are a layer of clear skin. This skin grows at the bottom of your nail. It protects your delicate nail matrix every day.
The matrix is where your nail grows from. Healthy cuticles act like a strong natural barrier. They stop germs and bacteria from getting in. This simple protection keeps your nails healthy overall.
Sometimes, healthy cuticles can become dry and overgrown. They might look quite dry or visibly ragged. This is when people think about trimming them. But careful trimming matters more than fast trimming.
You never want to cut live skin. Only trim the dead and excess skin away. Cutting live skin can cause painful lasting problems. It can lead to infections or damage.
Pro Tip: Your cuticles protect your nails. Always treat your cuticles gently during any care. Less is often more when it comes to trimming. Learn how to use a toe nail clipper with similar care.
Essential Tools You Will Need
Before you start, gather all your supplies. Having everything ready makes the process smooth. It also helps you stay safe and relaxed. You can compare options in our best cuticle trimmer guide today.
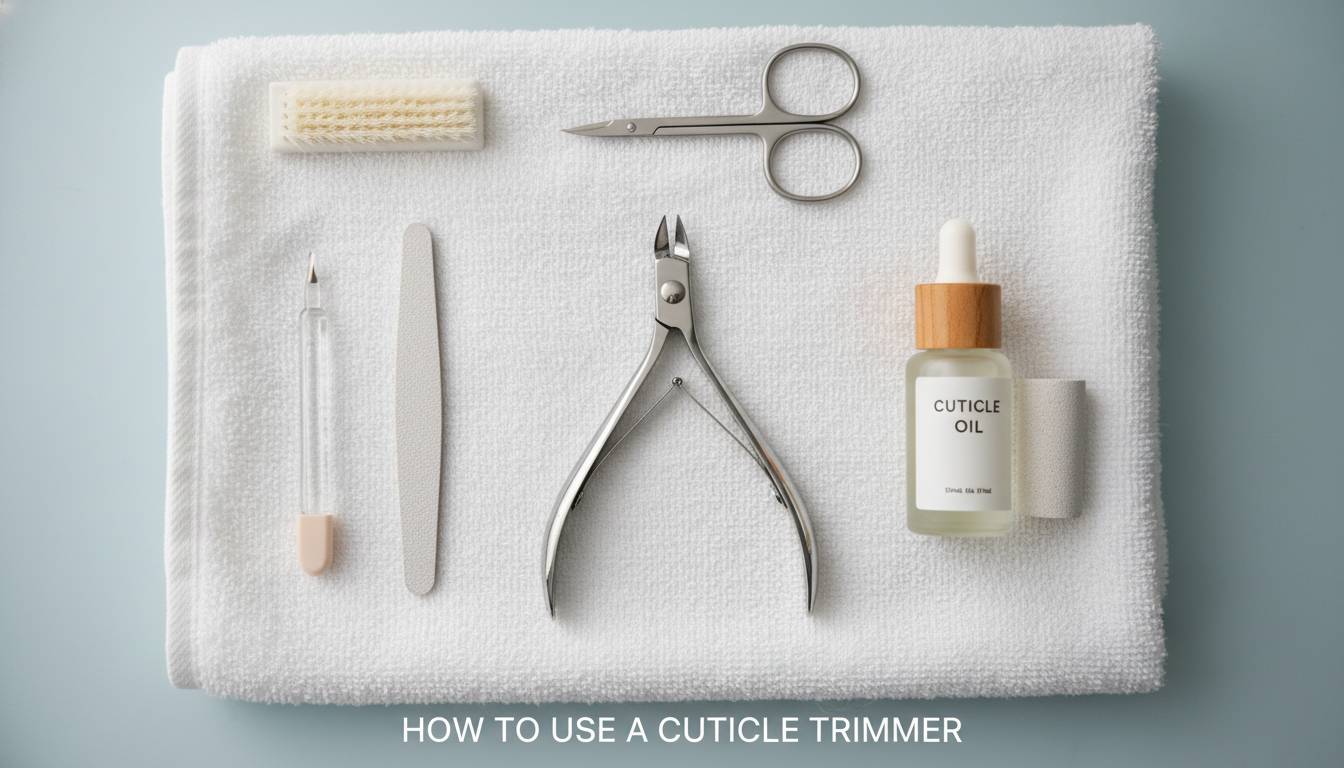
Here is a list of what you will need. Each tool below plays a clear supporting role. Gather every item before your first careful snip.
- Cuticle Trimmer/Nippers: This is the main tool. Choose a sharp one.
- Cuticle Pusher: This tool helps push back your cuticles. It can be made of wood or metal.
- Cuticle Remover Solution: This liquid helps soften and dissolve dead cuticle skin.
- Warm Water Bowl: For soaking your fingers.
- Mild Soap: To clean your hands and tools.
- Soft Towel: For drying your hands.
- Rubbing Alcohol or Tool Disinfectant: For cleaning your tools.
- Cotton Pads or Balls: For applying disinfectant.
- Nail Brush: For gentle cleaning.
- Hand Lotion or Cuticle Oil: For aftercare.
| Tool | Main Job |
|---|---|
| Cuticle trimmer or nippers | Snips away dead cuticle skin |
| Cuticle pusher | Pushes back your cuticles gently |
| Cuticle remover solution | Softens and dissolves dead cuticle skin |
| Warm water bowl | Soaks and softens your fingertips |
| Mild soap | Cleans your hands and tools |
| Soft towel | Dries your hands after soaking |
| Rubbing alcohol | Disinfects tools before and after use |
| Cotton pads or balls | Applies disinfectant to your tools |
| Nail brush | Cleans gently under your nails |
| Hand lotion or cuticle oil | Moisturizes skin during aftercare |
Cuticle Trimmer or Cuticle Nippers?
| Tool | Typical Style | Best Use |
|---|---|---|
| Cuticle trimmer | Smaller and more precise version | Tiny snips on delicate dead skin |
| Cuticle nippers | Slightly larger and more robust tool | Same careful snipping with sturdy grip |
Preparing for Cuticle Trimming: The Foundation for Success
Good preparation is truly the key here. It also lowers the risk of injury. Take your time with these preparation steps.
Step 1: Clean Your Hands and Nails
Always start every session with clean hands. Clean hands prevent germs from spreading easily. Wash your hands thoroughly with soap and warm water. Make sure to clean under your nails too. You can use a nail brush for this.
Step 2: Clean Your Tools
Cleaning your tools is a truly important step. Dirty tools can easily cause painful nail infections. Clean your cuticle trimmer and pusher very well.
Wash them thoroughly with soap and warm water. Then, wipe them down with rubbing alcohol. Let them air dry completely before you begin.
Warning: Never share your cuticle tools with others. Sharing tools can spread germs and diseases easily. Keep your own tools personal during every session.
Step 3: Soak Your Nails
Soaking helps soften your cuticles very well. Fill a small bowl with warm water. You can add a drop of mild soap.
Soak your fingertips for about 5-10 minutes. This makes the skin softer and easier to work with. Soft cuticles are less likely to tear.
Step 4: Dry Your Hands Gently
After soaking, pat your hands dry very gently. Use a clean and soft towel for drying. Make sure your cuticles are still damp. They should never become completely dry before trimming.
Step 5: Apply Cuticle Remover (Optional but Recommended)
Apply a small amount of cuticle remover solution. Put it directly onto each of your cuticles. Let it sit for 1-2 minutes total.
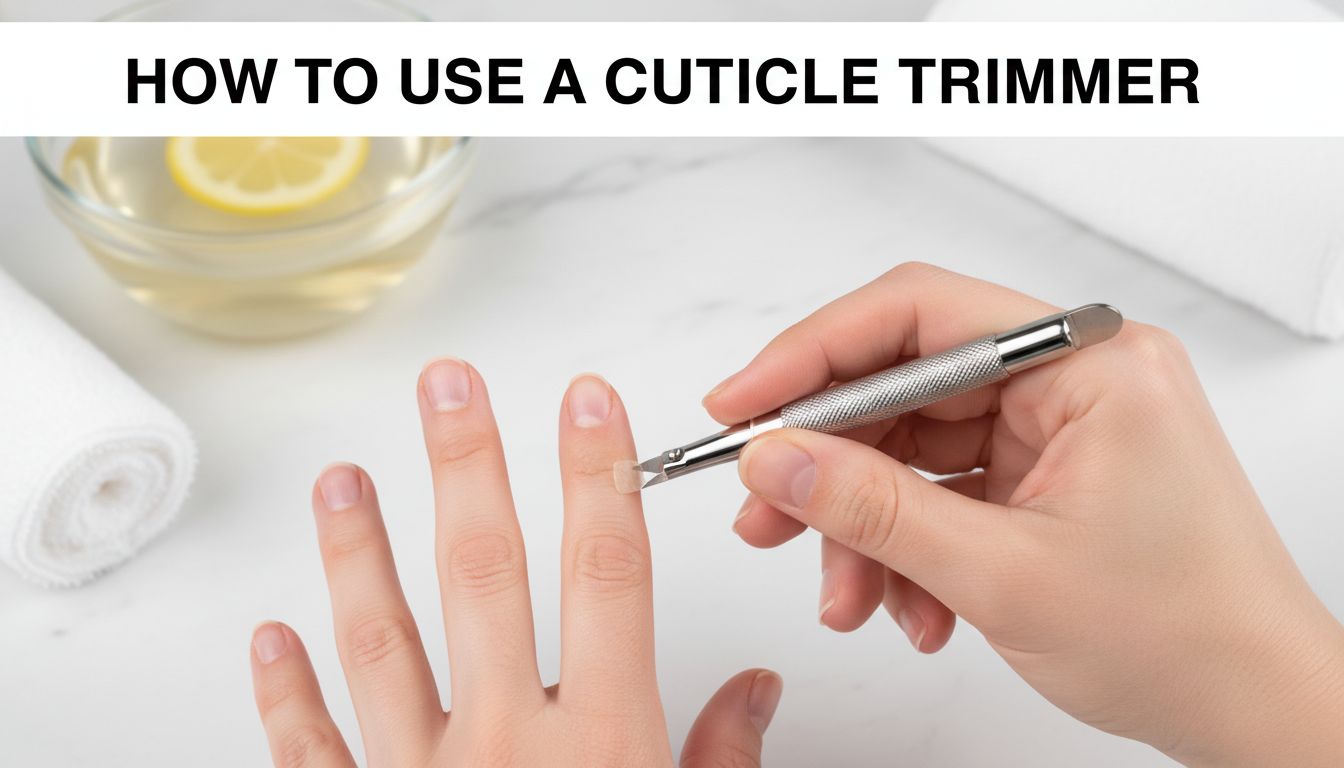
Read the instructions on your specific product. This solution helps loosen dead skin gently. It makes pushing back cuticles much easier afterward.
How to Use a Cuticle Trimmer Like a Professional
Now it’s time for the main event. Remember to stay gentle throughout the whole process. Take your time with every single careful step.
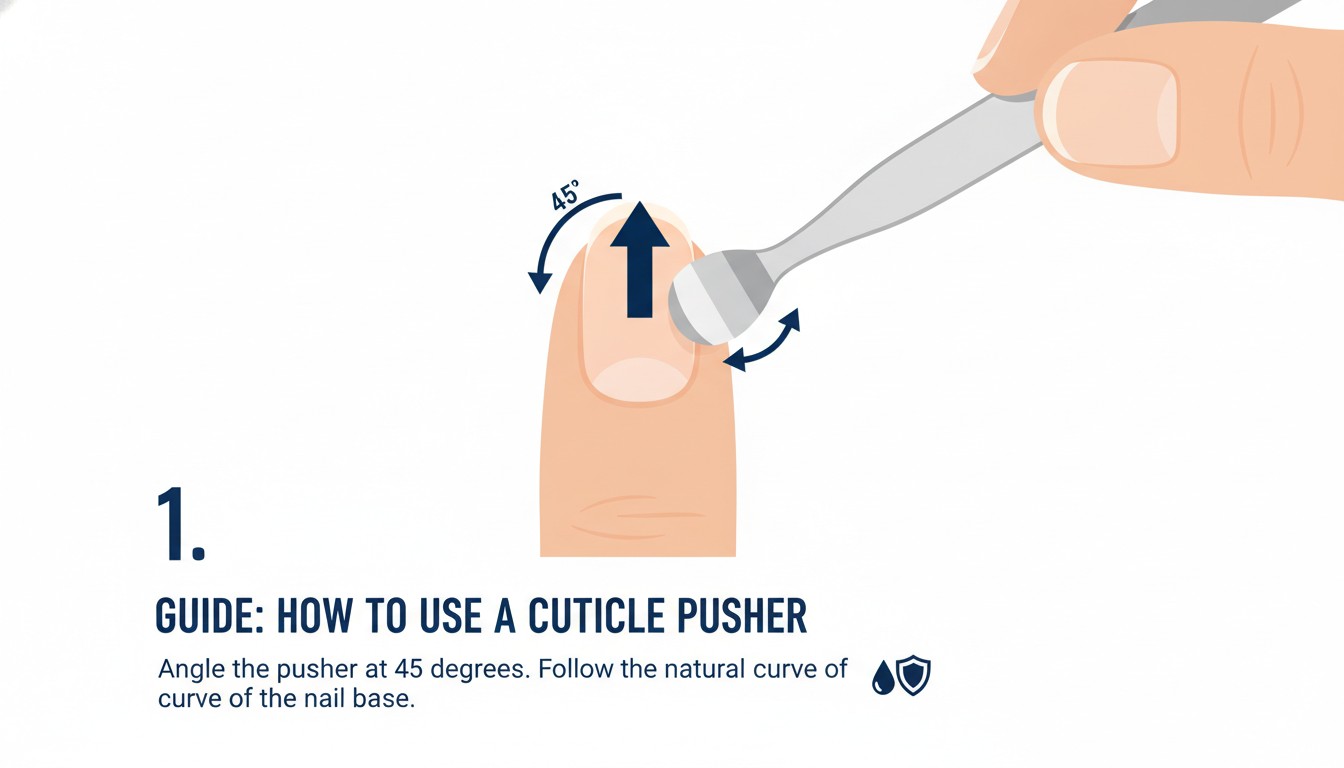
Step 1: Gently Push Back Your Cuticles
Pushing back is a crucial first step here. Use your cuticle pusher with a light touch. If it’s metal, use the curved end. If it’s wood, use the slanted end.
Gently push the cuticle back towards your nail bed. Do this slowly and carefully around each nail. Never press too hard against the living skin. You are only pushing back the eponychium.
This is the living skin that protects your nail. You are not pushing the cuticle itself. The cuticle is the dead skin that sticks to the nail plate. Pushing back reveals the dead skin you want to trim.
Step 2: Identify the Dead Skin
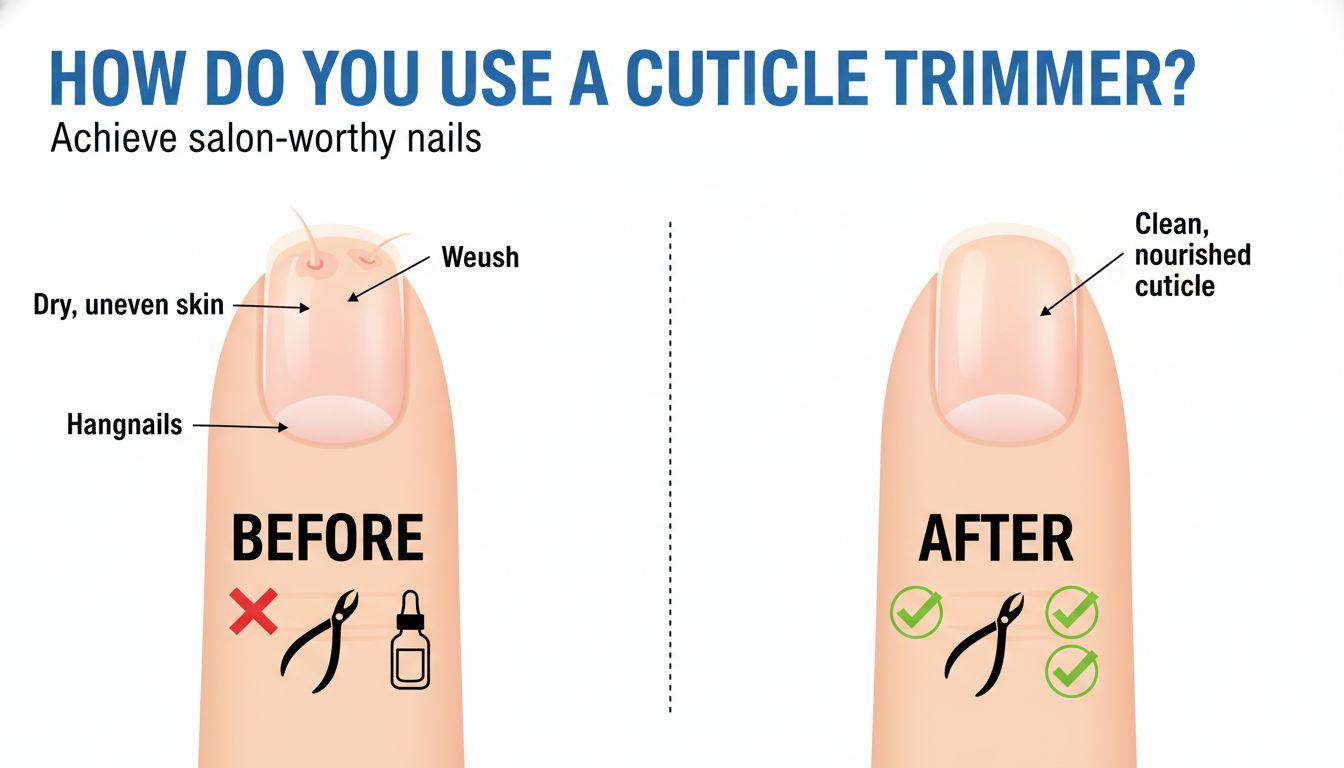
Look very closely at your nail right now. After pushing back, you will see a thin, white layer. This thin layer is the dead skin itself. It might look ragged or flaky and dry.
This is the only part you should ever trim. Live skin will look pink and healthy. Never cut living skin during any trimming session.
Key Takeaway: Only trim the dead, excess cuticle skin. Leave the living skin completely alone every time. Dead skin looks white and clearly flaky today.
Step 3: Hold the Cuticle Trimmer Correctly
Pick up your cuticle trimmer or nippers. Hold it like a pair of scissors. Place your index finger on one handle. Place your thumb on the other handle firmly.
Your middle finger can rest on the joint. This grip gives you good and steady control. Make sure you have a firm but gentle grip.
Making Careful Snips Around Every Nail Safely
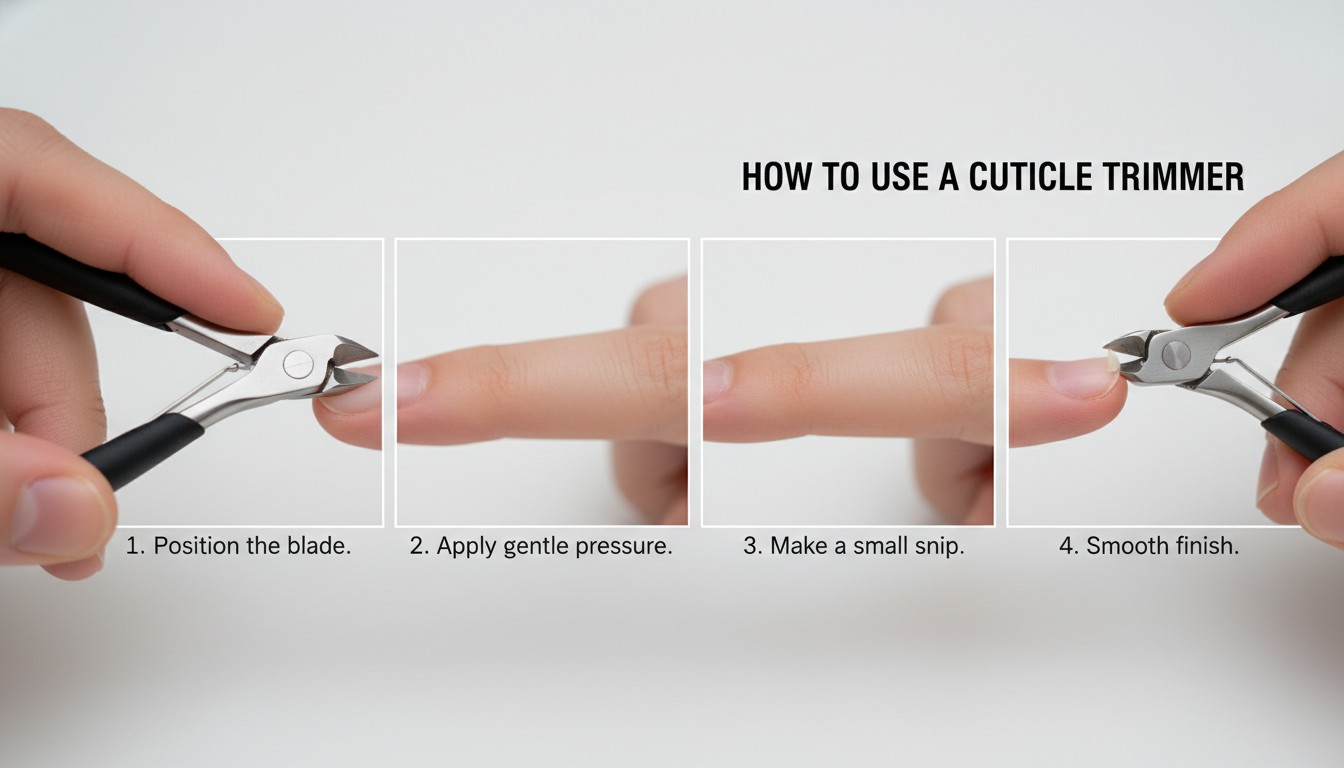
Step 4: Position the Trimmer Blades
Open the blades of the trimmer slightly. Place the tip of one blade against the dead skin. Make sure it’s at the very edge of the dead skin. The blade should be parallel to your nail bed.
Step 5: Make Small, Controlled Snips
Precision matters most during this important trimming step. Do not try to cut a long strip. Instead, make tiny and careful snips every time.
Cut only the loose and dead skin away. Work slowly around the curve of your nail. Imagine you are “nibbling” away the dead skin.
Step 6: Avoid Pulling or Tugging
Never pull or tug at the cuticle. Stop right away if the skin resists you. You might be trying to cut live skin. Or, the skin might not be soft enough.
Re-soak your finger gently if you need softness. Pulling can tear the skin around your nail. Tearing can cause pain and unwanted bleeding afterward.
Step 7: Do Not Cut Too Deeply
It is better to cut too little than too much. Cutting too deeply can damage your nail. Deep cutting can also lead to painful infection. Remember, your goal is neatness, not removal of all cuticle. The cuticle stays there for natural nail protection.
Step 8: Work Around Each Nail
Repeat this process carefully for each finger now. Take your time with each individual finger here. Focus on one nail at a time. This steady focus helps you maintain full control.
Finishing Steps and Gentle Aftercare Habits
Step 9: Check Your Work
After trimming, look closely at your finished nails. Check whether they look neat and clean overall. Look for any ragged dead skin still remaining. If so, you can make a few more tiny snips. Stay careful here and never over-trim living skin.
Step 10: Clean Up Any Loose Bits
Use a clean and damp cotton pad now. Gently wipe away any trimmed bits of skin. This makes your nails look even tidier.
Step 11: Apply Cuticle Oil or Hand Lotion
This step is very important for aftercare. After trimming, your cuticles might be a bit sensitive. Apply a good quality cuticle oil or rich hand lotion. Gently massage it into your cuticles and nail beds.
This rich moisture deeply softens the surrounding skin. It also helps prevent dryness and hangnails. Regular moisturizing keeps your cuticles soft and healthy. Soft cuticles make future trimming much easier later.
Step 12: Clean Your Tools Again
Clean all your tools again after you finish. Wash them well with soap and warm water. Then disinfect them thoroughly with rubbing alcohol afterward. Let them dry completely before storing them away.
Store them in a clean, dry place. This keeps them ready for next time. Dry storage also prevents rust on metal tools. Our guide shows how to fix a fingernail clipper at home.
Step 13: Establish a Maintenance Routine
You don’t need to trim your cuticles every week. Trimming too often can harm your healthy cuticles. Aim for every 2-4 weeks, if needed. Regular pushing back and moisturizing is often enough. This simple routine keeps your cuticles healthy daily.
Common Pitfalls and How to Avoid Them
Even with the best intentions, mistakes can happen. Knowing common problems helps you avoid them. Simple habits can protect your nails during every session.
- Cutting Live Skin: This is the most common mistake. It causes pain, bleeding, and risk of infection.
- Solution: Always soften cuticles first. Only trim the white, dead skin. When in doubt, don’t cut.
- Cutting Too Much: Over-trimming can leave your nail matrix exposed. This can lead to rougher, faster cuticle growth.
- Solution: Aim for minimal trimming. Focus on neatness, not complete removal.
- Pulling or Tugging: This can tear the skin and create hangnails.
- Solution: Use sharp tools. Ensure cuticles are soft. Make small, gentle snips. If it doesn’t snip easily, it’s probably live skin.
- Using Dull Tools: Dull trimmers can tear and damage skin. They are also harder to control.
- Solution: Invest in a good quality, sharp trimmer. Replace it when it becomes dull.
- Not Cleaning Tools: Dirty tools are a major source of infection.
- Solution: Always clean and disinfect your tools before and after each use.
- Trimming When Dry: Dry cuticles are stiff and more likely to tear or crack.
- Solution: Always soak your nails and use a cuticle remover.
Stop right away if trimming causes any sudden pain. Seek care when bleeding continues and will not stop. Watch for redness, swelling, or pus after sessions. Those signs can point toward a developing skin infection.
When Not to Use a Cuticle Trimmer
There are times when you should not use a cuticle trimmer. Waiting keeps small cuts and infections from worsening. Skipping a session protects sore or damaged skin. Families also ask about how to use a baby nail trimmer safely.
- If you have an infection: Trimming can make it worse.
- If you have cuts or open wounds: Wait for them to heal.
- If your cuticles are thin or very sensitive: Consider just pushing them back and moisturizing.
- If you are a beginner and unsure: Start with just a cuticle pusher and oil. Get comfortable with that first.
- If you have certain medical conditions: Always check with a doctor or a nail professional.
Maintaining Healthy Cuticles Without Trimming
Many people choose not to trim their cuticles at all. This is a perfectly valid and often healthier approach. Gentle daily care keeps cuticles soft and neatly shaped. The American Academy of Dermatology shares safe nail care basics online.
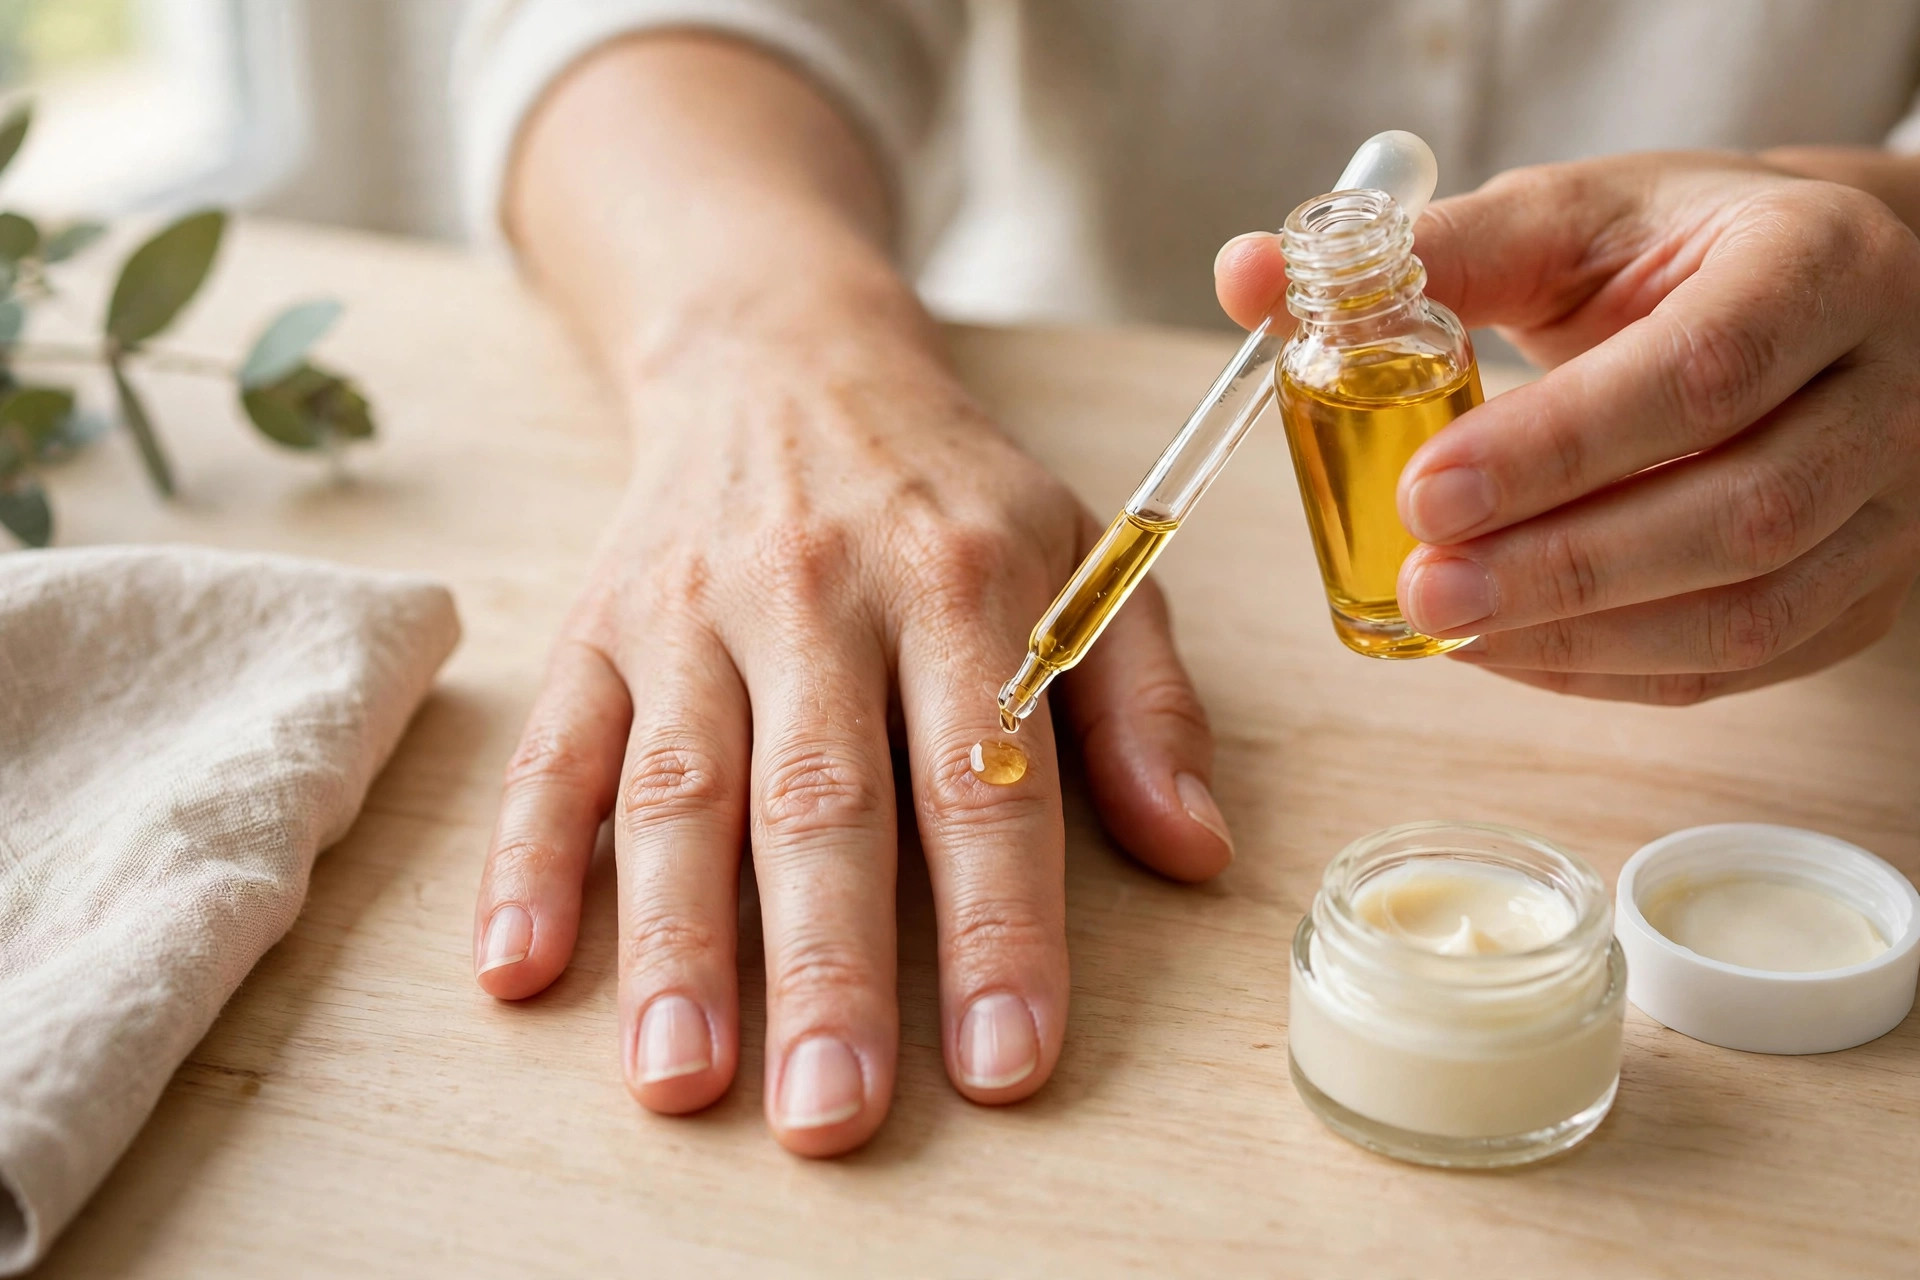
Here’s how to maintain healthy cuticles without a trimmer. These habits protect the natural barrier around every nail. They also keep skin soft between your regular sessions. Some readers prefer an electric nail trimmer for gentle filing.
- Regular Pushing Back: Gently push back your cuticles after a shower or bath. Use a soft towel or a cuticle pusher.
- Daily Moisturizing: Apply cuticle oil or a rich hand cream every day. This keeps the skin soft and prevents dryness.
- Avoid Picking: Never pick or bite at your cuticles or hangnails.
- Gentle Nail Care: Be gentle when filing or buffing your nails.
- Wear Gloves: Protect your hands when doing chores or using harsh chemicals.
Conclusion: How to Use a Cuticle Trimmer Safely
You have learned the basics of safe trimming here. Remember, the key is preparation, gentleness, and precision. Always prioritize the health of your nails. Clean your tools, soften your cuticles, and only trim the dead skin.
Careful steps give neat nails and lasting protection. With practice, you’ll become a pro at this important part of your nail care routine. Keep practicing, and enjoy your perfectly manicured look! Learning how to use a cuticle trimmer takes patience.
Frequently Asked Questions
How often should I trim my cuticles?
You should only trim dead cuticle skin when needed. For most people, this is every 2-4 weeks. Some people may find they need to trim less often or not at all. Regular pushing back and moisturizing is often enough.
What is the difference between a cuticle trimmer and cuticle nippers?
These two terms are often used almost interchangeably. Both are tools with sharp blades designed to snip away dead cuticle skin. “Nippers” might imply a slightly larger, more robust tool.
“Trimmer” can refer to a smaller, more precise version. The method of use is the same for both. Both styles remove only dead skin when used carefully.
Can trimming my cuticles cause them to grow back thicker?
No, there is no scientific evidence that trimming cuticles makes them grow back thicker. Cutting live skin or cutting too deeply harms skin. Damaged skin can heal with a much rougher texture. That roughness might feel like thicker new growth returning. Always stay gentle and trim only minimal dead skin.
What should I do if I accidentally cut myself?
If you accidentally cut yourself, stop immediately. Clean the area with mild soap and water. Apply an antiseptic solution or an antibiotic ointment.
Cover the cut with a clean protective bandage. Keep an eye on it for any signs of infection (redness, swelling, pus). If it seems infected, see a doctor.
Is it better to push back or trim cuticles?
Many nail professionals recommend simply pushing back cuticles and moisturizing them regularly. This simple habit helps maintain the natural barrier. Trim only when excess dead skin looks ragged or bothersome. Always prioritize nail health and protection above neatness.

I’m Patricia D. Johnson, an affiliate marketer and blogger specializing in trimmers and grooming tools. I create honest reviews, buying guides, and practical tips to help readers choose the right trimmer for their needs. With a focus on quality, performance, and value, I simplify the decision-making process so consumers can make confident purchases.