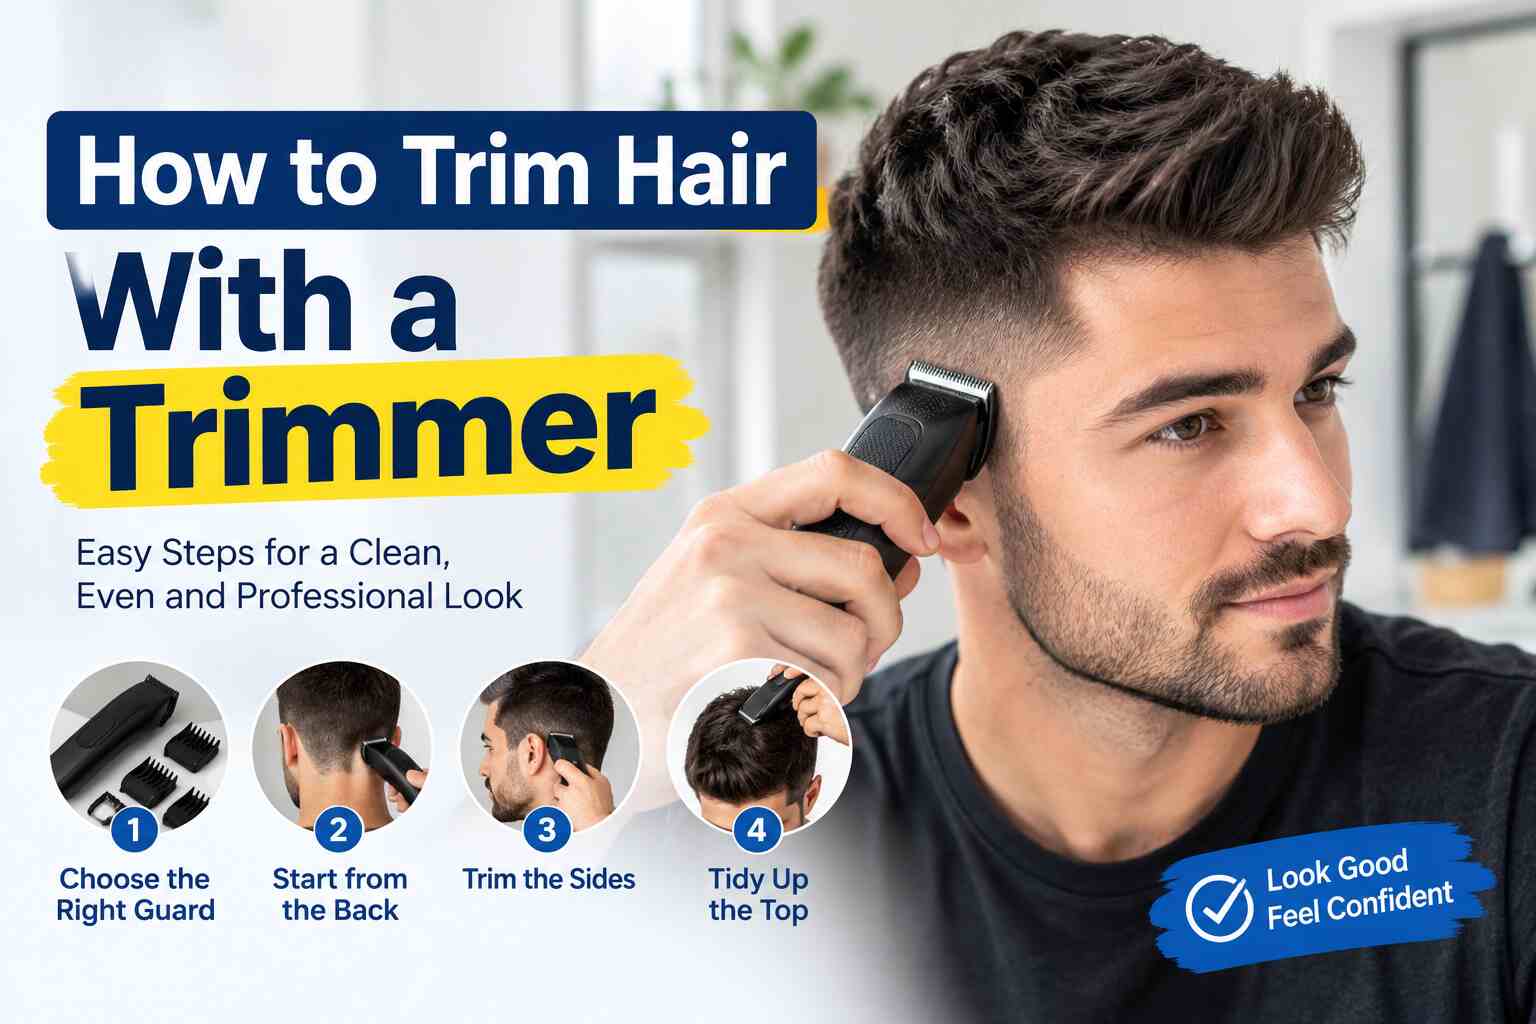
How to Trim Hair With a Trimmer Like a Pro
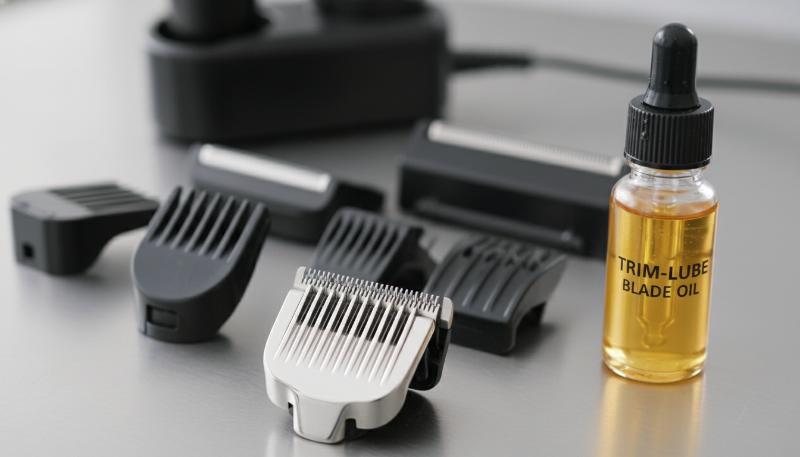
Quick answer: Learning how to trim hair with a trimmer saves money and builds confidence. You start with clean dry hair and longer guards first. You blend with a smooth C motion and check mirrors often. You finish with careful detailing, blending, and clean oiled blades.
Trimming your own hair is a power move. It saves you a fortune at the barber. It gives you total control over your look. A careful trim at home keeps your look sharp daily.
Most guys are terrified of making a mistake. They fear the accidental bald spot the most. I’m here to tell you it’s easier than it looks. A solid plan turns that fear into calm confidence fast.
You just need the right tools and a solid plan. Stop guessing and start cutting with real confidence today. Let’s get into the step-by-step process how to trim hair with a trimmer. Our step by step beard trimming guide also helps with clean neckline edges.
- How to Trim Hair With a Trimmer: Tools and Prep
- Know Your Guards and Set Your View
- Section Hair and Master the Motion
- Trim the Back, Sides, and Details
- Detail Ears, Neckline, and Blend Lines
- Avoid Mistakes, Clean Tools, and Finish
- Frequently Asked Questions
- Conclusion: How to Trim Hair With a Trimmer
How to Trim Hair With a Trimmer: Tools and Prep
1. Choose the Right Trimmer for the Job
Not all trimmers are created equal for home use. You have clippers, detailers, and multi-groomers at home today. For a full hair trim, you want something with a powerful motor.
Look for a cordless hair trimmer model for easier home cuts. Cords get in the way when you’re reaching for the back of your head. You want lithium-ion battery life for consistent power.
Cheap trimmers snag and pull your hair hard. High-quality blades stay sharp and cut smooth. Invest in your tools, and they will reward you with a clean finish.

2. Prepare Your Hair the Right Way
Always start with clean, dry hair every single time. Wet hair is longer and heavier than dry hair. It clumps together and hides the natural flow of your style.
If you cut wet hair, it will look different once it dries. Dry hair shows you exactly how the finished product will look. Wash out any wax or gel first.
Product buildup clogs the blades and slows cutting. It makes the trimmer work harder than it should. Comb your hair into its natural position before you touch the power button. Dermatologists share more everyday hair and scalp care tips for healthy hair routines.
Know Your Guards and Set Your View
3. Understand Your Guard Numbers
Guards are your safety net for every cut. The higher the number, the more hair stays on your head. A #1 guard is very short; a #4 is roughly half an inch.
If you are unsure, always start higher. You can always go shorter later with care. You cannot put hair back once it is gone.
Memorize your usual barber numbers before you start. Most classic fades use a #2 on the sides. They use a #4 or #6 on top. Consistency is the key to a professional look.
| Guard | Hair left |
|---|---|
| #1 | Very short |
| #2 | Short sides in classic fades |
| #3 | Transition for blending lengths |
| #4 | About half an inch |

4. Set Up Your Viewing Angles
You cannot trim what you cannot see. A single bathroom mirror isn’t enough for safe trimming. You need a handheld mirror or a three-way mirror setup.
Position yourself under bright, white light every time. Shadows are your enemy during every home trim. They make the hair look thicker than it actually is.
The goal is to see the back of your neck clearly. If you are squinting, you are going to mess up the line. Take the time to get the lighting right.
Section Hair and Master the Motion
5. Section Your Hair Properly
Professional barbers always section the hair before cutting. Use clips to separate the top from the sides. This creates a clear boundary for your trimmer.
The “horseshoe” part is the most important. This is the line where the side of your head meets the top. Keeping these areas separate prevents “shelf” hair.
Don’t just dive in without a clear plan. Trace the lines with your fingers first. Knowing where you want the fade to end makes the actual trimming much faster. Many home barbers trust a professional hair trimmer for cleaner results daily.
6. Mastering the C-Motion Technique
Don’t just press the trimmer flat against your skull. Use a smooth “C” motion for every pass. Start at the bottom and flick the trimmer out as you move up.
This motion creates a natural blend every time. It prevents harsh lines between different lengths. It’s the secret to a professional fade at home.
Practice the flick on your arm first. It should be a smooth, rhythmic movement. The exit is just as important as the entry.
Trim the Back, Sides, and Details
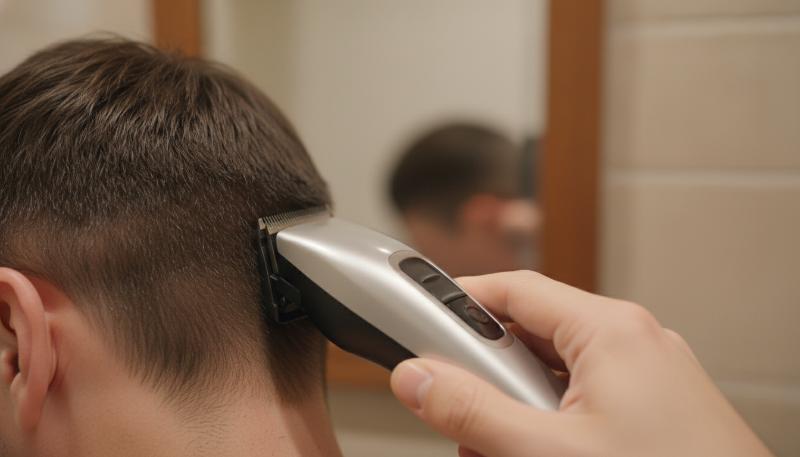
7. Trimming the Back of the Head
This is the hardest part of the cut. Go slow and use your handheld mirror. Move the trimmer against the direction of hair growth.
Most hair on the back grows downward. Move the trimmer from the neck toward the crown. Use short, controlled strokes for every single pass.
Don’t go too high too fast at first. Stay low and work your way up. Check the mirror after every two or three passes.
8. Navigating the Sides and Sideburns
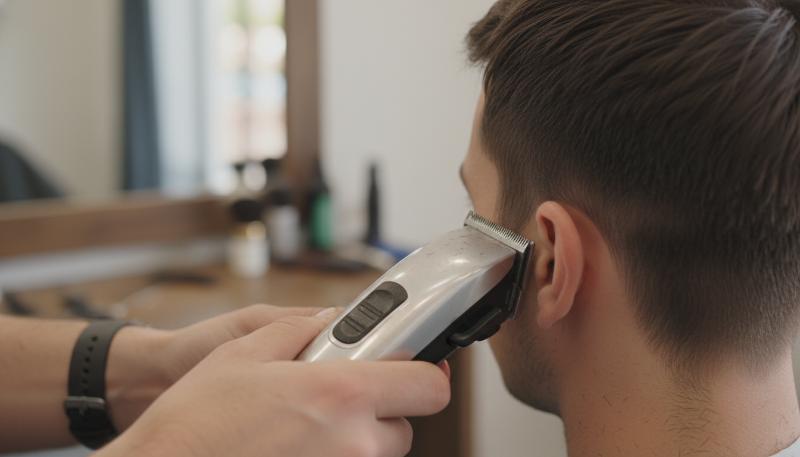
Start at the sideburns and work toward the back. Keep the trimmer flat against the skin for the first inch. Then, start your “C” motion as you reach the temple.
Ear height is a great landmark for guidance. Use the top of your ears to gauge where to change guard sizes. Symmetry is vital here for a balanced look.
Keep checking both sides in the mirror. If one side looks higher, don’t panic. Gently adjust the other side to match, millimeter by millimeter.
9. Choosing Your Tool: Trimmer vs. Clipper
For a full haircut, use clippers for the bulk. Use trimmers for the fine details around the ears and neck. Having both tools makes the job much easier. You can also compare trimmer cutting against scissors cutting before you choose.
If you only have a trimmer, you must work in smaller sections. Trimmers have smaller teeth and can clog if you move too fast. Be patient with your equipment during every single cut.
| Tool | Best job in this guide |
|---|---|
| Clipper | Bulk cutting for a full haircut |
| Trimmer | Fine details around ears and neck |
Detail Ears, Neckline, and Blend Lines
10. Detailing Around the Ears
Fold your ear down with your free hand. This opens up the space and prevents nicks. Use only the corner of the trimmer blade.
Trace the natural curve of your ear. Do not go too deep into the hairline. You just want to remove the “fuzz” that grows over the ear.
Steady your hand by resting your pinky on your cheek. This anchor point gives you much better control. Small, light taps are better than long drags.
11. Creating a Clean Neckline
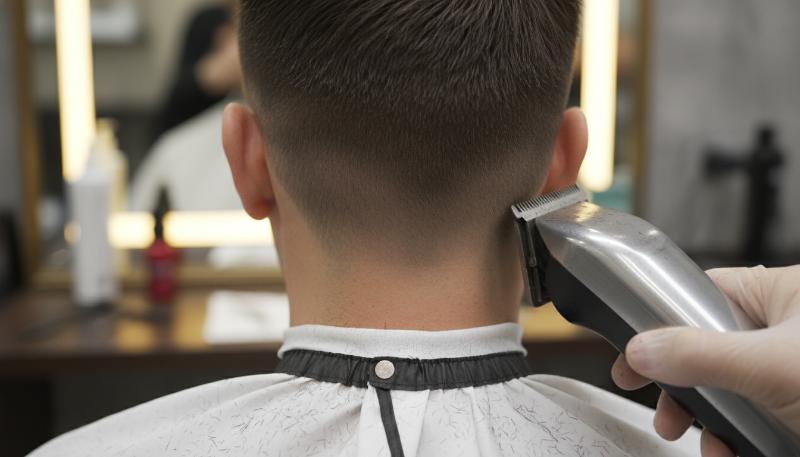
The neckline defines the entire haircut at home. You can choose a squared look or a rounded look. A squared neckline looks more modern and sharp.
Use your handheld mirror and turn your back to the main mirror. Look over your shoulder into the handheld mirror. Set the line higher than you think you should.
Start in the center and move toward the ears. Keep the line horizontal and straight at all times. If you have a partner, this is the one time you should ask for help. A dedicated neck hair trimmer makes the final neckline much easier.
12. Blending the Top and Sides
This is where most DIY cuts fail. You need to blend the short sides into the longer top. Use a guard that is halfway between your side length and top length.
If the sides are a #2 and the top is a #4. Use a #3 guard for the smooth transition zone. Run the #3 over the “corner” of your head.
Hold the trimmer at an angle while blending. You are essentially “sanding down” the ridge. Take your time and listen to the sound of the hair being cut.
Avoid Mistakes, Clean Tools, and Finish
13. Avoiding Common DIY Mistakes
The biggest mistake is rushing through your cut. Set aside at least 45 minutes for your first few trims. Pressure leads to errors during the whole cut.
Don’t press too hard against your skin ever. Let the blades do the work for you. If you press into the skin, you will create uneven patches.
Avoid “chasing” a mistake across the other side. If you cut one side too short, don’t immediately cut the other side to match. Stop, breathe, and look at it from a distance.
14. Post-Trim Tool Maintenance
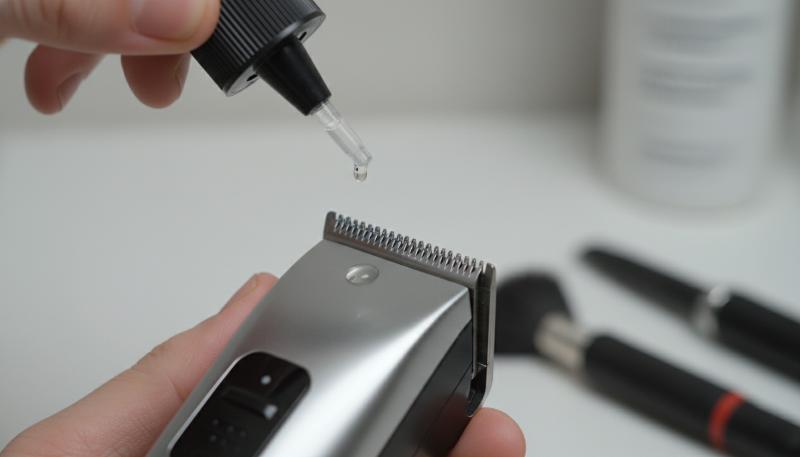
Your trimmer needs love too after every cut. Use the small brush to remove every single hair from the blades. Hair holds moisture and causes rust over time.
Apply two drops of clipper oil to the blades. Turn the trimmer on for ten seconds to let the oil spread. This reduces friction and heat during cutting.
Check the alignment of the blades before storage. If they are crooked, they will bite your skin. Store your trimmer in a dry place, never in a damp shower.

15. Final Styling and Inspection
Hop in the shower to rinse off the loose clippings. Dry your hair and apply your favorite styling product. Product hides minor imperfections and adds texture.
Check your work one last time in natural light. Look for any stray hairs sticking out around the ears. Use the trimmer without a guard for these “flyaways.”
Walk away for ten minutes before checking again. Come back and look again with fresh eyes. Your eyes get tired during a cut, and a fresh perspective helps you spot errors.
Frequently Asked Questions
Can I use a beard trimmer for my head hair?
Yes, but it will take longer because beard trimmers have narrower blades. They are perfect for detailing but might struggle with thick hair on top. A strong hair trimmer for men handles thick top hair far better. Work in smaller sections and stay patient with your equipment.
How often should I trim my hair?
To keep a fresh look, every 2 to 3 weeks is ideal. This allows you to just “follow the lines” from your last cut. Set aside enough time so you never rush the trim.
Should I oil my trimmer every time?
Ideally, you should oil it every second or third use at least. Apply two drops of clipper oil to the blades. It keeps the motor from burning out.
Is it better to cut hair against the grain?
Yes, for a closer and more even cut. Cutting against the grain feeds the hair into the blades most efficiently. Move the trimmer against the direction of hair growth.
How do I stop the trimmer from pulling my hair?
Slow down your hand movement and make sure the blades are oiled. If the trimmer pulls, you are moving faster than the blades can cut. Product buildup clogs the blades and makes the trimmer work harder.
Conclusion: How to Trim Hair With a Trimmer
Trimming your hair with a trimmer is a skill that pays off for years. It’s about patience and using the right “C” motion. Start with longer guards and work your way down. Our best home hair trimmer picks help you choose the right tool.
Don’t worry about perfection on day one. Even a “decent” home trim looks better than an overgrown mess. Keep your tools clean, stay focused, and enjoy the savings. You now know how to trim hair with a trimmer confidently.

I’m Patricia D. Johnson, an affiliate marketer and blogger specializing in trimmers and grooming tools. I create honest reviews, buying guides, and practical tips to help readers choose the right trimmer for their needs. With a focus on quality, performance, and value, I simplify the decision-making process so consumers can make confident purchases.