How To Change Greenworks Pro Trimmer Line
So, how to change greenworks pro trimmer line the easy way? A fresh line keeps your Greenworks Pro trimmer cutting clean and fast. A snapped line mid-job wastes time and breaks your work flow. This guide shows each step in plain order for safe home use.
Changing the line takes only a few minutes once you know the steps. You need a new line, gloves, scissors and your Greenworks Pro trimmer. The steps below cover tools, spool work, winding and a quick test. Read each step once before you start work on your trimmer head.
Line size and type matter as much as the steps you follow here. Round nylon line near 0.080 inches suits most Greenworks Pro models well. Always check your manual first for the exact size your model needs. A clean spool and neat winding keep the line feeding smooth and steady.
Quick answer: Yes, changing the line is quick and simple. Turn off and unplug the trimmer first. Turn the cap counterclockwise and lift it off. Cut about 10 feet of new line and wind it tight. Leave 6 inches each side, refit the spool, then test.
How To Change Greenworks Pro Trimmer Line? The Short Answer
Yes, changing the line on a Greenworks Pro trimmer is straightforward work. The right size improves cutting and cuts down on line breaks fast. Thin lines suit light grass while thick lines beat dense weeds well. This section gives the short answer before the full steps below.
| Line Size | Best For |
|---|---|
| 0.080 inches | Most Greenworks Pro models |
| Round nylon | Light grass and neat edges |
| Twisted nylon | Dense weeds and thick brush |
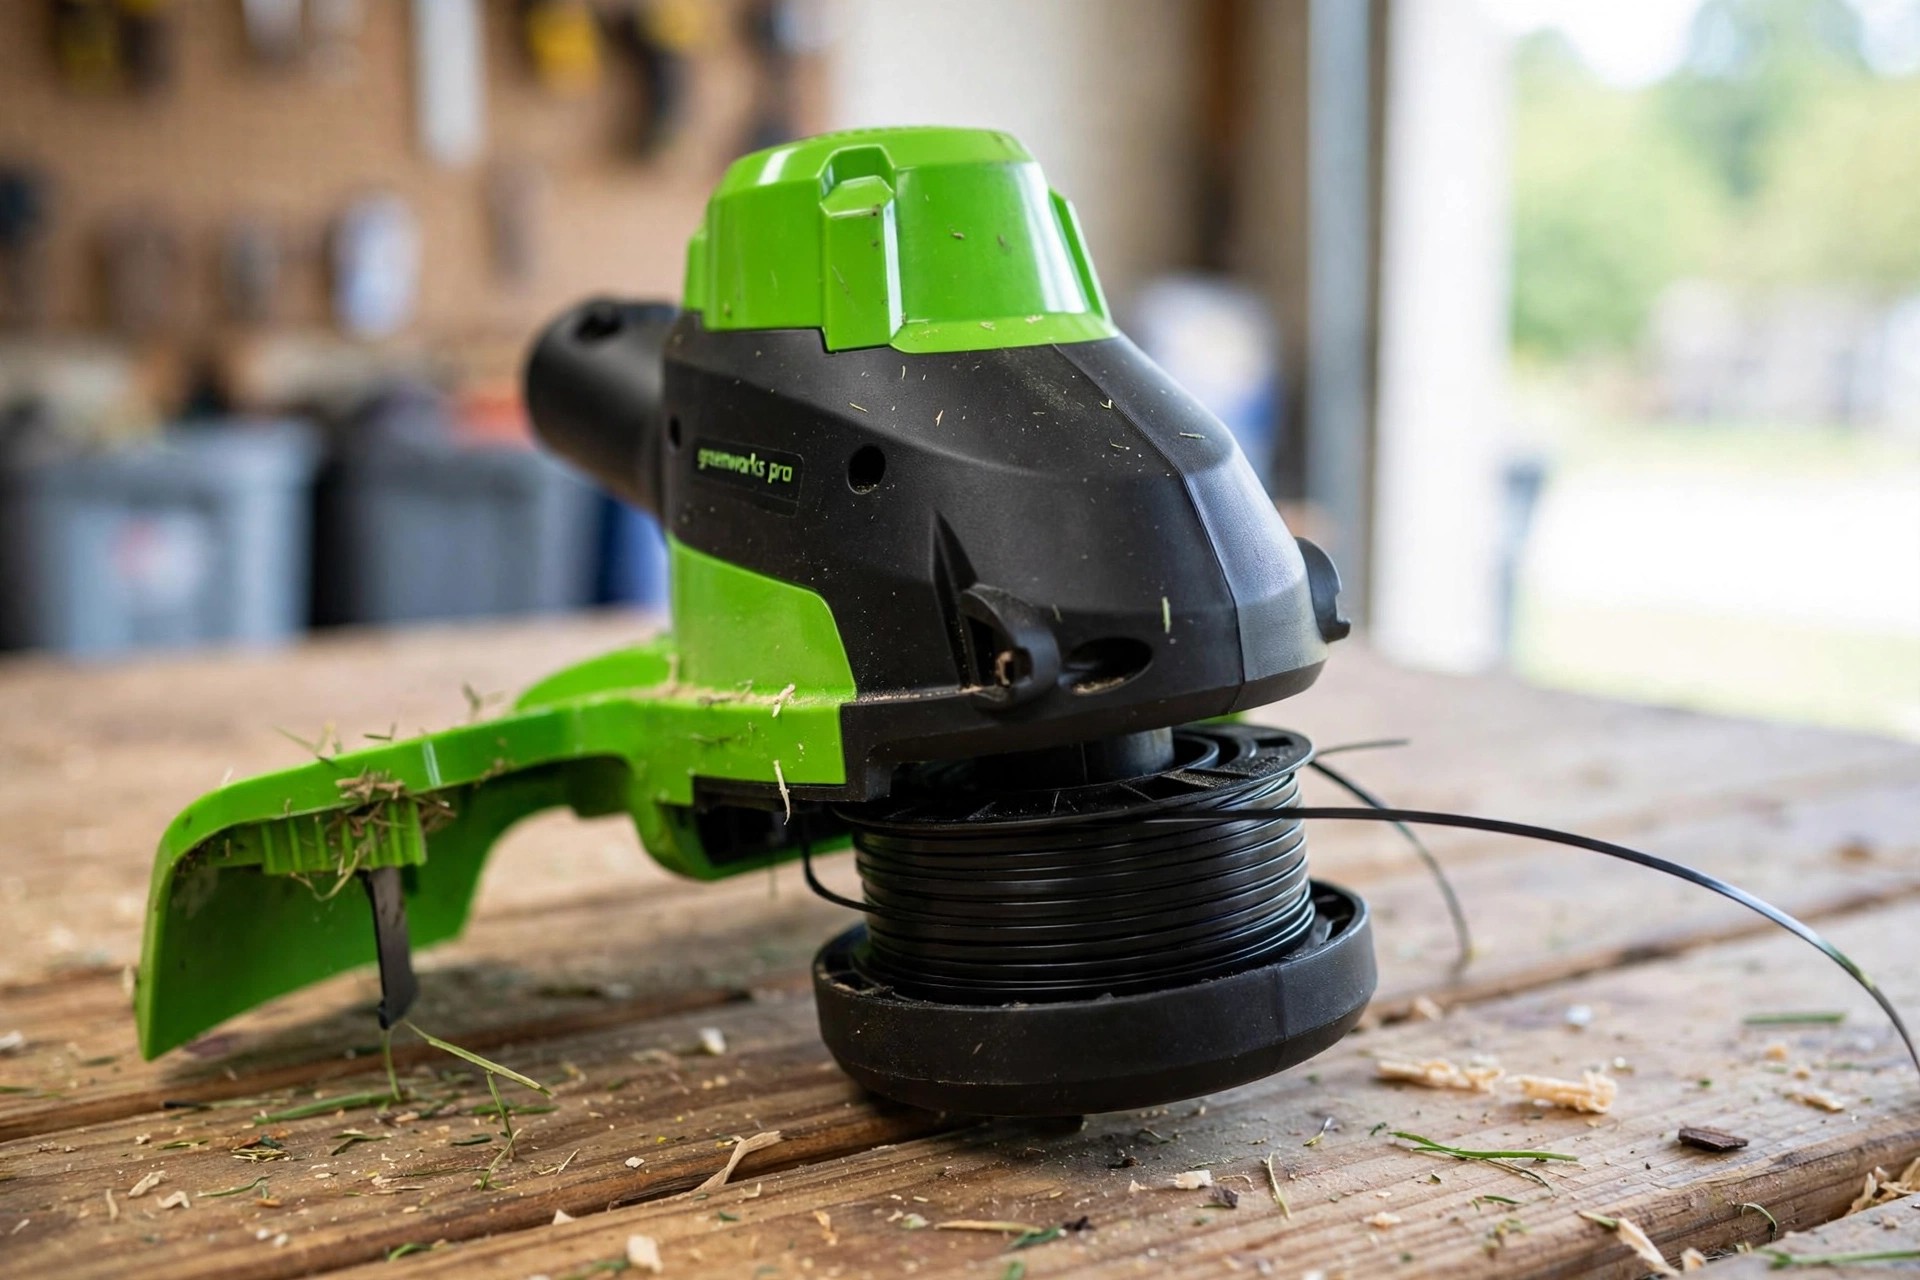
Smaller lines are light and very precise to use each day. They suit tight spaces and neat flowerbed edges very well. Thicker lines last longer on tough growth and thick brush. They cut brush well without snapping all the time.
The Wikipedia string trimmer page covers trimmer types and line use. Our trimmer guide explains what a trimmer is in plain terms. The Wikipedia lawn mower page covers lawn care tools in full detail. Our types guide lists the main types of trimmers for home use.
Tools And Safety First
Gather your tools before you touch the trimmer head at all. You need new trimmer line, gloves, scissors and your Greenworks trimmer. Gloves shield your hands from sharp line ends and rough spool edges. Scissors give clean cuts so the line fits the spool just right.
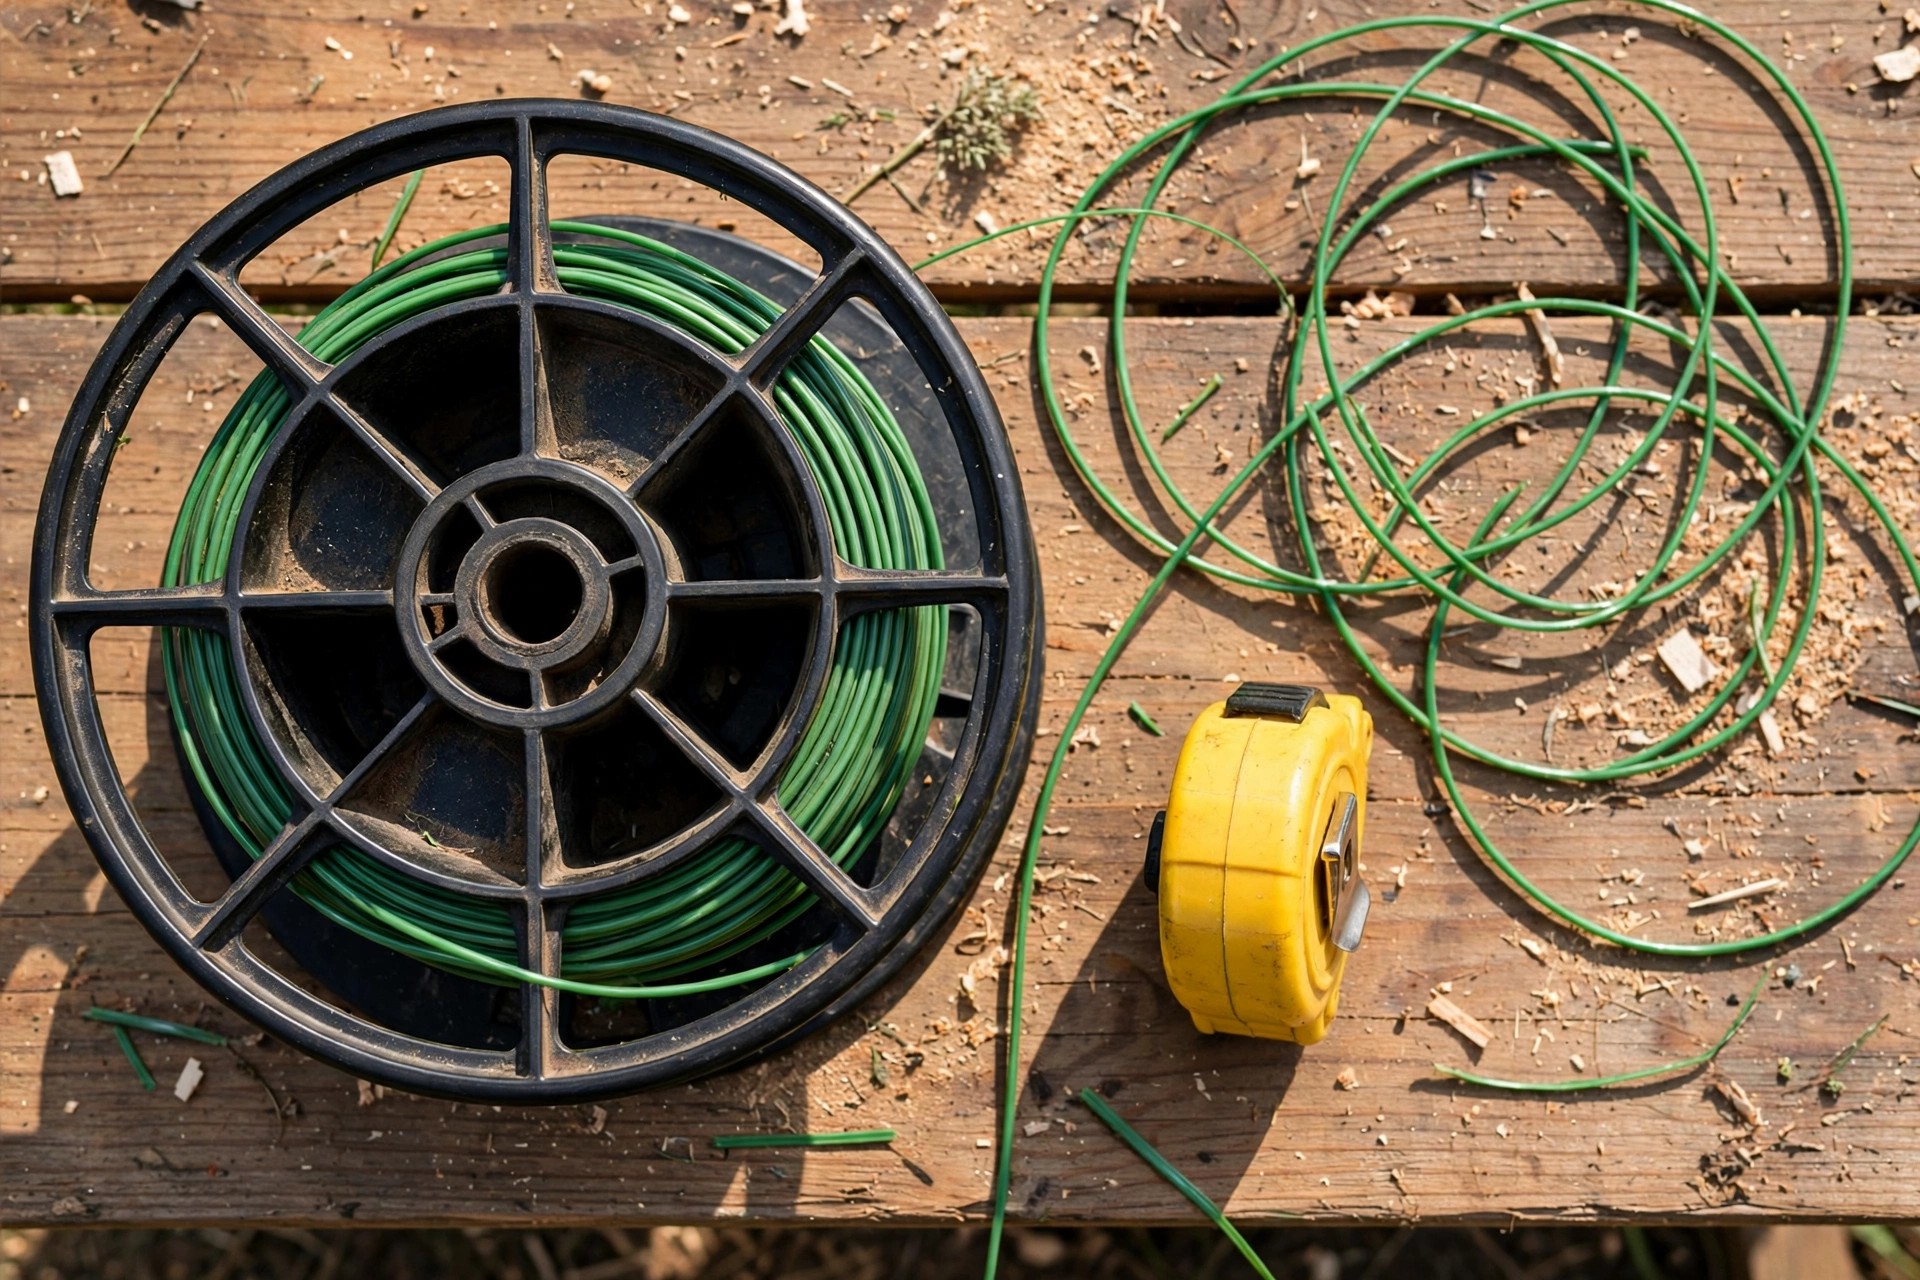
Always turn the trimmer off and unplug it before you start work. A trimmer that starts by mistake can cause a nasty hand injury. Lay the trimmer on a flat surface so the head stays easy to reach. Keep small parts in one spot so nothing rolls away mid-job.
Our trimmer care guide covers trimmer care for long tool life. Our trimmer use guide explains how to use a trimmer the safe way. Our best size guide helps you pick the best trimmer size for yards. Good care keeps your trimmer running well for years to come.
Remove The Old Line First
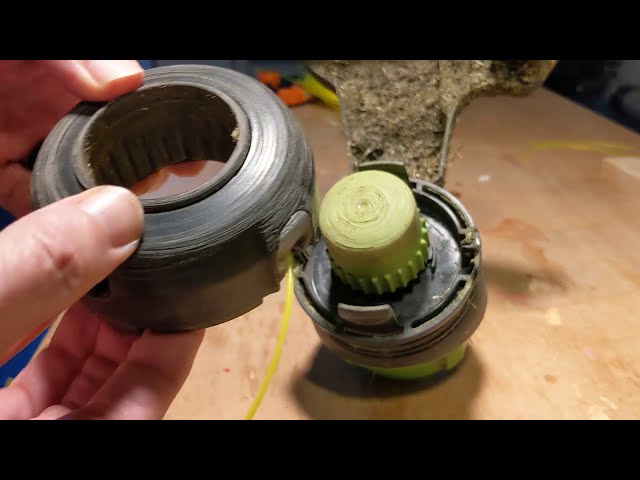
Turn the trimmer head cap counterclockwise until it comes free. Some models have tabs you must press at the same time. Check your manual first if the cap feels stuck or will not turn. Lift the cap off with care to reveal the spool and old line.
Pull the old line from the spool with slow and steady hands. Tangled line may need a gentle tug to come free at all. Clear every small piece so none jams the new line later. Brush dirt and grass bits from the spool before you move on.
Look for cracks or worn spots on the spool and trimmer head. A cracked spool can jam the line and spoil your trimming work. Swap a worn part now to stop bigger trouble during the next job. A clean spool makes the new line fit and feed just right.
Wind And Fit The New Line
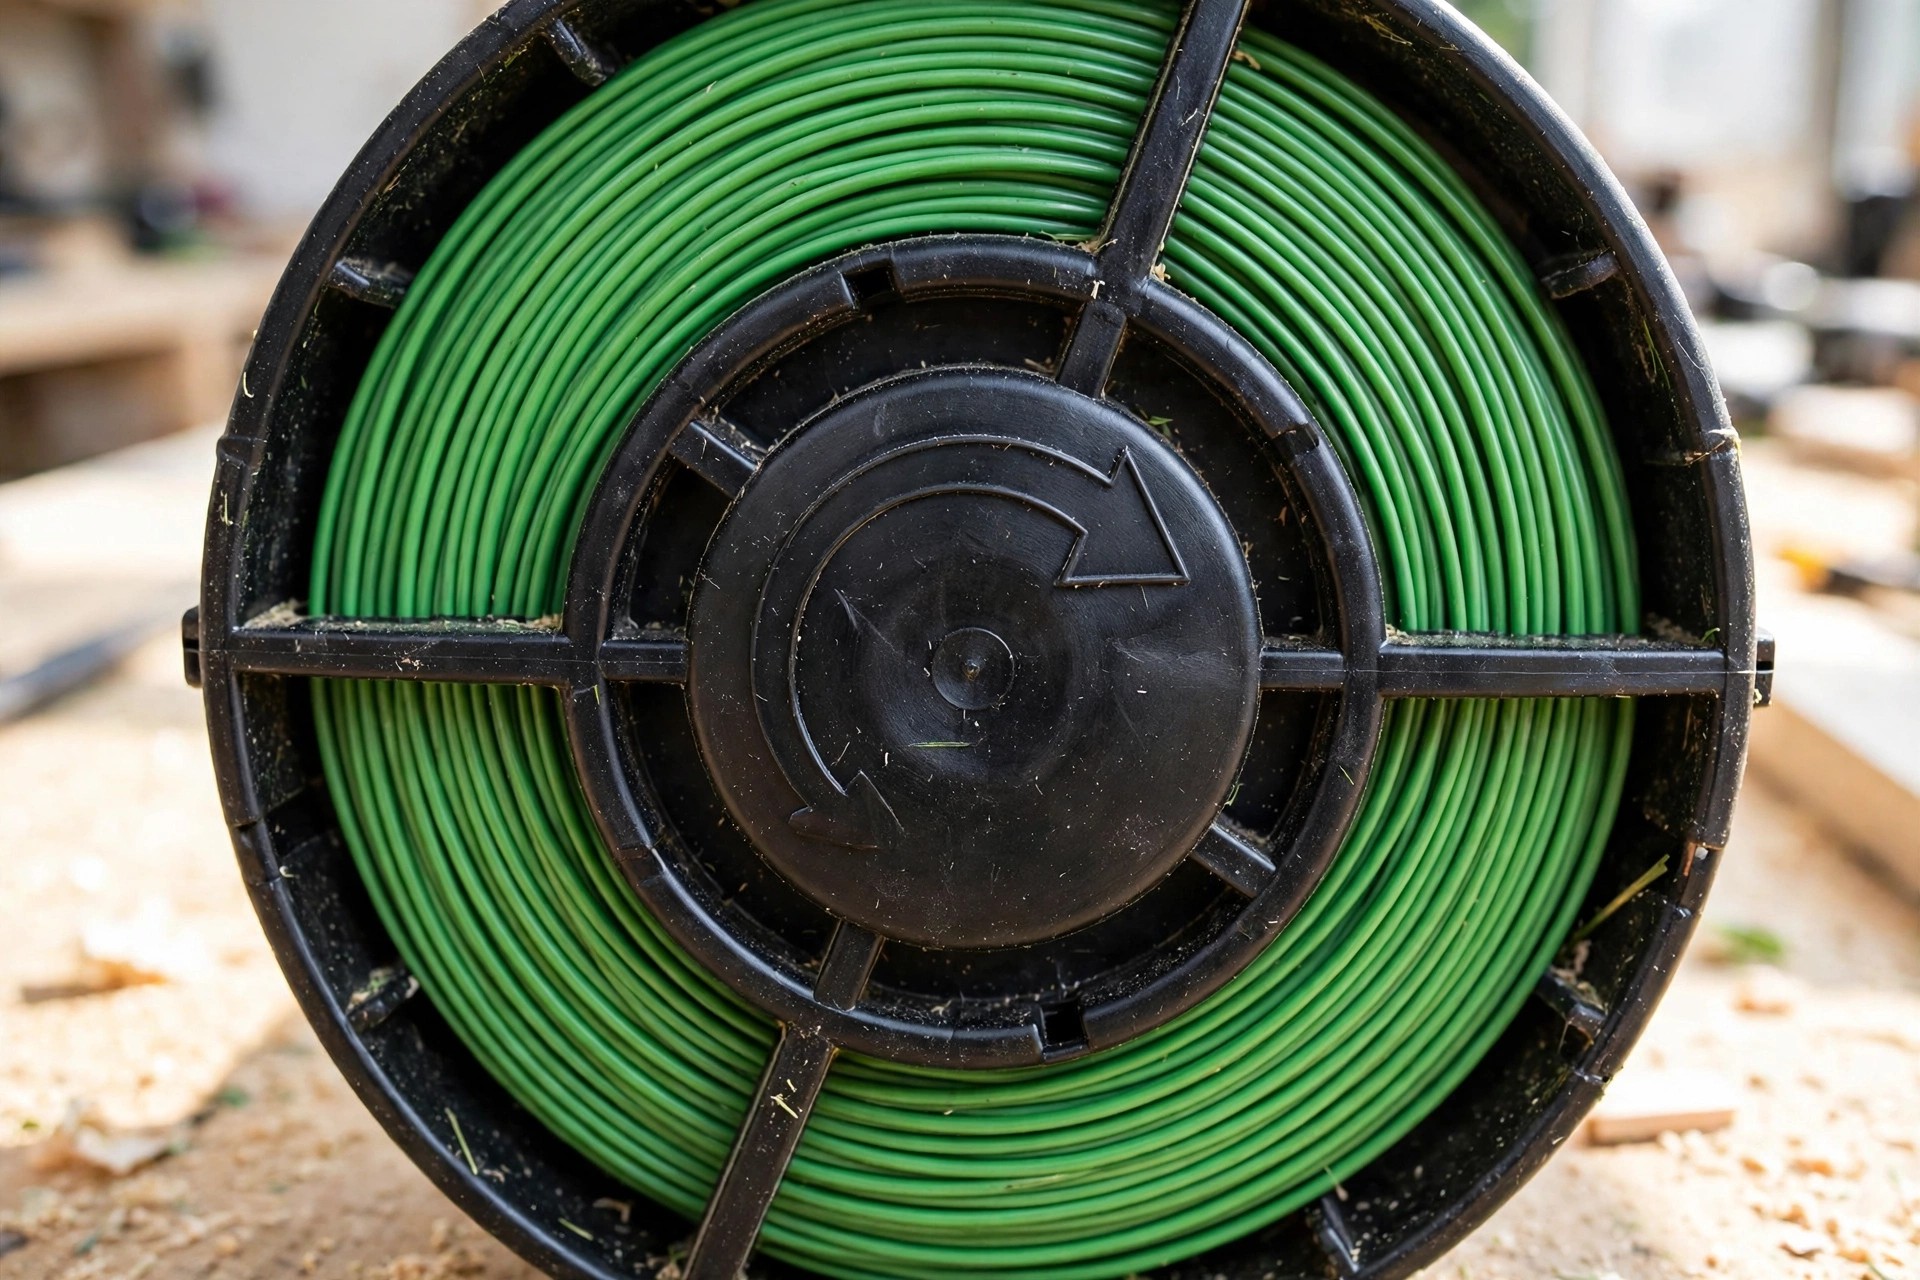
Cut about 10 feet of new line to match your trimmer manual. Push one end into the spool hole and wind it tight and even. Follow the arrows on the spool so the line feeds out right. Keep the coils neat and tight to stop tangles during trimming work.
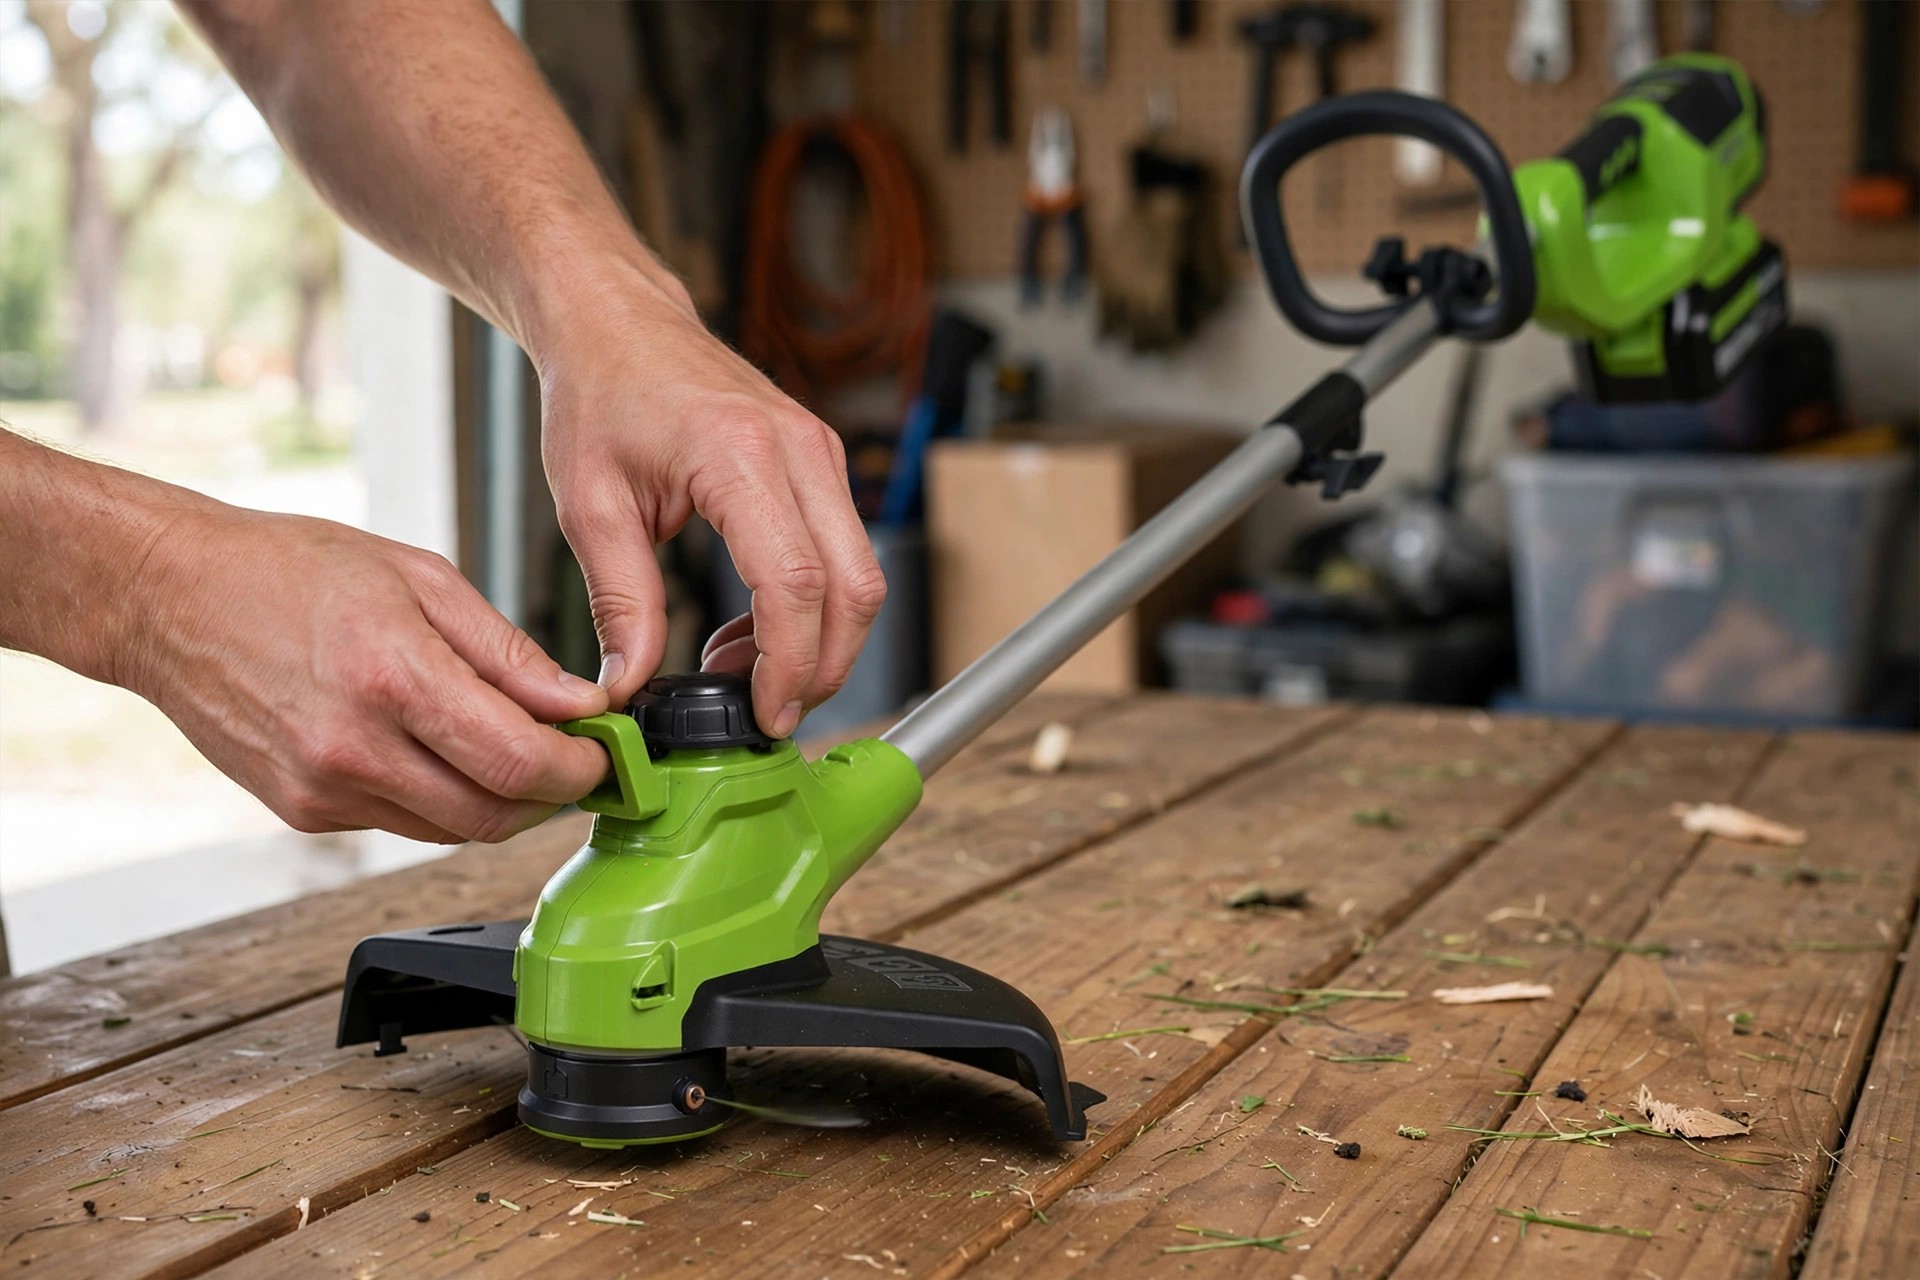
Leave about 6 inches of line free on each side of the spool. Thread the ends through the holding slots so they stay in place. Set the spool back in the head and check the line stays put. Screw the cap back on tight so it cannot loosen while you trim.
Give the line a soft tug to check it moves free and smooth. Turn the trimmer on and tap the head to advance the line. If the line will not feed, check the wind direction and line tension. A quick test now saves a stalled job out in the yard.
Tips For A Smooth Line Change
Use only the line type and size your manual lists for your model. A wrong line can snap often and wear the trimmer head out fast. Cut the line to the right length so it fits the spool well. Never overfill the spool or the line will tangle and jam up.
| Tip | Why It Helps |
|---|---|
| Use correct line type | Fewer breaks and smooth cuts |
| Wind neat and tight | Stops tangles and feeding jams |
| Clean the head first | Keeps parts in good shape |
| Test after each change | Catches faults before yard work |
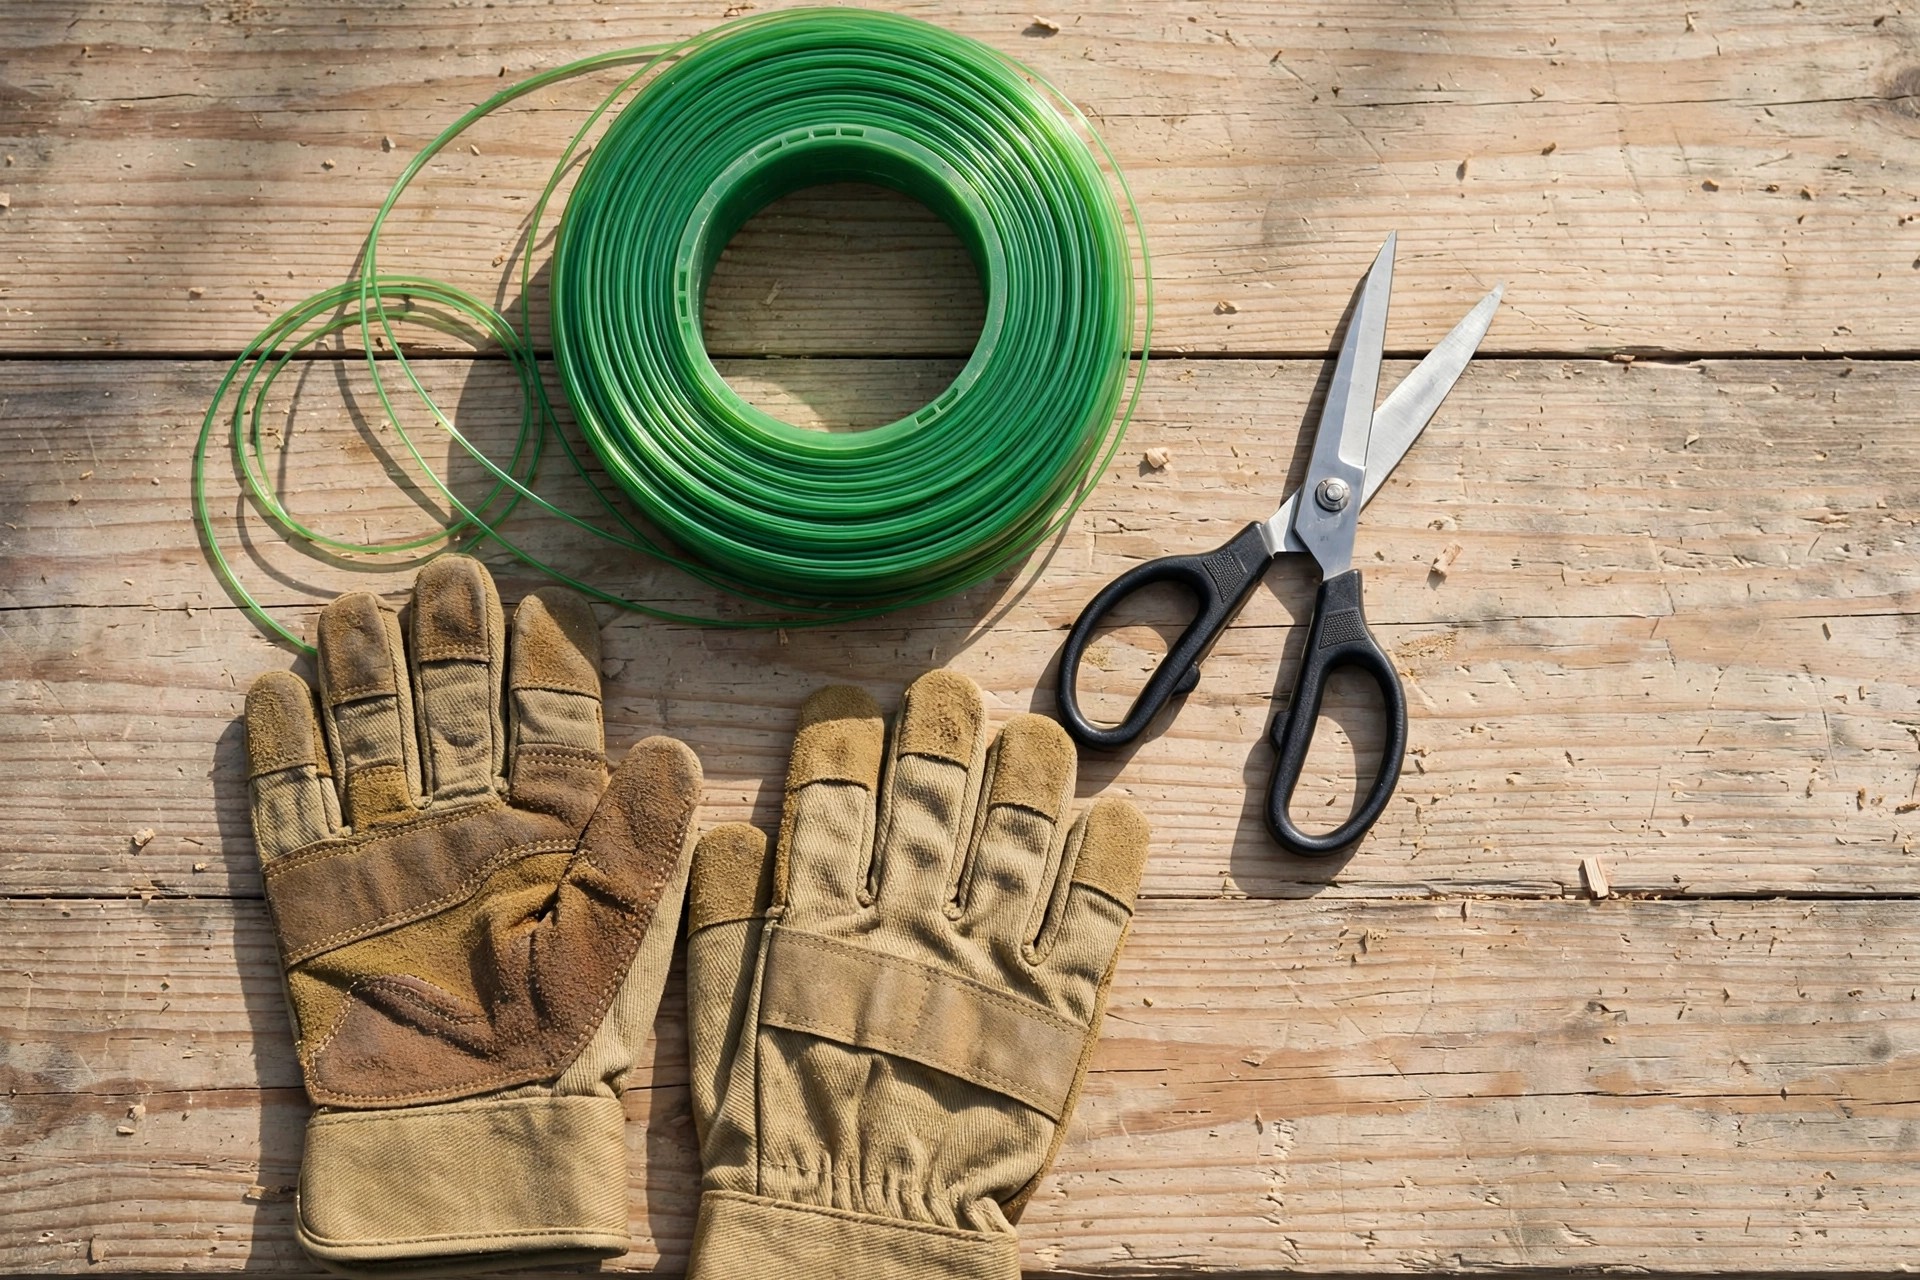
Clean the trimmer head each time before you fit new line. Dirt and grass bits can block the line and slow feeding down. Swap worn spools and caps at once when you spot damage there. Keep spare line close by so a break never ends your session.
Our line size guide covers line sizes for clean cuts each time. Our yard size guide helps you pick the right trimmer size for yards. Size and shape matter as much as the line you choose. Pick all three to suit your yard and your trimmer model.
Common Problems And Quick Fixes
A line that breaks too often may be the wrong type or wound too tight. Use the line your manual lists and wind it neat and even. Check for wear each time so small faults never grow too big. Clean the spool often to keep dirt from blocking the line feed.
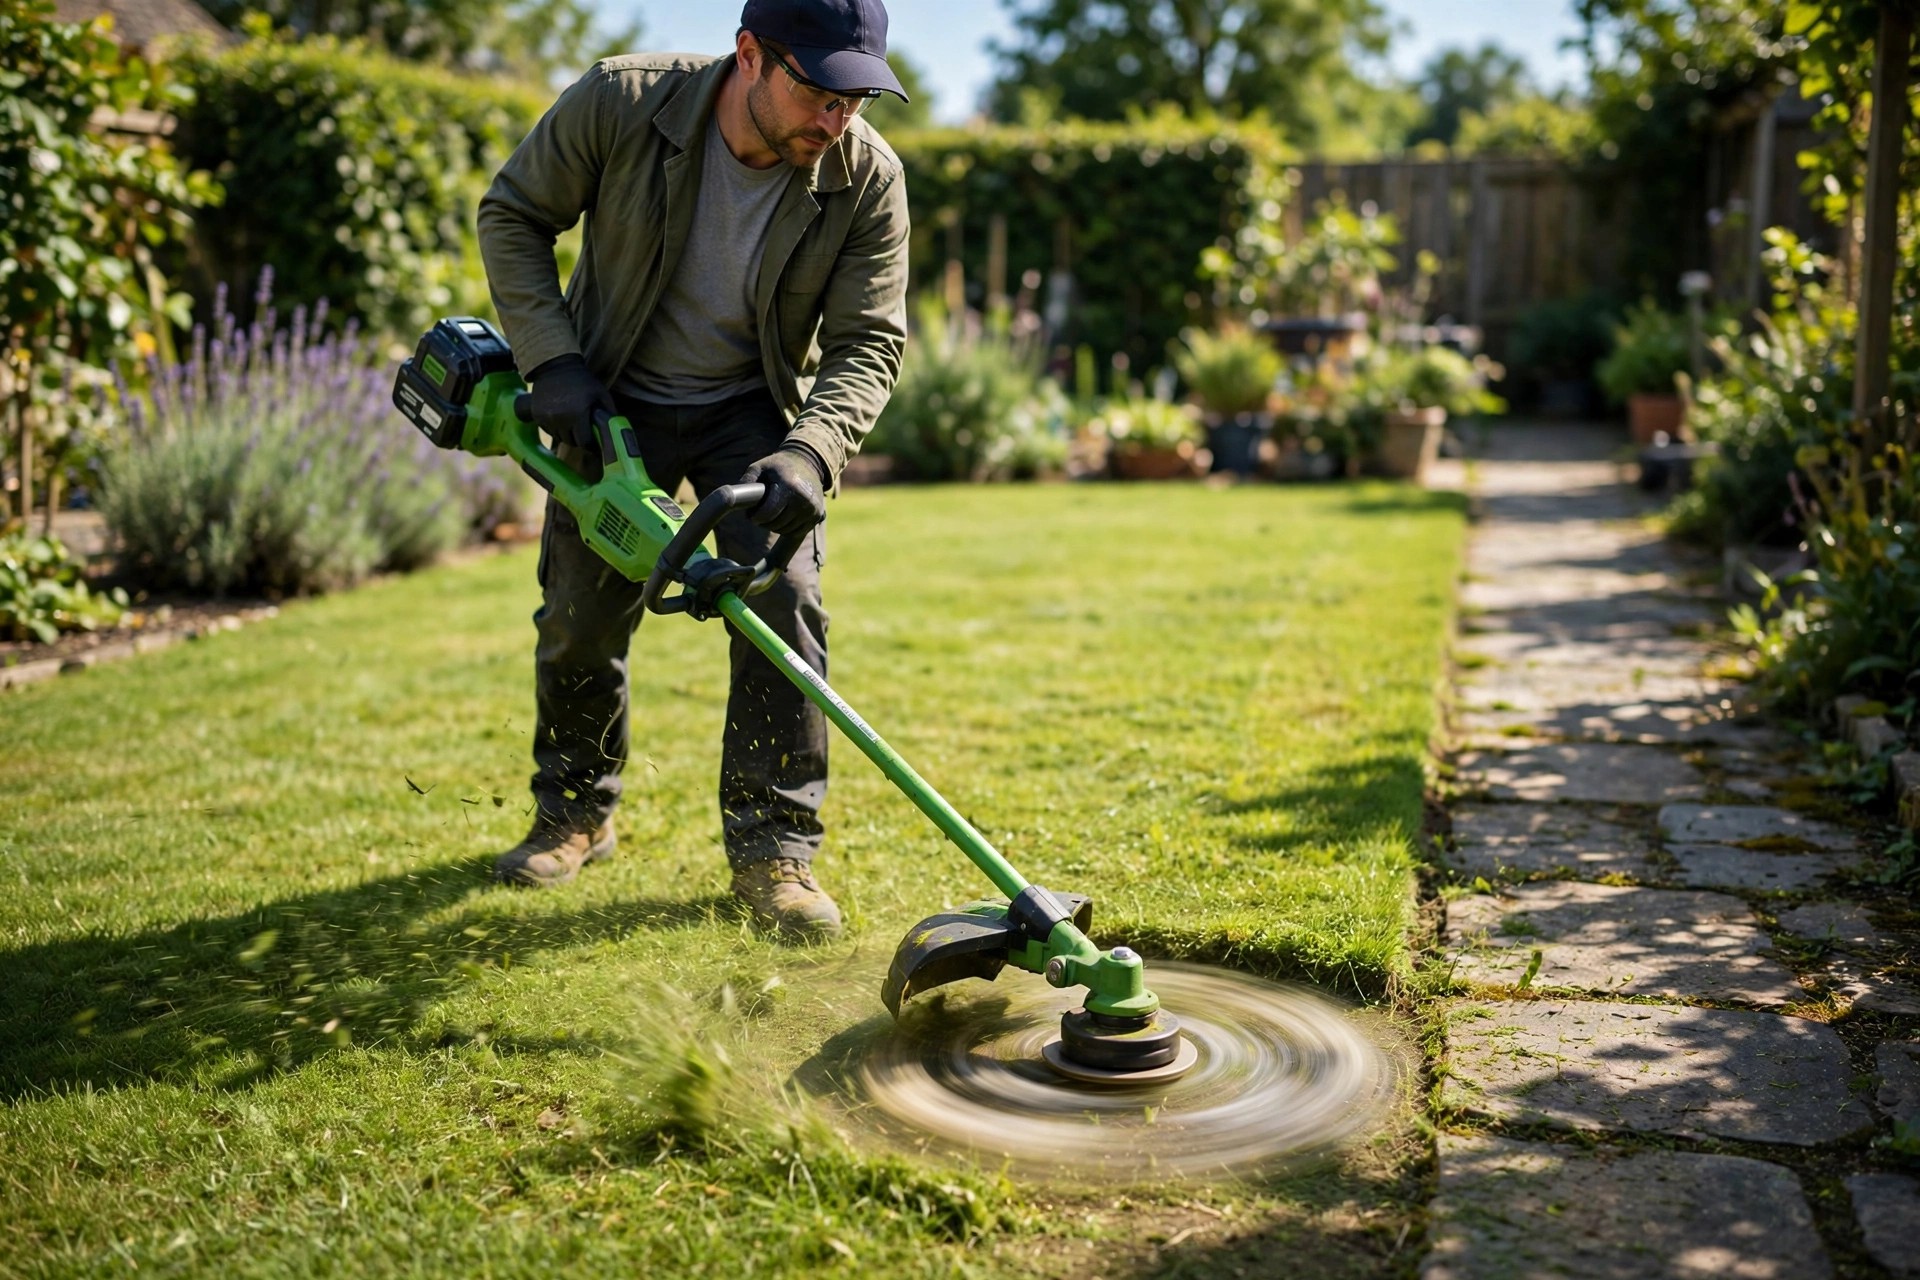
A line that will not advance may be tangled or wound too loose. Rewind it tight and even and clear any dirt from the head. A stuck cap may need a clean head and a check for worn parts. If faults stay, check the manual or ask a repair shop for help.
A trimmer that cuts weak may have line that is far too short. Cut fresh line to the right length and test the trimmer again. Dull cutting parts can also spoil results, so check them too. Steady care keeps your trimmer cutting clean all season long.
Frequently Asked Questions
How do I know when it’s time to change the trimmer line?
Change the line when it grows too short to cut well. Swap it when it snaps often during normal work. Check the line after each use for wear and frays. A fresh line cuts clean and eases strain on the trimmer.
What type of trimmer line works best with Greenworks Pro models?
Greenworks Pro trimmers often use round or twisted nylon line. The size is often near 0.080 inches for home models. Check your manual first for the exact size your model needs. Good line cuts clean and lasts longer in normal yard work.
Can I use any brand of trimmer line with my Greenworks Pro trimmer?
Many brands fit, but the manual list works best. Lines differ in size, shape and strength for each task. A wrong line may snap often or feed poorly in use. Stick to the listed brands for long life and smooth trimming.
Why does my new trimmer line keep breaking?
A new line may break from a bad fit or poor winding work. Cheap line can snap fast under normal yard stress too. Dirt in the spool can add strain and break the line. Keep the spool clean and use good line for best results.
How often should I replace spools and caps with the trimmer line?
Check spools and caps after each few uses for wear and cracks. Swap them at once when damage starts to hurt cutting work. Keep spare parts close by for quick swaps when they wear out. Good parts keep the trimmer safe and working well each time.
These answers all come from this post itself. The sections above explain each answer in detail. Work slowly and check your results as you go.
Conclusion: How To Change Greenworks Pro Trimmer Line
So, how to change greenworks pro trimmer line in short? Turn off and unplug the trimmer first. Cut about 10 feet of line and wind it tight and even. Leave 6 inches each side and fit the spool back in place. A clean spool and neat winding keep feeding smooth and steady.
Test the trimmer after each change to catch faults early on. Keep spare line and parts close by for quick swaps at home. Regular care keeps the trimmer cutting clean all season long. Enjoy neat edges and smooth yard work every single day.

I’m Patricia D. Johnson, an affiliate marketer and blogger specializing in trimmers and grooming tools. I create honest reviews, buying guides, and practical tips to help readers choose the right trimmer for their needs. With a focus on quality, performance, and value, I simplify the decision-making process so consumers can make confident purchases.