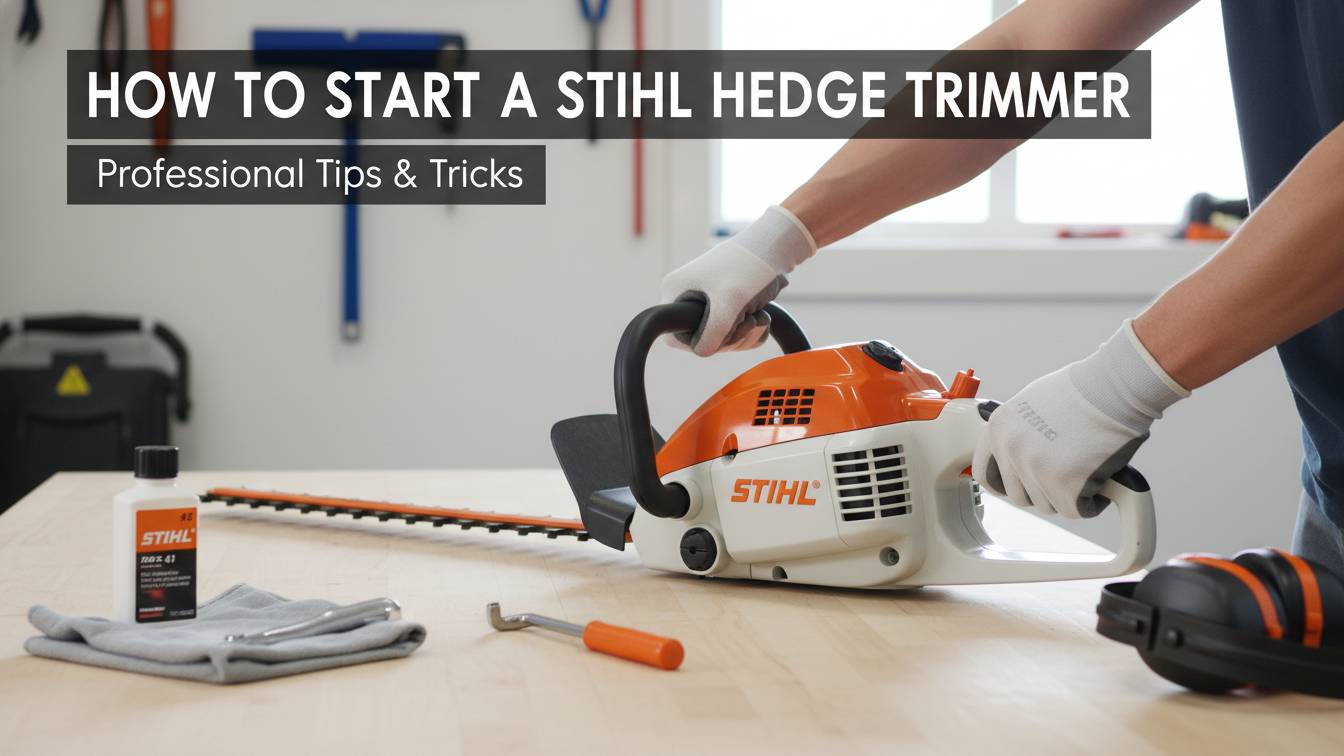

You want a yard that looks sharp. To get those perfect lines, you need to know How To Start A Stihl Hedge Trimmer without the stress. Starting a gas engine can feel scary if you are new to it. But don’t worry. Stihl tools are built for power and long life. Once you learn the rhythm, it becomes second nature. This guide will take you from a cold engine to a running machine in minutes.
 A high-resolution, photorealistic image of a person in safety gear holding a Stihl gas hedge trimmer in a bright, green garden.
Tools & Prerequisites
Before you pull that cord, you need the right gear. Working with blades and fuel requires focus. You must prepare your workspace and yourself.
Required Safety Gear
| Item | Purpose | Importance |
|---|---|---|
| Safety Glasses | Protects eyes from flying twigs | Critical |
| Work Gloves | Improves grip and protects hands | High |
| Ear Plugs | Dampens loud engine noise | High |
| Sturdy Boots | Keeps your feet safe from drops | Medium |
Fuel and Maintenance Essentials
- Fresh Fuel Mix: Use a 50:1 ratio of gasoline to 2-cycle oil.
- Scabbard: This is the plastic cover for the blades.
- Flat Ground: Always start your trimmer on a level surface.
- Clean Air Filter: Ensure the engine can breathe.
Critical Warning: Never use “straight” gasoline. Without 2-cycle oil mixed in, your engine will seize and break permanently within minutes.
 A clean infographic showing a 50:1 fuel mixing bottle with clear markings for gas and Stihl 2-stroke oil.
How To Start A Stihl Hedge Trimmer: Step-by-Step Instructions
There are two ways to start your trimmer. You will either do a Cold Start or a Warm Start. A cold start is for the first use of the day. A warm start is for when the engine is already hot from running.
Phase 1: Preparing the Unit
Remove the Blade Guard
Slide the orange plastic scabbard off the blades. Set it aside in a safe place where you won’t trip on it.
Check the Fuel Level
Open the fuel cap. Look inside to ensure you have enough 50:1 mix. Tighten the cap until it clicks or feels firm.
 A close-up photo showing a hand tightening the Stihl fuel cap with the distinct flipper style handle.
Phase 2: The Cold Start Process
This is the most important part for beginners. Follow these steps in the exact order.
Step 1: Set the Master Control Lever
Look for the black lever near the handle. Move it to the Choke position (usually marked with a closed flap icon). This restricts air to help the engine fire up.
Step 2: Press the Primer Bulb
Locate the small, clear rubber bubble. Press it firmly at least five to seven times. You should see fuel flowing through the clear lines. Don’t worry; you cannot “over-prime” a modern Stihl trimmer.
Step 3: Secure the Trimmer on the Ground
Place the trimmer on flat, clear ground. Ensure the blades are not touching anything. Place your left hand on the front handle to hold it down. Place your right foot in the rear handle loop if your model allows it.
Step 4: Pull the Starter Rope
Grip the starter handle firmly with your right hand. Pull slowly until you feel resistance. Then, give it a short, fast pull. Do not pull the rope all the way to its end. Repeat this until the engine “coughs” or tries to start.
Step 5: Adjust the Choke
Once the engine coughs, move the lever to the Half-Choke or Run position. Pull the rope again. The engine should roar to life.
Step 6: Squeeze the Throttle
Briefly squeeze the trigger. The Master Control Lever will click into the Normal Run position. Let the engine warm up for 30 seconds before cutting.
Phase 3: The Warm Start Process
If you just turned the machine off to move a ladder, it is still hot. You do not need the choke for this.
Step 1: Set to “Run”
Ensure the switch is in the I or Start position. Do not touch the primer bulb.
Step 2: Pull the Rope
With the unit on the ground, pull the rope firmly. It should start on the first or second pull.
Pro Tip: If it doesn’t start after three pulls on “Run,” treat it like a cold start and use the primer bulb once.
 A photorealistic image of a person pulling the starter cord with the machine resting safely on a concrete driveway.
Expert Tips & Troubleshooting
Even pros run into trouble sometimes. If your Stihl won’t start, don’t panic. Most problems have simple fixes.
The Engine is Flooded
If you pull the rope 20 times and smell gas, it is flooded. There is too much fuel in the engine.
- Move the switch to the Off position.
- Squeeze the throttle trigger and hold it.
- Pull the starter rope 5 to 10 times.
- This clears out the extra gas.
- Try starting again on the Run setting.
The Blades Won’t Move
If the engine is running but the blades are still, check the throttle. The blades only move when you squeeze the trigger. If they still won’t move, the “clutch” might be worn. Or, a thick branch might be jammed in the teeth.
Safety Alert: Always turn the engine completely OFF before touching the blades to clear a jam.
Common Issues and Fixes
| Problem | Likely Cause | Solution |
|---|---|---|
| Engine dies immediately | Old fuel | Drain tank and use fresh 50:1 mix |
| Rope is hard to pull | Tangled recoil | Take it to a dealer for repair |
| Smoky exhaust | Too much oil in gas | Re-mix fuel with exact 50:1 ratio |
| Machine vibrates too much | Loose screws | Tighten all visible bolts on the casing |
Advanced Maintenance for Easy Starting
To make sure it starts every time, you must care for the parts. A clean machine is a happy machine.
Clean the Spark Arrestor
There is a tiny screen in the muffler. If it gets clogged with soot, the engine can’t “exhale.” Remove the screw, take out the screen, and clean it with a wire brush.
Winter Storage
If you leave gas in the tank all winter, it turns into “gunk.” This gunk clogs the carburetor.
- Drain the fuel tank.
- Start the engine and let it run until it dies.
- This ensures no gas is left inside the small tubes.
Conclusion
Starting your Stihl hedge trimmer is a skill that saves you time and money. By following the Cold Start and Warm Start steps, you protect the engine. Always remember to use the correct fuel mix and wear your safety gear. A well-maintained Stihl will start on the first few pulls for many years. Now that the engine is humming, you are ready to make your hedges look beautiful. Go slow, stay safe, and enjoy the power of your tool.
Frequently Asked Questions
Why does my Stihl hedge trimmer die when I take the choke off?
This usually means the engine hasn’t warmed up enough. Leave it on half-choke for an extra 10 seconds. It could also mean your fuel is old and losing its “spark.”
Can I use E85 gasoline in my Stihl?
No. Never use E85. Stihl engines work best with 89 octane or higher. Ethanol can damage the rubber parts inside the engine.
How often should I sharpen the blades?
For a home user, once a year is usually enough. If you notice the blades “chewing” the branches instead of cutting them, it’s time. You can use a flat file or take it to a pro.

I’m Patricia D. Johnson, an affiliate marketer and blogger specializing in trimmers and grooming tools. I create honest reviews, buying guides, and practical tips to help readers choose the right trimmer for their needs. With a focus on quality, performance, and value, I simplify the decision-making process so consumers can make confident purchases.