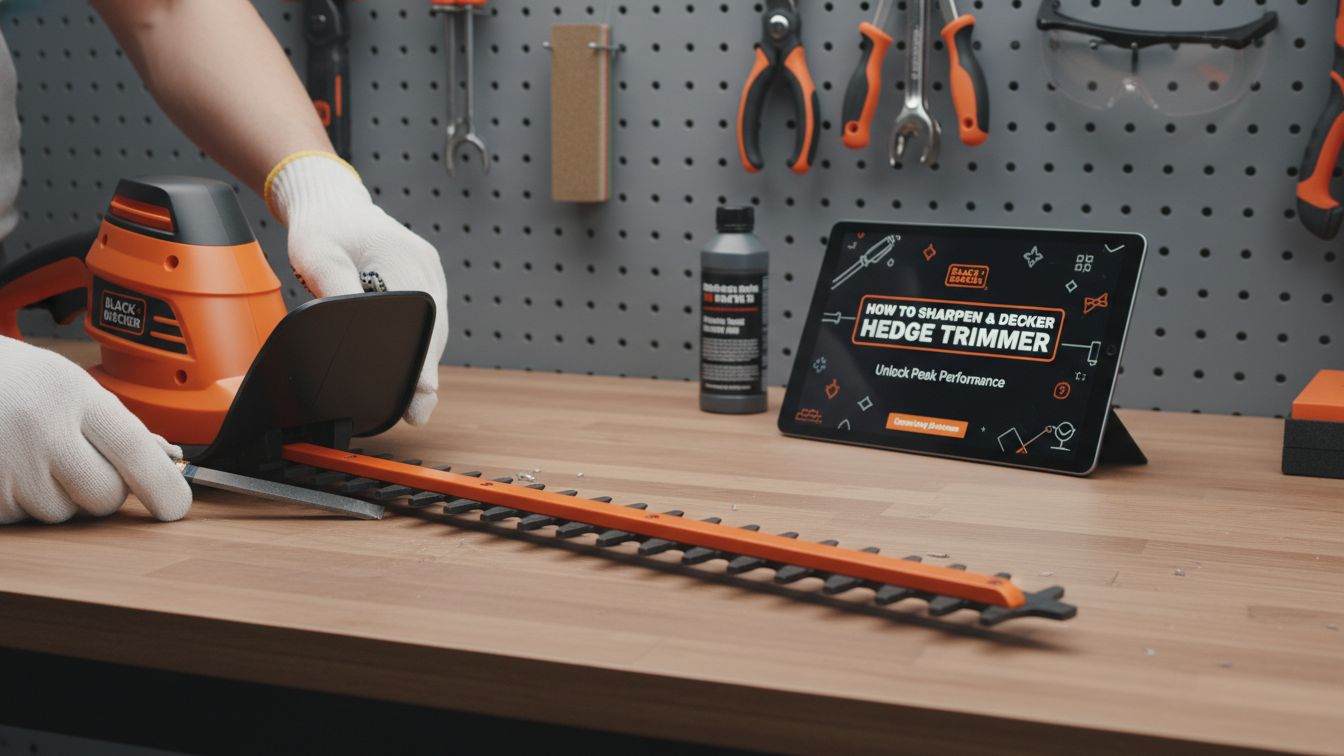

Your garden looks messy. Your hedge trimmer is chewing through branches instead of slicing them.
This happens because the metal teeth get dull over time. Learning How To Sharpen A Black & Decker Hedge Trimmer will save you money and keep your plants healthy.
Clean cuts help bushes grow back stronger. Jagged cuts from dull blades invite disease and pests into your yard.
You do not need to be a mechanic to do this. You just need a few simple tools and a little bit of patience.

Why Sharp Blades Matter
Dull blades pull on the wood. This puts a lot of stress on the motor of your Black & Decker tool.
If the motor works too hard, it might burn out. Sharpening is part of basic tool care.
It makes your work faster. You will finish your chores in half the time with a sharp edge.
Tools & Prerequisites
Before you start, you need to gather your gear. Having everything ready makes the job safer and easier.
Required Tools Table
| Tool Name | Why You Need It |
|---|---|
| Flat Mill File | This is the main tool to sharpen the metal. |
| Safety Gloves | Protects your hands from sharp metal edges. |
| Safety Glasses | Keeps metal shavings out of your eyes. |
| Linseed Oil | To lubricate the blades after sharpening. |
| Clamps | To hold the trimmer steady on your workbench. |
| Stiff Brush | To clean off sap and dirt before you start. |

Safety First
Never work on your trimmer while it has power. Safety is the most important part of this process.
- Unplug corded models. Pull the plug out of the wall.
- Remove the battery. If you have a 20V or 40V Max model, take the battery out.
- Wear heavy gloves. Even dull blades can cut your skin.
Critical Warning: Always double-check that the power source is disconnected. A sudden start-up can cause a serious injury to your fingers.
Step-by-Step Instructions
Follow these steps closely. Take your time with each tooth on the blade.
Step 1: Clean the Blades
You cannot sharpen a dirty blade. Sap and dried leaves act like glue.
Use a stiff brush or a damp cloth to scrub the metal. If the sap is very sticky, use a little bit of soapy water or a specialized resin remover.
Dry the blades completely after cleaning. Rust is the enemy of a sharp edge.
Step 2: Secure the Trimmer
The trimmer must stay still while you work. If it moves, your file might slip.
Place the trimmer on a sturdy table or workbench. Use a C-clamp to hold the bar down.
Make sure the blades are hanging slightly off the edge of the table. This gives you room to move the file.

Step 3: Align the Teeth
Black & Decker trimmers have two blades that slide over each other. You need to align them so the cutting edges are open.
Gently move the blades by hand until the openings are clear. Do not force them if they are stuck.
Step 4: Using the Flat Mill File
This is the core of the job. You will sharpen each individual tooth one by one.
Find the Angle
Look closely at the tooth. You will see a slanted edge called a “bevel.”
You must maintain this exact angle. Do not try to create a new angle.
The Filing Motion
- Place the file against the bevel.
- Push the file away from your body in one smooth stroke.
- Lift the file up. Do not drag it backward.
- Repeat this 3 to 5 times per tooth.

Consistency is Key
Count your strokes. If you do 4 strokes on one tooth, do 4 strokes on all of them.
This keeps the blades balanced. Balanced blades vibrate less and last longer.
Step 5: Remove the Burrs
When you file metal, small “flips” of metal form on the bottom. These are called burrs.
Turn the trimmer over or reach underneath. Lightly run the file flat against the bottom of the blade.
This snaps off the burrs. It leaves the edge perfectly smooth and sharp.

Step 6: Lubrication
Now that the metal is raw and sharp, it needs protection. Raw metal rusts very quickly.
Apply a light coat of Linseed oil or a general-purpose machine oil. Rub it across the entire length of the blade.
This helps the blades slide against each other without friction. It also keeps moisture away from the steel.

Expert Tips & Troubleshooting
Even pros run into issues sometimes. Here is how to handle common problems.
Tip 1: Don’t Over-Sharpen
You do not need the blade to be as sharp as a razor. It just needs a clean, straight edge.
If you file too much metal away, the teeth become weak. They might snap off when hitting a thick branch.
Tip 2: Check for Bends
While sharpening, look down the length of the bar. It should be perfectly straight.
If the bar is bent, the blades will “catch” and lock up. You may need to gently straighten it with a pair of pliers.
Tip 3: Frequency
How often should you do this? It depends on your yard.
Most homeowners should sharpen their Black & Decker trimmer once every season. If you have very thick hedges, do it every two months.
Pro Tip: If you see “silver” edges on your leaves after cutting, your blades are dull. A sharp blade leaves a clean, green cut.
Troubleshooting Common Issues
- The file is slipping: You might be pushing too hard. Use light, steady pressure.
- The metal is turning blue: This happens if you use a power grinder instead of a hand file. It means the metal is too hot. Stick to a hand file to keep the metal strong.
- Blades are still tearing the leaves: Check if the gap between the top and bottom blade is too wide. You may need to tighten the bolts holding the blades together.
 A troubleshooting guide infographic showing a Good Cut (clean edge) vs a Bad Cut (shredded edge) on a leaf.
Frequently Asked Questions
Can I use a Dremel tool to sharpen my trimmer?
Yes, you can use a rotary tool like a Dremel. It is much faster than a hand file. However, you must be very careful not to grind away too much metal or overheat the blade.
Do I need to take the blades apart?
No, for a standard Black & Decker model, you do not need to take the blades apart. You can reach the cutting edges easily while they are still attached to the tool.
What if my blades are rusted?
Use a piece of steel wool or a wire brush to scrub away the rust first. Once the rust is gone, you can sharpen the metal underneath. If the rust has created deep holes, it might be time to buy a replacement blade.
Why does my trimmer smell like it is burning?
This usually means the blades are so dull or dirty that the motor is overheating. Stop immediately. Clean and sharpen the blades before using it again.
Conclusion
Sharpening your tool is a great skill to have. It saves you the cost of buying new parts.
By following this guide on How To Sharpen A Black & Decker Hedge Trimmer, you have extended the life of your equipment. Your hedges will now look cleaner and stay healthier.
Remember to always prioritize safety. Keep your blades clean and oiled after every use.
Now, go out and enjoy your perfectly manicured garden!

I’m Patricia D. Johnson, an affiliate marketer and blogger specializing in trimmers and grooming tools. I create honest reviews, buying guides, and practical tips to help readers choose the right trimmer for their needs. With a focus on quality, performance, and value, I simplify the decision-making process so consumers can make confident purchases.