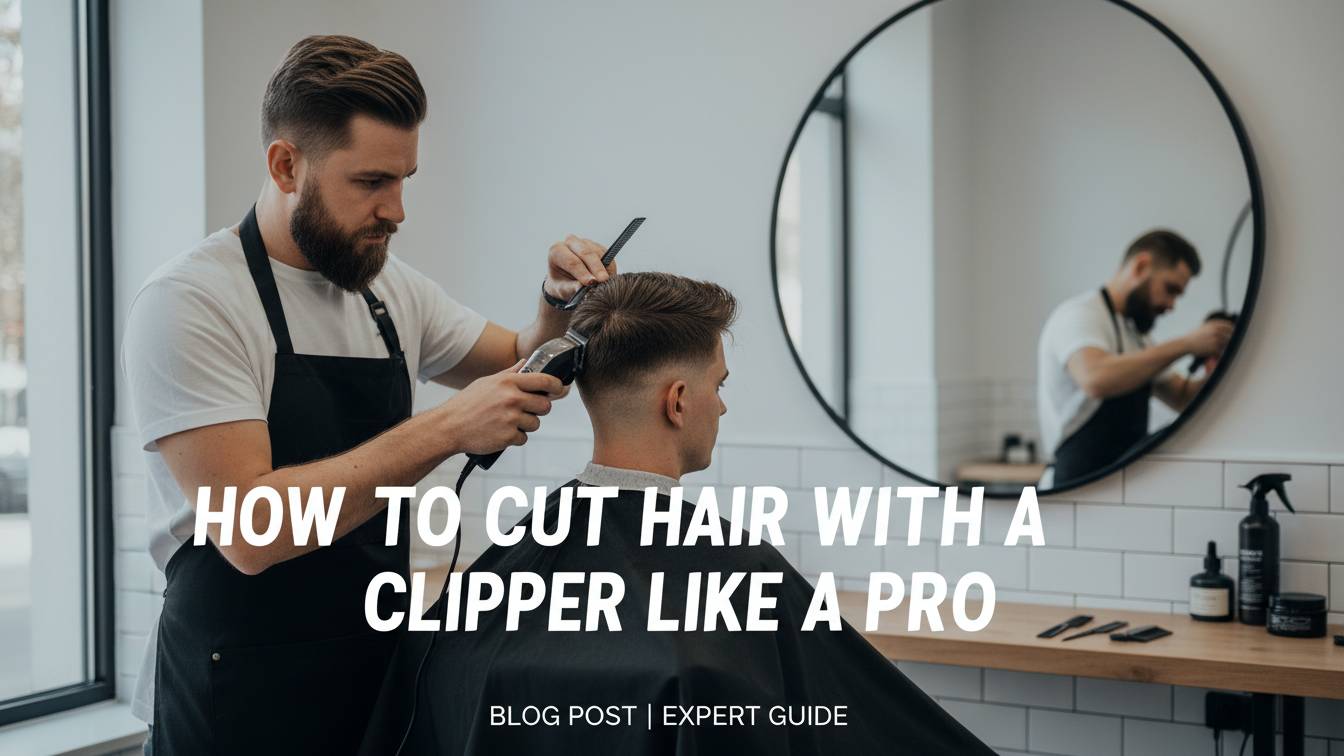

Cutting your own hair feels scary. You might worry about big mistakes. We have all been there before. A bad haircut lasts for weeks. But you can do this. You just need the right tools. You need a solid plan too. This guide makes it very easy. We show you every single step. You will learn professional secrets today. You will save a lot of money. No more long waits at shops. You are the boss now. Take a deep breath. Grab your clippers right now. Let us start your hair journey. You will look great very soon. Trust the simple process here. Follow these basic rules carefully. You can master this skill quickly. It takes just a little practice. Let us begin the work now. You are ready to learn.

Why Learn How to Cut Hair With a Clipper?
Learning to cut your own hair is a valuable skill. It gives you complete control over your schedule, so there’s no need to book appointments or wait for a barber. You can trim your hair whenever it’s convenient—whether that’s late at night or on a Sunday afternoon. It can also save a significant amount of money over time. Regular barber visits add up quickly, and by handling your own haircuts, you could keep hundreds of dollars in your pocket each year.
Cutting hair is also a craft. It feels good to create. You control your own look. You decide the exact length. No one knows your head better. You see every bump and curve. You can fix small spots easily. It builds your hand-eye coordination. It gives you a new confidence.
Friends might ask for help too. You can help your family save. It is a gift for others. You will become the home expert. It starts with one simple cut. Do not be afraid of errors. Most hair grows back quickly. Your skills will grow even faster. Let us look at the tools.

The Essential Toolkit for Home Barbers
You need the right gear first. Do not use cheap kitchen scissors. You need real hair clippers. A good pair lasts many years. Look for a strong motor. Corded clippers offer constant power. Cordless clippers offer better movement. Both styles work very well.
You also need a set of guards. These are the plastic attachments. They control the hair length. Most sets go from 0 to 8. We will explain these later. You need a sharp pair of shears. These are for the top hair. A fine-tooth comb is also vital. It helps you see the hair.
Do not forget the mirrors. You need a large wall mirror. You also need a hand mirror. This helps you see the back. A three-way mirror is even better. It hangs on a door easily. It lets you see every angle. You need a cape or towel. This keeps hair off your clothes. Finally, get some clipper oil. This keeps the blades moving fast.

Understanding Clipper Guard Sizes
Guards are your best friends. They prevent you from going bald. Each guard has a specific number. The lower the number, the shorter the hair. A #1 guard leaves very little hair. A #8 guard leaves one inch. You must know these numbers well.
Standard Guard Size Comparison Table
| Guard Number | Length in Inches | Length in Millimeters | Best Use Case |
|---|---|---|---|
| #0 | No guard (skin) | 1.5 mm | Balding or very close fade |
| #1 | 1/8 inch | 3 mm | Very short buzz cut |
| #2 | 1/4 inch | 6 mm | Standard fade or short look |
| #3 | 3/8 inch | 10 mm | Professional side length |
| #4 | 1/2 inch | 13 mm | Medium length look |
| #5 | 5/8 inch | 16 mm | Tapering and blending |
| #6 | 3/4 inch | 19 mm | Longer sides or top |
| #8 | 1 inch | 25 mm | Longest clipper length |
Preparing Your Hair for the Cut
Never cut dirty or oily hair. Greasy hair sticks to the blades. This causes pulling and pain. It also makes the cut uneven. Wash your hair with warm water. Use a light shampoo. Rinse it out very well.
Dry your hair with a towel. Most clippers work best on dry hair. Wet hair looks longer than dry hair. If you cut it wet, it shrinks. You might cut it too short. Dry hair shows the true shape. It shows how the hair lays.
Comb your hair very straight. Remove all the knots and tangles. Comb it in the natural direction. This is the way it grows. Look for any “cowlicks” or swirls. Note these areas for later. They need extra care and focus. Now you are ready to cut.
How to Cut Hair With a Clipper: Step-by-Step
Start with the largest guard first. This is a safe rule. You can always take more off. You cannot put hair back on. Let us start with the sides. This is the easiest place.
Step 1: Clearing the Bulk
Pick a guard for the sides. A #3 or #4 is safe. Hold the clippers firmly. Turn them on before touching hair. Start at the bottom of your sideburn. Move the clippers upward slowly.
Use a smooth, straight motion. Do not flick your wrist yet. Go all the way to the top. Stop where the head curves. Do this for both sides. Make sure both sides look even. Take your time with this part.
Step 2: Working on the Back
The back is the hardest part. Use your hand mirror now. Stand with your back to the big mirror. Look into the small mirror. You can see the back clearly now. Move the clippers from the neck up.
Go up to the crown area. This is the back of the top. Stop where the sides stopped. Keep the clippers flat against skin. Do not tilt the blades much. Follow the shape of your skull.
Step 3: Changing the Guard for Fading
Now we want a “fade” look. This means shorter on the bottom. Switch to a smaller guard now. If you used #3, try #2. This creates a nice gradient. It looks very professional and clean.
The C-Motion Technique
This is a secret barber move. Do not just pull straight up. Instead, use a “C” motion. Start against the skin at the bottom. As you move up, pull away. The motion looks like the letter C.
This blends the different lengths together. It prevents harsh lines in hair. Harsh lines look like steps. We want a smooth flow instead. Practice this motion in the air. It should feel very fluid.
Infographic Style Guide: The 5 Phases of a Pro Cut
🎨 Design Specifications
- Format: Vertical infographic (1080 × 1920 px)
- Color Palette:
- Black (#111111)
- White (#FFFFFF)
- Gold (#D4AF37)
- Light Gray (#F5F5F5)
- Typography:
- Heading: Bold Sans Serif (Montserrat ExtraBold)
- Subheading: Montserrat SemiBold
- Body Text: Open Sans Regular
- Visual Style: Modern barbershop, clean lines, premium grooming aesthetic
- Icons: Flat, minimal, gold accent icons
💈 THE 5 PHASES OF A PRO CUT
A Step-by-Step Barbering Workflow
🧼 Phase 1: The Foundation
Prepare for Success
🧴 Wash and dry the hair
🪮 Comb everything into place
🪞 Set up your double mirrors
Key Tip: Start with clean, dry hair for the most accurate cut.
✂️ Phase 2: The Side Work
Remove Bulk and Create Shape
🔢 Use a high guard (#4)
📏 Remove the thick side hair
📐 Keep the height consistent
Key Tip: Work evenly on both sides to maintain balance.
📐 Phase 3: The Fade Build
Create a Smooth Transition
🔢 Switch to a lower guard (#2)
↗️ Use the C-motion at the bottom
📍 Stop halfway up the sides
Key Tip: Light pressure creates softer blend lines.
🎨 Phase 4: The Detail Work
Perfect the Blend
⚙️ Use the lever for fine blending
👀 Check for dark spots or patches
👂 Trim around the ears carefully
Key Tip: Small adjustments make the biggest difference.
✅ Phase 5: The Finishing Touch
Professional Final Check
🧹 Clean the neck with no guard
🪞 Check symmetry in mirrors
🛢️ Apply oil to your clipper blades
Key Tip: A clean finish separates amateur cuts from professional ones.
Mastering the Clipper Lever
Look at the side of your clippers. There is a small lever there. This is the taper lever. It moves the blades slightly. When the lever is “closed,” it cuts short. When it is “open,” it cuts longer.
This lever is for tiny adjustments. It helps blend between guard sizes. For example, use it between #1 and #2. It bridges the gap between them. Open the lever to blend up. Close the lever to blend down. This takes practice to learn. But it makes the best fades.
How to Handle the Top of the Head
The top is usually longer. Most people use shears here. But you can use large guards. A #6 or #8 works well. Run the clipper from front to back. Follow the grain of the hair.
For a more textured look, use shears. Hold a section between two fingers. Pull it straight up from the head. Snip the ends off very straight. Only cut a little at a time. Work from the front to back.
Make sure the top matches the sides. This is called the “transition zone.” It is the corner of your head. Use a comb and clippers here. This is “clipper over comb” technique. It smooths out the square shape.
Cleaning Up the Neck and Ears
The details make the cut. Remove the guard from the clippers. Now the blades are very close. Be very careful with skin now. Turn the clipper upside down.
Press it against the neck skin. Pull downward to create a line. This is called “boxing” the neck. You can also make it rounded. Use the corner of the blade. Work slowly around the ear curve.
Fold the ear down with one hand. Use the other hand to trim. Do not rush this specific part. Nicks on the ear hurt a lot. Keep a steady and light hand. Check both sides for perfect balance.
Post-Cut Maintenance and Care
You are finished with the cut! Now you must clean up. Brush the hair off your neck. Use a soft neck brush. A blow dryer works well too. Use the cool air setting.
Wash your hair one more time. This removes the tiny cut hairs. These hairs cause itching and redness. Apply some soothing aftershave or lotion. This helps the neck skin heal.
Clean your tools right away. Brush the hair out of blades. Use the clipper spray to sanitize. Add two drops of clipper oil. Run the motor for ten seconds. This stops rust from forming. Store them in a dry place.
Common Mistakes to Avoid
Many people go too fast. Speed leads to big holes. Take your time with every stroke. Do not press too hard either. Let the blades do the work.
Another mistake is skipping guards. Do not jump from #1 to #4. You will see a huge line. Use every guard in between them. This creates the smoothest transition.
Avoid cutting hair when you are tired. You need a lot of focus. Good lighting is also very important. Shadowy rooms hide your mistakes. Use a bright LED light.
Frequently Asked Questions
Can I cut my hair while it is wet?
It is not a good idea. Wet hair sticks to clipper blades. This can cause the motor to jam. It also makes it hard to see. Dry hair shows the final shape. Always dry your hair before clipping.
How often should I oil my clipper blades?
You should oil them every time. Put oil on before the cut. Put oil on after the cut. This keeps the metal cool and sharp. It prevents the blades from pulling hair. Only use specialized clipper oil for this.
What do I do if I cut a hole?
Do not panic at all. Everyone makes mistakes at first. You can try to blend it. Use a slightly shorter guard around it. Or, just wait two weeks. Hair grows back very fast. You can wear a hat briefly.
Which guard is best for a buzz cut?
A #2 or #3 is standard. A #2 is very short and clean. A #3 is a bit softer. Start with a #4 to be safe. You can always go shorter later. Most people like the #2 look best.
Conclusion
You now have the basic skills. Cutting hair with a clipper is fun. It is a very useful life skill. You save money and stay sharp. Your first cut might be slow. That is perfectly okay for now. Each time you will get faster. Your fades will look much better. Your lines will be very straight. Always keep your tools very clean. Respect the sharpness of the blades. Take pride in your new look. You did this all by yourself. Share your success with your friends. They will be very impressed by you. Now it is time to try. Go to the mirror right now. Start with a very simple trim. You are ready for this task. Go grab your cape and start. Your best haircut is waiting today!

I’m Patricia D. Johnson, an affiliate marketer and blogger specializing in trimmers and grooming tools. I create honest reviews, buying guides, and practical tips to help readers choose the right trimmer for their needs. With a focus on quality, performance, and value, I simplify the decision-making process so consumers can make confident purchases.