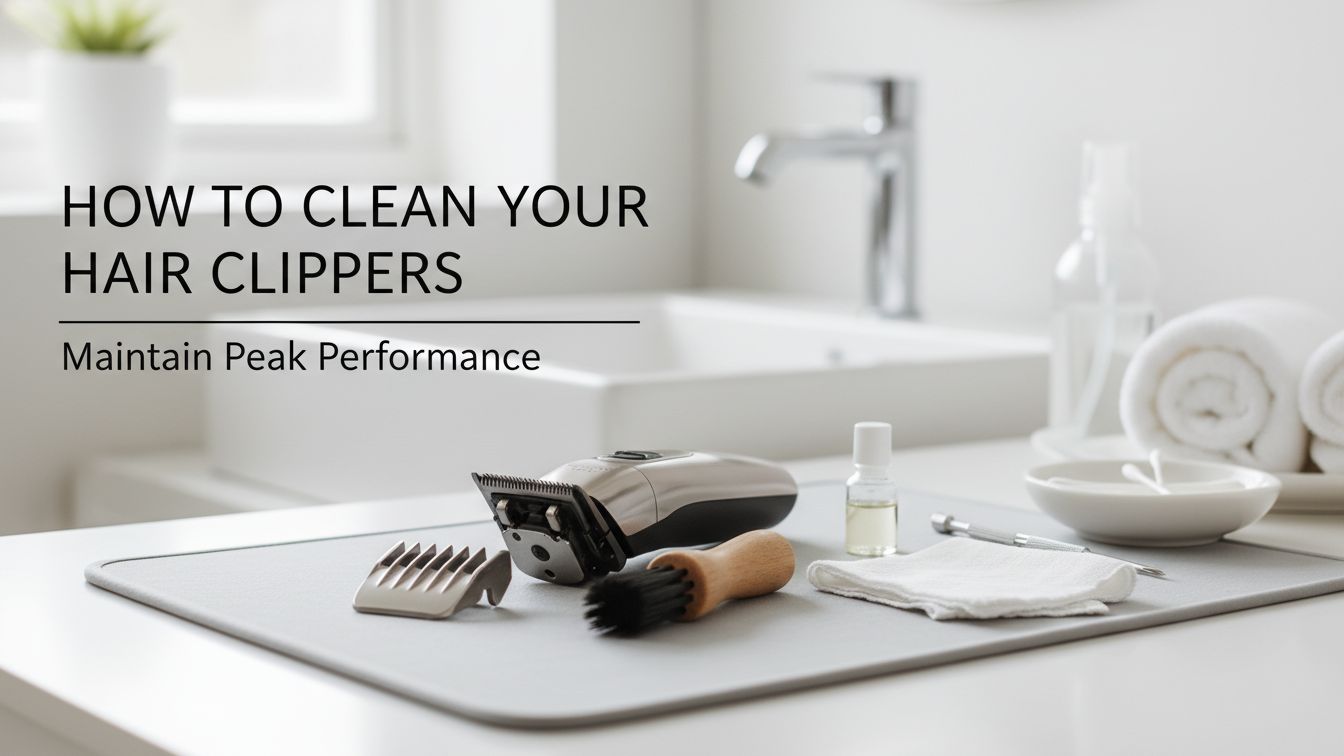

Keeping your tools sharp and sanitary is the secret to a great haircut. If you want to know how to clean hair clipper sets like a professional barber, you are in the right place. Dirty blades pull on your hair and can cause painful skin rashes.
Cleaning your clippers takes less than ten minutes. It saves you money because your blades will last much longer. You will also get a much smoother cut every single time.
 A high-quality, close-up photo of a professional hair clipper resting on a clean white marble surface with a small brush and oil bottle nearby.
Think of your clippers like a car engine. If you do not change the oil or clear the dirt, it stops working. This guide makes the process simple enough for anyone to follow.
Tools & Prerequisites
You do not need expensive machines to get the job done. Most items are likely already in your bathroom or kitchen.
What You Will Need
| Item | Purpose |
|---|---|
| Small Brush | Removes loose hair from between the teeth. |
| Clipping Oil | Keeps the metal blades moving smoothly. |
| Disinfectant Spray | Kills germs and prevents skin irritation. |
| Screwdriver | Opens the clipper for deep cleaning. |
| Clean Cloth | Wipes away extra oil and debris. |
Choosing the Right Oil
Never use vegetable oil or heavy motor oil. These are too thick and will ruin the motor. Always use a thin, clear oil made specifically for hair clippers.
How to Clean Your Hair Clippers: Step-by-Step Instructions
Follow these steps in order. Safety is the most important part of this process.
Step 1: Safety First
Before you touch the blades, you must turn the power off.
Unplug the Device
If your clipper has a cord, pull it out of the wall. If it is cordless, make sure the power switch is in the “off” position.
Clear Your Space
Work over a flat table or a sink. This makes it easier to find small screws if they drop.
Step 2: Removing the Hair
Hair gets trapped in the tiny gaps between the metal teeth. This slows down the blades.
Use Your Brush
Take your small brush or an old toothbrush. Flick the bristles through the teeth of the blade.
 A macro shot of a small brush flicking tiny hairs out from between the metal teeth of a clipper blade.
Get Deep Inside
Move the taper lever up and down while brushing. This helps shake loose any hidden hair clumps.
Step 3: The Deep Clean (Monthly)
Once a month, you should take the blades off. This is where most of the “gunk” hides.
Remove the Screws
Use your screwdriver to remove the two large screws on the back of the blade. Set the screws in a safe spot so you do not lose them.
Clean the Internal Sponge
Some clippers have a small foam piece inside. Gently tap it to remove dust.
Critical Warning: Do not get the internal motor wet. Water will rust the metal and break the electronics.
Step 4: Disinfecting the Blades
Germs love to live on used blades. You need to kill these germs to keep your skin healthy.
Use a Cooling Spray
Spray a professional “5-in-1” clipper spray directly onto the blades. This cools the metal and kills bacteria.
The “Dip” Method
If you do not have spray, you can use a shallow bowl of rubbing alcohol. Dip only the tips of the blades into the liquid for 30 seconds.
Step 5: Oiling the Blades
This is the most important step for a long-lasting clipper. Without oil, the metal rubs together and gets very hot.
The Five-Drop Rule
You only need a small amount of oil. Place one drop on each corner of the blades and one drop in the center.
Spread the Oil
Turn the clipper on for ten seconds. This lets the moving parts spread the oil evenly across the metal.
Wipe the Excess
Take your clean cloth and wipe the sides of the blades. You do not want oil dripping down your neck during your next haircut.
Expert Tips & Troubleshooting
Even pros run into trouble sometimes. Here is how to handle common issues.
Why Are My Clippers Loud?
If your clippers make a loud “clack” sound, the blades are likely dry. Add two drops of oil immediately.
What if the Blades Are Rusty?
If you see orange rust, do not use them on your skin. You can try scrubbing the rust off with steel wool and vinegar. If it does not come off, buy replacement blades.
How Often Should I Clean Them?
- After every use: Brush away the hair.
- Once a week: Apply oil.
- Once a month: Take them apart for a deep clean.
Pro Tip: If you share your clippers with a brother or friend, you must disinfect them with spray every single time. This prevents the spread of “barber’s itch” or skin fungus.
Advanced Maintenance
For those who want their clippers to last for ten years, follow these extra steps.
Blade Alignment
When you put the screws back in, make sure the top blade is straight. If it is crooked, it will nick your skin.
The Paper Test
After cleaning, try to cut a piece of thin paper. If it snags, your blades might be dull or misaligned.
Battery Care
For cordless clippers, do not leave them on the charger forever. This can weaken the battery life over time.
Frequently Asked Questions
Can I use water to clean my clippers?
No. Water causes rust very quickly. Only use specialized cleaning liquids or rubbing alcohol on the metal parts.
Can I use WD-40 on my hair clippers?
No. WD-40 is not a lubricant for hair tools. It can irritate your skin and smells very bad. Use proper clipper oil.
Why do my clippers feel hot?
Blades get hot because of friction. This happens when there is no oil. Stop the clipper, spray it with coolant, and add oil.
How do I know if my blades are dull?
If the clipper starts pulling your hair instead of cutting it, the blades are dull. You can either sharpen them or buy a new set of blades.
Conclusion
Cleaning your hair clippers is a simple habit that makes a big difference. By brushing, disinfecting, and oiling your tools, you ensure a safe and professional cut every time. You will save money on replacements and keep your skin healthy.
Now that you know the right steps, take a moment to look at your clippers. A little bit of care today will keep them running perfectly for years to come.

I’m Patricia D. Johnson, an affiliate marketer and blogger specializing in trimmers and grooming tools. I create honest reviews, buying guides, and practical tips to help readers choose the right trimmer for their needs. With a focus on quality, performance, and value, I simplify the decision-making process so consumers can make confident purchases.