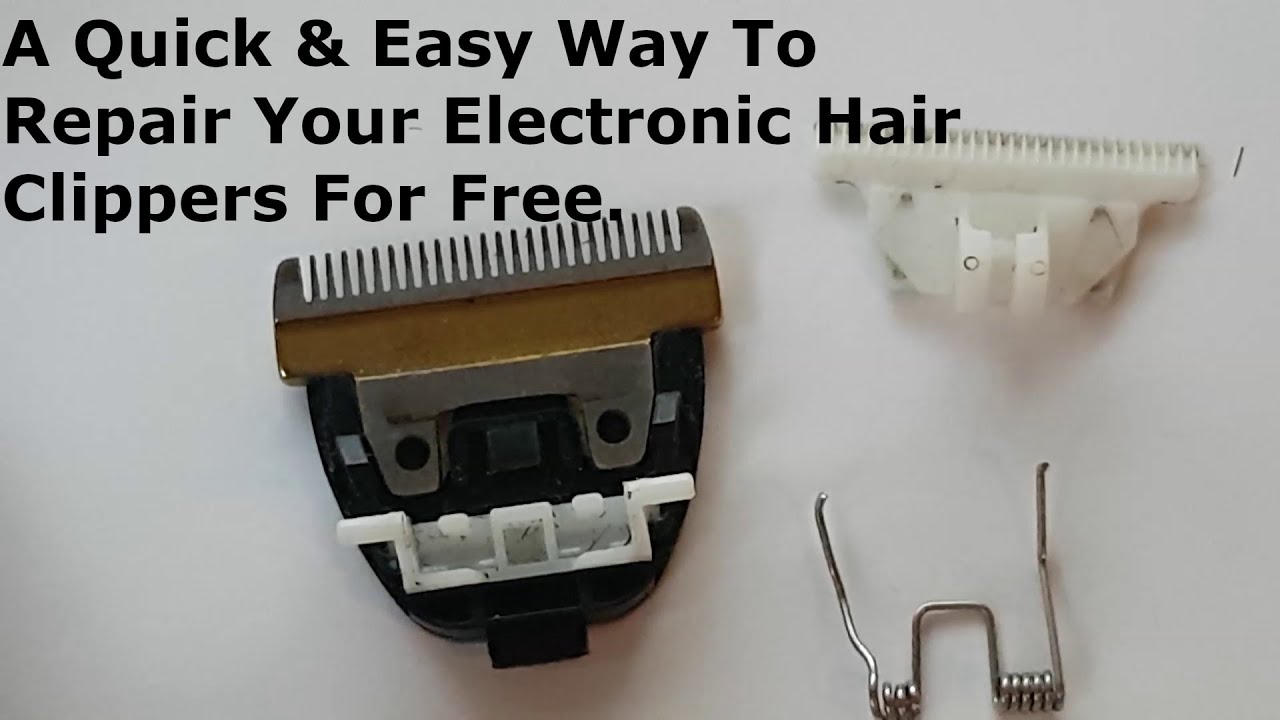
How to Repair a Trimmer
Plain tools can break down at the worst times. This guide shows how to fix a trimmer well. Pros miss the root cause of faults at times. To know the fix saves time and cash. Clogged lines and dull blades cause most faults.
Trimmers changed a lot since the 1970s. Their core parts stayed the same all the same. That fixed build makes faults easier to find. Steady care solves most faults in a sound way.
Plain steps cover fault checks, cleaning and swaps. Tuning, testing and safety steps come next. Tools, care tips and pro limits come later. Short answers close the guide at the end.
Quick answer: Turn the trimmer off and cut the power first. Find the common faults, like clogged fuel lines. Clean the fuel system and air filter in full. Fix or swap faulty parts like plugs and lines. Test the trimmer and make last tweaks at the end.
- How to Repair a Trimmer: Quick Steps
- Step 1: Diagnosing Common Trimmer Issues
- Step 2: Cleaning the Trimmer Components
- Step 3: Repairing or Replacing Defective Parts
- Step 4: Tuning the Trimmer Engine
- Step 5: Testing and Fine-Tuning Performance
- Essential Tools for Trimmer Repair
- Safety Protocols While Repairing
- When to Consider Professional Repair
- Maintenance Tips to Prevent Damage
- Frequently Asked Questions
- Conclusion: How to Repair a Trimmer
How to Repair a Trimmer: Quick Steps
Five quick steps cover the full fix job. Work through them in the order shown here. Later parts spell out each stage in full. A careful fault check comes before all fixes.
| Step | What to Do |
|---|---|
| Disconnect power | Turn off and unplug, or take the battery out |
| Diagnose the fault | Clogged fuel lines or dull blades |
| Clean components | Fuel system and air filter included |
| Repair or replace | Spark plugs, lines and cables |
| Test and adjust | Last tune-up for best work |
Step 1: Diagnosing Common Trimmer Issues
Fault checks are the first step of the fix. Watch for rough cuts or strange sounds. A trimmer that will not start shows trouble too. Check the fuel level and fuel freshness first. Our starting guide covers full start steps one by one.
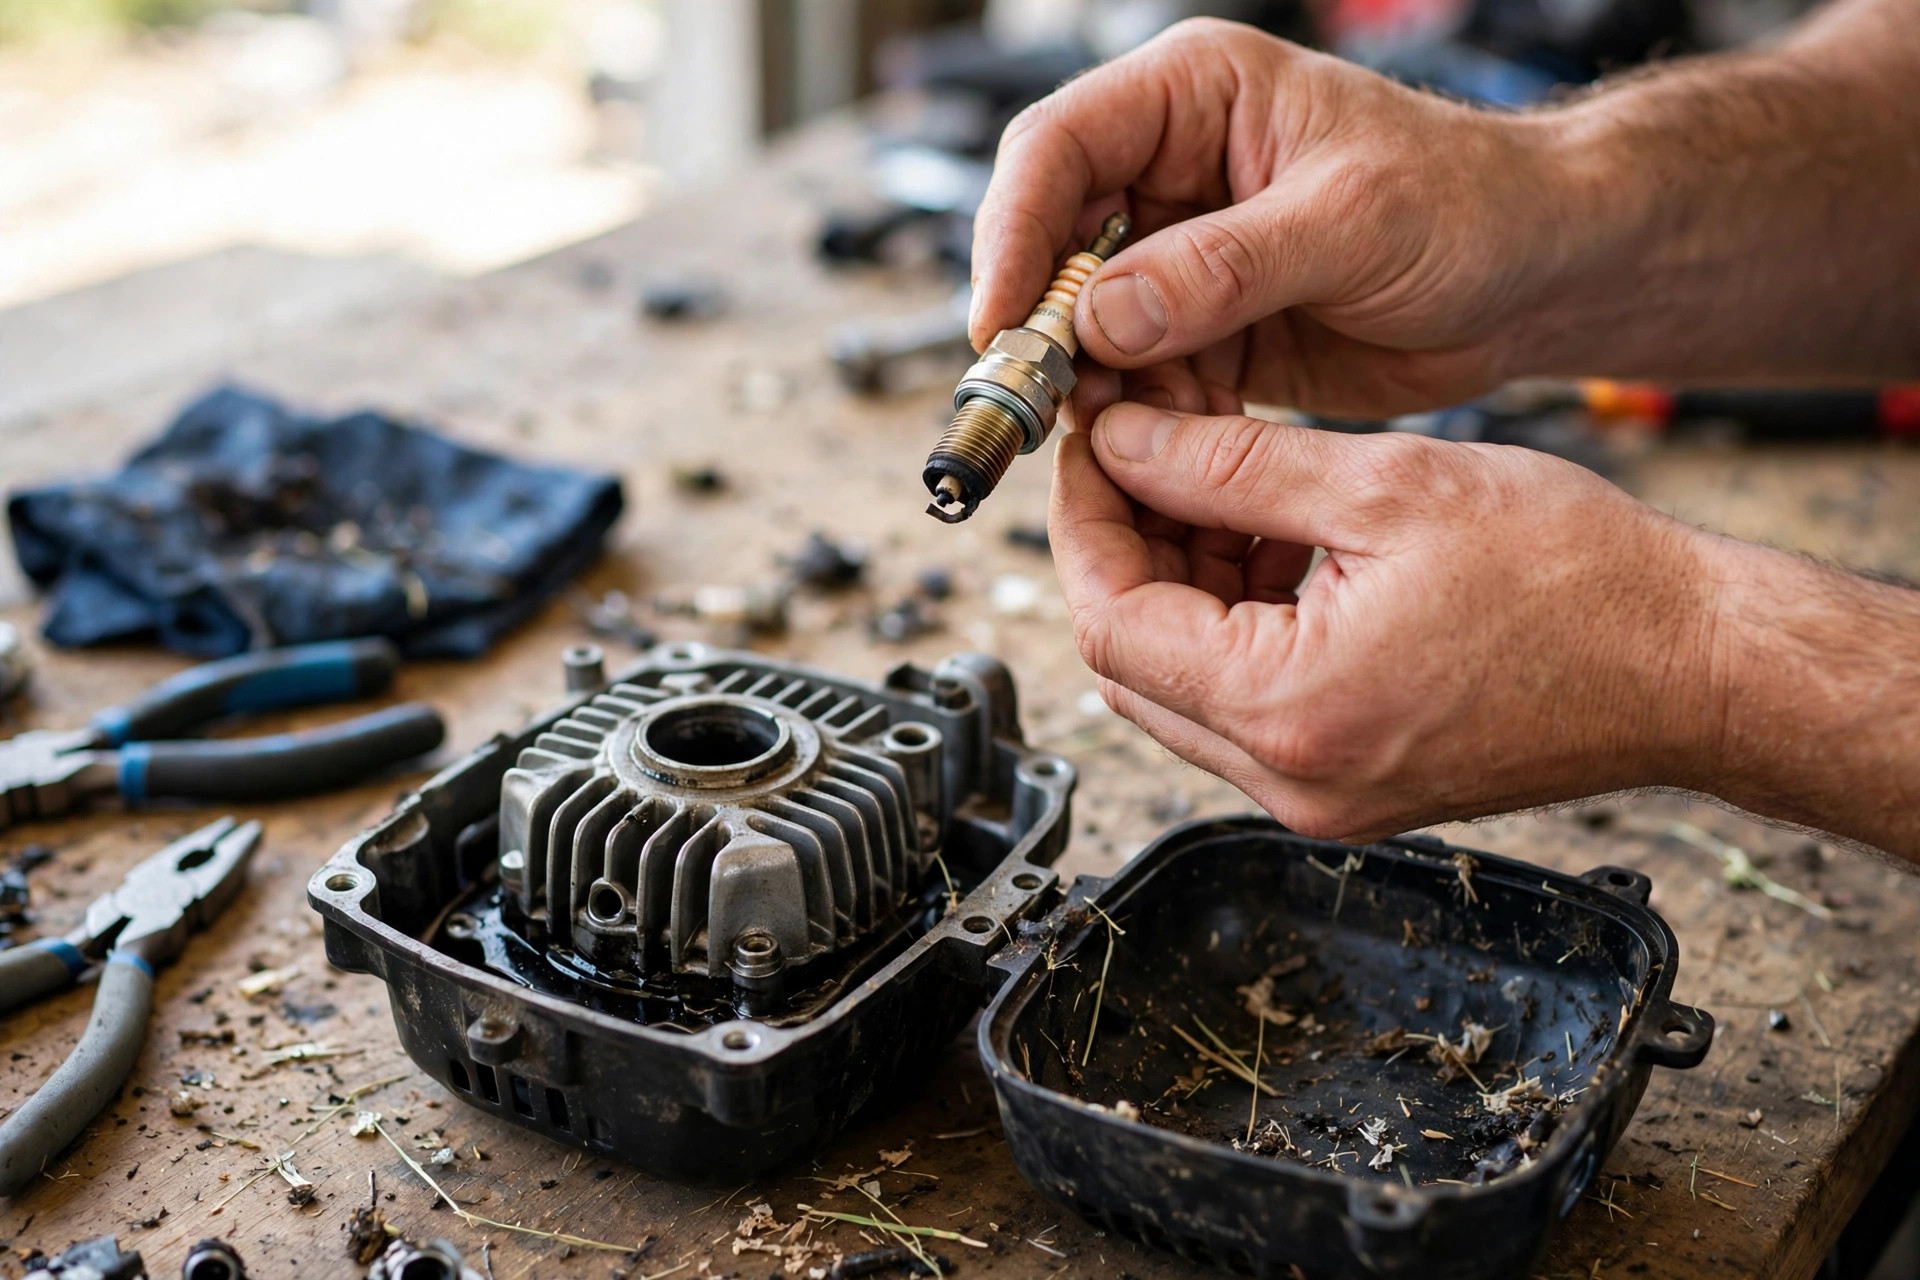
Spark plugs cause many start faults here. Check plugs for buildup or rust with care. Rough cuts point to dull or blocked blades. Clean stuck grass and dirt off the blades. Sharpen or swap blades that still cut rough.
Strange sounds point to faults inside the tool. Loose parts cause rattling or clanking sounds. Tighten screws and bolts you can see, good and firm. Too much shaking points to a head off line. Balance the head for smoother work after that.
Step 2: Cleaning the Trimmer Components
Cleaning parts solves many faults quite often. Turn the tool off and cut the power first. Take dirt and grass off the trimmer head. Clean the head well, inside and out. Our cleaning guide covers full cleaning routines.
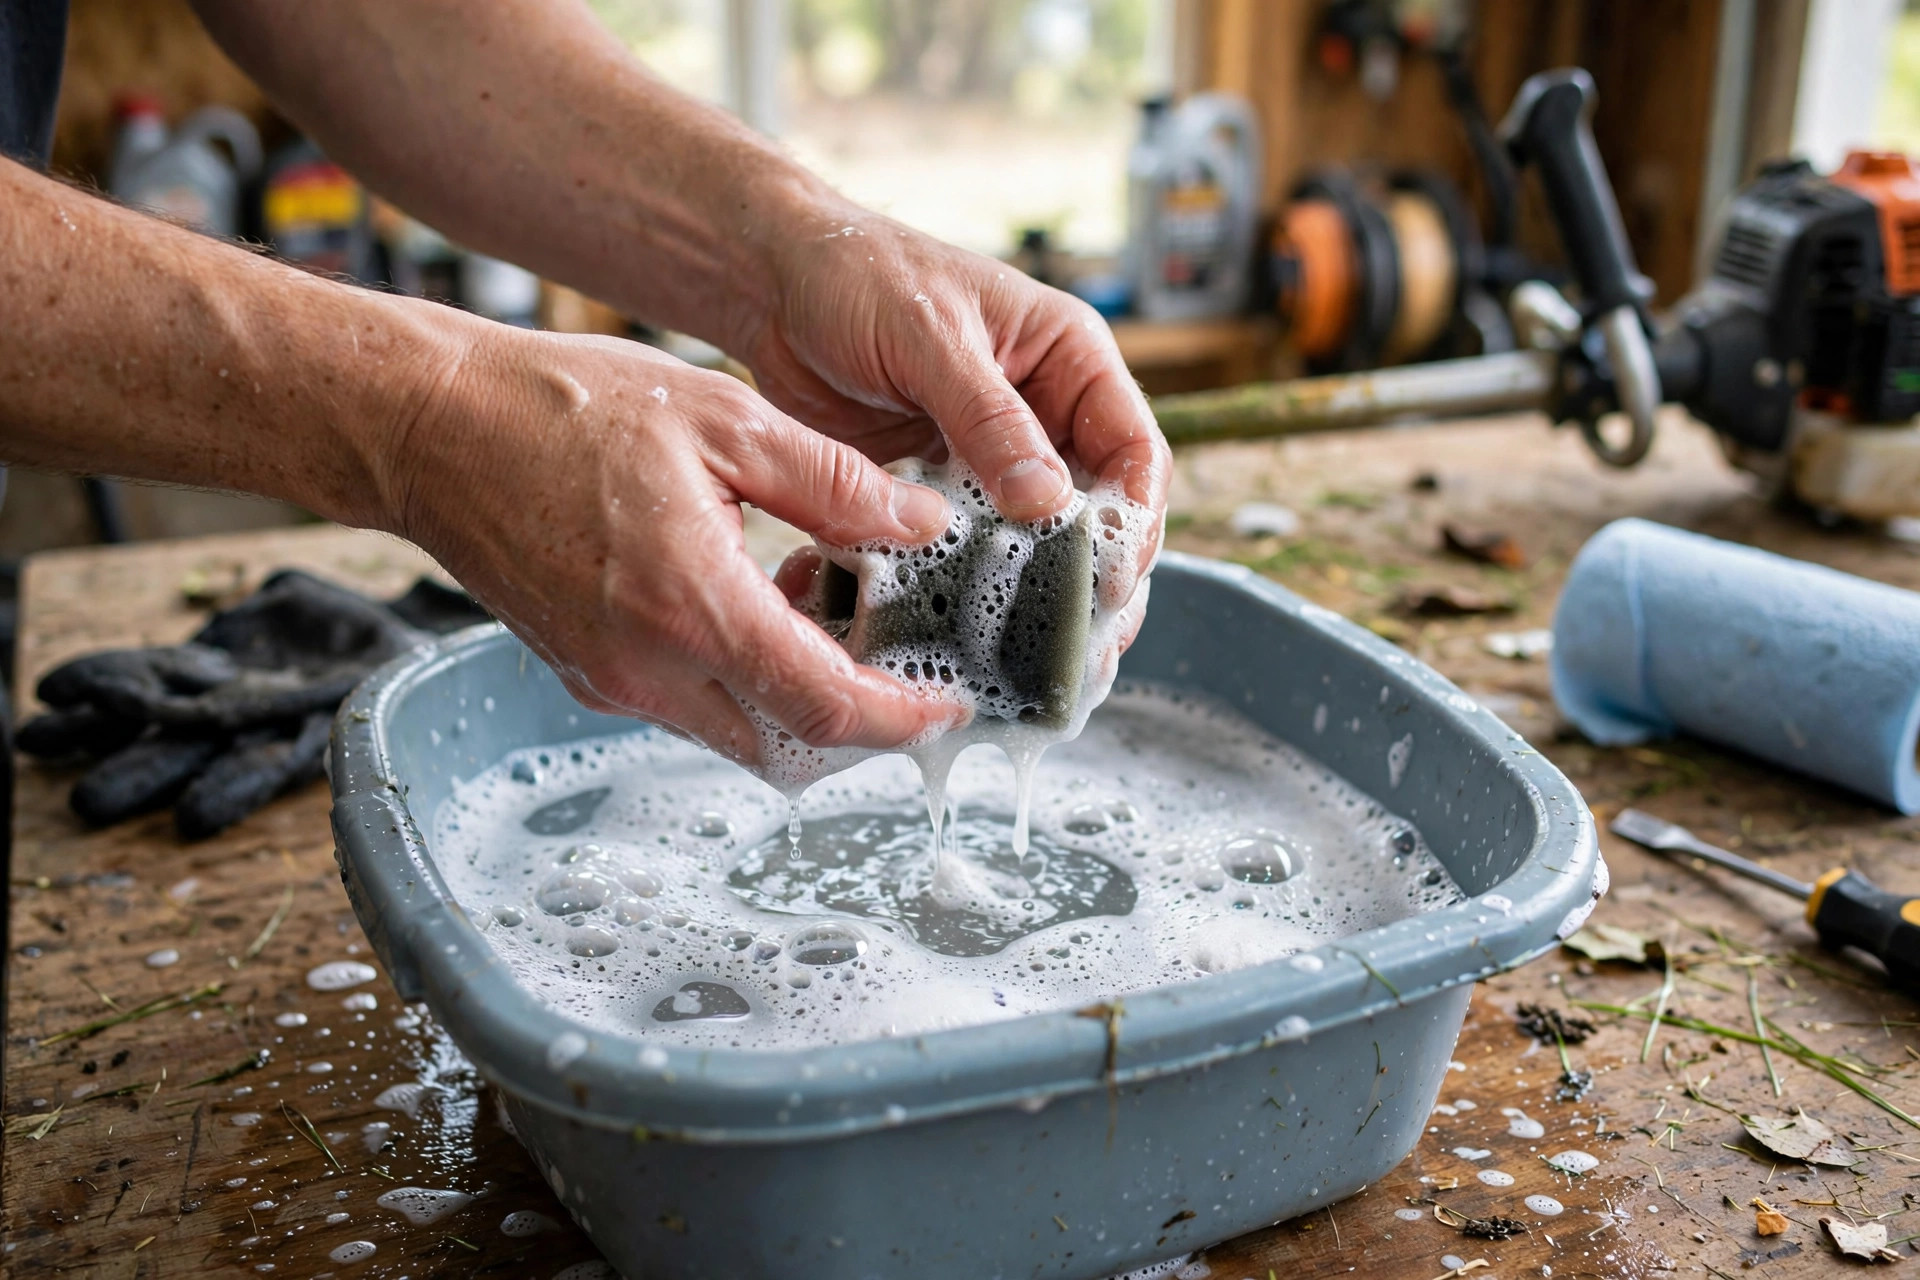
Move to the air filter next after that. Clogged filters cut the engine’s power down. Wash it with soapy water with care. Dry it in full before you fit it back. Our water cleaning guide explains rinse-safe cleaning.
Clean the fuel system to stop more faults. Drain old fuel from the tank first. Clean the scum off the tank walls with care. Brush the fuel lines clean as well. Wipe the cooling fins and spark plug dry.
Step 3: Repairing or Replacing Defective Parts
Faulty parts need a fix or a swap at times. Look at the cutting blade first of all. Dull or chipped blades need sharpening or a swap. Sharp blades give clean, strong cuts each time. Our sharpening guide explains blade edge care basics.
Check the spark plug after the blade. Faulty plugs stop the trimmer from starting. Look for signs of wear or harm with care. Swap it for much better engine trust. Check the line for frays or breaks too.
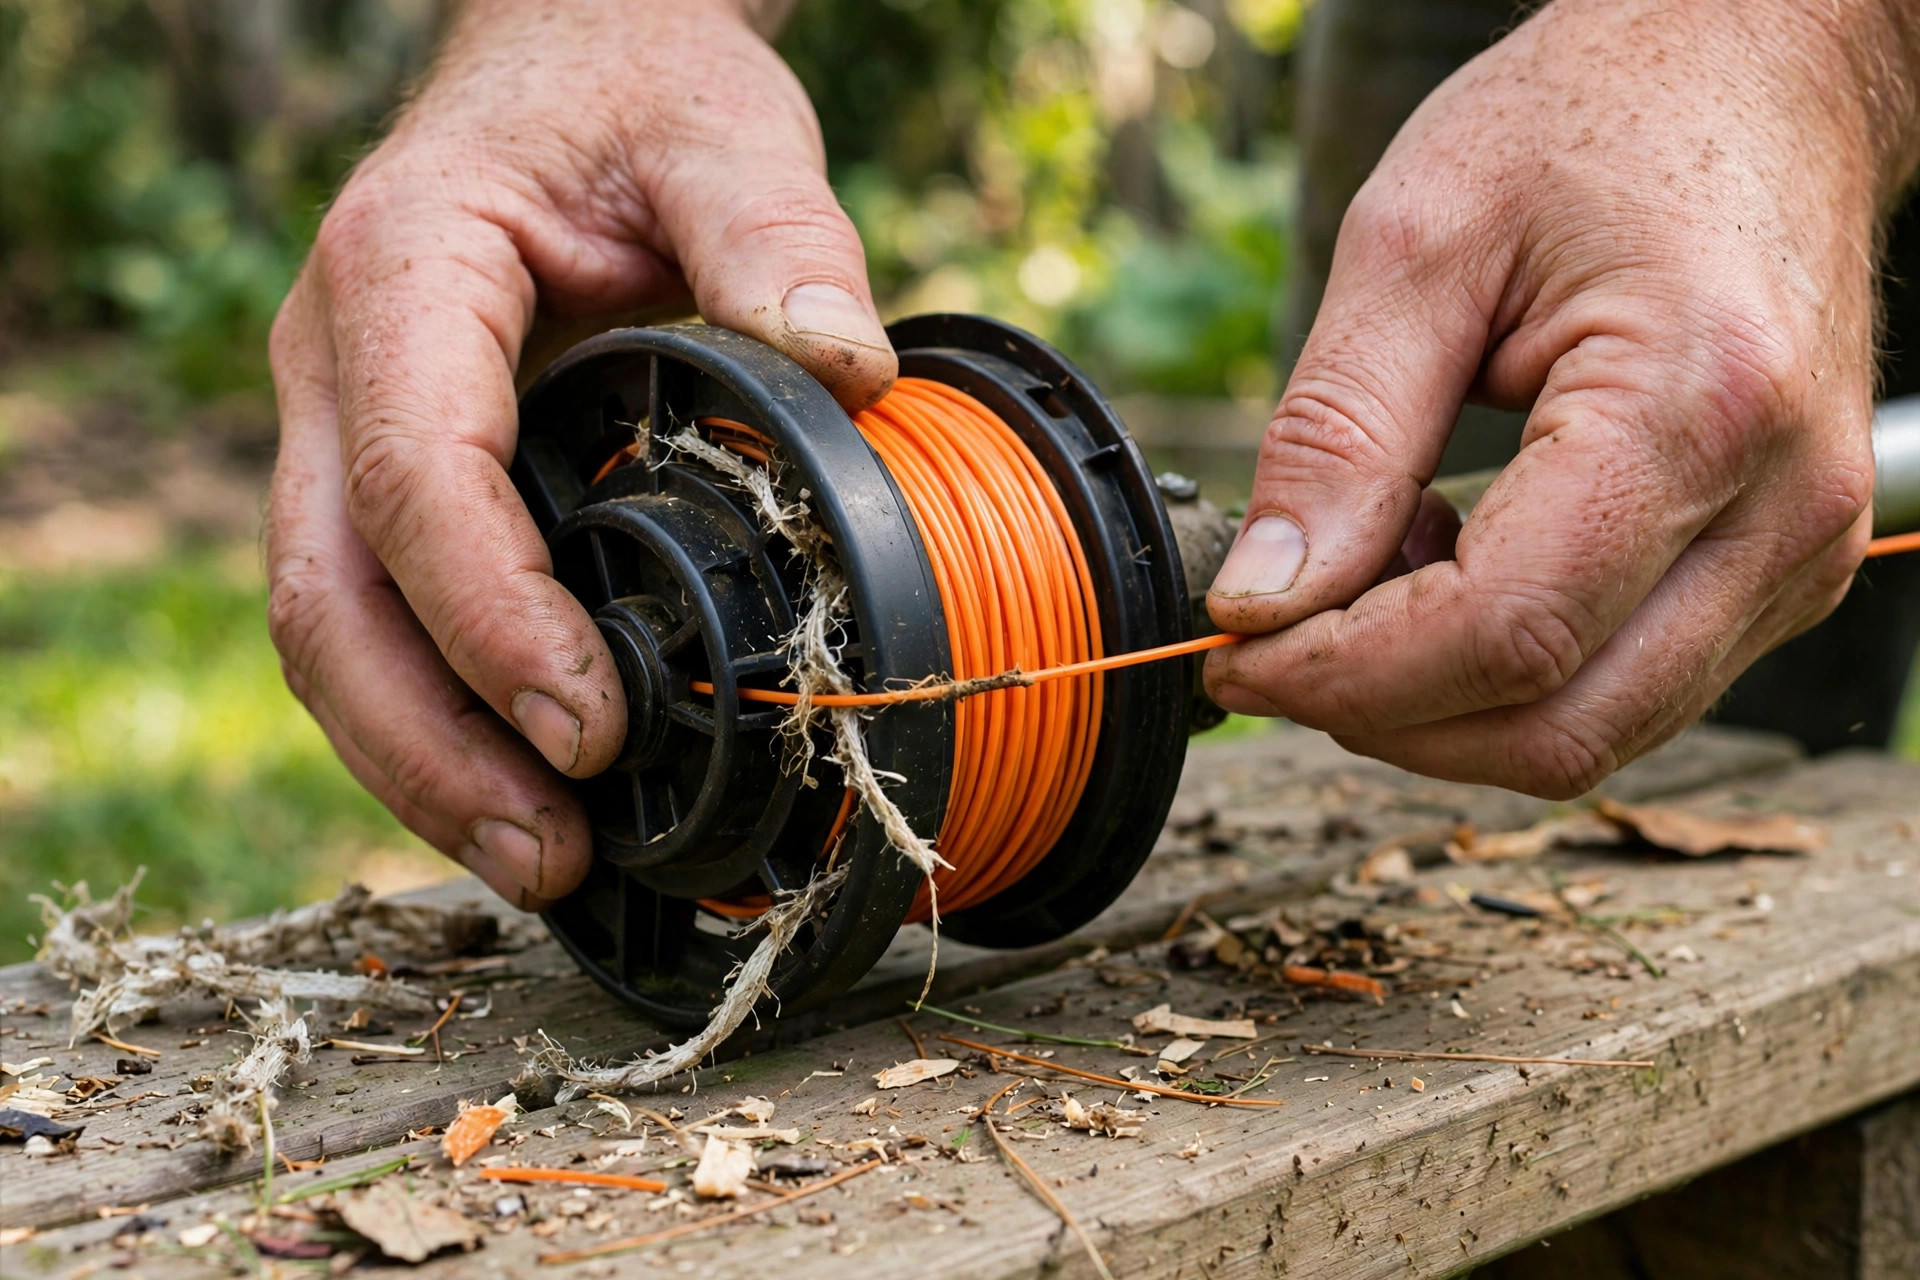
Swap worn line to keep cuts clean and strong. Fresh line cuts the strain on the engine. Broken cables take a plain swap most times too. Take old cables off, fit new ones on tight. Our string feeding guide covers line swap steps.
Check fuel lines for cracks or leaks. Harm to lines wastes fuel as you work. Swap faulty lines for new ones at once. A steady fuel flow keeps engines running longer. Match new filters to your exact model.
Step 4: Tuning the Trimmer Engine
Tuning the engine lifts its work a lot. Start with the carburetor screws first. Turn them slowly with a small screwdriver. Aim for smooth, steady idling at all times. Follow the maker’s steps for exact tweaks.
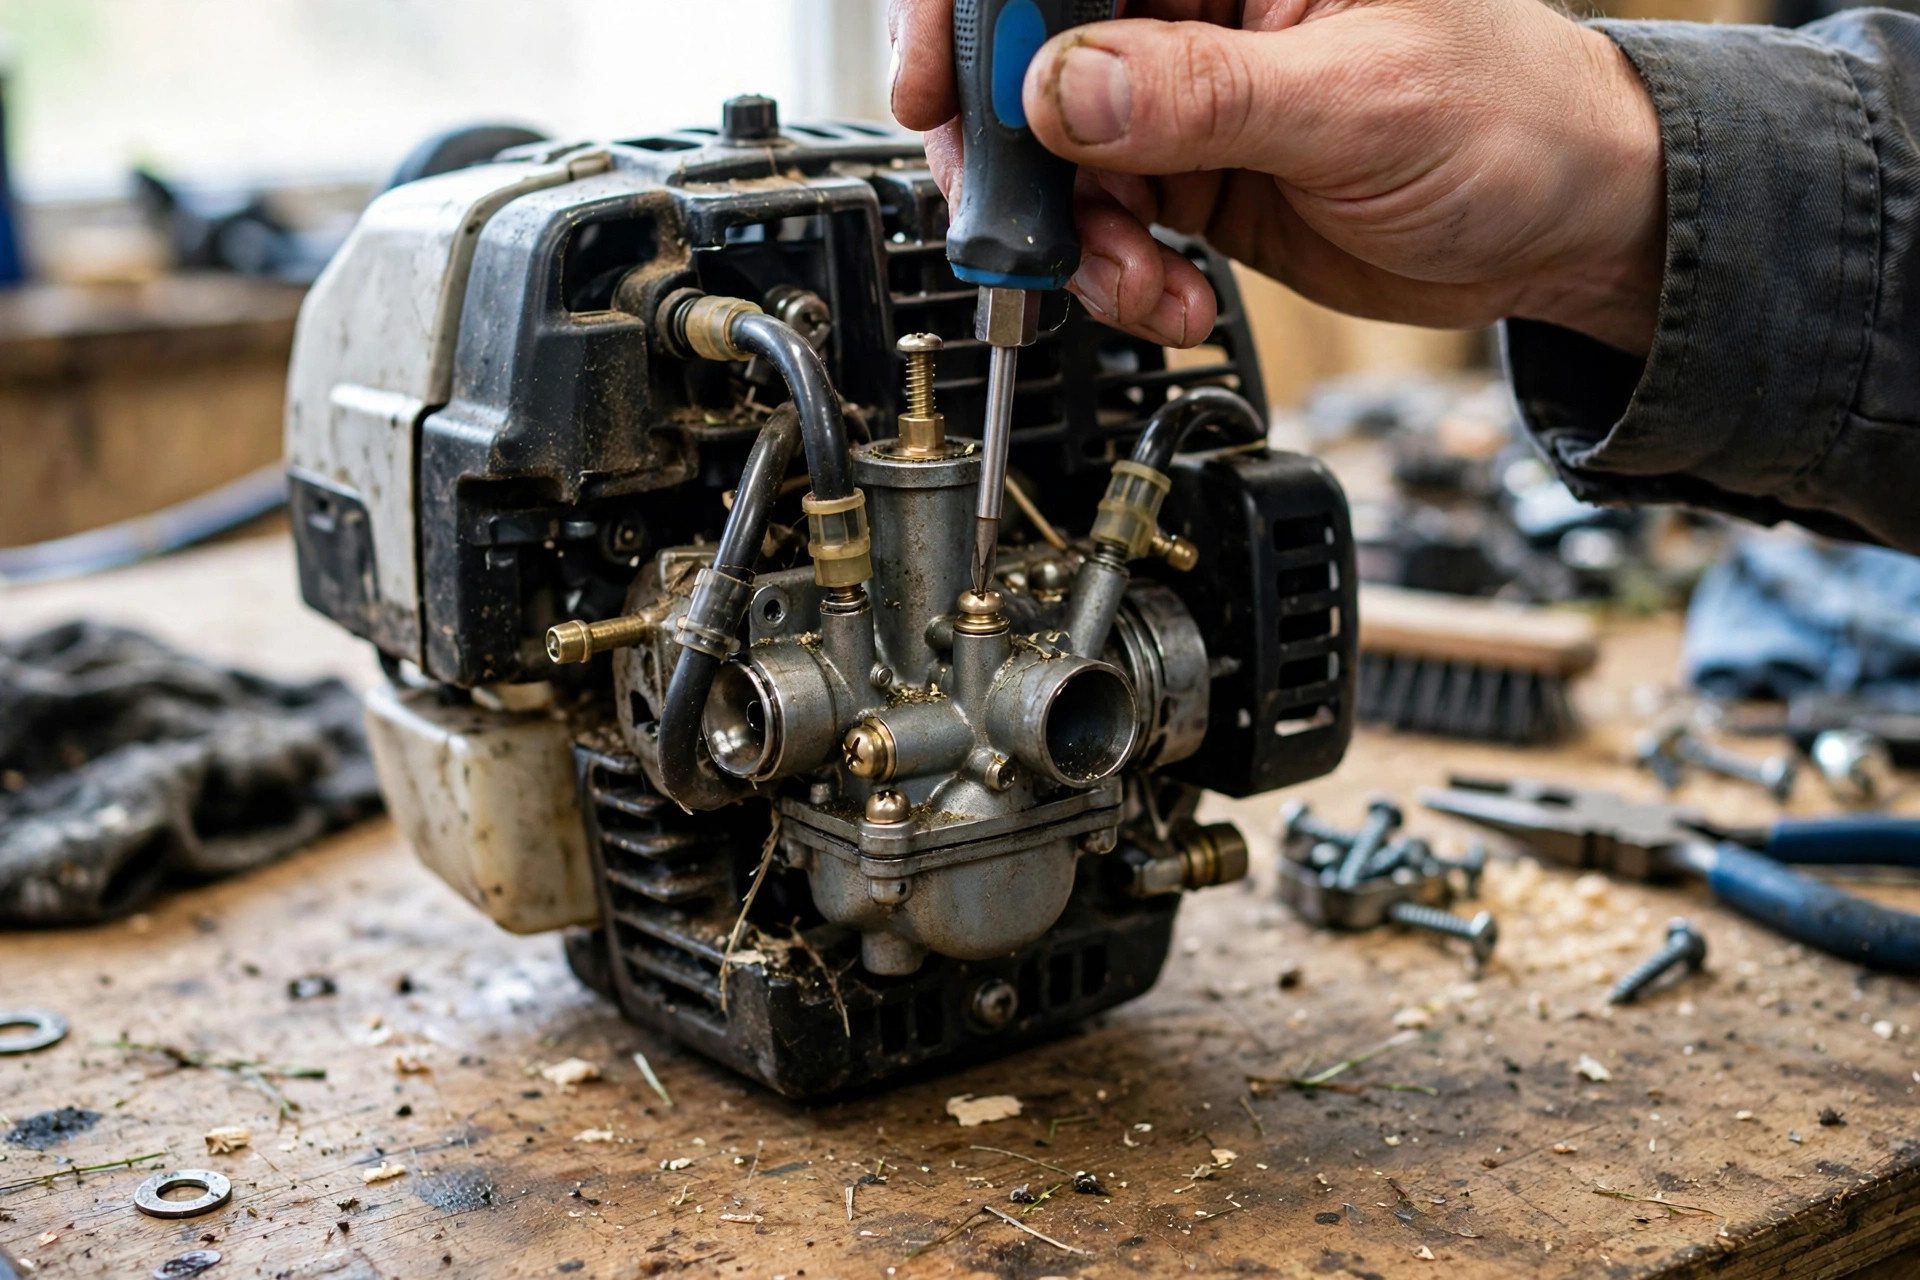
Check the air filter for any blockage. Clean filters let in air for the burn. Swap the filter if it is dirty or harmed. Steady checks keep the engine running well. They cut the risk of heat harm a lot too.
Please note: This guide gives two paths for a dirty filter. Its cleaning step washes filters and fits them back. Its tuning step swaps dirty filters out instead. Wash filters that are just dirty, then fit them back. Swap only harmed or very dirty ones.
Check the spark plug gap next with care. Measure it with a spark plug gauge. Right gaps help spark and fuel use both. Clean fuel lines keep fuel flow steady. Clean spark arrestors of carbon buildup too.
Step 5: Testing and Fine-Tuning Performance
Testing comes after fixes and tweaks, and counts. Start the engine and let it idle a bit. Listen for odd sounds that hint at hid faults. Rev the engine to check its smooth response. More tweaks fix what still sounds off here.

Test the cut on a small patch of grass. Even, clean cuts show sound work all round. Rough cuts mean check the line-up and sharpness. Watch the shaking as you work, with care. Tight, balanced parts cut shaking down a lot.
Track fuel use through long work as well. Well-tuned engines use fuel well each day. Note run time on a full tank too. Poor fuel use points to faults hid below. Fine-tune the carburetor, plug and filter as needs be.
Essential Tools for Trimmer Repair
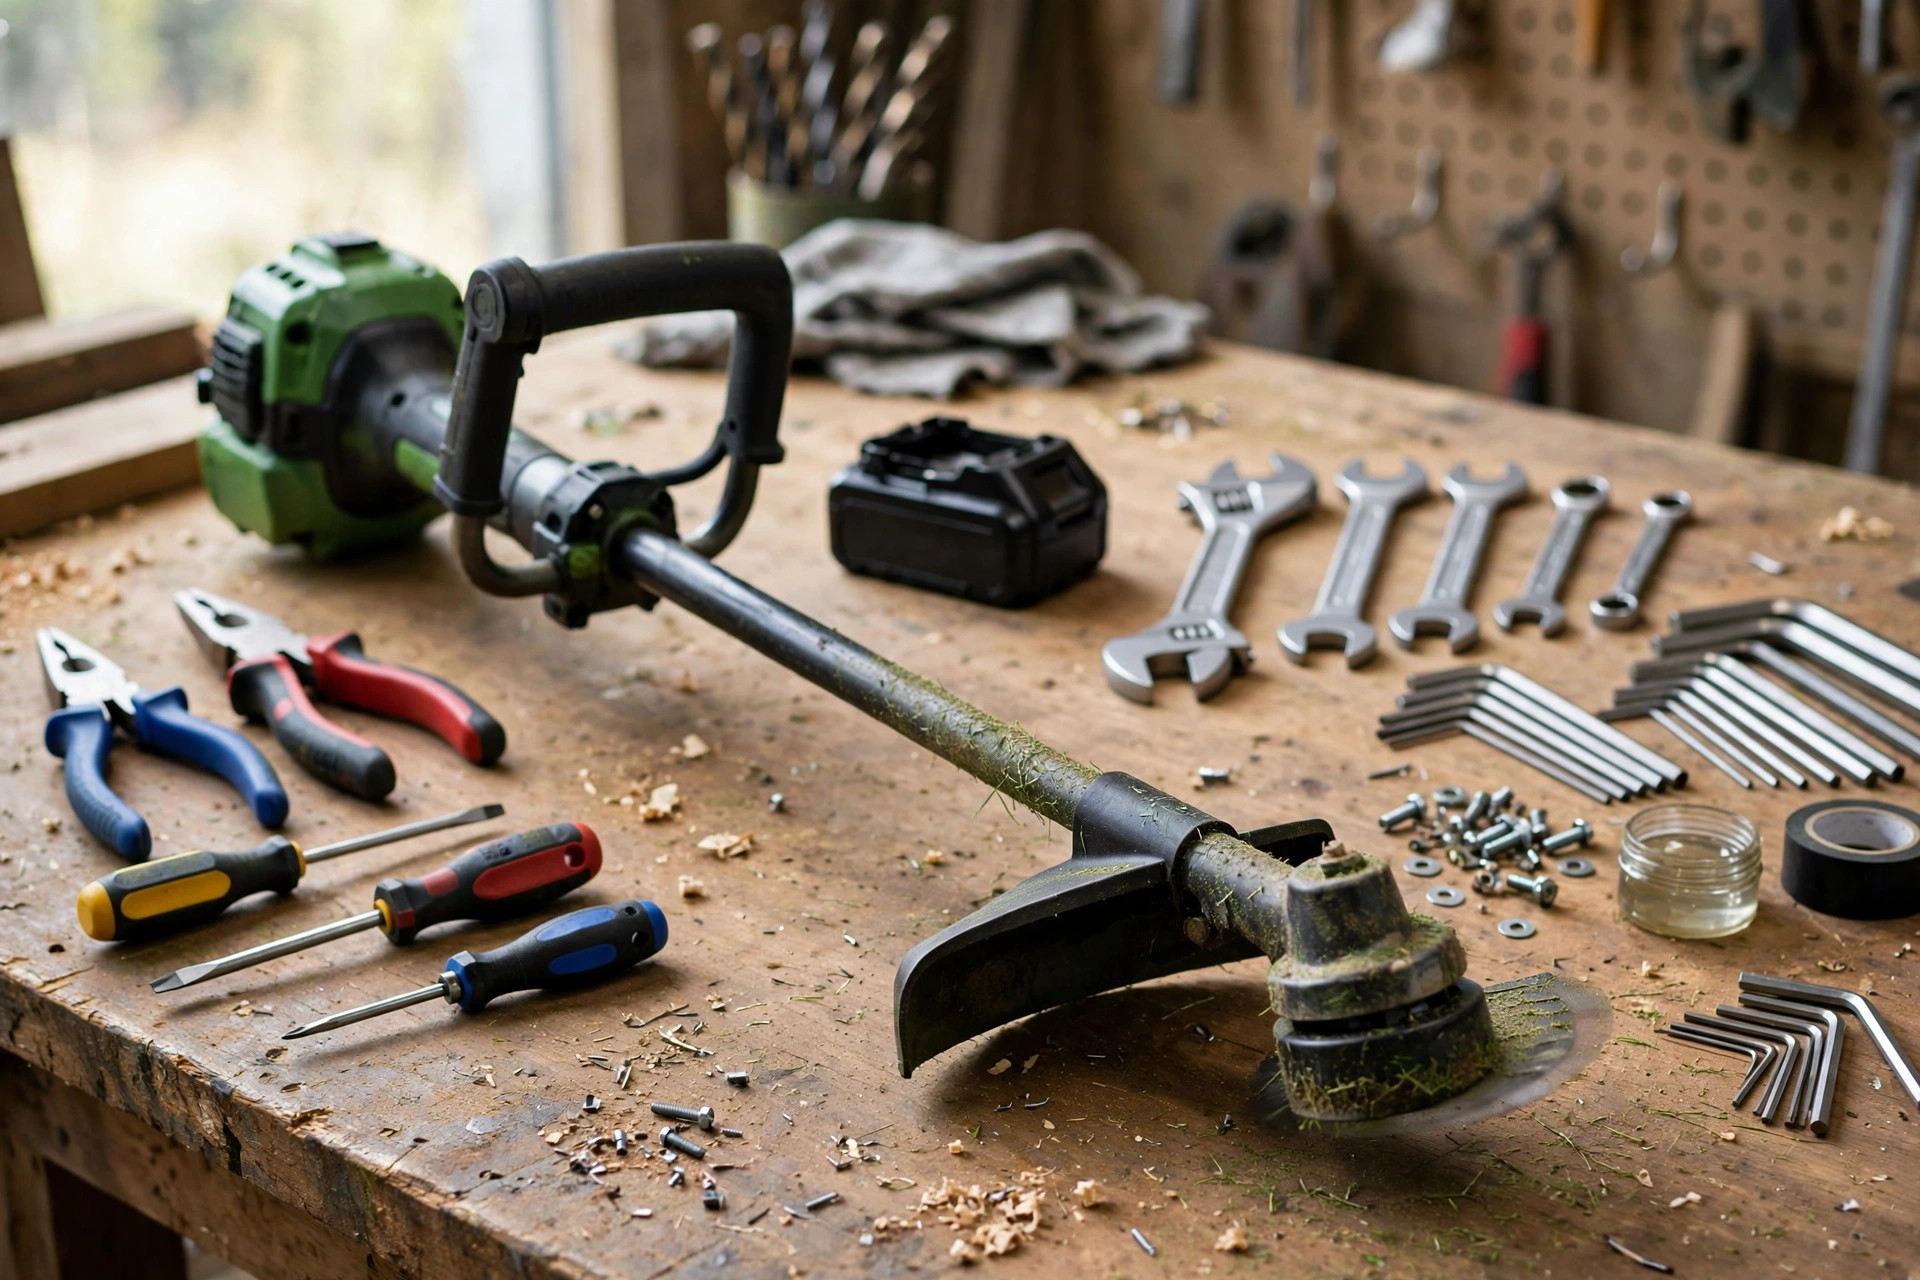
Right tools make the fix much less hard. Screwdrivers, pliers and wrenches form the base kit. Right tools keep fixes exact and safe. Wrong tools risk more harm in their place. A wire brush cleans spark plugs well.
| Tool | Use in This Guide |
|---|---|
| Screwdrivers | Taking parts apart and turning screws |
| Pliers and wrenches | Holding parts and tightening bolts |
| Wire brush | Cleaning plugs and carbon buildup |
| File or grinder | Sharpening blades to keen edges |
| Hex keys | Small screws a screwdriver can not turn |
| Multimeter | Power checks for electric trimmers |
Hex keys take on smaller screws with ease. Sizes match all kinds of trimmer screws. A multimeter checks volts, current and resistance. It finds power faults very fast indeed. Fuel line tools make gas line swaps plain.
Safety Protocols While Repairing
Safety stays on top through all fix work. Cut the power source before all fixes. Unplug power cords or take batteries out first. Empty gas fuel tanks before work too. These steps stop starts by chance in full.
Wear work gloves and safety goggles at all times. Gloves help grip and guard your hands from cuts. Goggles shield eyes from bits that fly off. Keep your work space lit well and clear. Neat spaces stop trips and lost parts.
Follow the maker’s fix steps with great care. Model steps cut harm and injury risks. Keep the manual close at hand through fixes. Shun harmed or home-made tools as you work. Good tools make jobs less hard and more safe.
When to Consider Professional Repair
Some faults pass safe home fix limits. Smoke or loud sounds point to grave trouble. Such signs hint at grave faults inside. Home fixes can make these faults worse. Pros find hard faults in a true, safe way.
Crash harm needs pro help most times too. Home fixes strain with shafts and housings. Pros hold the right tools and spare parts. Faults that come back need pros as well. Hid faults need a full pro check at times.
Think of the warranty before big fixes. Home fixes with no grant can void it in full. Grant shops follow set fix rules at all times. Time and ease count in the choice too. Pros fix tools faster than most home tries.
Maintenance Tips to Prevent Damage
Steady care stops trimmer harm in a strong way. Clean the trimmer after each use, each time. Take clippings and dirt off heads often. Clean trimmers work better and last longer. Check the trimmer line quite often too.
Swap line that shows wear signs at once. Frayed lines harm heads and cut poorly. Check and tend the air filter often. Use the fuel mix the maker says for gas. Our lubricating oil guide covers oiling basics fully.
Shun old or dirty fuel in the tank. Bad fuel causes clogs and poor work. Store trimmers in a dry, cool place after use. Drain fuel tanks for long store times. Our breaking line guide explains repeat line breaks.
Frequently Asked Questions
These answers rest on this guide’s own points. They track the same steps set out in full above. Short answers close the guide at the end. Maker pages like STIHL publish repair guidance.
What causes my trimmer to vibrate excessively?
Too much shaking points to a head off balance. Loose parts cause big shaking at times too. Check how the blade sits and its balance with care. Tighten all screws and bolts good and firm. Worn engine mounts cause shaking faults too.
Why does my trimmer have difficulty starting?
Hard starts come down to plugs or fuel most times. Check the plug for wear and buildup. Dirty or old plugs need a swap at once. Clean air filters help starts a lot too. Clogged fuel lines or old fuel mixes block starts.
How do I sharpen the blades on my trimmer?
Cut the power before you sharpen the blades. Take the blade off as the manual shows. Hold it firm in a vice grip. Sharpen edges in an even way, at the first angles. Fit it back tight, in balance, before tests.
What should I do if my trimmer won’t start?
Check the fuel level and fuel freshness first. Stale fuel blocks sound starts quite often. Check the spark plug for buildup and rust. Clean or swap the air filter too. Check fuel lines for clogs or leaks.
Conclusion: How to Repair a Trimmer
So, how do you fix a trimmer with trust? Fixing and care save you time and money. The steps and safety rules here build trust. Right tools count at each fix stage. Pro help stays at hand when you need it most.
Steady care makes your trimmer last much longer. It lifts how well and how true it runs too. These habits make trim work smoother all round. Your trimmer pays steady care back for years. Happy trimming starts with a sound, cared-for tool.

I’m Patricia D. Johnson, an affiliate marketer and blogger specializing in trimmers and grooming tools. I create honest reviews, buying guides, and practical tips to help readers choose the right trimmer for their needs. With a focus on quality, performance, and value, I simplify the decision-making process so consumers can make confident purchases.