
- We start by removing the old trimmer string.
- Next, cut the new string to an appropriate length.
- Thread one end of the string through the hole in the trimmer head.
- Follow this by winding the string around the spool, keep it tight.
- Last step involves securing the end of the thread in the slot on the spool.
Picture this – It’s a sunny Saturday and you’re ready to clear some stubborn weeds in your garden. You get your trusty weed trimmer, but as you begin to work, the string runs out. How would you replace it? Fumbling and fiddling around with the coil of string isn’t the most appealing task. However, knowing the art of replacing the string on your weed trimmer is a useful skill for every homeowner.
The technology behind weed trimmers dates back to the 1970s, a time when lawns became symbols of suburban success. George Ballas, a first-generation American, invented the weed trimmer to make the dreaded chore of weed cutting more manageable. To this day, 85% of homes in the United States have a mechanical weed trimmer! An astounding number, isn’t it? Yet, surprisingly, many owners are not familiar with simple tasks like replacing the string. Here’s a fact – a properly strung weed trimmer can increase the tool’s efficiency by up to 20%. With the right knowledge and a little practice, stringing your weed trimmer would no longer be a daunting task.
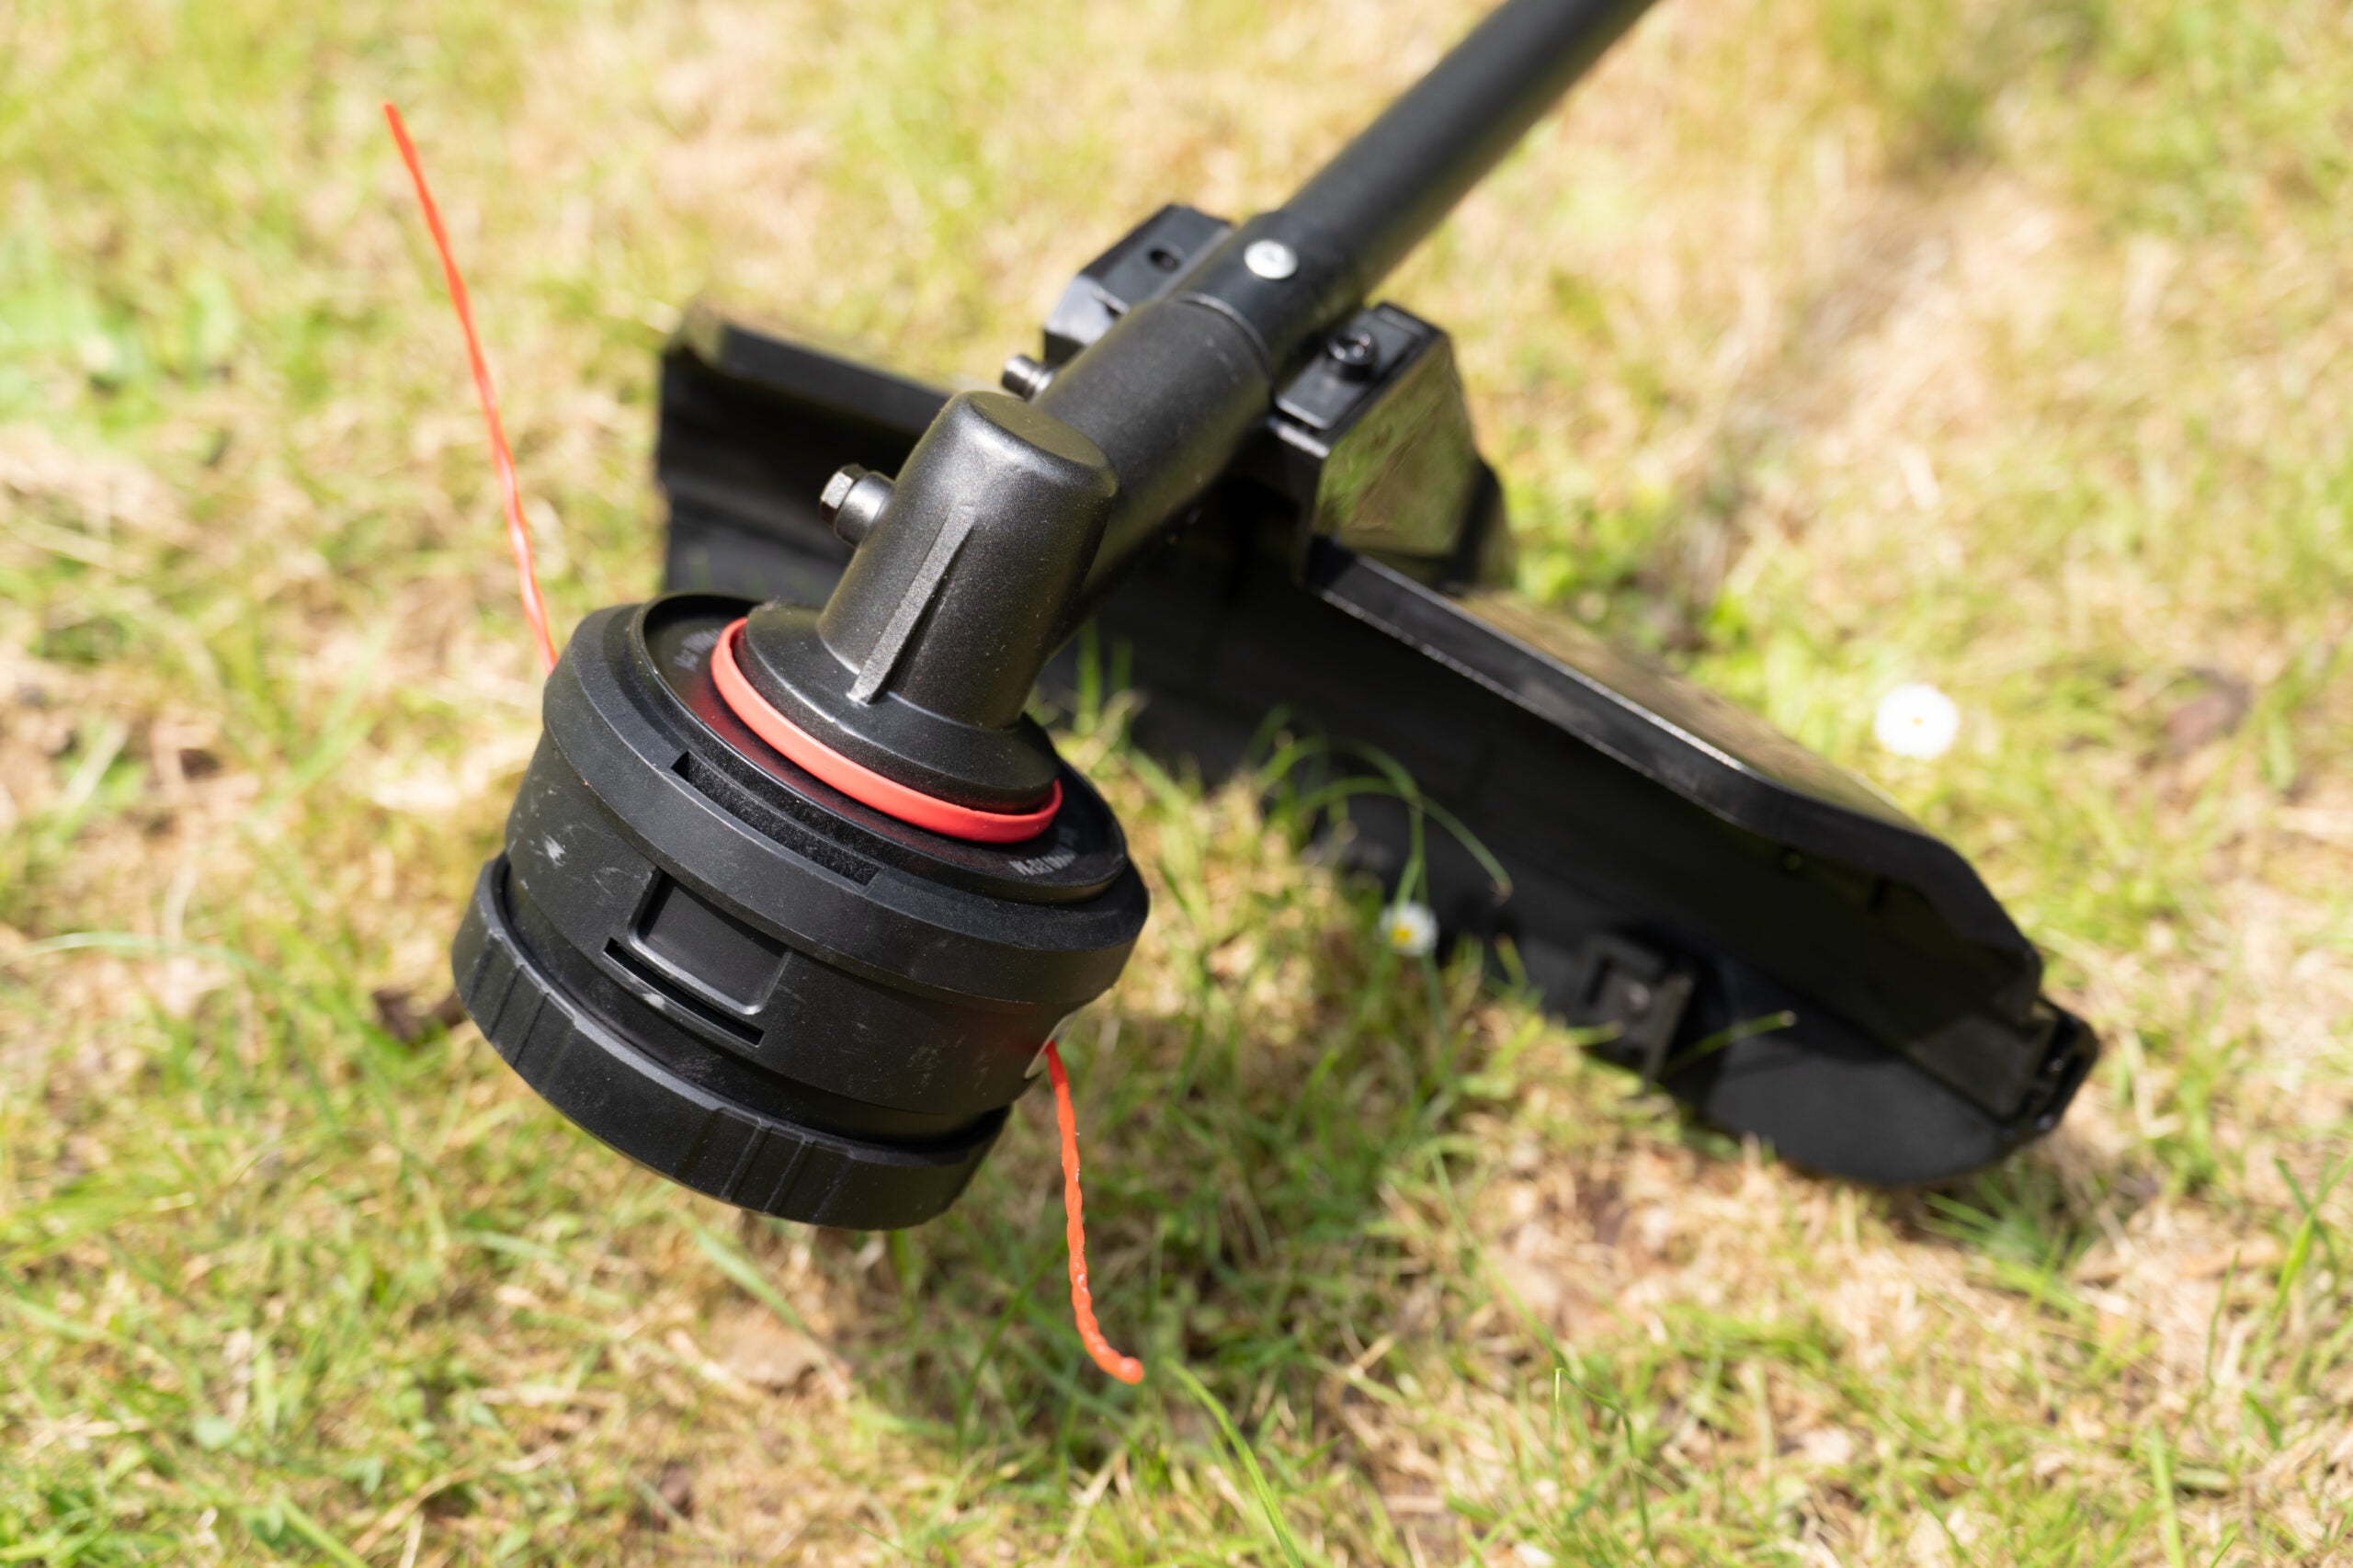 Source: trustedreviews.com
Mastering the Art of Weed Trimmer Line Replacement
Whether you’re a seasoned gardener or a novice to the world of outdoor landscaping, learning how to put a string on a weed trimmer is a crucial skill that can save you both time and money. Weed trimmers, also known as weed eaters, provide precision control over your yard’s greenery, enabling you not only to cut grass swiftly but also to reach and trim parts of your yard that are challenging to get to with a lawnmower. Yet, to maximize the efficiency of your weed trimmer, frequent line replacements are necessary. No matter what brand your weed trimmer is, this guide will guide you through a typical line replacement procedure, simplifying it into quick and easy steps.
Step-1: Gathering the Necessary Tools
The first stage in the process of learning how to put string on a weed trimmer is ensuring you have the right equipment. A correctly wound spool of line will make your weed trimmer more effective and prevent engine overload. For this task, you need weed trimmer line and safety glasses. The type of line depends on your weed trimmer’s specifications, as different models require a particular line shape and diameter. For instance, a round-shaped line is ideal for cutting weeds and grass, while a multi-sided line works best for thicker and woody stems. Safety glasses will protect your eyes from any unwelcome flying debris during the replacement process.
Step-2: Preparing Your Weed Trimmer
Before you can begin replacing the line, it’s critical to prepare your weed trimmer properly. First and foremost, ensure the device is powered off and disconnected from any power source. This is vital to prevent accidental startup, which can lead to injury. Next, you need to remove the spool from the head of the trimmer. The specific method of doing this may vary based on the model of your weed trimmer, but typically, you will either unscrew the head or press in tabs to pull the head off. Once you’ve successfully detached the head, turn it over, and you should see the spool beneath, which houses the line. Remove this as well, setting aside the spring if your model includes one.
Step-3: Removing Old Line and Cleaning
If there’s any old line left on the spool, now is the time to remove it. It’ll simply need unwinding from the spool. One important note here is to dispose of the old line properly – don’t just throw it in the yard where it can become a hazard to wildlife. Once the old line is removed, take a moment to clean the head and spool using a dry cloth to remove any dirt and grass clippings. Regular cleaning of these parts can enhance the lifespan of your weed trimmer. It’s also a good opportunity to check for any noticeable damage or wear that may otherwise go unnoticed – particularly on the cutting line.
Step-4: Winding the New Line
Having prepared your weed trimmer and cleaned its components, you are now ready to begin winding the new line onto the spool. Start by measuring out the appropriate length of line, which is typically between 10 to 25 feet, but refer to your trimmer’s manual to get the exact length. Cut the line and fold it in half, ensuring both sides are even. You’ll notice that on your spool, there is a small hole or notch where the line should begin to be wound. Place the midpoint of the line in this hole and start winding in the direction indicated on the spool. Be patient during this step – rush, and you could end up with tangled line that won’t feed properly when in use.
Step-5: Reassembly
Once you’ve wound your new line onto the spool, it’s time to put everything back together. Begin by threading the ends of the line through the eyelets on the trimmer head. After that, place the spool inside the trimmer head, ensuring it fits snugly. This could involve aligning tabs or giving it a twist until it falls into place. If your trimmer has clips, ensure to click it back into place. Once the spool is inserted, replace any spring or cap that belongs on top of the head, securing it tightly. Finally, tug the end of the line slightly to release it from the holding notch on the spool.
And voila! That’s how to put string on a weed trimmer in five straightforward steps. Always remember that the efficiency and performance of your tool depends considerably on the state of its line. Now that you have mastered this skill, you can keep your yard well groomed, and your trimmer operating at its peak. Understanding and carrying out regular maintenance activities like this one helps extend the life of your tool and allows you to deal with any yard challenges that come your way.
Frequently Asked Questions
Need help with your weed trimmer? You’ve come to the right place. Here are some commonly asked questions on stringing weed trimmers and their answers.
What kind of string should I use for my weed trimmer?
The type of string needed depends on the job at hand and the type of weed trimmer you own. In general, a string with a diameter of .065″ to .080″ should work well for trimming grassy areas around fences and sidewalks and for cutting thin weeds.
For heavier, tougher jobs with thick weeds, a string with a diameter of .085″ to .105″ would be more suitable. For commercial or industrial jobs, it’s recommended to use a string with a diameter of .110″ and above.
How often should I replace the string on my weed trimmer?
The frequency of string replacement depends greatly on usage. If you’re regularly using your weed trimmer for several hours at a time, it’s recommended to replace the string every week.
However, for occasional homeowners who only use the trimmer a few times each month for brief periods, the string may last a few months. Either way, a visual inspection after each use will help you assess when to replace the string.
I’m having difficulties threading the string into my weed trimmer, what could be the problem?
This could happen due to a number of reasons. One of the most common causes is using a string of an incorrect size. Be sure to use the right size of string specified in your weed trimmer’s manual.
Another possible reason could be a faulty or clogged spool. If the spool is damaged or if there’s any debris preventing the string from feeding, it may need to be cleaned or replaced.
How long should the string be on my weed trimmer?
The length of the string directly correlates with the cutting radius. Longer strings will have a larger cutting radius while shorter strings will have a smaller one. However, the optimal length of the string would also depend on the model of the weed trimmer.
As a rule of thumb, most residential grade trimmers use strings around 18 to 24 inches long. Always refer to your owner’s manual for the recommended string length.
Can I use any brand of string for my weed trimmer?
In theory, as long as the string is of the correct diameter, it should work in your weed trimmer. However, some models may work better with specific brands of string. This is usually because of the string’s shape, which can influence its cutting ability.
While most trimmers work well with round strings, some may perform better with other shapes like square, star, or twisted. Consult your owner’s manual or the manufacturer’s recommendations to find the best string for your tool.
Install Trimmer Line | Learn How To Put String On Weed Wacker – DIY
Final Words
We have learned that installing a string on a weed trimmer involves several steps. First, we must safely remove the trimmer head, then either untangle the existing string or prepare our new trimmer line. The string is usually threaded through a hole in the casing and wound tightly around the spool.
It’s important to follow the correct line-winding direction, which is typically noted on the body of the trimmer. By keeping the line tight and even, we can ensure that it feeds out properly and doesn’t jam during use. With these instructions, setting up your weed trimmer becomes a breeze! Now let’s get to trimming those weeds and making our yard look quite splendid!
