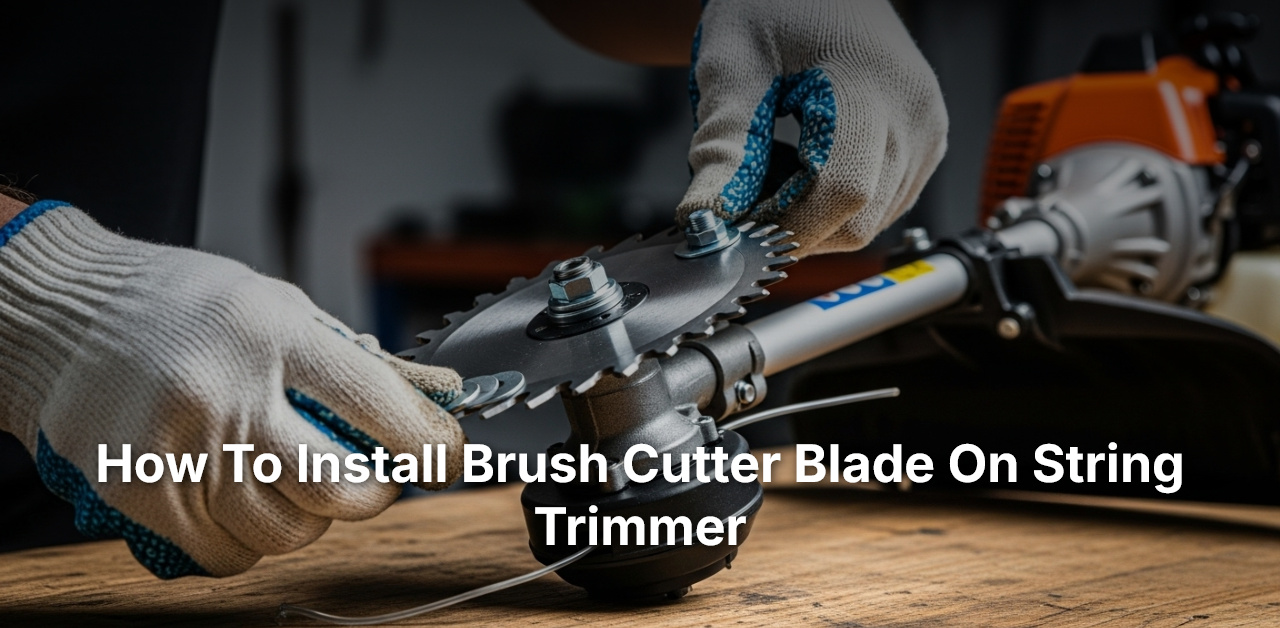
- First, make sure the trimmer engine is off and cool. Remove the spool of the line.
- Second, place the brush cutter blade onto the spindle, ensuring it fits properly.
- Third, using the correct spacer if necessary, attach the blade with its retaining nut.
- Lastly, tighten the nut securely with a wrench. Your trimmer is now ready for use.
Do you ever find yourself facing thick vegetation and wish that your string trimmer had a bit more power? As someone who has been there, I can attest that a brush cutter blade can be a game changer. These blades can cut through dense undergrowth and small saplings with ease, transforming a frustrating task into a breeze.
The installation of a brush cutter blade on a string trimmer may seem daunting at first, but it isn’t as complex as it seems. History traces the development of these blades to the early agricultural periods, and their usage continues to grow. Today, an estimated 3 out of 5 homeowners with a string trimmer have either used a brush cutter blade or are considering its installation in the near future—a testament to its effectiveness and ease of use.
 Source: trustedreviews.com
How to Install a Brush Cutter Blade on a String Trimmer (Step-by-Step Guide)
Swapping out a string on your trimmer to install a brush cutter blade can feel daunting, but with a little experience and guidance, it’s a task anyone can master. It’s important to learn how to install brush cutter blades on string trimmers as it allows you to tackle more durable vegetation with ease. Follow this comprehensive guide where we’ll delve into the intricacies of the installation process to empower you with the knowledge and skills required.
Step 1: Safety Measures
Before diving into the steps of how to install brush cutter blade on string trimmer, the first and most crucial step is to ensure your safety. Doing this reduces the risks of injuries and accidents when handling the sharp blade and moving parts of the trimmer. Here’s what you need to do.
Step 1.1: Disconnect Power Source
Before anything else, ensure the trimmer is powered off. If you’re using a gas-powered tool, turn off the engine and let it cool down. For electric trimmers, disconnect it from the power source. This simple measure is crucial to prevent accidental startups while handling the machine.
Step 1.2: Put on Your Safety Gear
Gloves are a must to protect your hands, and safety glasses will shield your eyes from potential debris. Dressing in long-sleeve shirts and trousers will further help protect your body from scratches and physical harm.
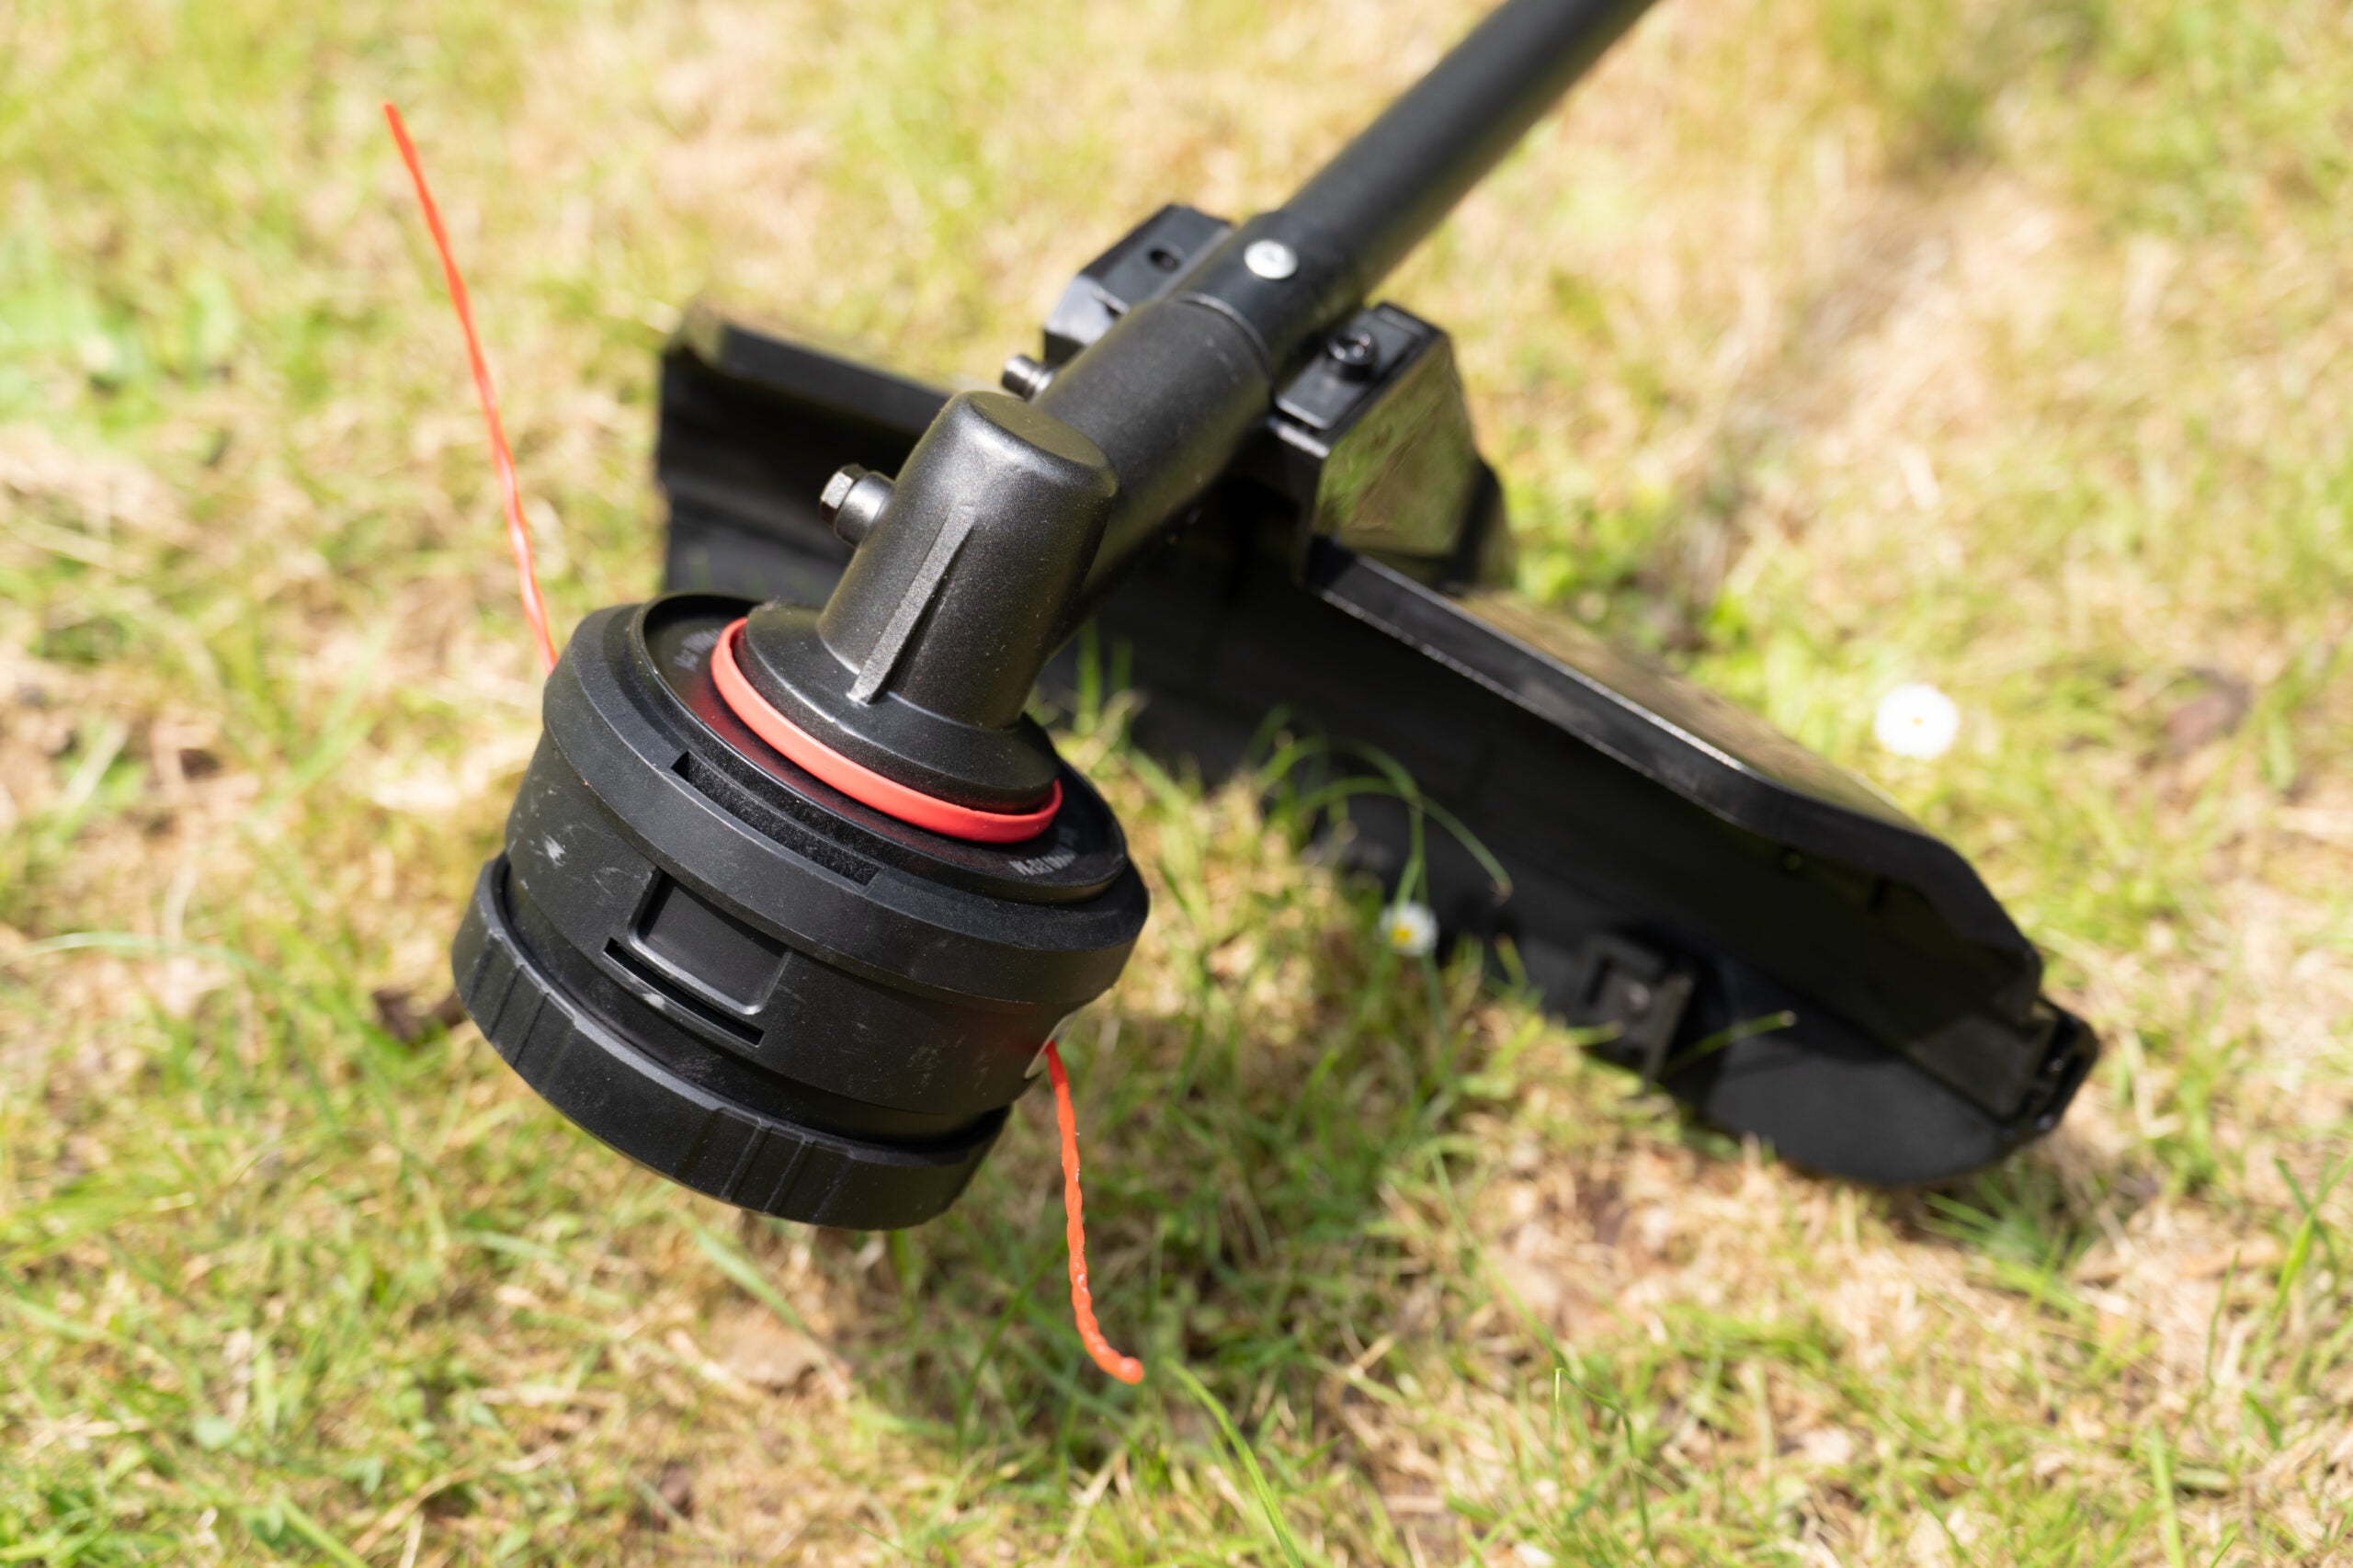
Step 2: Remove the String Trimmer Head
To install the brush cutter blade, you’ll first need to remove the string trimmer head. This process can vary from device to device, but a common method is using a wrench to unscrew the head. Always refer to your user’s manual to ensure you’re following the manufacturer’s instructions.
Step 3: Attach the Blade
Once your trimmer head is off, you can replace it with the brush cutter blade. Locate the mounting hole on your trimmer’s drive shaft and fit the blade securely onto it. Most models will have a locking pin to secure this in place.
Step 4: Secure the Blade
After the blade is in place, you need to secure it, typically using washers and a nut. Place your washer, then the blade, followed by another washer, and finally, your nut. Tighten everything up to ensure the blade is secure and ready to use.
Step 5: Do a Safety Check
Before starting to use the brush cutter, it is important to run a final safety check. Make sure all parts are secured well and the blade is not loose. After ensuring everything is properly installed, reconnect the power source. Make sure you stand clear while testing the blade. Cut and trim with caution to avoid accidental injuries.
Understanding how to install brush cutter blade on string trimmer is a valuable knowledge for homeowners with large yards or overgrown properties. It allows you to tackle stubborn weeds and overgrowth with ease. The process may seem complicated initially, but with practice and caution, it becomes a straightforward maintenance task. Always remember that proper safety measures and attentive installation can make a huge difference in the efficiency of your brush cutter and your overall gardening experience.
BEST Brush Cutter blade for your string trimmer! | How to install brush cutter blade on weed eater
Frequently Asked Questions
In this guide, you will find the most frequently asked questions on the topic of installing brush cutter blades on string trimmers. Read through to satisfy your queries and enhance your understanding.
1. What should I do before installing a brush cutter blade on my string trimmer?
Before replacing any part of your trimmer, including the brush cutter blade, it’s essential to follow safety guidelines. First, ensure that the machine is turned off and cool to the touch. The motor can become hot during use and accidental activation can lead to injuries.
Next, have your tools ready for the task. Typically, you’ll need a pair of gloves for protection as well as a wrench and a screwdriver to work with the nuts and bolts. Finally, study your trimmer’s user manual to understand the specifics of its assembly and disassembly.
2. How can I find the right replacement blade for my trimmer?
The replacement blade’s specifications have to match those of your trimmer to ensure optimal functioning. The user manual of your string trimmer contains all the information regarding the type and size of the blade that it can work with.
Moreover, it’s wise to buy from a reliable brand that provides quality assured products. If you’re unsure, it’s best to consult a professional or the manufacturer’s customer care.
3. Are there any special instructions to follow when installing the blade?
Yes, there’s a procedure to follow when installing the blade. One fundamental aspect is ensuring the blade’s teeth face the right direction. They should lead into the cut to increase efficiency and safety. The accompanying washer and nut should also be secured tightly with a wrench to prevent the blade from coming off during operation.
Some string trimmers may require a blade adapter kit for the installation. This varies from model to model, and the user manual is the best source to find this information.
4. What precautions should I observe once the blade is installed?
After the blade installation, it’s advisable to do a check before starting your work. Verify that the blade is secure and positioned correctly. Test by manually spinning the blade and watching for any signs of wobbles or unevenness. Wearing protective clothing is also recommended to guard against kickbacks.
During operation, be sure to work with the blade at an angle rather than directly pointing to the ground. This practice reduces blade wear while providing a more efficient cut. It’s also important to regularly check the blade’s condition and sharpness, replacing it when necessary.
5. Can the brush cutter blade damage my trimmer’s engine?
Operating a string trimmer with an incorrectly installed brush cutter blade can potentially harm its engine. The blade’s weight and size are significant factors as improper balance can cause unnecessary strain on the motor, leading to wear and tear over time.
Furthermore, too large or heavy a blade can wear out the clutch quicker. It’s crucial to ensure compatibility between the trimmer and the blade to prolong your machine’s lifespan.
How to install a brush blade on any Stihl, Husqvarna, Echo, Shindaiwa, etc trimmer
Conclusion
So, now that we’ve discussed, you know how to safely up your string trimmer game by attaching a brush cutter blade. Always remember the vital steps, like removing the trimming head, properly placing the blade on the trimmer, and securing it tightly with a nut. And never forget the essential safety precautions: unplugging the trimmer, wearing gloves, and checking the blade’s firm attachment before starting your work.
With practice, changing from a string trimmer to a brush cutter blade will be as easy as pie for you. Then, your string trimmer will be ready to tackle those more demanding gardening tasks. Just be careful, keep your safety in mind at all times, and happy gardening!

I’m Patricia D. Johnson, an affiliate marketer and blogger specializing in trimmers and grooming tools. I create honest reviews, buying guides, and practical tips to help readers choose the right trimmer for their needs. With a focus on quality, performance, and value, I simplify the decision-making process so consumers can make confident purchases.