How to Replace Pull Cord on Hedge Trimmer
A broken pull cord stops work fast. The cord starts the engine every time. Regular use wears cords out over time. External factors can damage them as well. Panic helps nobody facing this common issue.
Replacing one yourself saves costly professional repairs. The task suits beginners with basic tools. This guide covers tools, precautions, and steps. You finish with a smooth, working starter. Patience matters more than strength here today.
Follow each step in the order given. Safety comes first at every single repair stage. Our hedge trimmer guide explains the tool itself. Your trimmer returns to work quickly afterward.
Quick answer: Gather your tools and disconnect the spark plug. Remove the starter housing screws very carefully today. Unwind the old cord and note its winding. Thread and wind the new cord snugly inside. Reassemble everything, reconnect, and test with gentle pulls.
- How to Replace Pull Cord on Hedge Trimmer: The Short Answer
- Step 1: Gather Tools and Safety Equipment
- Step 2: Prepare the Trimmer for Repair
- Step 3: Remove the Starter Housing
- Step 4: Fit the New Pull Cord
- Step 5: Reassemble and Test the Trimmer
- Frequently Asked Questions
- Conclusion: How to Replace Pull Cord on Hedge Trimmer
How to Replace Pull Cord on Hedge Trimmer: The Short Answer
Start with gloves and safety glasses on. Keep every tool within reach before starting. The Wikipedia hedge trimmer page gives tool background reading. Work slowly and follow the order given.
Step 1: Gather Tools and Safety Equipment
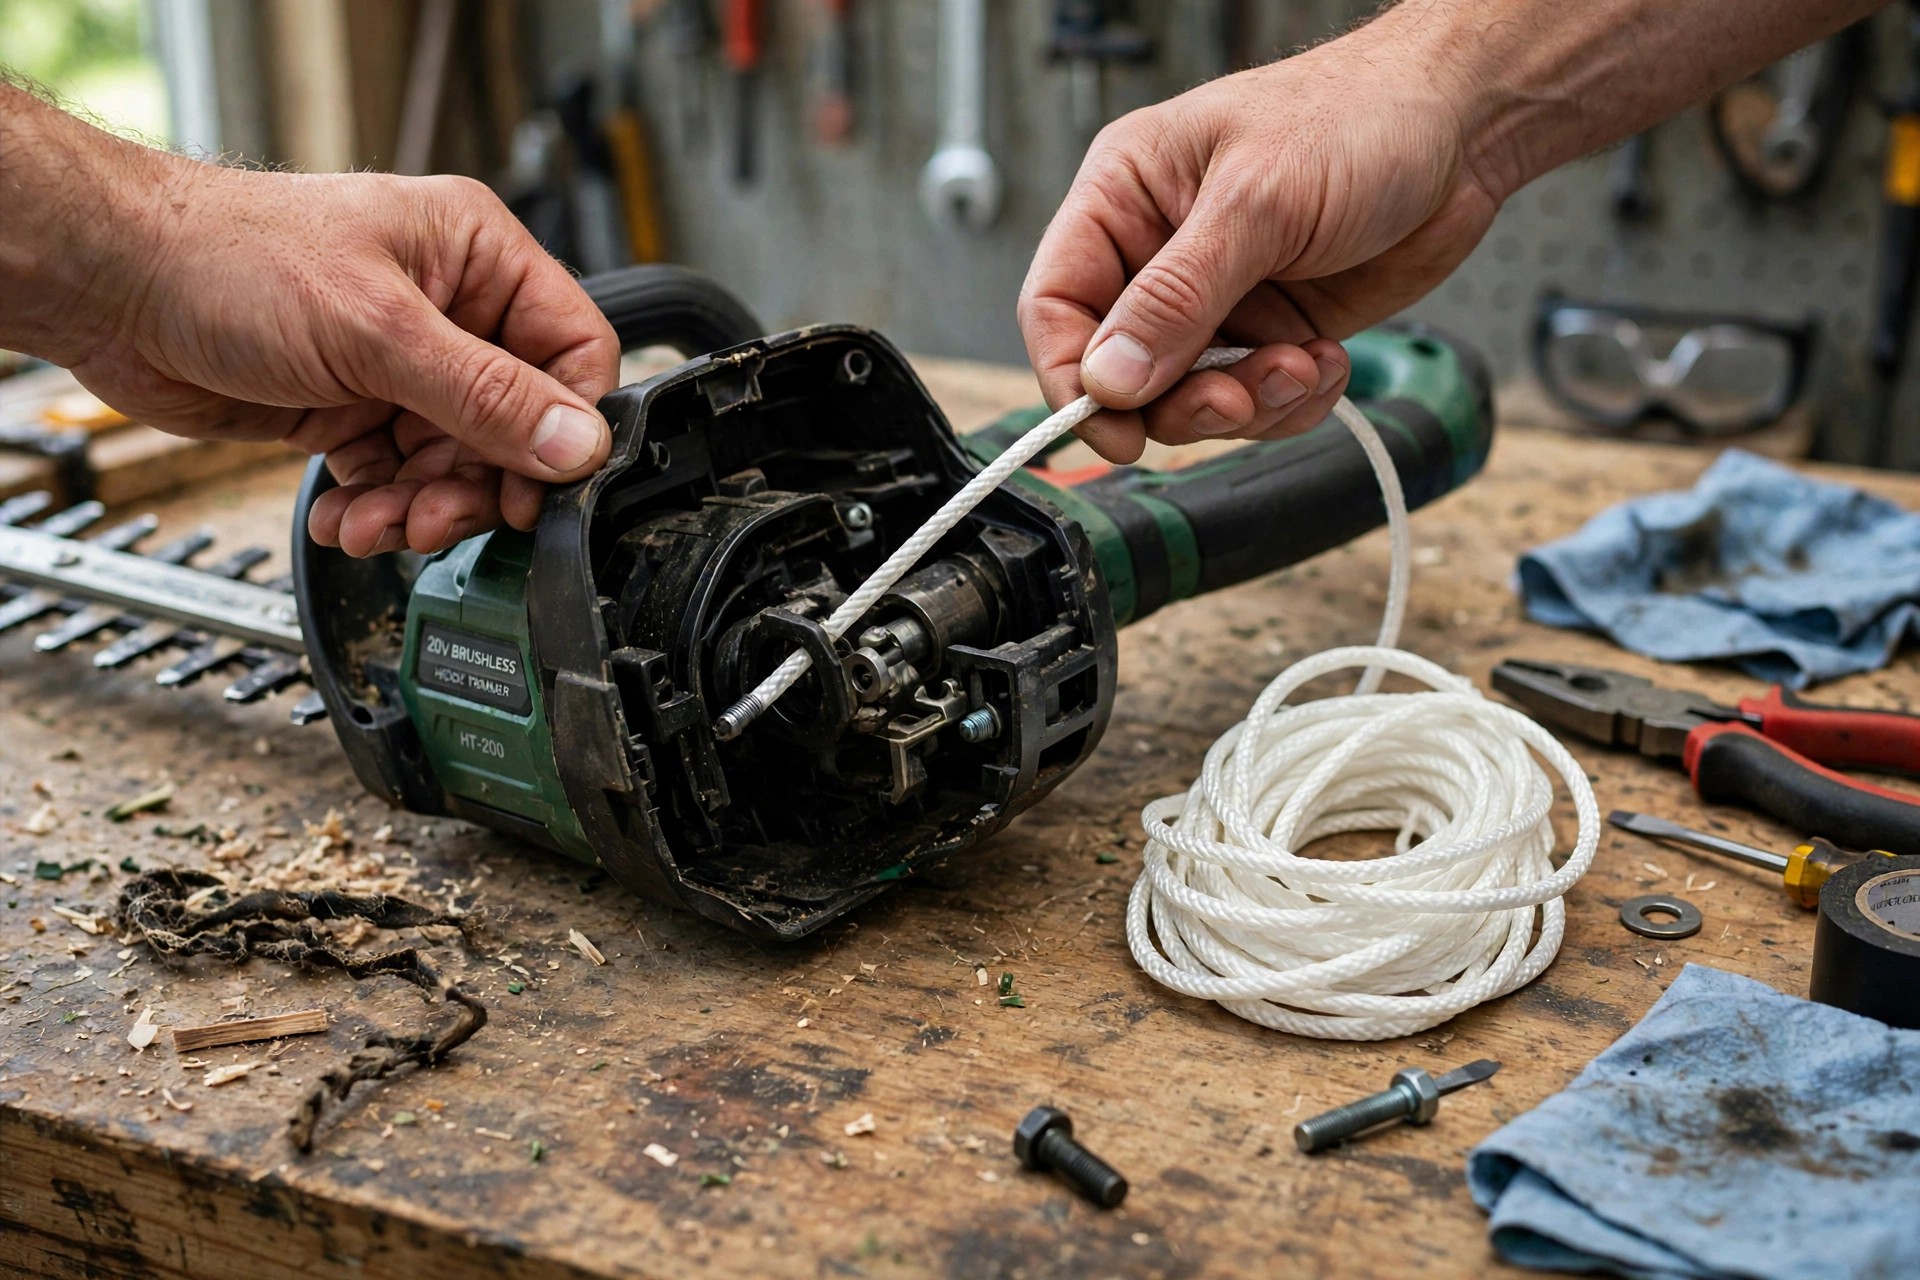
Assemble the full kit before you begin. A replacement pull cord tops the list. A new spark plug stays optional but recommended. Our blade oiling guide covers routine blade care.
| Tool or Gear | Why the Post Lists It |
|---|---|
| Replacement pull cord | Matches the old cord length and thickness |
| Socket wrench or screwdriver | Removes the starter housing screws or bolts |
| Pliers | Helps handle the cord and small parts |
| Scissors or knife | Cuts the new cord to length |
| Work gloves and safety glasses | Worn through the whole repair process |
Step 2: Prepare the Trimmer for Repair
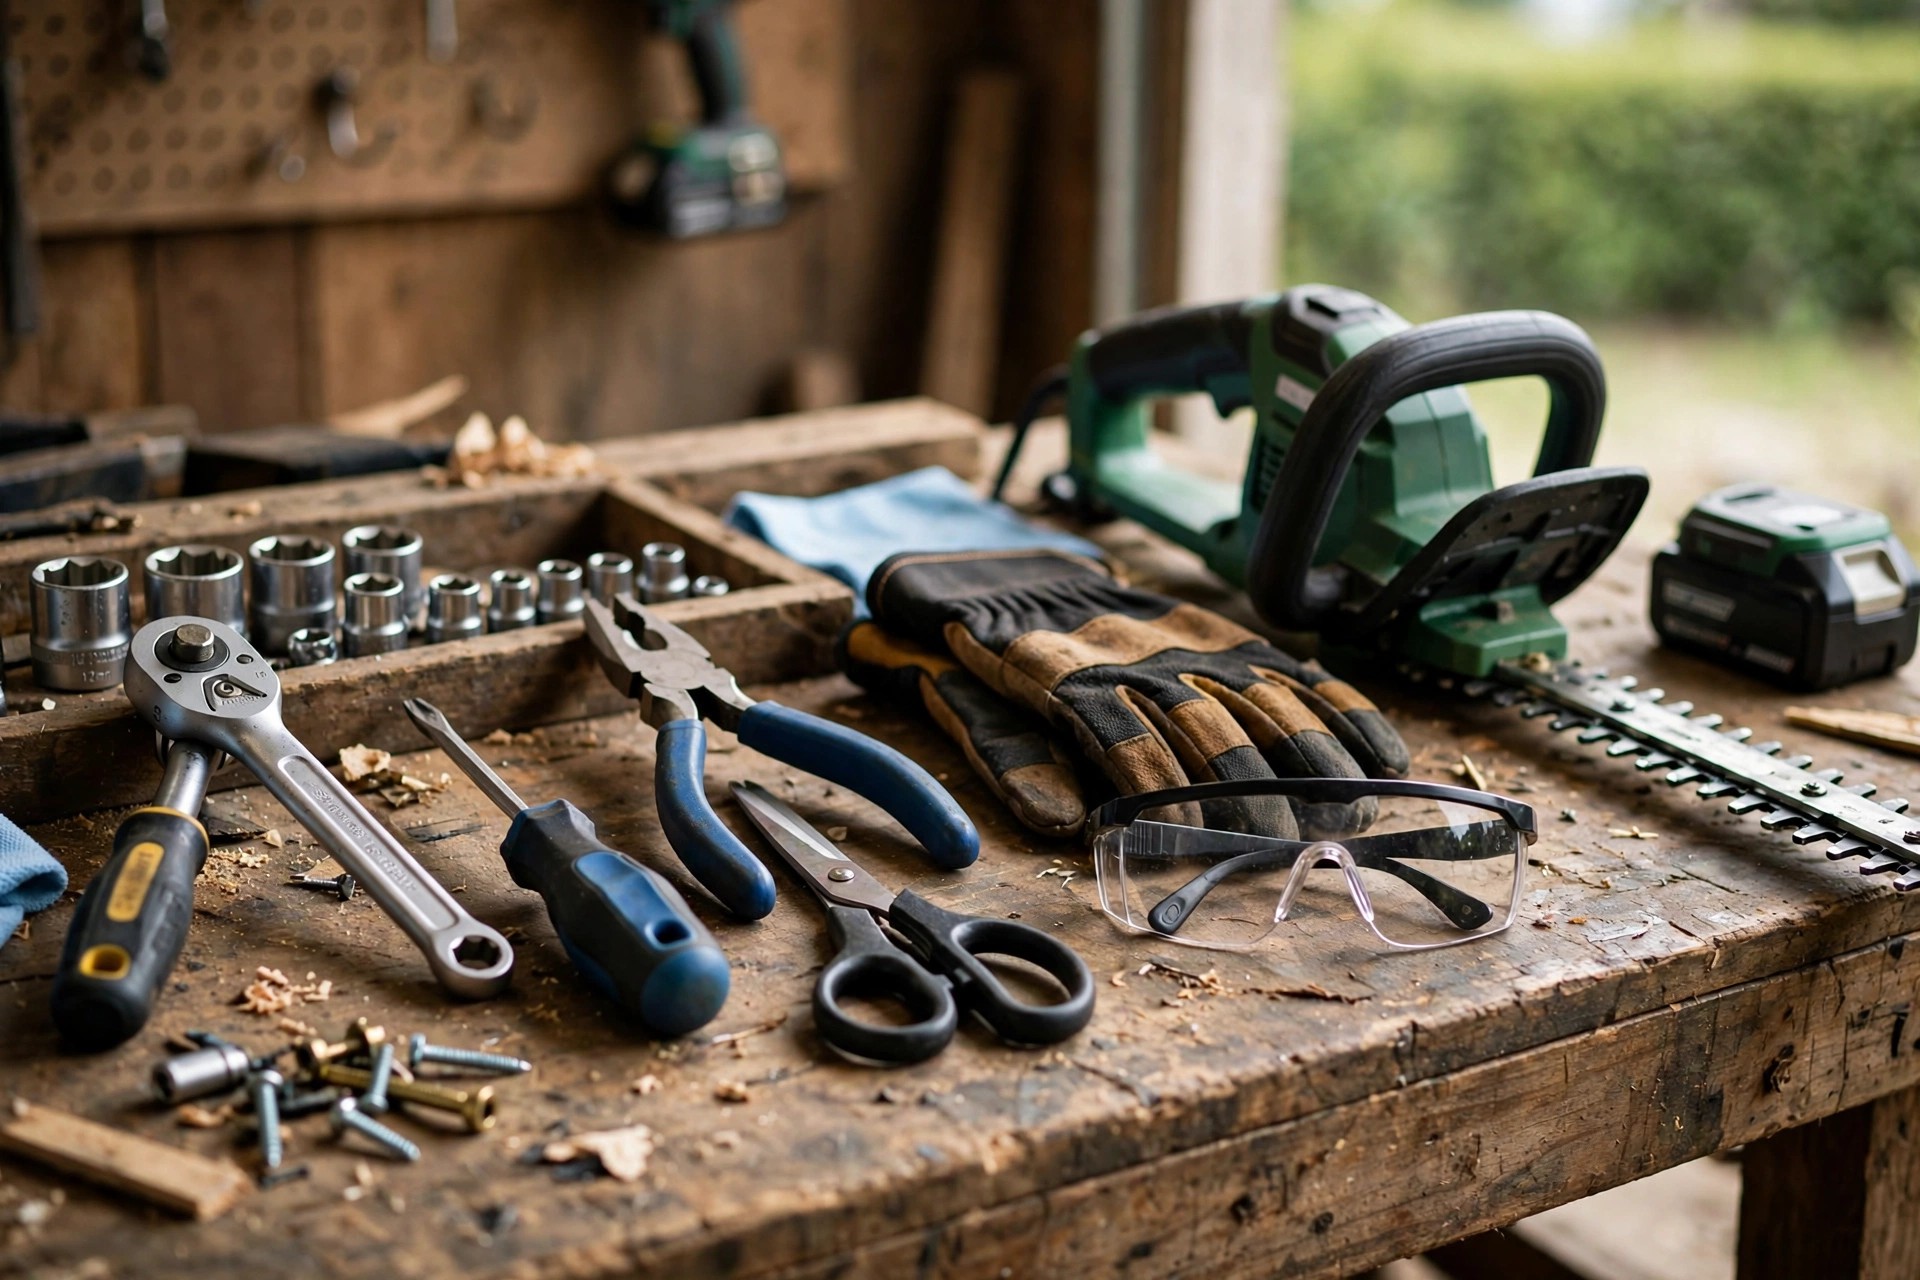
Disconnect the spark plug wire before anything. This prevents accidental starting during the repair. Place the trimmer on a flat surface. A stable, level surface steadies the work.
Clean dirt and debris off the housing. A cloth or brush handles this quickly. A clean workspace prevents interference during repair. Our blade lubrication guide covers upkeep basics.
Step 3: Remove the Starter Housing
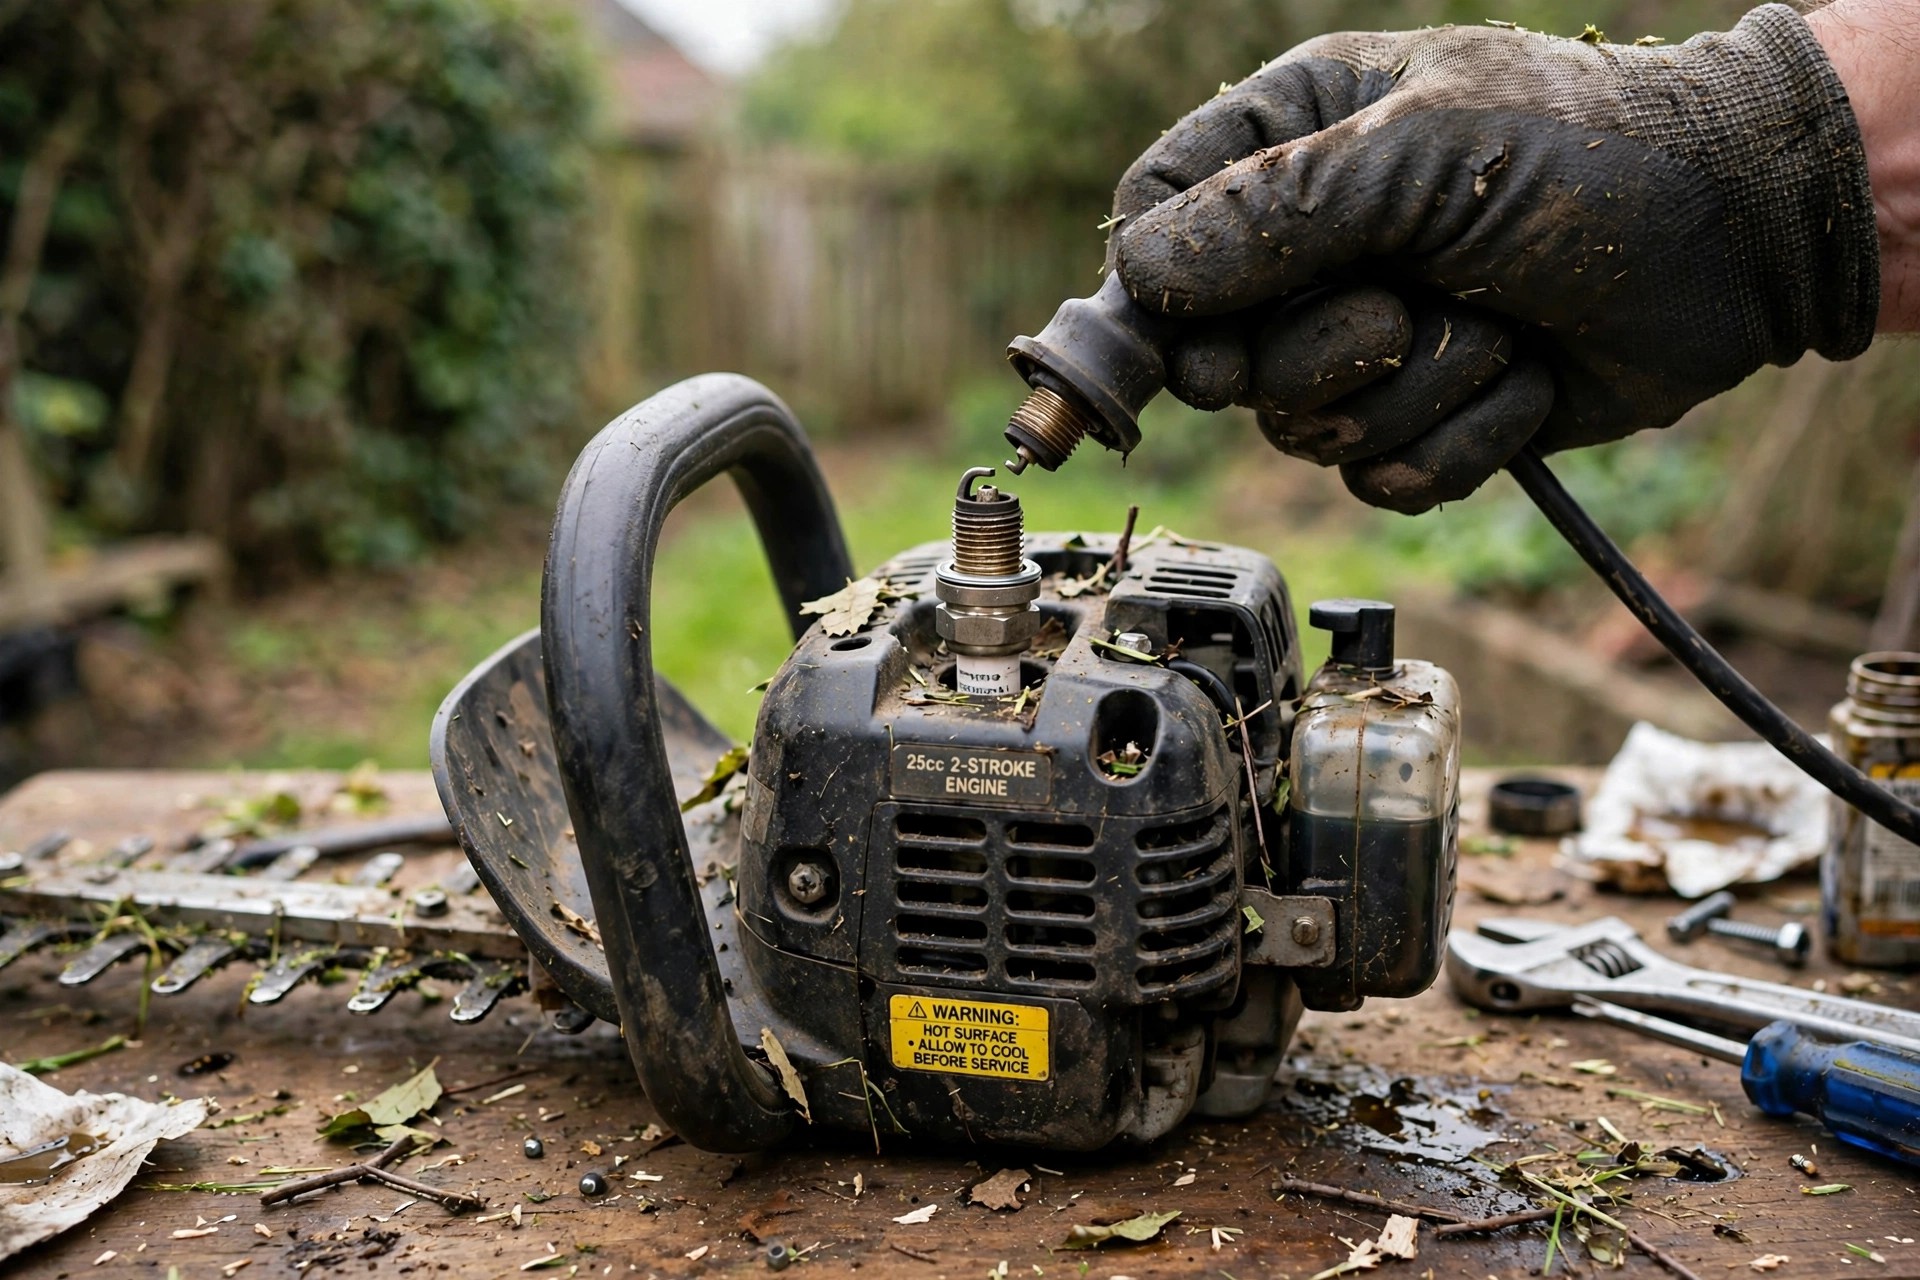
The starter housing sits near the rear handle. Screws or bolts secure it in place. Remove them with the fitting tool carefully. Set them aside somewhere safe from loss.
Lift the housing off the trimmer gently. Avoid damaging components or wiring inside it. Inspect the old cord before removing it. Look for wear, damage, or tangles there.
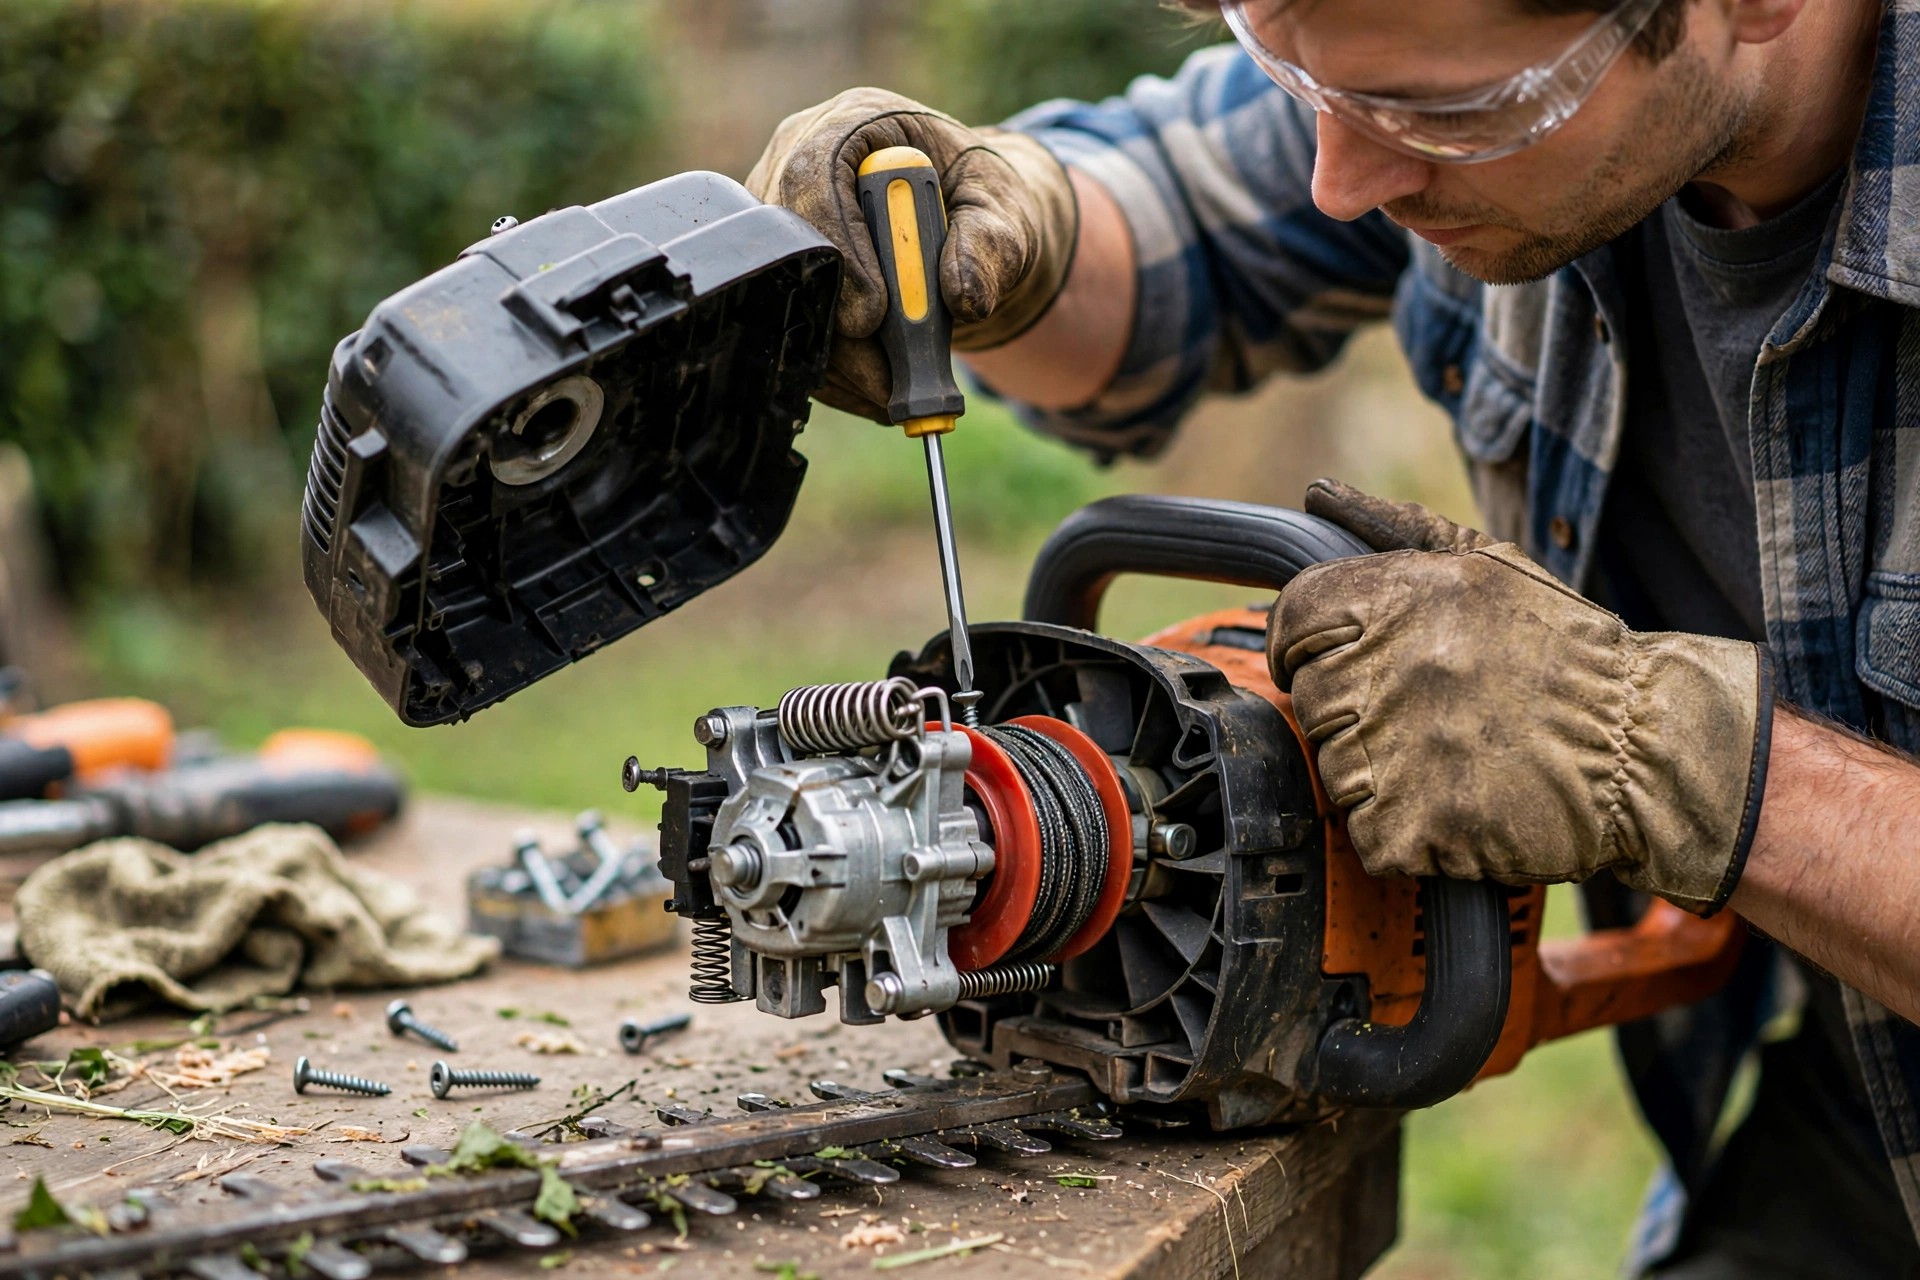
Please note: Step three places the starter housing near the rear handle. The third question places the assembly in the body center. Both placements stay here exactly as published originally.
Step 4: Fit the New Pull Cord
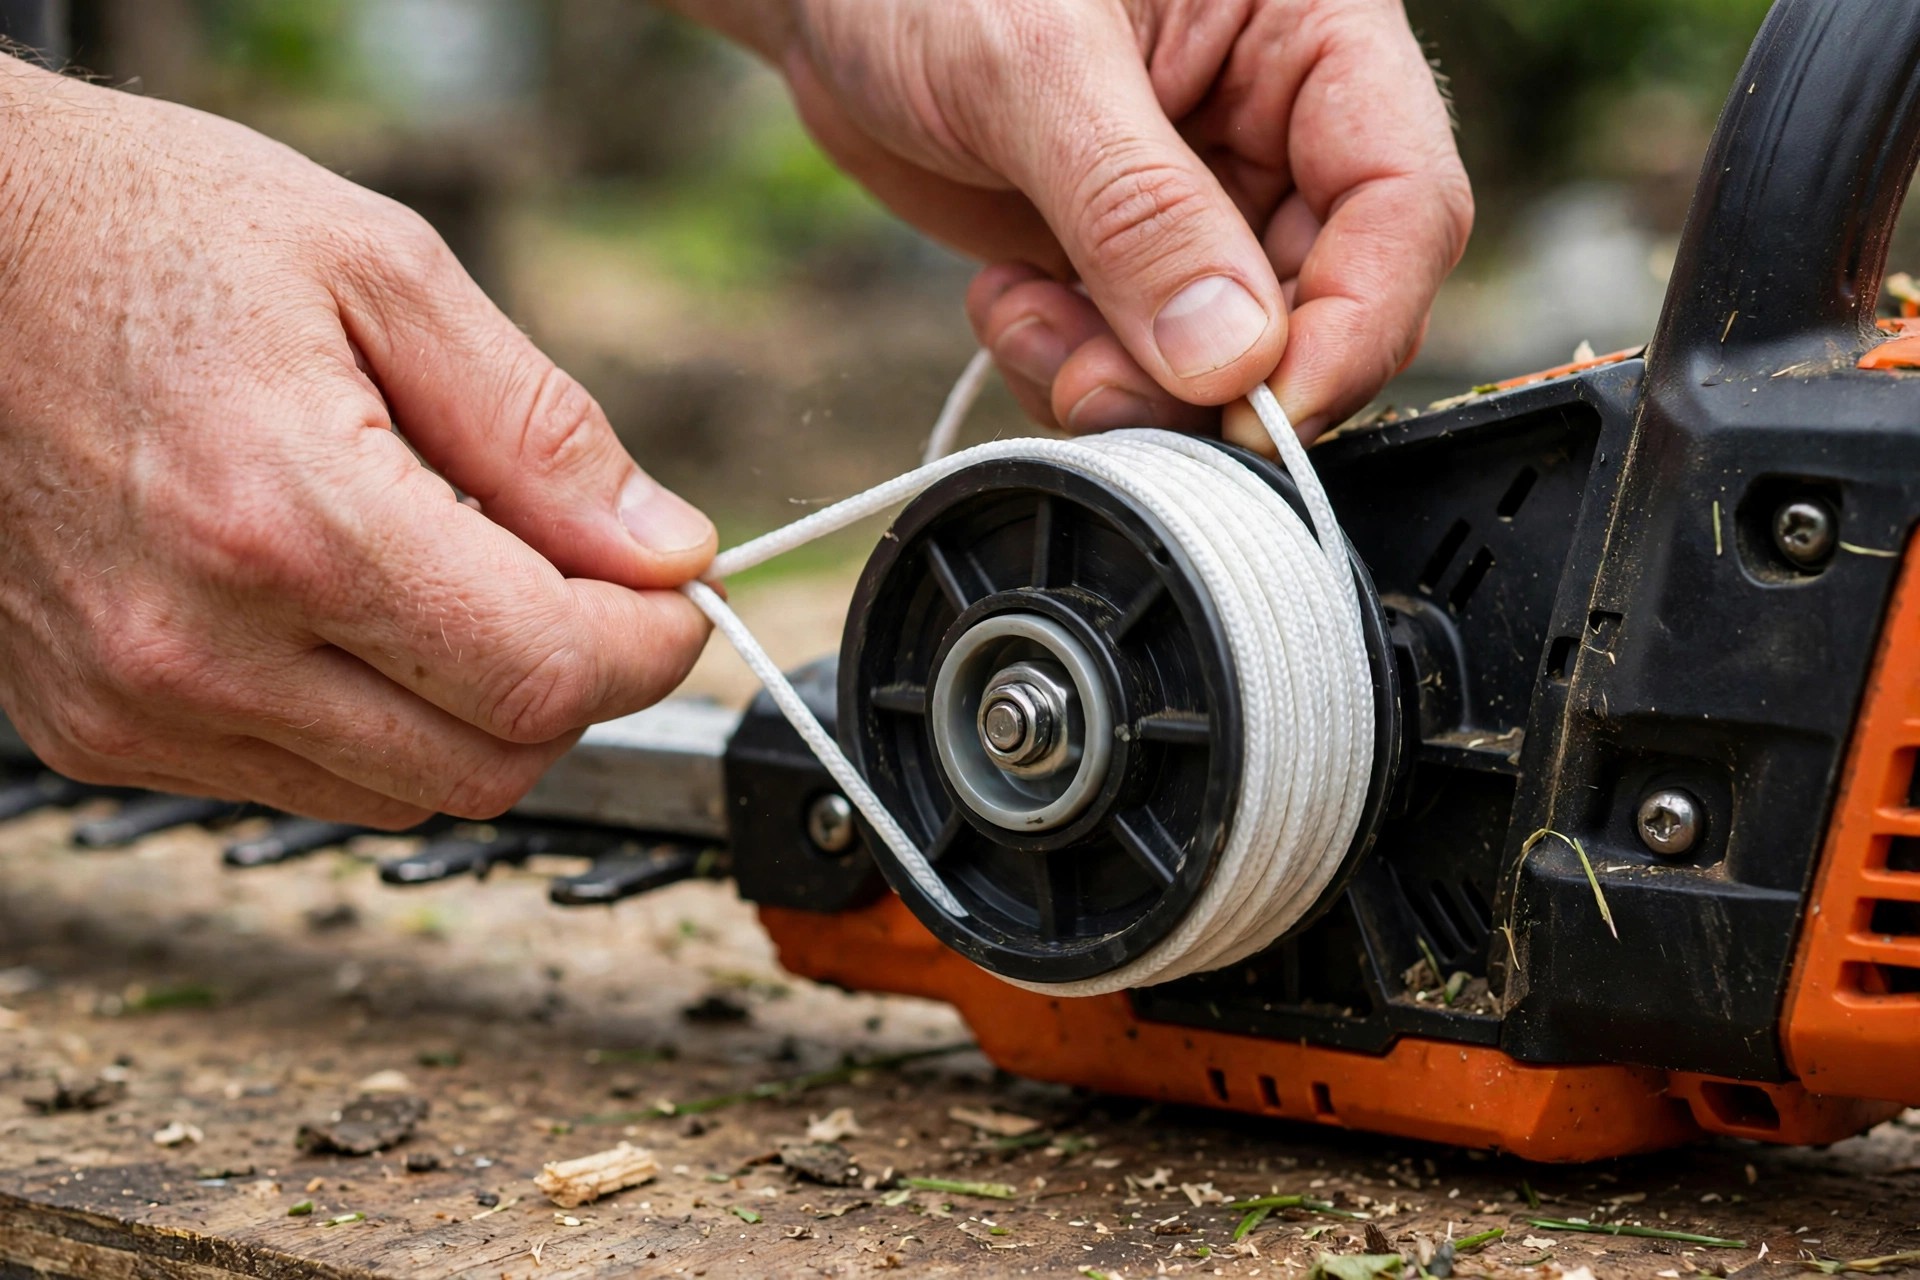
Unwind and remove the old cord carefully. Note exactly how it was originally wound. Cut the new cord to match it. Use a cord of the same thickness.
Thread one end into the notch or hole. Follow the path of the previous cord. Wind it around the starter mechanism snugly. Snug winding gives sufficient tension when pulling.
Step 5: Reassemble and Test the Trimmer
| Stage | Key Action From the Post |
|---|---|
| Prepare | Spark plug disconnected before any work begins |
| Housing | Screws kept safe while the housing lifts off |
| New cord | Same length and thickness as the old cord |
| Test | Cord retracts smoothly and engages the engine |
Align the housing and refit it carefully. Tighten screws securely without over-tightening them ever. Reconnect the spark plug wire after that. Our blade fault guide solves other starting troubles.
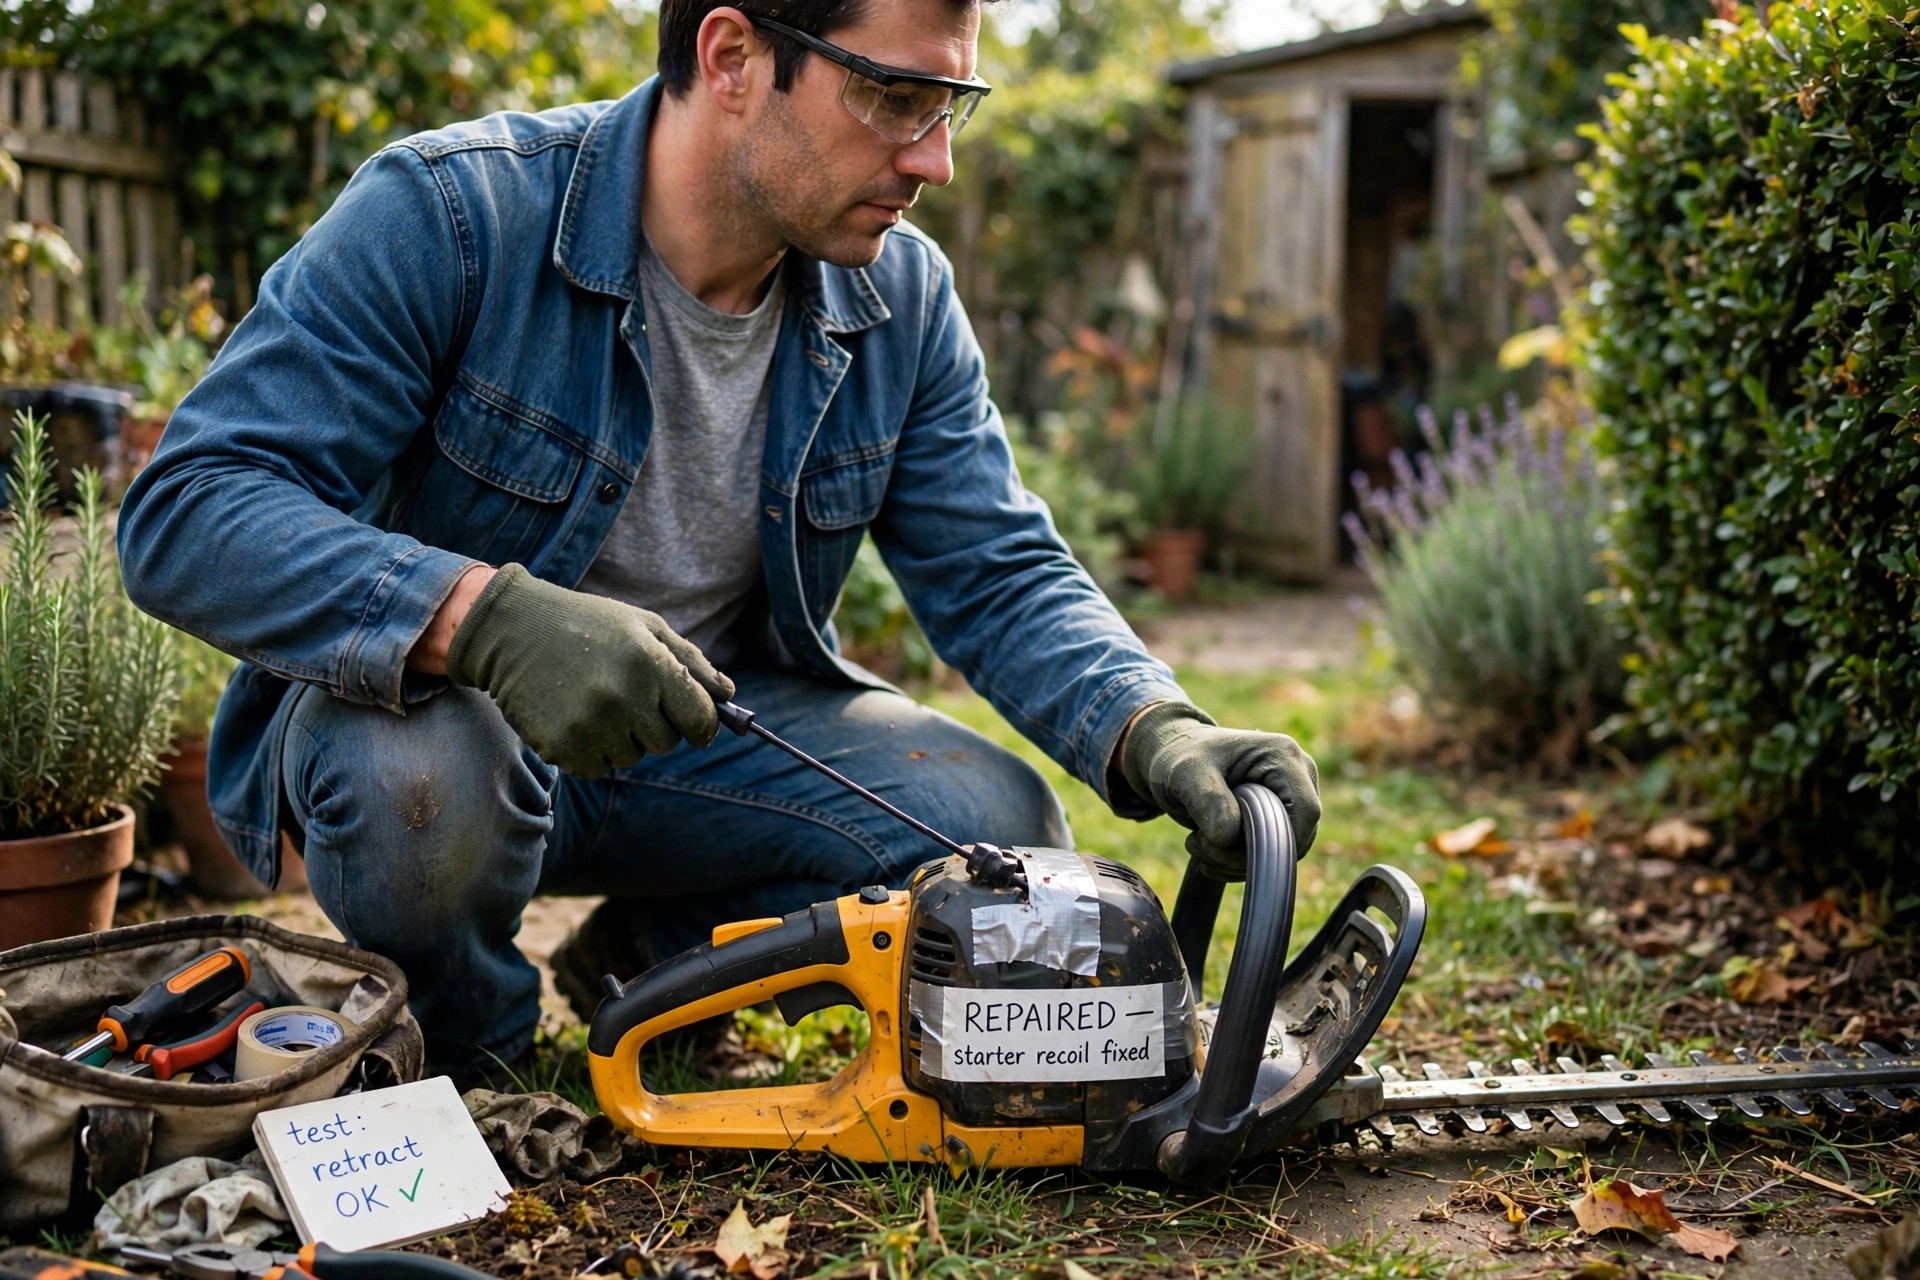
Give the cord a few gentle pulls. It should retract smoothly every single time. It should also engage the engine properly. Our WD-40 lubrication guide answers a common question.
Frequently Asked Questions
How do I know if the pull cord needs replacement?
Frayed, tangled, or broken cords need replacement. A cord may stop retracting properly too. Hard starting also signals cord trouble ahead. Pull gently to confirm the problem first.
What tools do I need to replace the pull cord?
You need a replacement pull cord first. Add a screwdriver for your trimmer model. Socket wrench or pliers may help too. Scissors or wire cutters and safety gloves complete it.
How do I remove the old pull cord?
Turn the trimmer off before starting removal. Disconnect the spark plug for safety first. It is usually housed in the trimmer body center. Unwind and untangle the old cord fully. Cut it free with scissors or cutters.
How do I install the new pull cord?
Thread the cord through the assembly opening. Seat it correctly and securely in place. Wind following the arrow or manufacturer direction. Leave a sufficient length hanging out afterward. Secure it with a knot or slot.
How do I test the new pull cord?
Reconnect the spark plug before testing anything. Turn the hedge trimmer on carefully afterward. Pull gently and watch it retract smoothly. Repeat the test a few times over.
Our tree cutting guide covers bigger trimming jobs. Clean and maintain the trimmer regularly too. Regular care prevents many future issues entirely.
Conclusion: How to Replace Pull Cord on Hedge Trimmer
So, how to replace pull cord on hedge trimmer confidently? Gather tools and disconnect the spark plug. Open the housing and swap the cord. Wind it snugly and reassemble everything very carefully. Basic tools and patience complete the job.
Test with gentle pulls before real trimming work. Regular cleaning prevents many future issues entirely. Seek professional help if you feel unsure. Protective gear stays on throughout the repair. Your trimmer stays ready for every hedge.
