In today’s fast-paced world, personal grooming is an essential aspect of our daily routines. From perfectly styled hair to well-groomed beards, there’s no denying the importance of having the right tools to achieve the desired look. And when it comes to trimmers, cleanliness and hygiene should never be compromised. That’s why learning how to properly disinfect your trimmer is not just a matter of personal hygiene, but also a crucial step towards ensuring the longevity and effectiveness of this indispensable grooming tool.
Whether you’re a professional barber or simply someone who enjoys maintaining their own style, understanding the proper techniques to disinfect your trimmer is paramount. In this guide, we will delve into the step-by-step process of effectively disinfecting your trimmer, ensuring that it remains free from harmful bacteria and other contaminants.
From understanding the importance of regular cleaning to exploring the various disinfection methods available, this comprehensive guide will equip you with the knowledge and skills necessary to keep your trimmer in top-notch condition. So, let’s dive in and unlock the secrets to maintaining a clean and germ-free trimmer for a grooming routine that is both stylish and safe.
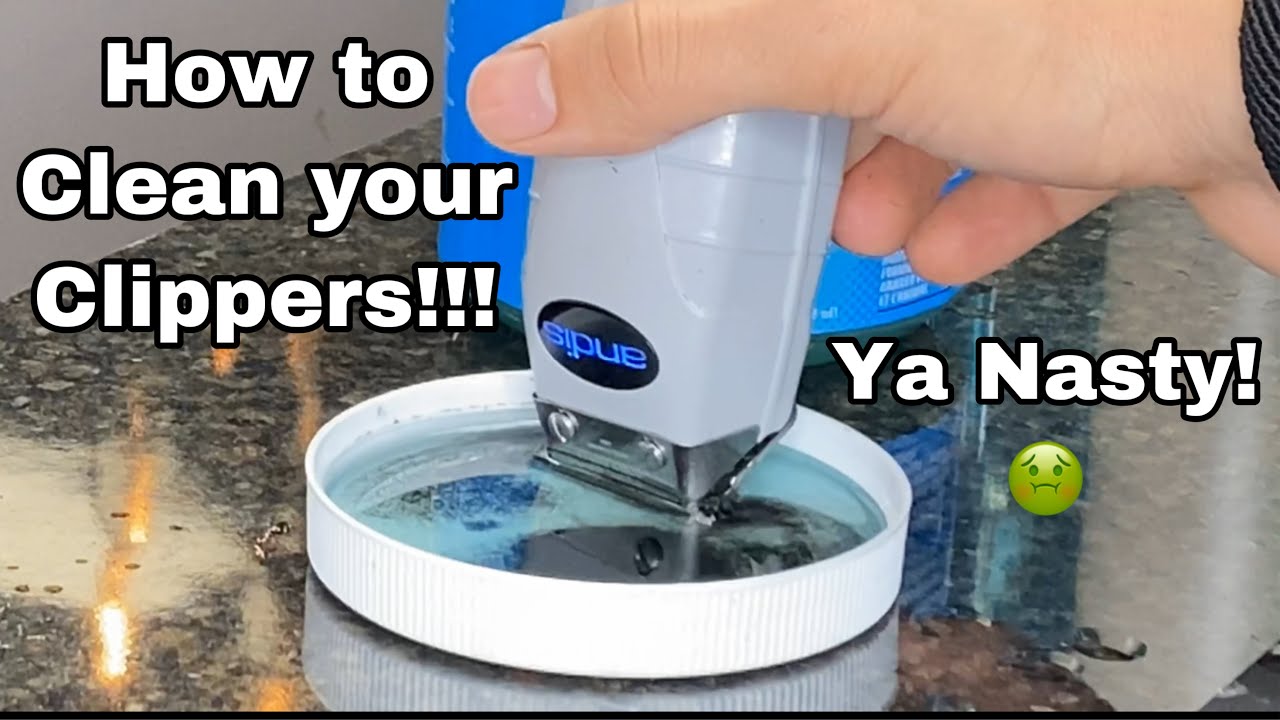
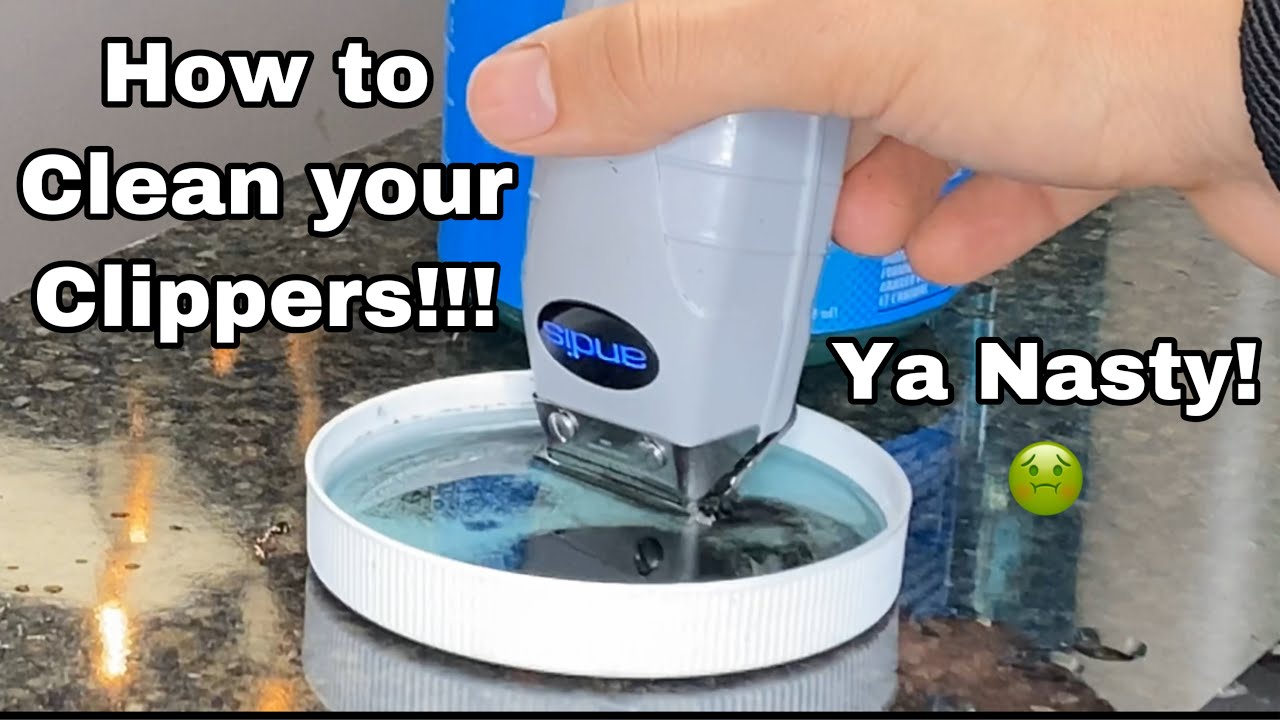
How to disinfect a trimmer:
- Detach the trimmer head or blade from the trimmer.
- Clean the trimmer head or blade with warm soapy water using a brush.
- Rinse the head or blade thoroughly with water.
- Disinfect the head or blade by soaking it in a mixture of water and bleach or rubbing alcohol for 10 minutes.
- Rinse the head or blade again with water and dry it completely before reattaching it to the trimmer.
Source: ytimg.com
Understanding the risks of not disinfecting your trimmer
Neglecting to disinfect your trimmer can have serious consequences for your health. Bacteria, such as Staphylococcus aureus and Streptococcus pyogenes, can cause skin infections like folliculitis, which presents as red, inflamed bumps around hair follicles. These infections can be painful, itchy, and may require medical treatment.
Fungal infections are another risk associated with using an unclean trimmer. Trichophyton spp. and Candida spp. are common fungi that can thrive on the trimmer’s blades and cause conditions like ringworm and yeast infections. These infections can be uncomfortable and may spread to other parts of the body if left untreated.
Moreover, unclean trimmers can also harbor viruses, such as human papillomavirus (HPV) or herpes simplex virus (HSV). These viruses can be easily transmitted through cuts or abrasions on the skin, leading to more severe infections and long-term health complications.
How to Disinfect Trimmer: Step-by-Step Guide
In this article, we will provide you with a detailed step-by-step guide on how to effectively disinfect your trimmer. Maintaining proper hygiene and cleanliness of your trimmer is essential to prevent the spread of bacteria and infections. By following these instructions, you can ensure that your trimmer remains clean and safe to use.
Step 1: Preparation
Before you begin the disinfection process, gather all the necessary supplies. You will need a mild soap or cleaning solution, a clean cloth or sponge, a small brush (such as a toothbrush), and rubbing alcohol. Ensure that you have a clean and well-lit workspace to carry out the disinfection.
Start by unplugging the trimmer from the power source and remove any detachable parts or accessories, such as comb attachments or blades. Carefully inspect these components for any signs of damage or wear and replace them if necessary. Additionally, read the manufacturer’s instructions for any specific cleaning guidelines provided for your trimmer model.
Step 2: Cleaning the Trimmer
Begin by using the small brush to remove any hair or debris from the trimmer blades. Gently brush in a back-and-forth motion to dislodge any buildup. Be careful not to apply excessive pressure to avoid damaging the blades.
Next, dampen the cloth or sponge with the mild soap or cleaning solution. Wipe down the entire trimmer, paying special attention to the blades, housing, and handle. Ensure that all surfaces are thoroughly cleaned, removing any residue or dirt. For hard-to-reach areas, you can use the small brush dipped in the cleaning solution.
Once you have cleaned all the surfaces, rinse the trimmer under running water to remove any soap or cleaning solution. Ensure that the water does not come into contact with any electrical parts. Dry the trimmer with a clean cloth or allow it to air dry completely before proceeding to the next step.
Step 3: Disinfecting the Trimmer
To effectively disinfect your trimmer, use rubbing alcohol. Moisten a clean cloth or cotton pad with rubbing alcohol and wipe down all surfaces of the trimmer, including the blades and housing. Pay close attention to areas that come into direct contact with the skin or hair.
Allow the rubbing alcohol to sit on the surfaces for a few minutes to ensure proper disinfection. This will help kill any bacteria or germs that may be present. After the designated time has passed, use a dry cloth to wipe away any excess rubbing alcohol.
Finally, reassemble the trimmer by attaching any detached parts or accessories. Ensure that they are securely in place. Your trimmer is now disinfected and ready for use!
Step 4: Maintenance and Regular Cleaning
To maintain a clean and hygienic trimmer, it is important to incorporate regular cleaning into your grooming routine. After each use, remove any hair or debris from the trimmer blades using the small brush. Wipe down the trimmer with a clean cloth or sponge dampened with mild soap or cleaning solution.
Additionally, consider using a disinfectant spray specifically formulated for trimmers to provide an extra level of protection against bacteria and germs. Follow the manufacturer’s instructions for the proper application of the disinfectant spray.
By following these steps and incorporating regular cleaning and maintenance, you can ensure that your trimmer remains in optimal condition and provides a safe and hygienic grooming experience.
Best practices for maintaining a clean and disinfected trimmer
While disinfecting your trimmer is important, it’s equally essential to maintain a clean and hygienic trimmer between uses. Here are some best practices to keep your trimmer in top condition:
- Clean after each use: After each use, take a few moments to remove any hair or debris from the trimmer’s blades and body. This prevents the accumulation of dirt and bacteria, making the disinfection process easier and more effective.
- Oil the blades regularly: Most trimmers come with a small bottle of blade oil. Apply a few drops of oil to the blades regularly to keep them lubricated and prevent rusting. This helps maintain the trimmer’s performance and extends its lifespan.
- Avoid sharing your trimmer: Sharing personal grooming tools, including trimmers, increases the risk of infections. It’s best to use your own trimmer and avoid sharing it with others to minimize the transmission of bacteria, fungi, and viruses.
Additional tips for preventing infections while using a trimmer
In addition to regularly disinfecting your trimmer, there are other precautions you can take to further prevent infections:
- Ensure clean and dry skin: Before using a trimmer, ensure that the area you’re trimming is clean and dry. Moisture can create an ideal environment for bacteria and fungi to thrive, increasing the risk of infections.
- Use a pre-shave antiseptic: Applying a pre-shave antiseptic, such as an alcohol-based solution or witch hazel, can help further reduce the risk of infections. These solutions can effectively kill bacteria on the skin’s surface and minimize the chances of contamination.
- Replace blades regularly: Over time, trimmer blades can become dull or damaged, increasing the risk of skin irritation and infections. Follow the manufacturer’s recommendations for blade replacement to ensure optimal performance and hygiene.
These additional tips, combined with regular disinfection, can help create a safer and healthier grooming experience.
Common mistakes to avoid when disinfecting your trimmer
While disinfecting your trimmer is essential, there are some common mistakes that people make. Avoid these errors to ensure proper disinfection and maximum effectiveness:
-
Using harsh chemicals: Avoid using harsh chemicals, such as bleach or ammonia, to clean your trimmer. These chemicals can damage the trimmer’s components and may not be safe for use on the skin. Stick to mild soaps, isopropyl alcohol, or recommended disinfectants.
-
Skipping the cleaning step: Disinfection is most effective when the trimmer is clean. Skipping the step of removing excess hair and debris before disinfection can compromise the disinfection process and reduce its effectiveness.
-
Not allowing enough drying time: After disinfection, ensure that the trimmer is completely dry before storing it. Moisture left on the trimmer can promote the growth of bacteria and fungi, defeating the purpose of disinfection.
By avoiding these common mistakes, you can ensure that your trimmer is properly disinfected and ready for safe use.
Recommended products for disinfecting your trimmer
There are several products available in the market specifically designed for disinfecting grooming tools like trimmers. Here are some recommended options:
- Barbicide: Barbicide is a widely used disinfectant in the professional grooming industry. It effectively kills bacteria, viruses, and fungi and is commonly used for disinfecting scissors, combs, and trimmers.
- Clorox Healthcare Bleach Germicidal Wipes: These pre-moistened wipes are formulated with a bleach solution and are ideal for disinfecting surfaces and tools. They are convenient to use and provide a high level of disinfection.
- 70% Isopropyl Alcohol: Isopropyl alcohol is a common disinfectant that is readily available. It is effective in killing a wide range of microorganisms and can be used to disinfect trimmers as well.
It’s important to carefully read and follow the instructions provided by the manufacturer when using these products to ensure proper disinfection.
How often should you disinfect your trimmer?
The frequency of disinfection depends on how frequently you use your trimmer and the environment in which it is used. Generally, it is recommended to disinfect your trimmer after each use, especially if it is shared among multiple people. This ensures that the trimmer is always clean and ready for safe use.
If you use your trimmer less frequently or in a personal setting, disinfecting it once a week is usually sufficient. However, if you notice any signs of buildup or contamination, such as an unpleasant odor, visible debris, or discoloration, it’s best to disinfect it immediately.
Disinfecting your trimmer in professional settings
In professional settings, such as barbershops or salons, where trimmers are used on multiple clients, it is crucial to maintain strict hygiene protocols. Here are some additional steps to consider:
- Use disposable applicators: Where possible, use disposable applicators or attachments that can be discarded after each use. This minimizes the risk of cross-contamination between clients.
- Clean and disinfect between clients: After each client, clean the trimmer’s blades and body thoroughly, following the step-by-step guide mentioned earlier. Additionally, disinfect the trimmer using an appropriate disinfectant solution before using it on the next client.
- Consider using a UV sterilizer: UV sterilizers are designed to kill bacteria and viruses using ultraviolet light. These devices can be used to further disinfect trimmers and other grooming tools in professional settings.
By implementing these additional measures, professionals can ensure a safe and hygienic environment for their clients.
Frequently Asked Questions
Here are some commonly asked questions about how to disinfect a trimmer:
What is the best way to disinfect a trimmer?
To disinfect a trimmer, start by removing any detachable parts, such as the blade or comb attachments. Clean these parts separately according to the manufacturer’s instructions. Next, wipe down the entire trimmer body using a disinfectant wipe or a cloth soaked in a disinfectant solution.
Pay special attention to the areas that come into direct contact with the skin. Allow the trimmer to air-dry completely before reassembling and storing it. Avoid using harsh chemicals or submerging the trimmer in water, as this can damage the internal components.
Can I use alcohol to disinfect my trimmer?
Yes, alcohol can be used to disinfect a trimmer. Isopropyl alcohol, also known as rubbing alcohol, is particularly effective for this purpose. Moisten a cloth or cotton pad with alcohol and gently wipe down the trimmer, ensuring that all surfaces are thoroughly cleaned.
Allow the alcohol to evaporate before reassembling and storing the trimmer. However, be cautious when using alcohol on plastic parts, as it can cause them to become brittle over time. It is best to consult the manufacturer’s instructions or use a disinfectant specifically recommended for your trimmer.
Are there any alternative methods to disinfect a trimmer?
Yes, if you do not have access to disinfectant wipes or alcohol, there are alternative methods to disinfect a trimmer. One option is to use a solution of warm water and mild soap. Gently clean the trimmer with a soft cloth or brush, ensuring that all surfaces are thoroughly scrubbed.
Rinse the trimmer with clean water and allow it to air-dry completely before reassembling and storing. Another alternative is to use a UV sterilizer specifically designed for trimmers and other personal care tools. These devices use ultraviolet light to kill bacteria and germs, providing an efficient disinfection method.
Can I share my trimmer with others without disinfecting it?
It is not recommended to share your trimmer with others without disinfecting it first. Sharing personal grooming tools, such as trimmers, can lead to the transmission of bacteria, viruses, and other pathogens. Disinfection is especially important if you are using the trimmer on different individuals.
To ensure hygiene and prevent the spread of infections, it is best to disinfect the trimmer thoroughly before and after each use, even if it is only used by one person. This simple practice helps maintain a clean and safe grooming routine.

Source: wikihow.com
HOW TO DEEP CLEAN HAIR CLIPPERS WITH H-42
Final Words:
In conclusion, knowing how to properly disinfect your trimmer is crucial for maintaining a clean and hygienic grooming routine. By following the steps outlined in this guide, you can ensure that your trimmer remains free from bacteria, viruses, and other harmful microorganisms. Regular disinfection not only protects your own health, but also helps prevent the spread of infections to others.
Remember, the key to disinfecting your trimmer effectively lies in using the right cleaning agents, following the manufacturer’s guidelines, and being consistent with your cleaning routine. Whether you are a professional barber or someone who simply enjoys maintaining their own grooming, incorporating these disinfection practices will not only extend the lifespan of your trimmer but also provide you with peace of mind knowing that you are taking the necessary precautions for a safe and healthy grooming experience.
By prioritizing cleanliness and ensuring proper disinfection, you are not only taking care of your trimmer, but also looking out for your own well-being and that of those around you. So, make it a habit to disinfect your trimmer regularly, and enjoy a clean and hygienic grooming experience every time.
