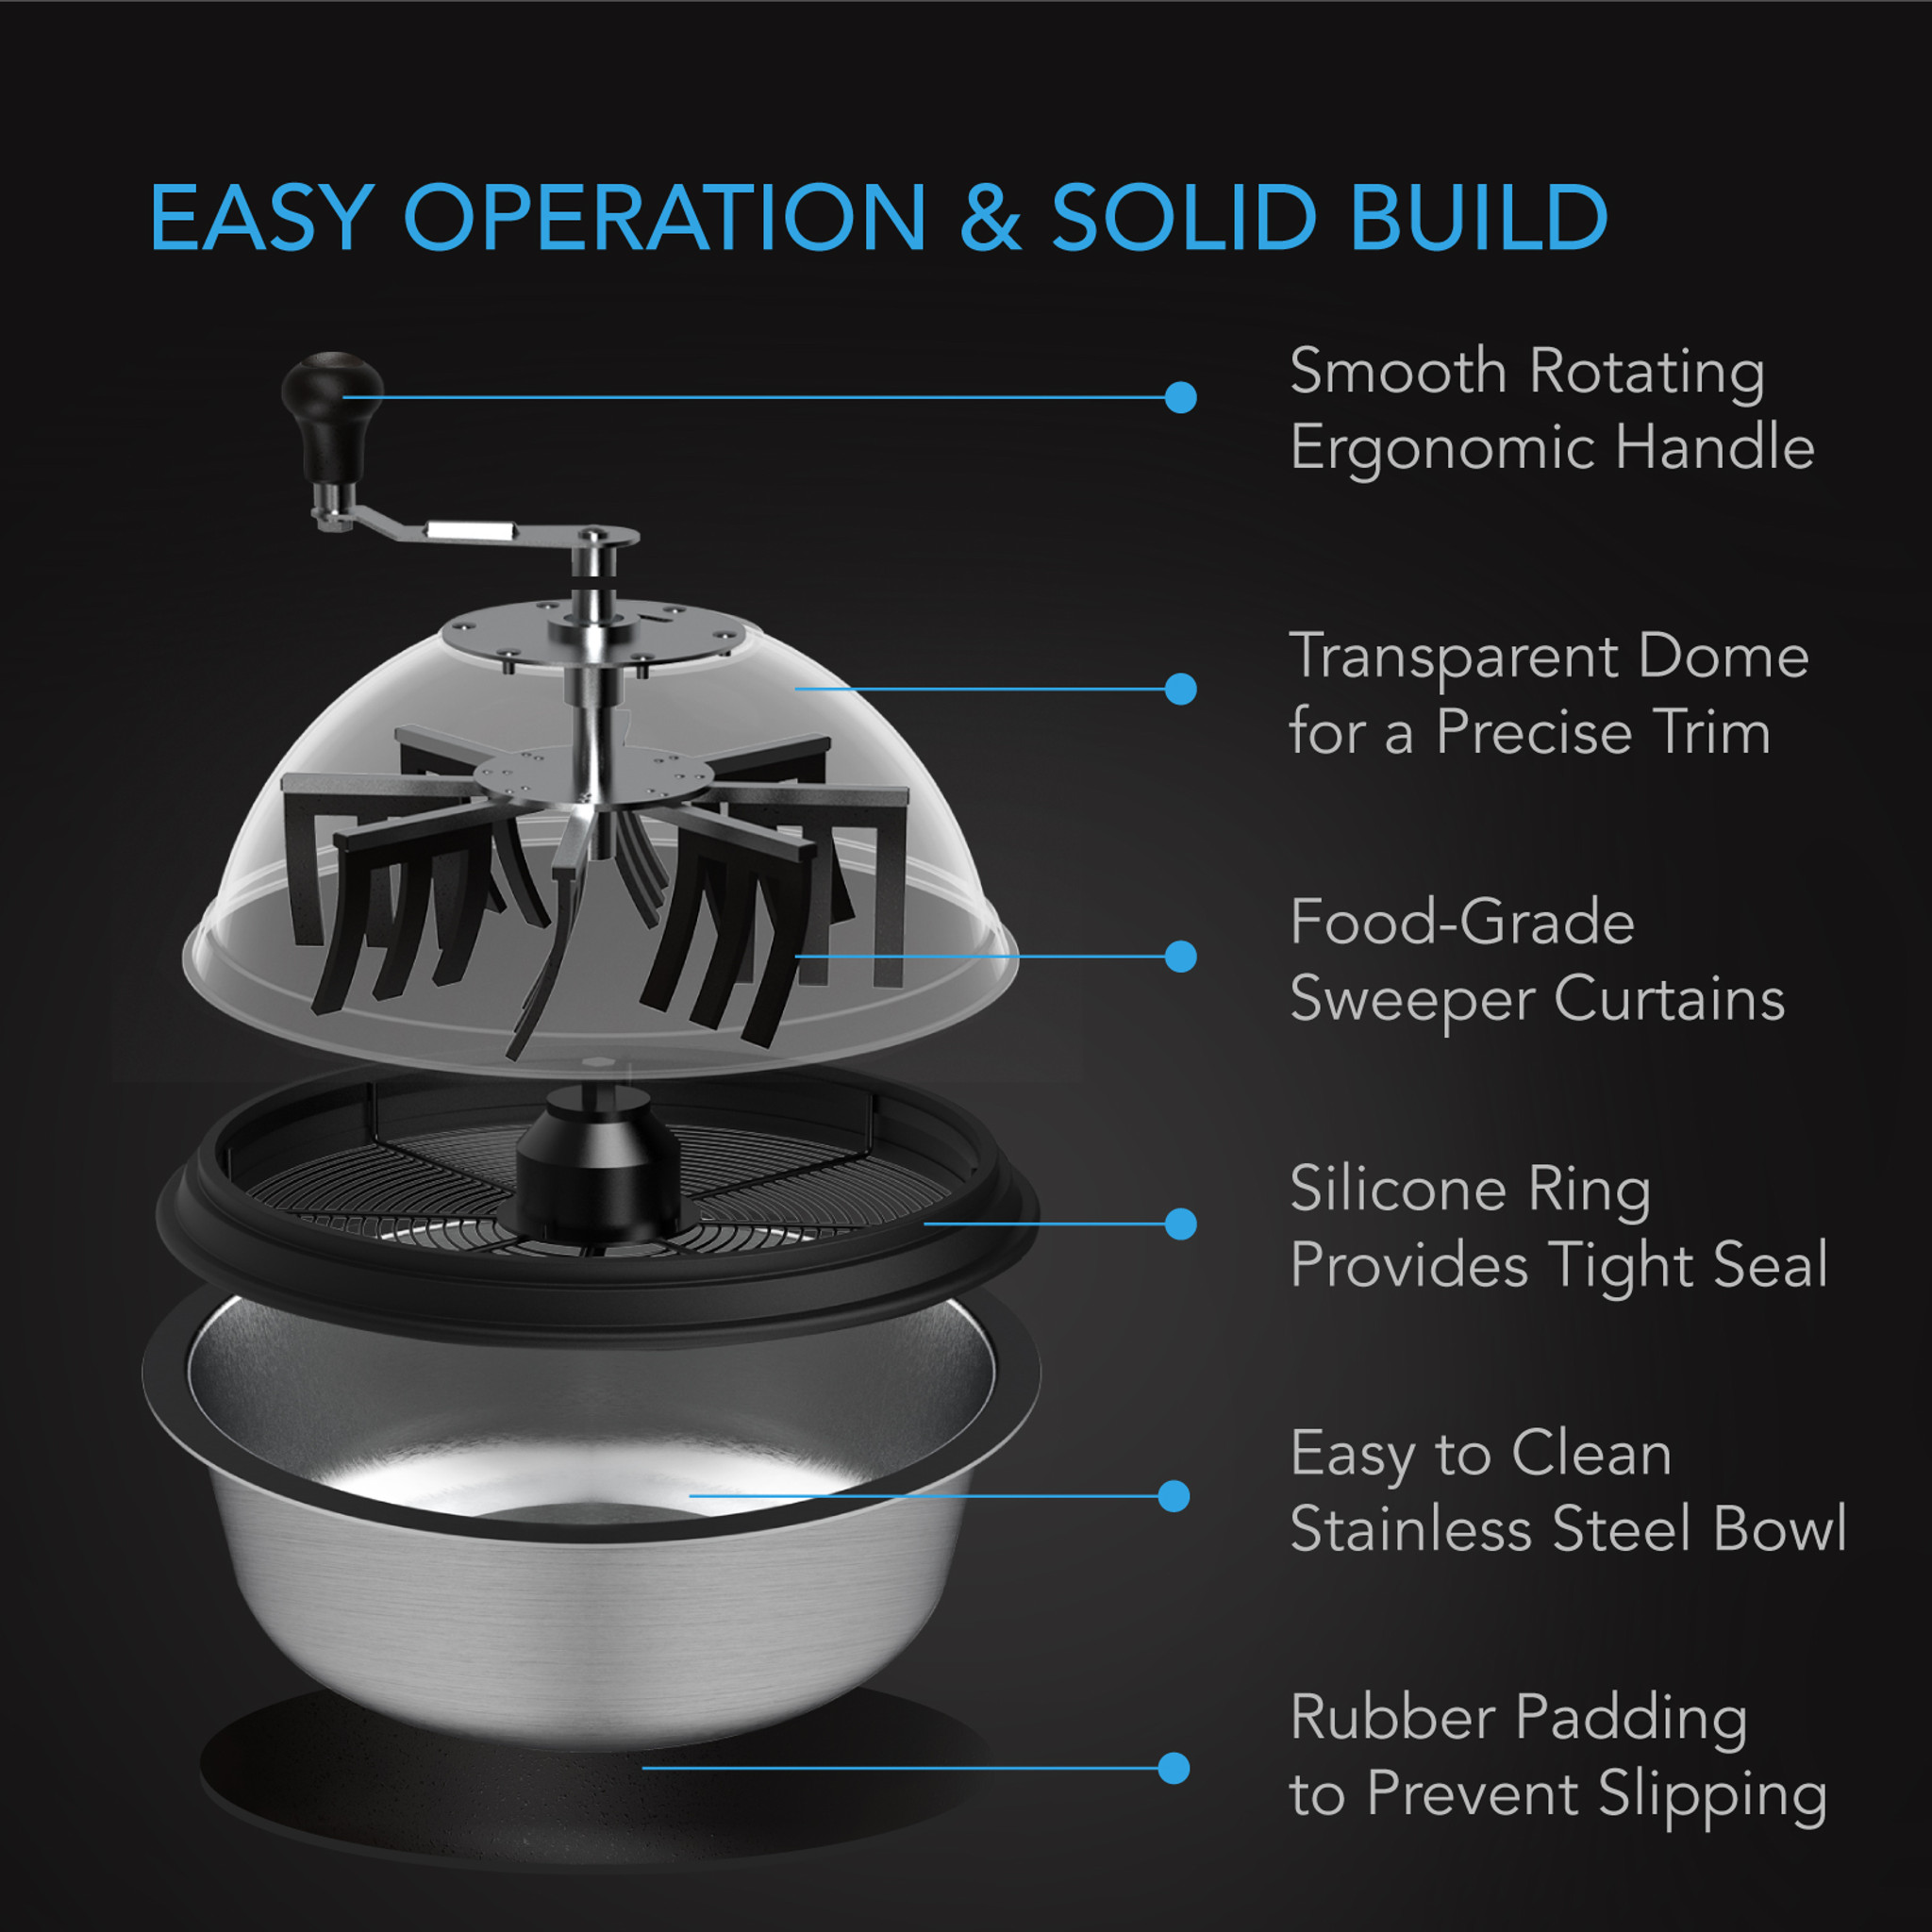
How to Clean a Bowl Trimmer
How to clean a bowl trimmer saves harvests. Sticky scum builds up fast in trimming sessions. Dirty blades tear plants instead of cutting clean. Steady cleaning keeps each cut smooth and exact. Sticky scum builds fast. Clean cuts need clean blades.
This guide follows five clear cleaning steps all through. You will take it apart, wash, sanitize, and dry parts. Plain home supplies handle the whole job. Careful drying stops rust before it can start. Our Micro Touch cleaning guide covers small grooming trimmers. Five steps, home supplies. Dry stops rust.
A clean machine guards your picked crop too. Scum left behind can spoil taste and grade. Clean parts glide through plants with less effort. The routine below keeps the machine ready at all times. Scum spoils taste. Clean parts glide free.
Quick answer: Clean the bowl trimmer after each use. Take the machine apart and brush debris away. Soak stubborn residue in warm soapy water briefly. Sanitize every surface with rubbing alcohol afterwards thoroughly. Dry all the parts completely before storing them away.
How to Clean a Bowl Trimmer: Overview
Bowl trimmers gather sticky scum quite fast. That scum dulls blades and slows the machine. Cleaning after each use stops heavy buildup. The five steps below bring back top work. Our blade replacement guide explains worn blade signs. Scum dulls and slows. Five steps fix it.
| Quick Step | What the Post Says |
|---|---|
| Soak the parts | Use warm soapy water for stubborn residue |
| Scrub off residue | Work gently with a small soft brush |
| Rinse everything | Rinse the parts under clean running water |
| Dry completely | Let the parts air dry completely afterwards |
Supplies You Need First
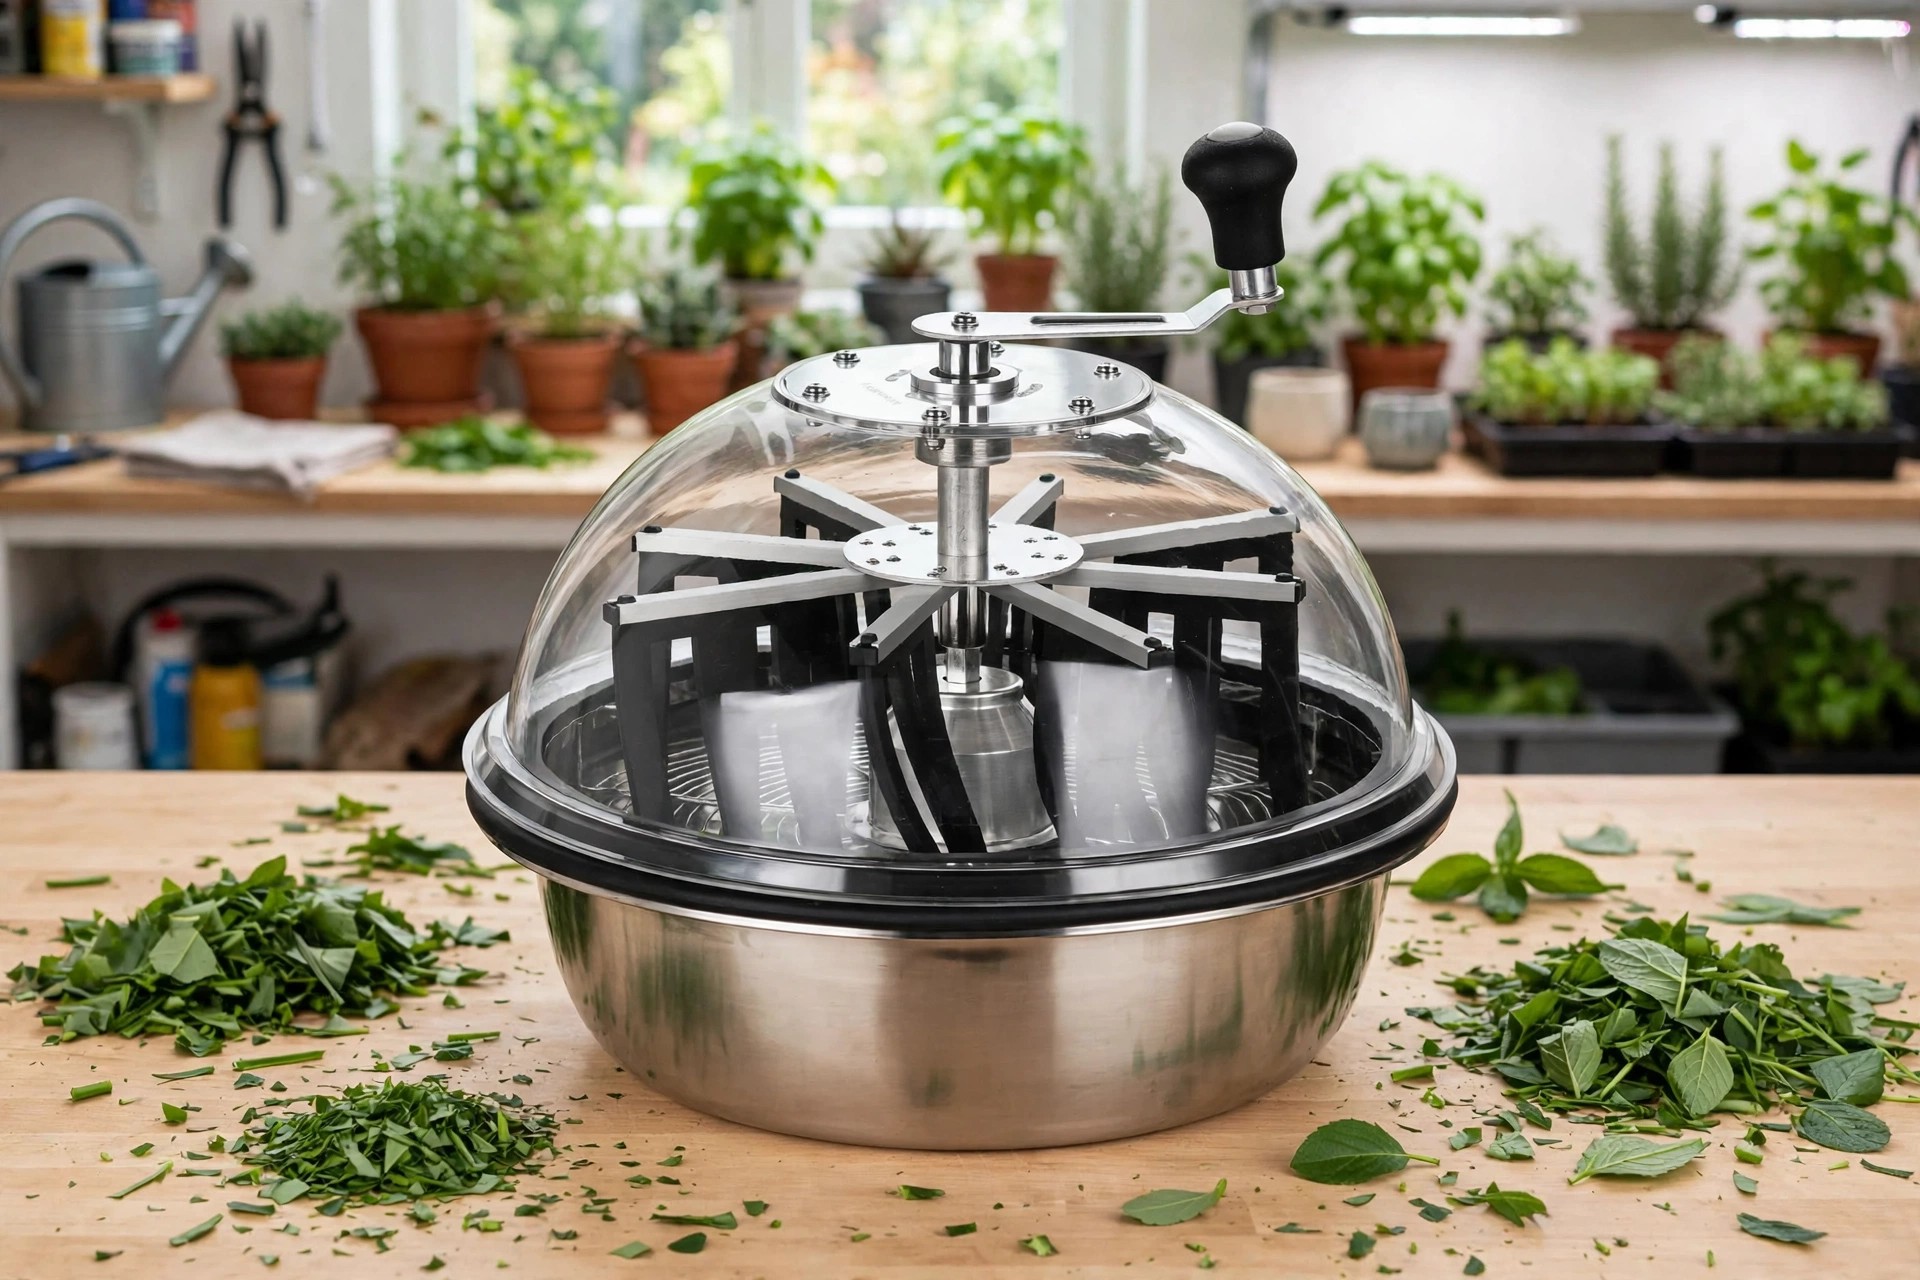
Gather each supply before you take a thing apart. A made-for trimmer cleaner can stand in for dish soap. Warm water and a calm hand do most work here. Keep clean towels ready for the drying stage. Supplies first, towels ready. Then take apart.
| Supply | What It Does |
|---|---|
| Warm water | Loosens residue during the soaking stage gently |
| Mild dish soap | Cuts sticky plant residue without harsh chemicals |
| Lint-free towels | Dry parts without leaving fibers behind anywhere |
| Small brush or toothbrush | Scrubs blades and hard-to-reach areas carefully |
| Rubbing alcohol | Sanitizes blades and surfaces after washing them |
| Disposable gloves | Protect hands from residue and sharp edges |
Clean the Bowl Trimmer in Five Steps
Step 1: Disassemble the Trimmer
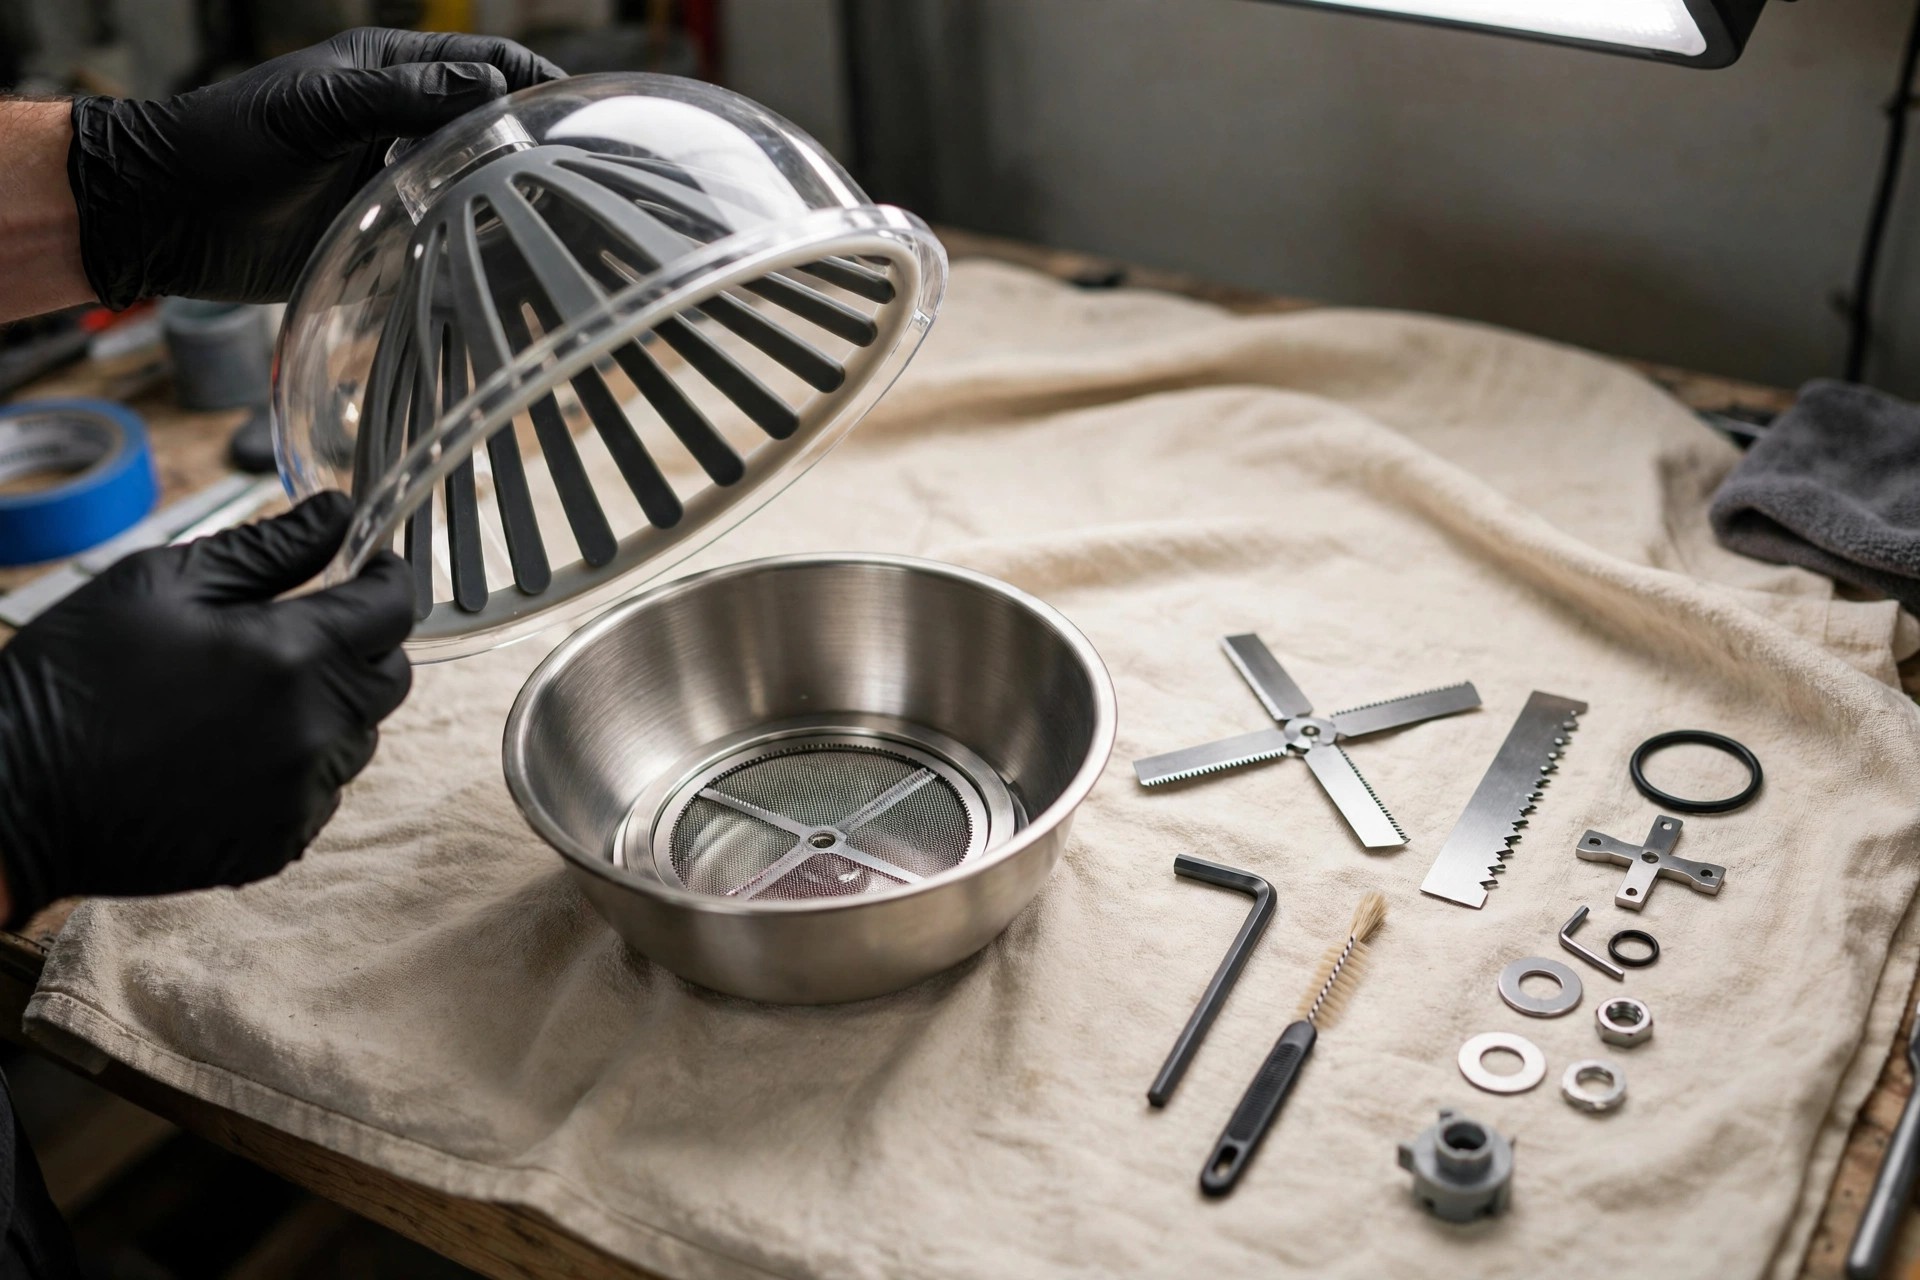
Take the bowl trimmer apart per the maker manual. Take off the lid, blades, and each part that comes off. Wear throw-away gloves at this stage for safety. Gloves guard from sticky scum and sharp edges. Lid, blades, loose parts. Gloves guard hands.
Step 2: Remove Debris and Soak
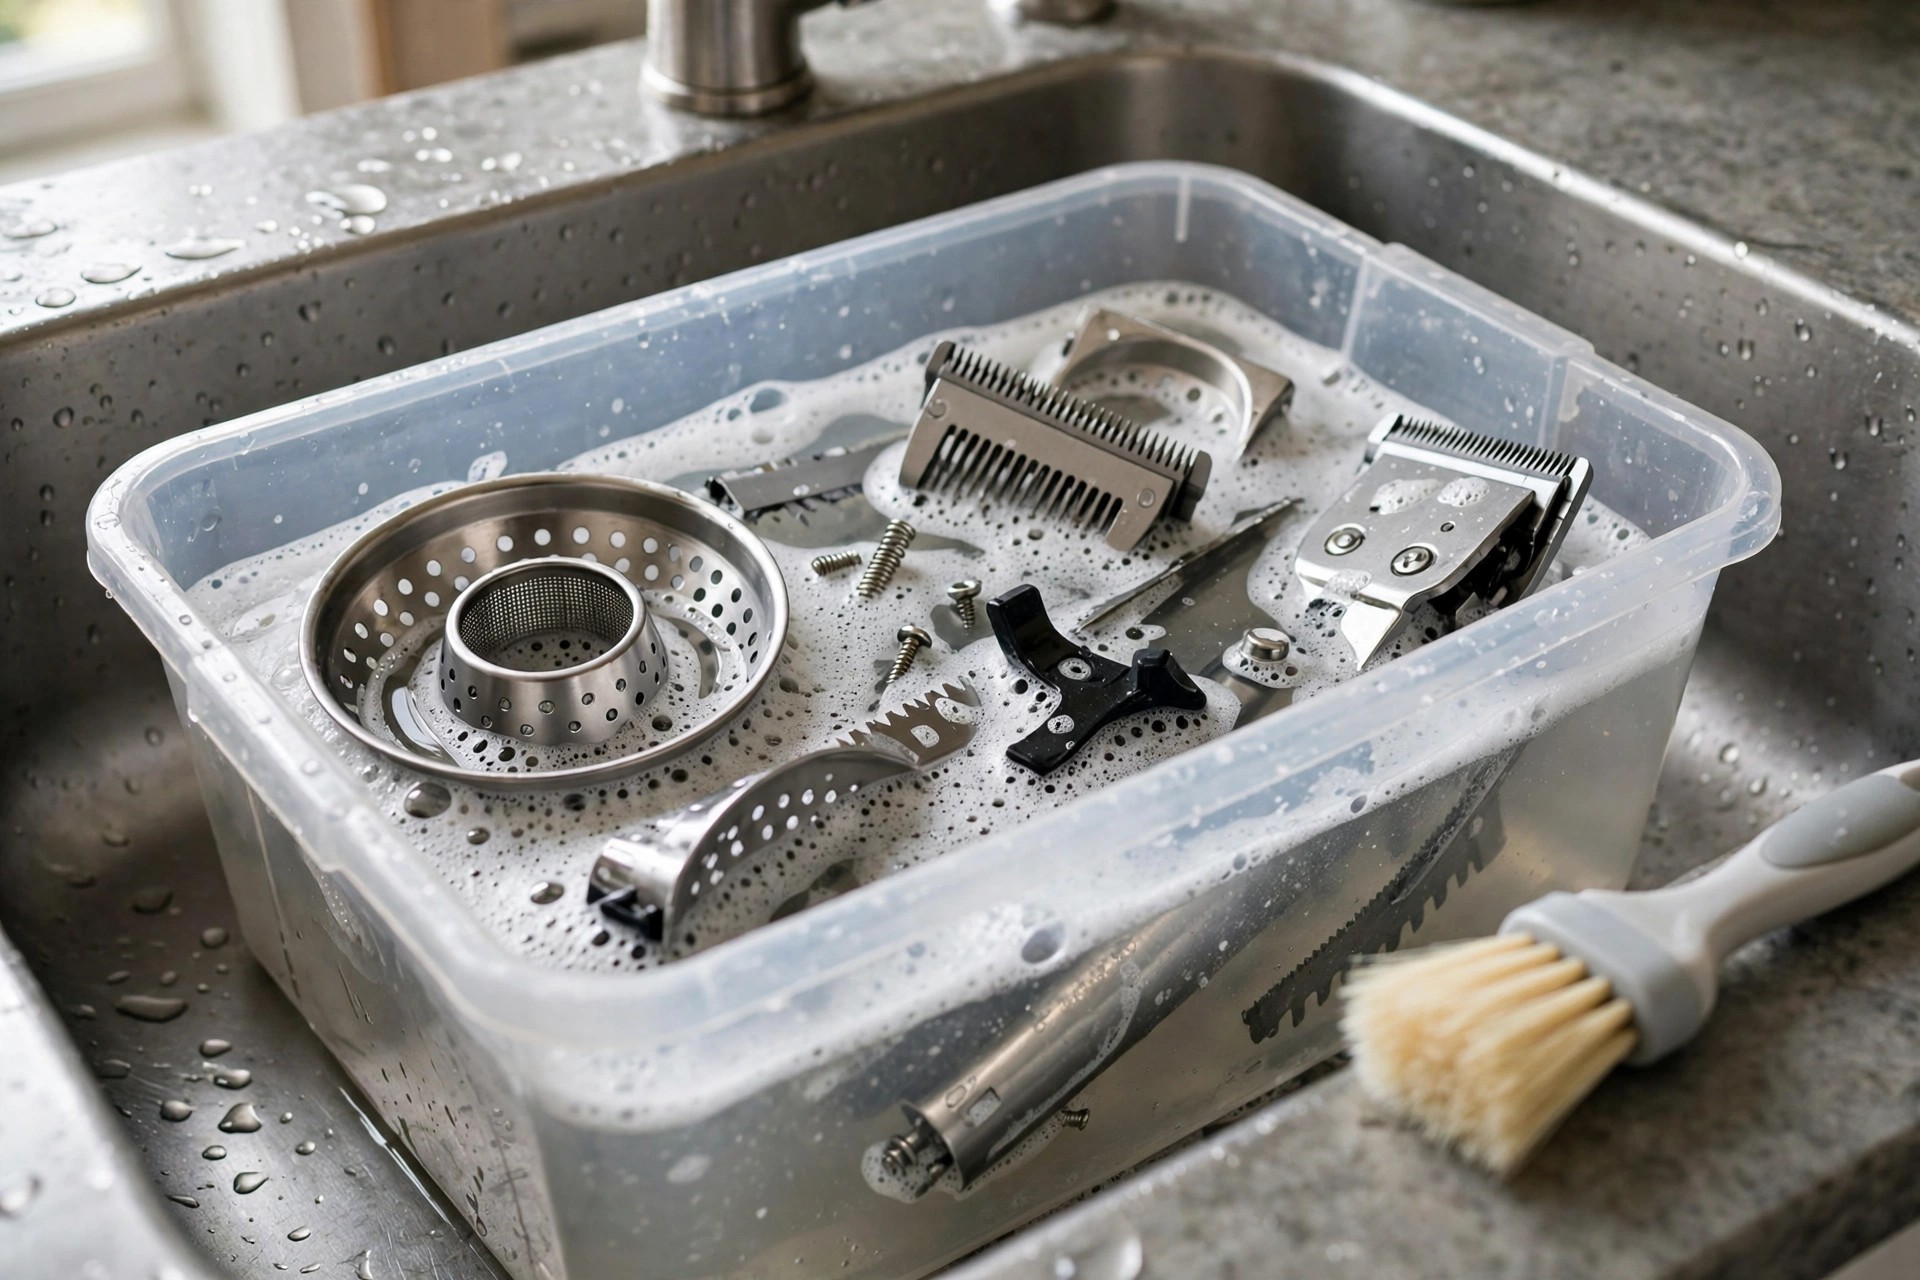
Brush loose dirt off each part first with care. Soak stuck scum in warm soapy water for a short spell. A few minutes of soaking loosens sticky buildup. Scrub with a soft hand with the brush or a cloth. Our blade sharpening guide covers blade edge care. Brush, soak, scrub soft. Loose scum lifts off.
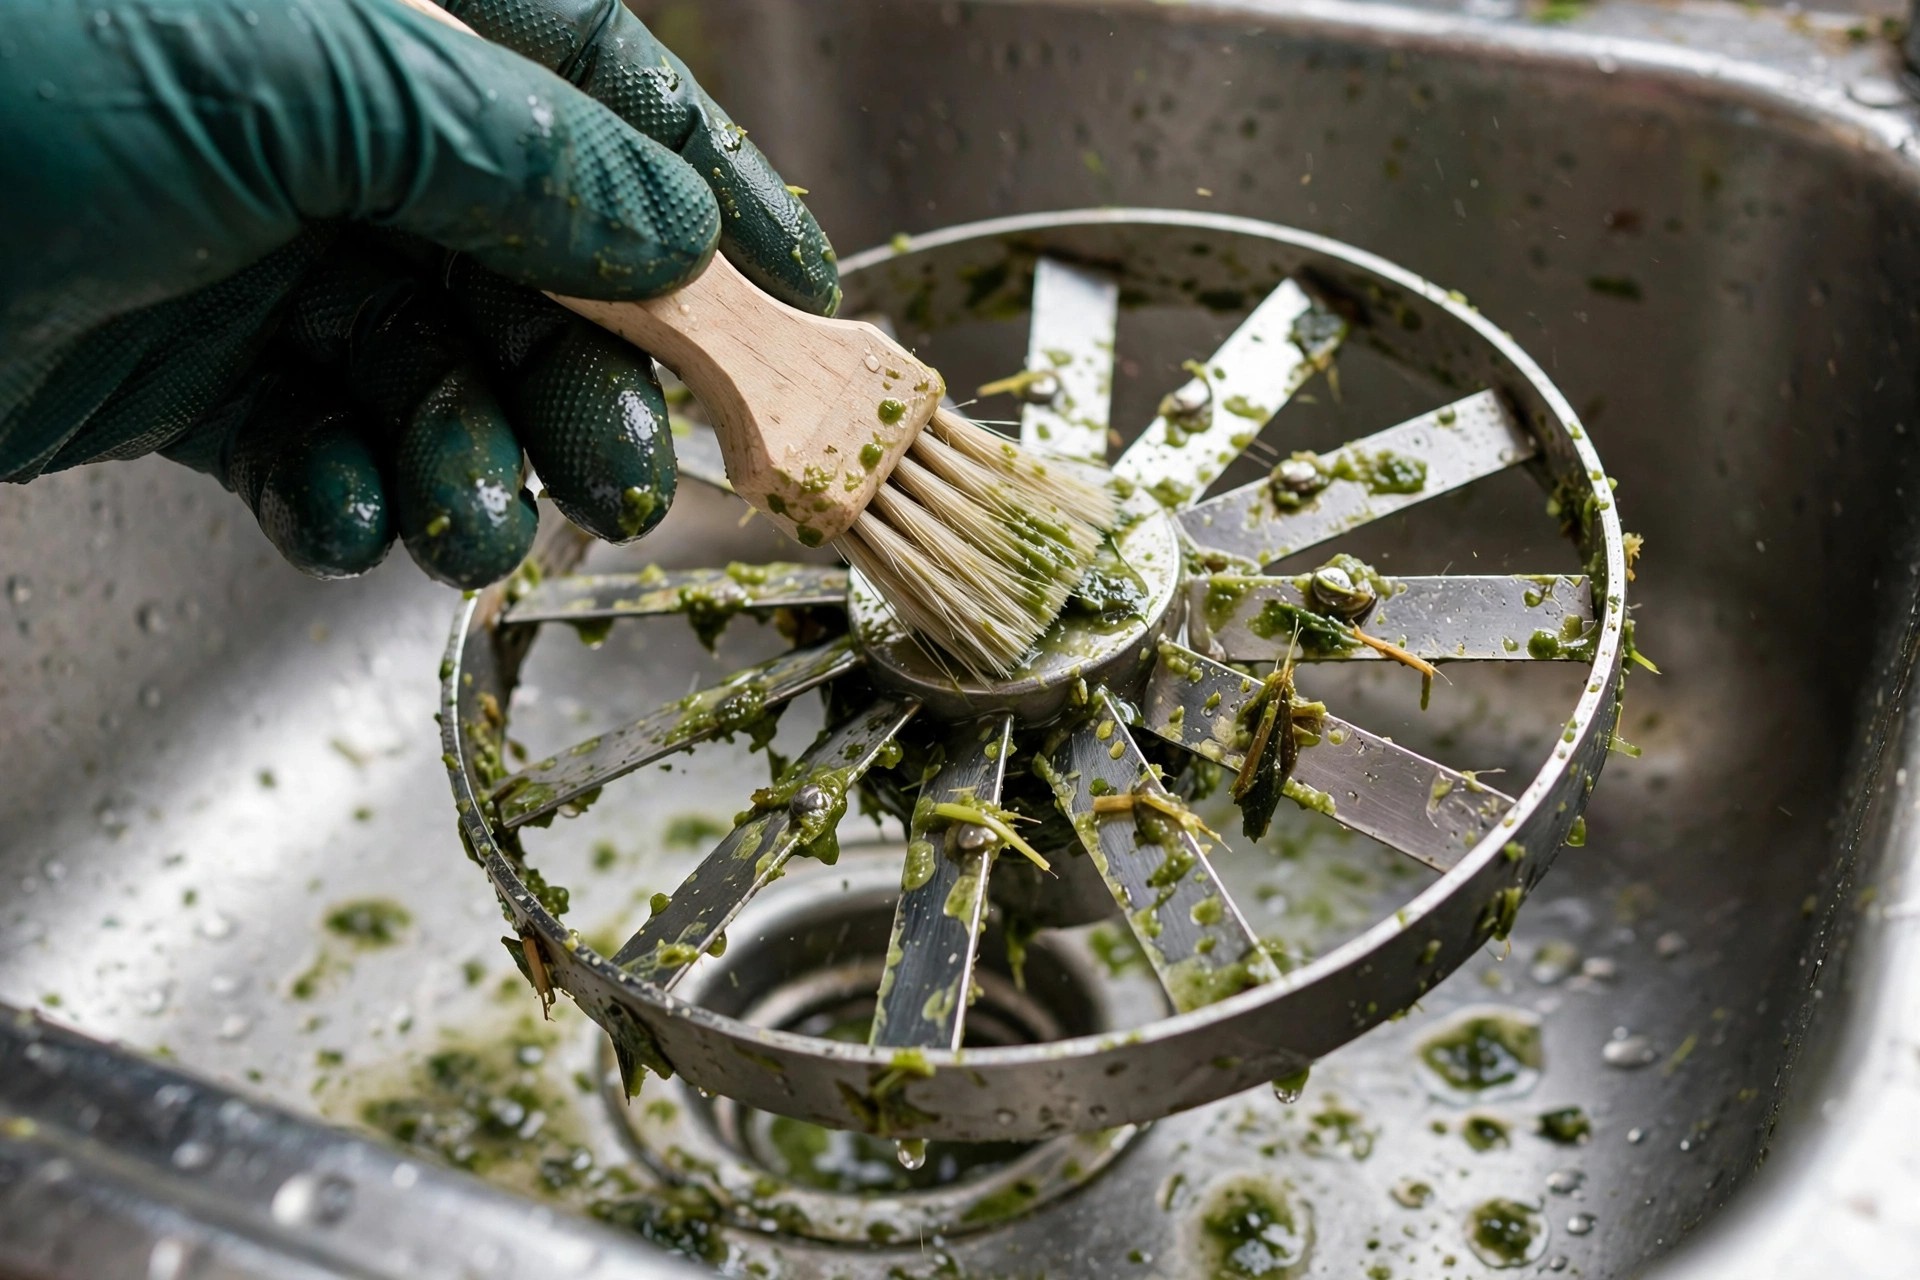
Step 3: Sanitize With Rubbing Alcohol
Sanitize the trimmer with rubbing alcohol next. Put the alcohol onto a clean cloth first. Wipe down all in and out surfaces with care. Wipe the blades down as part of this step. The Wikipedia isopropyl alcohol page explains this common cleaner. Cloth first, then wipe. Blades join in.
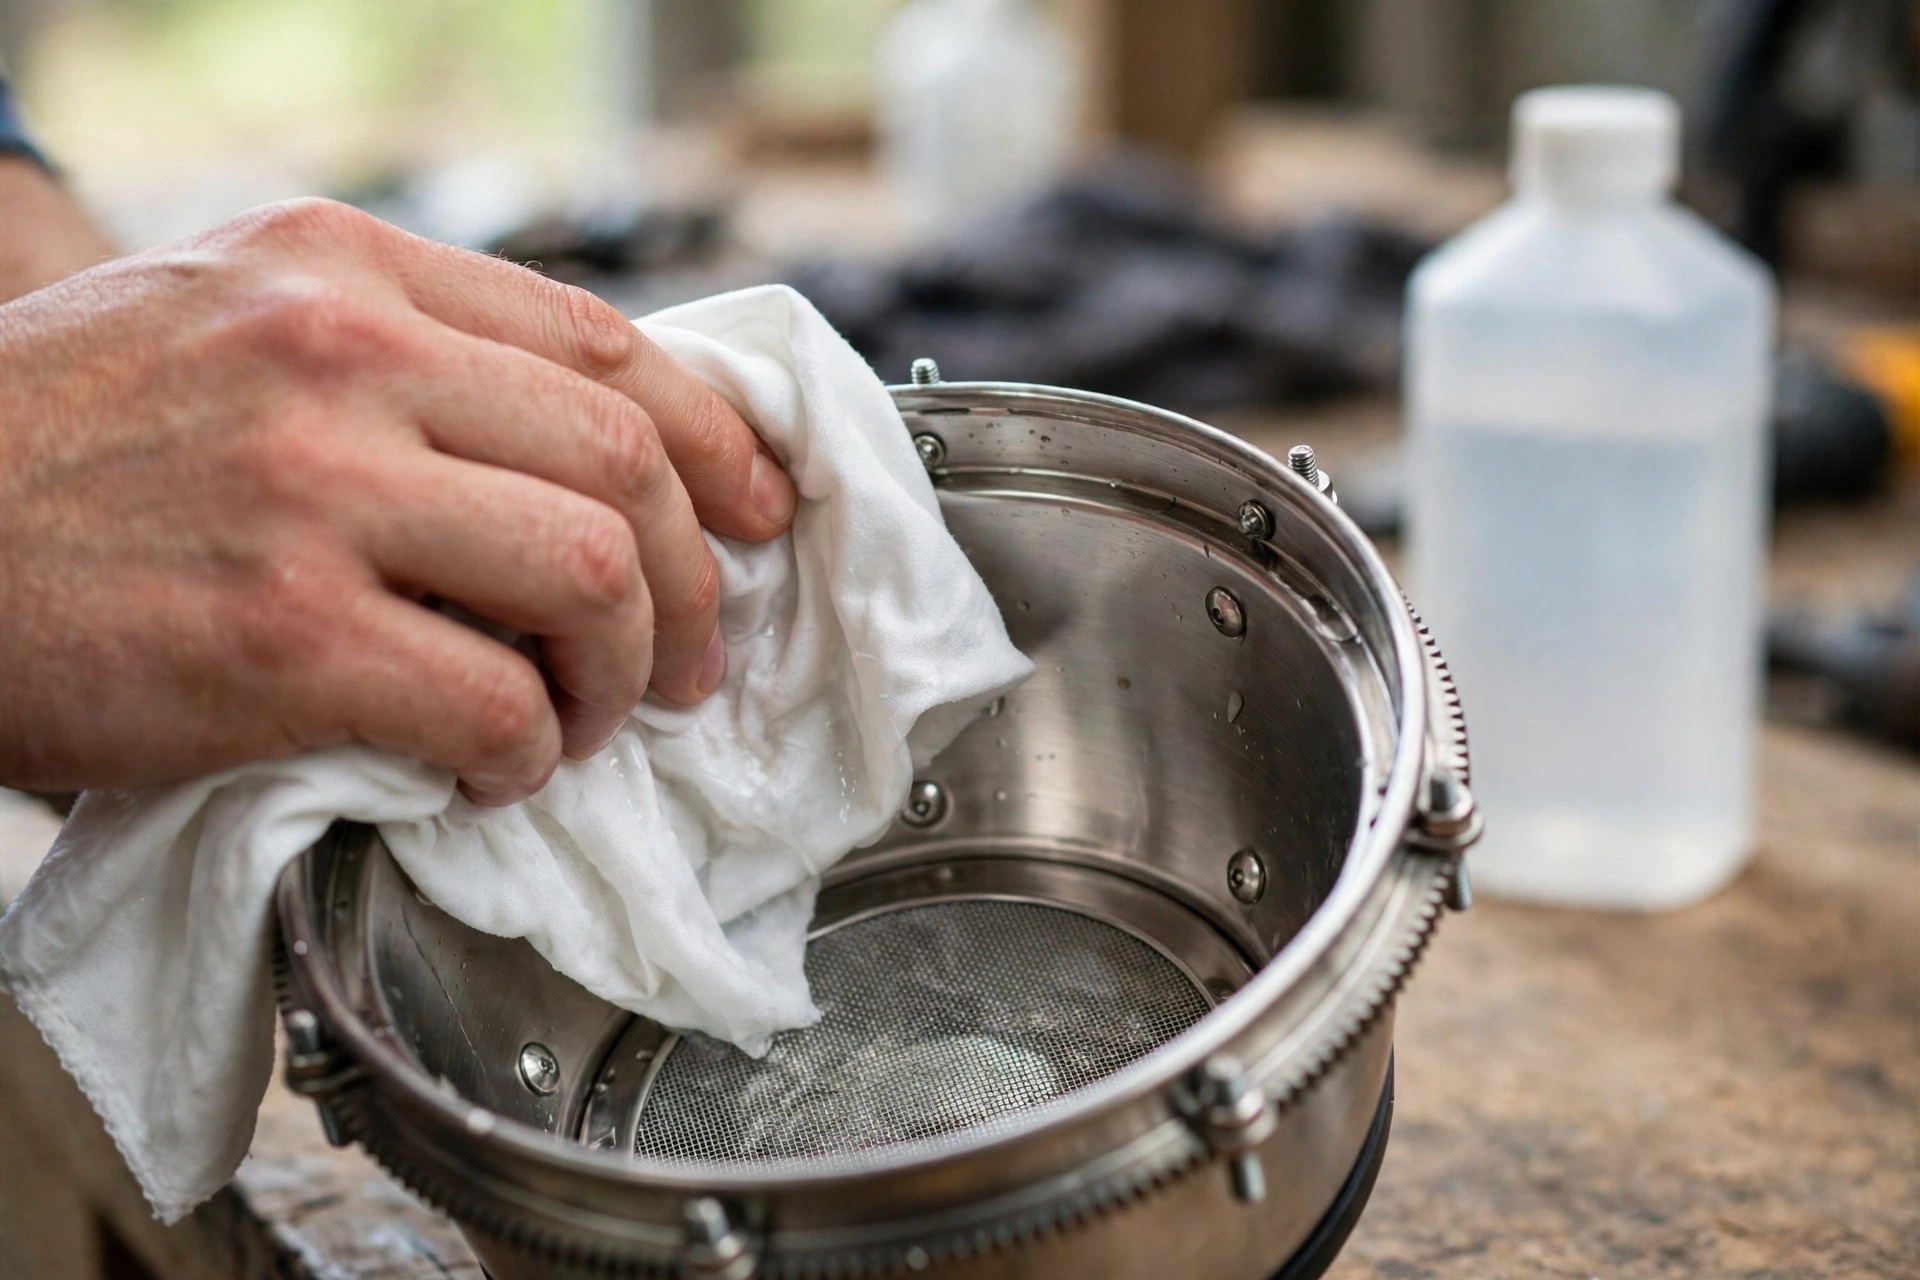
Step 4: Dry and Reassemble
Dry all parts well with lint-free towels. Damp left behind can lead to rust or rot. Check each part with care before you put it back. Put the trimmer back with parts lined up and firm. No damp left behind. Lined up, then firm.
Please note: The quick steps above say to let the parts air dry completely. Step 4 instead says to dry them thoroughly with lint-free towels. Both drying methods stay here exactly as published originally.
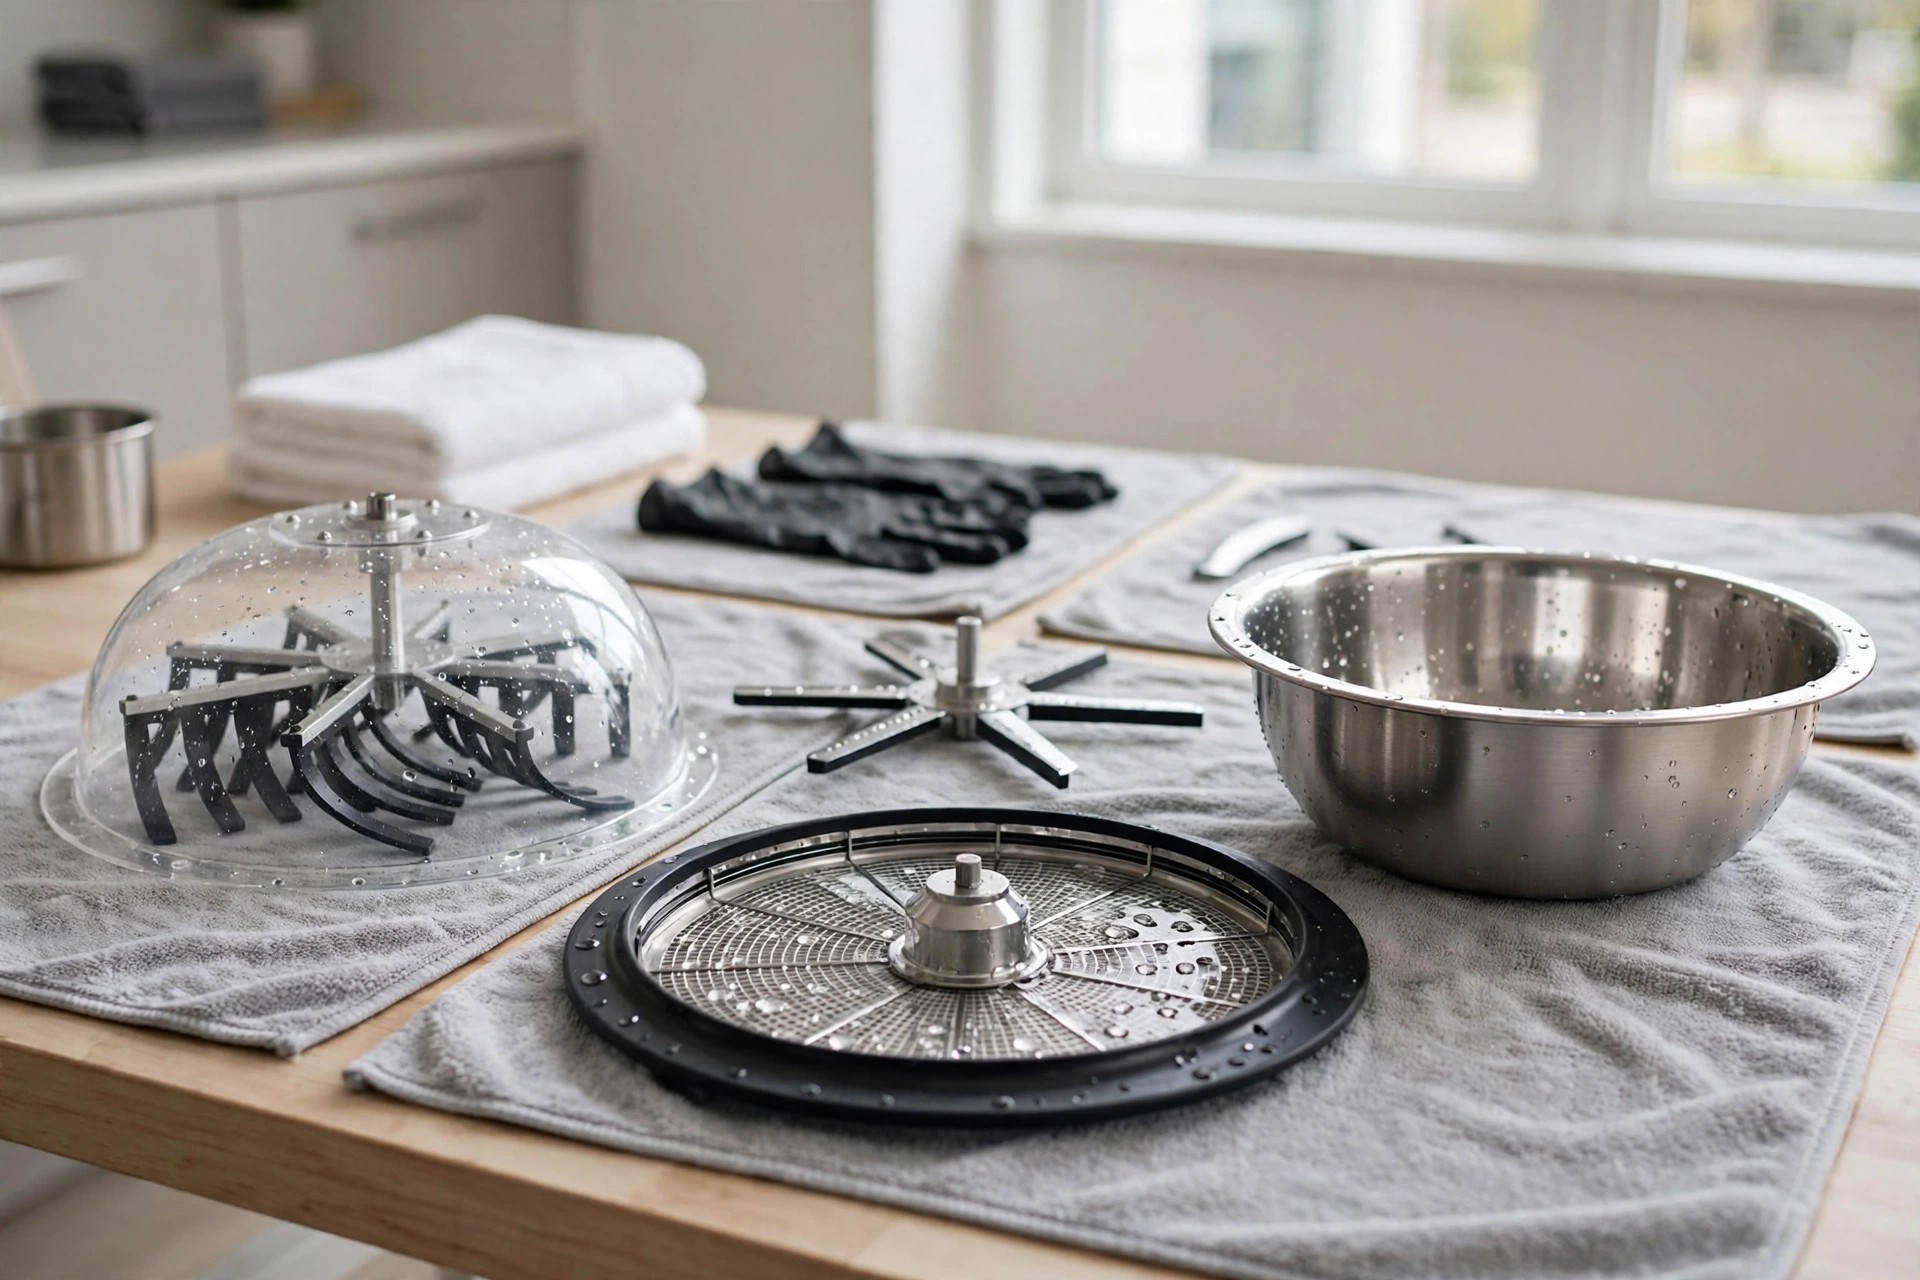
Step 5: Keep Up the Routine
Wipe the trimmer down after each use at all times. Plan deep cleaning sessions between harvests too. A clean machine keeps working at its best. Our rust removal guide saves left-alone blades in a safe way. Wipe each time. Deep cleans sit between.
Store It Clean and Dry
Store the trimmer just when fully dry inside. Keep loose parts apart in a clean box. Use a dry box in a cool place. Keep it away from direct sun and heat. Our Panasonic cleaning guide shows one more careful routine. Dry inside, cool place. Sun stays away.
Frequently Asked Questions
How often should I clean my bowl trimmer?
Clean your bowl trimmer after each use at all times. Steady cleaning stops scum buildup on the parts. It also keeps the blades sharp and strong. A quick wipe follows each trimming session too. Deep cleaning sessions sit between big harvests. Wipe each session. Deep clean each harvest.
What cleaning solution should I use for my bowl trimmer?
Use a mild cleaning mix on the parts. Try one part isopropyl alcohol to three parts water. Weak mild dish soap also works quite well. Keep harsh chemicals out of the cleaning job. Keep rough cleaners that can harm surfaces away. Mild mixes work best. Harsh ones stay out.
Can I put my bowl trimmer in the dishwasher?
No, never put it in the dishwasher at all. High heat can harm the fine blades inside. Water force can also harm the parts. Dishwasher soaps may leave scum on surfaces. Always clean the trimmer by hand with care. By hand, each time. Heat harms blades.
How do I clean hard-to-reach areas of my bowl trimmer?
Use a small soft brush for tight spots. A cotton swab also reaches tight spots well. Take screens and filters off before you clean them apart. Soak those loose parts on their own first. Dry each hidden corner before you put it back in full. Small brush, tight spots. Dry each corner.
How should I store my bowl trimmer after cleaning it?
Store the trimmer just when fully dry inside. Keep loose parts apart in a clean box. Pick a cool dry place for storage at all times. Keep it from direct sun and hot or cold extremes in storage. Cover the trimmer to keep dust away in full. Cool, dry, covered. Dust stays off it.
Steady care keeps each harvest running smooth here. Our clipper oiling guide covers clipper blade oiling. Our starting guide fixes machines that refuse power. Clean tools reward careful owners each season. Two guides add depth. Care rewards owners.
Conclusion: How to Clean a Bowl Trimmer
So, how to clean a bowl trimmer pays off. Five steps wash, sanitize, and dry each part. Soft supplies guard blades and surfaces from harm. Full drying keeps rust away between trimming sessions. Careful habits keep the machine working like new. Five steps, soft supplies. Rust stays away.
Clean the machine after each use, no fail. Dry storage keeps it ready for the next harvest. Your trimmer then cuts clean for many seasons. Small routines today stop steep repairs tomorrow. Your future self will thank you each harvest. Dry store, clean cuts. Small steps save cash.
