
How to Zero Gap an Andis Trimmer
Uneven cuts frustrate many trimmer users each day. Sharp, clean pro trims can feel out of reach. Learn how to zero gap an Andis trimmer well. Home users and barbers both gain from the skill. Close cuts start with well set blades.
Zero gapping sets the two blades close together. The change takes out the gap between the blades. Gaps left in place cause rough, uneven cuts. Loose gaps can also make trims feel sore. The job sounds hard but breaks down into plain steps. Closer, cleaner cuts come from the change.
Plain steps build trust for clean trims. Tools and prep work come before the blade work. Tests and care round out the whole job. Learn the skill and your cuts step up a class. Salon grade cuts can happen at home too. Small steps make a big change here.
Quick answer: Zero gapping aligns the trimmer blades for closeness. Remove the blade and clean it first. Loosen both blade screws without removing them fully. Slide the cutting blade slightly forward very carefully. Test small sections and fine tune the setting afterward.
How to Zero Gap an Andis Trimmer: Quick Steps
The quick list below tracks this post. Six steps shape the whole zero gap routine. Full parts then take each step in depth. Read the short view first. Then read on for the full steps. Each step builds on the last one.
| Step | What the Post Says |
|---|---|
| Gather tools | Screwdriver, brush and a soft cloth |
| Prepare the trimmer | Switch off, remove and clean blade |
| Adjust the blade | Cutting blade a bit ahead of the fixed blade |
| Test and fine tune | Test cuts, then adjust further |
| Maintain and clean | Brush after use, oil the blades |
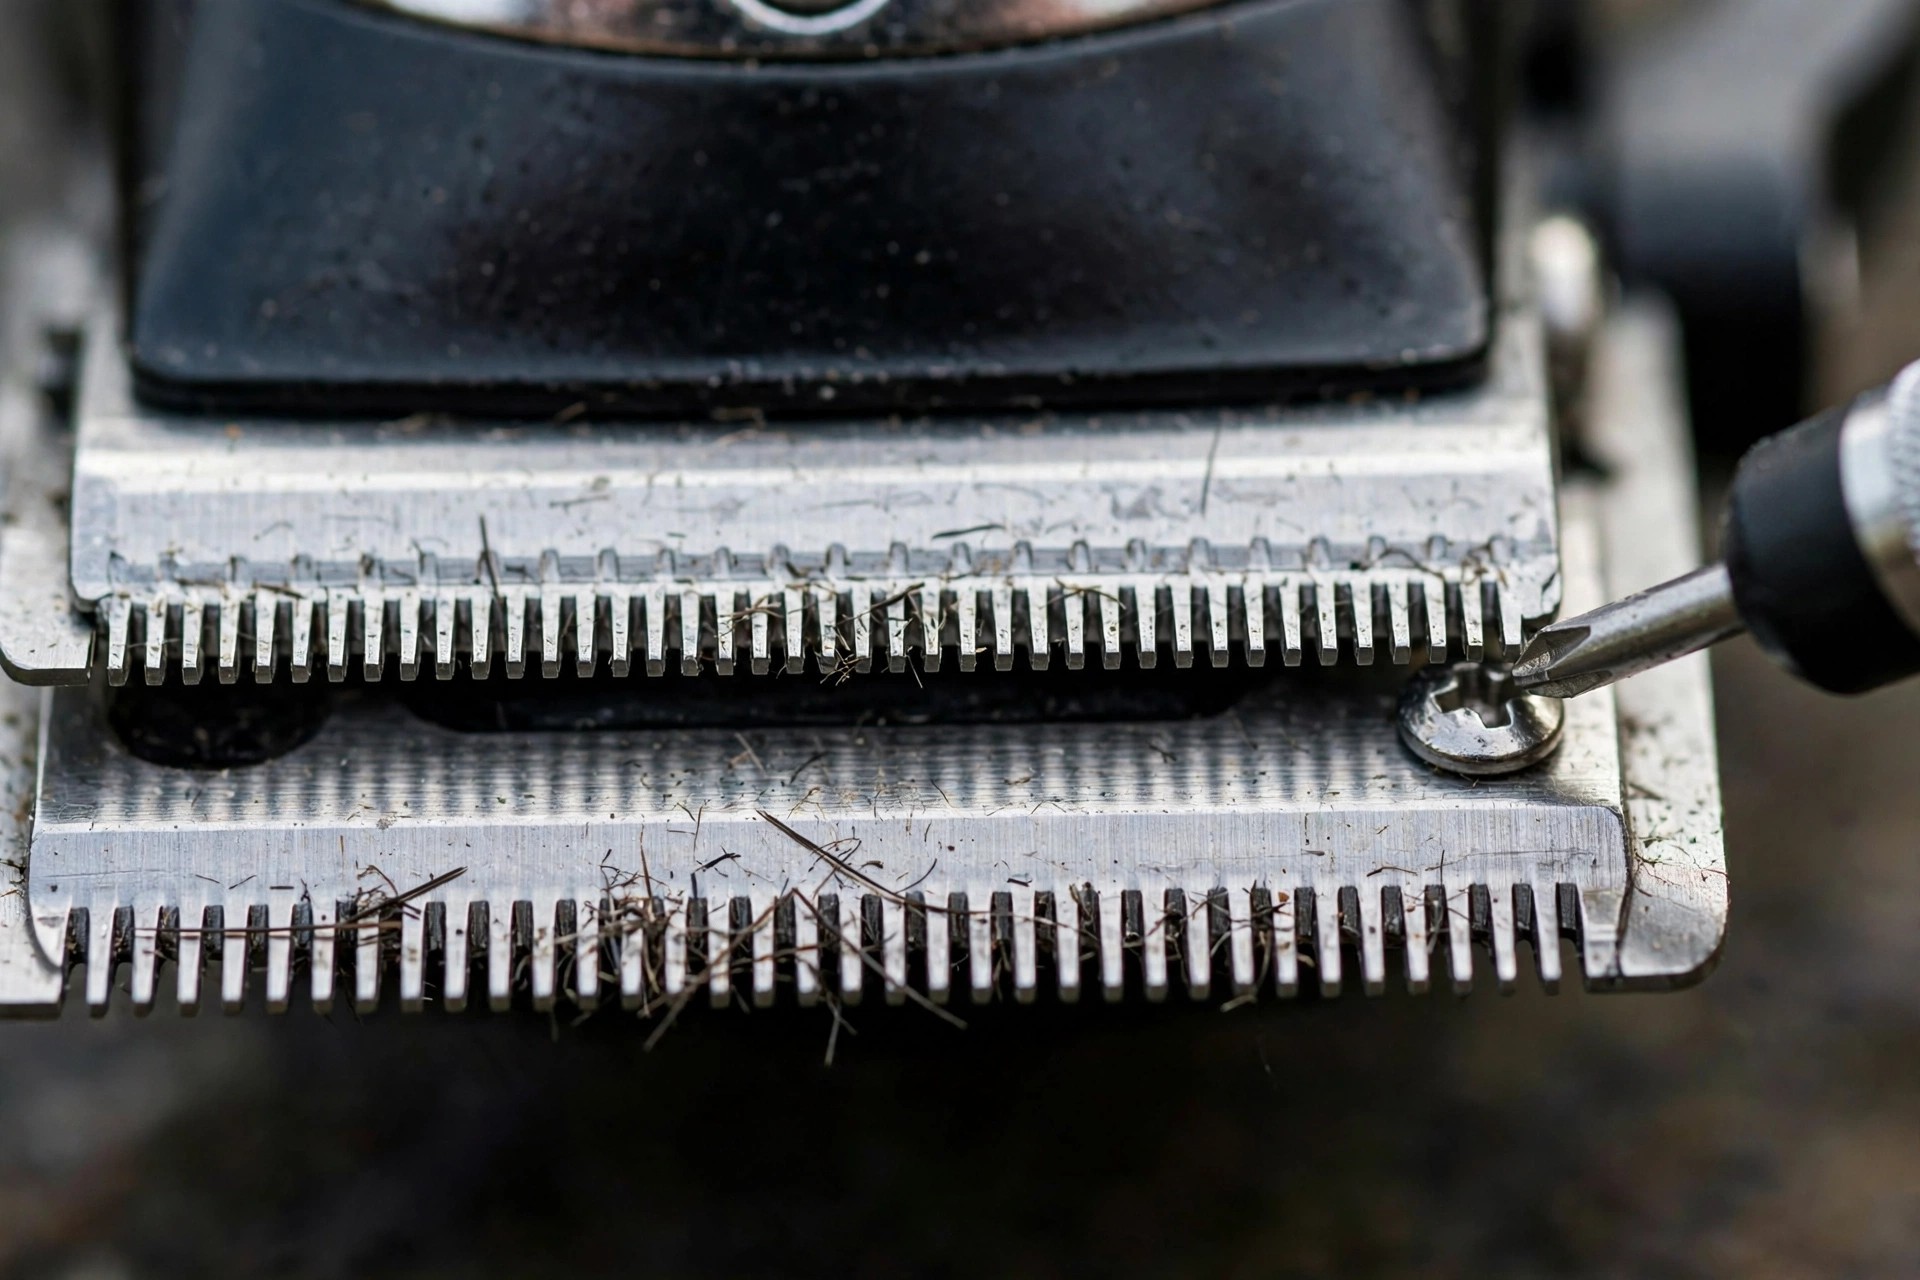
The Wikipedia Andis page sets out the firm behind the trimmers. The Wikipedia barber page covers the barber trade in full. Our Oster adjustment guide shows one more blade setting method. Our blade oiling guide sets out oil care after the work. Each link adds depth to this guide.
Prepare the Trimmer and Adjust the Blade
Gather the tools you need before you start. A flathead screwdriver turns the blade screws. An Andis blade tool works for the job too. A small brush and a cloth round out the kit. Tools at hand make the job smooth.
| Tool | What the Post Says |
|---|---|
| Flathead screwdriver | Turns the two blade screws |
| Andis adjustment tool | The brand tool named as an option |
| Small cleaning brush | Clears hair and dirt from blades |
| Soft cloth | Wipes blade and trimmer body clean |
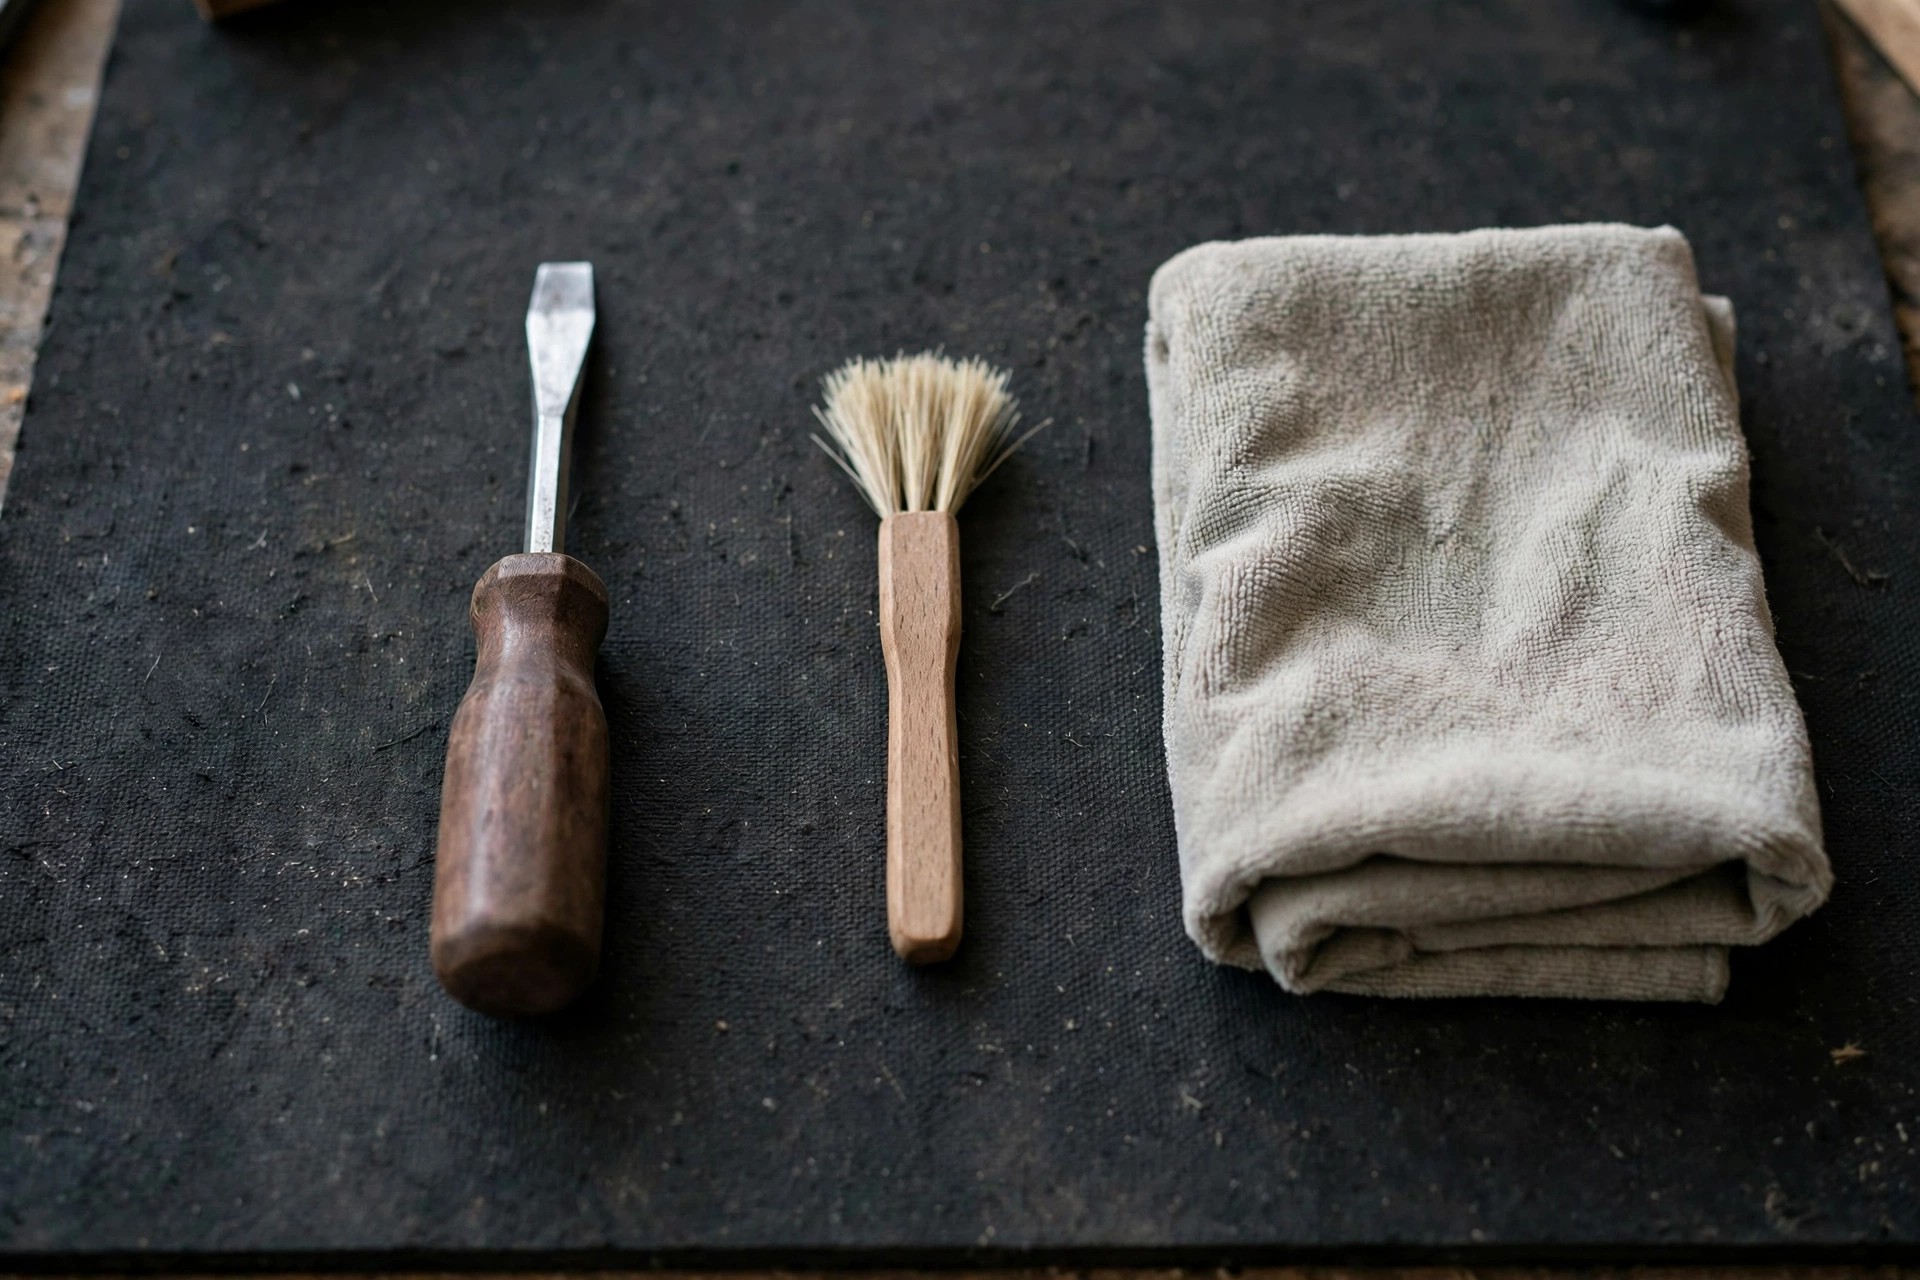
Make sure the trimmer is off and unplugged. That step guards you from harm while you work. Take the blade off by undoing its screws. Brush all hair and dirt off the blades well. Wipe the blade and the body with the cloth. Clean blades show the gap with clear sight.
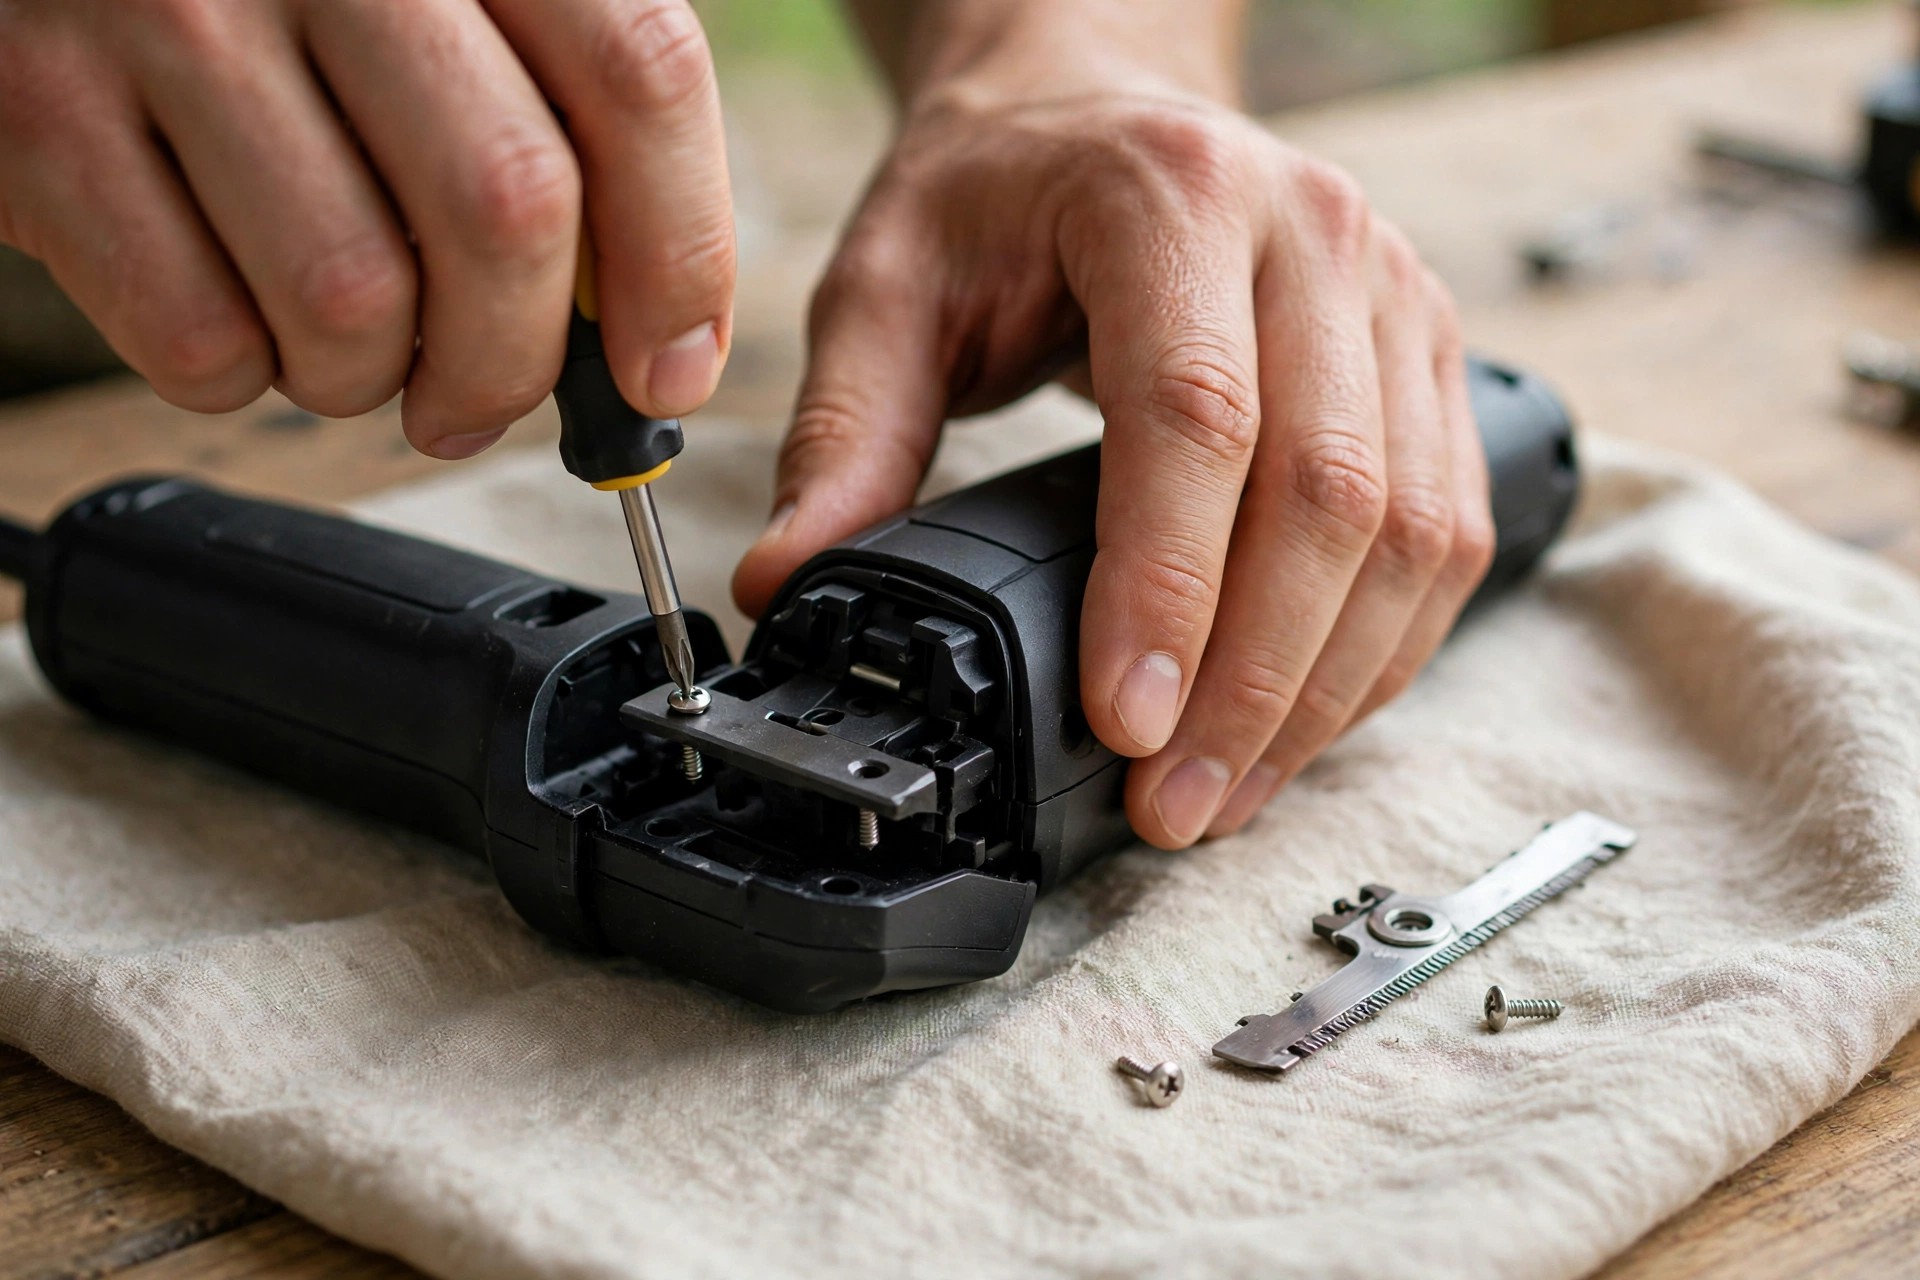
Find the two screws on the blade. One screw serves the cutting blade here. The next screw serves the fixed blade. Loosen both screws, but do not take them out. Then slide the cutting blade a bit forward. A loose screw still holds the blades in place.
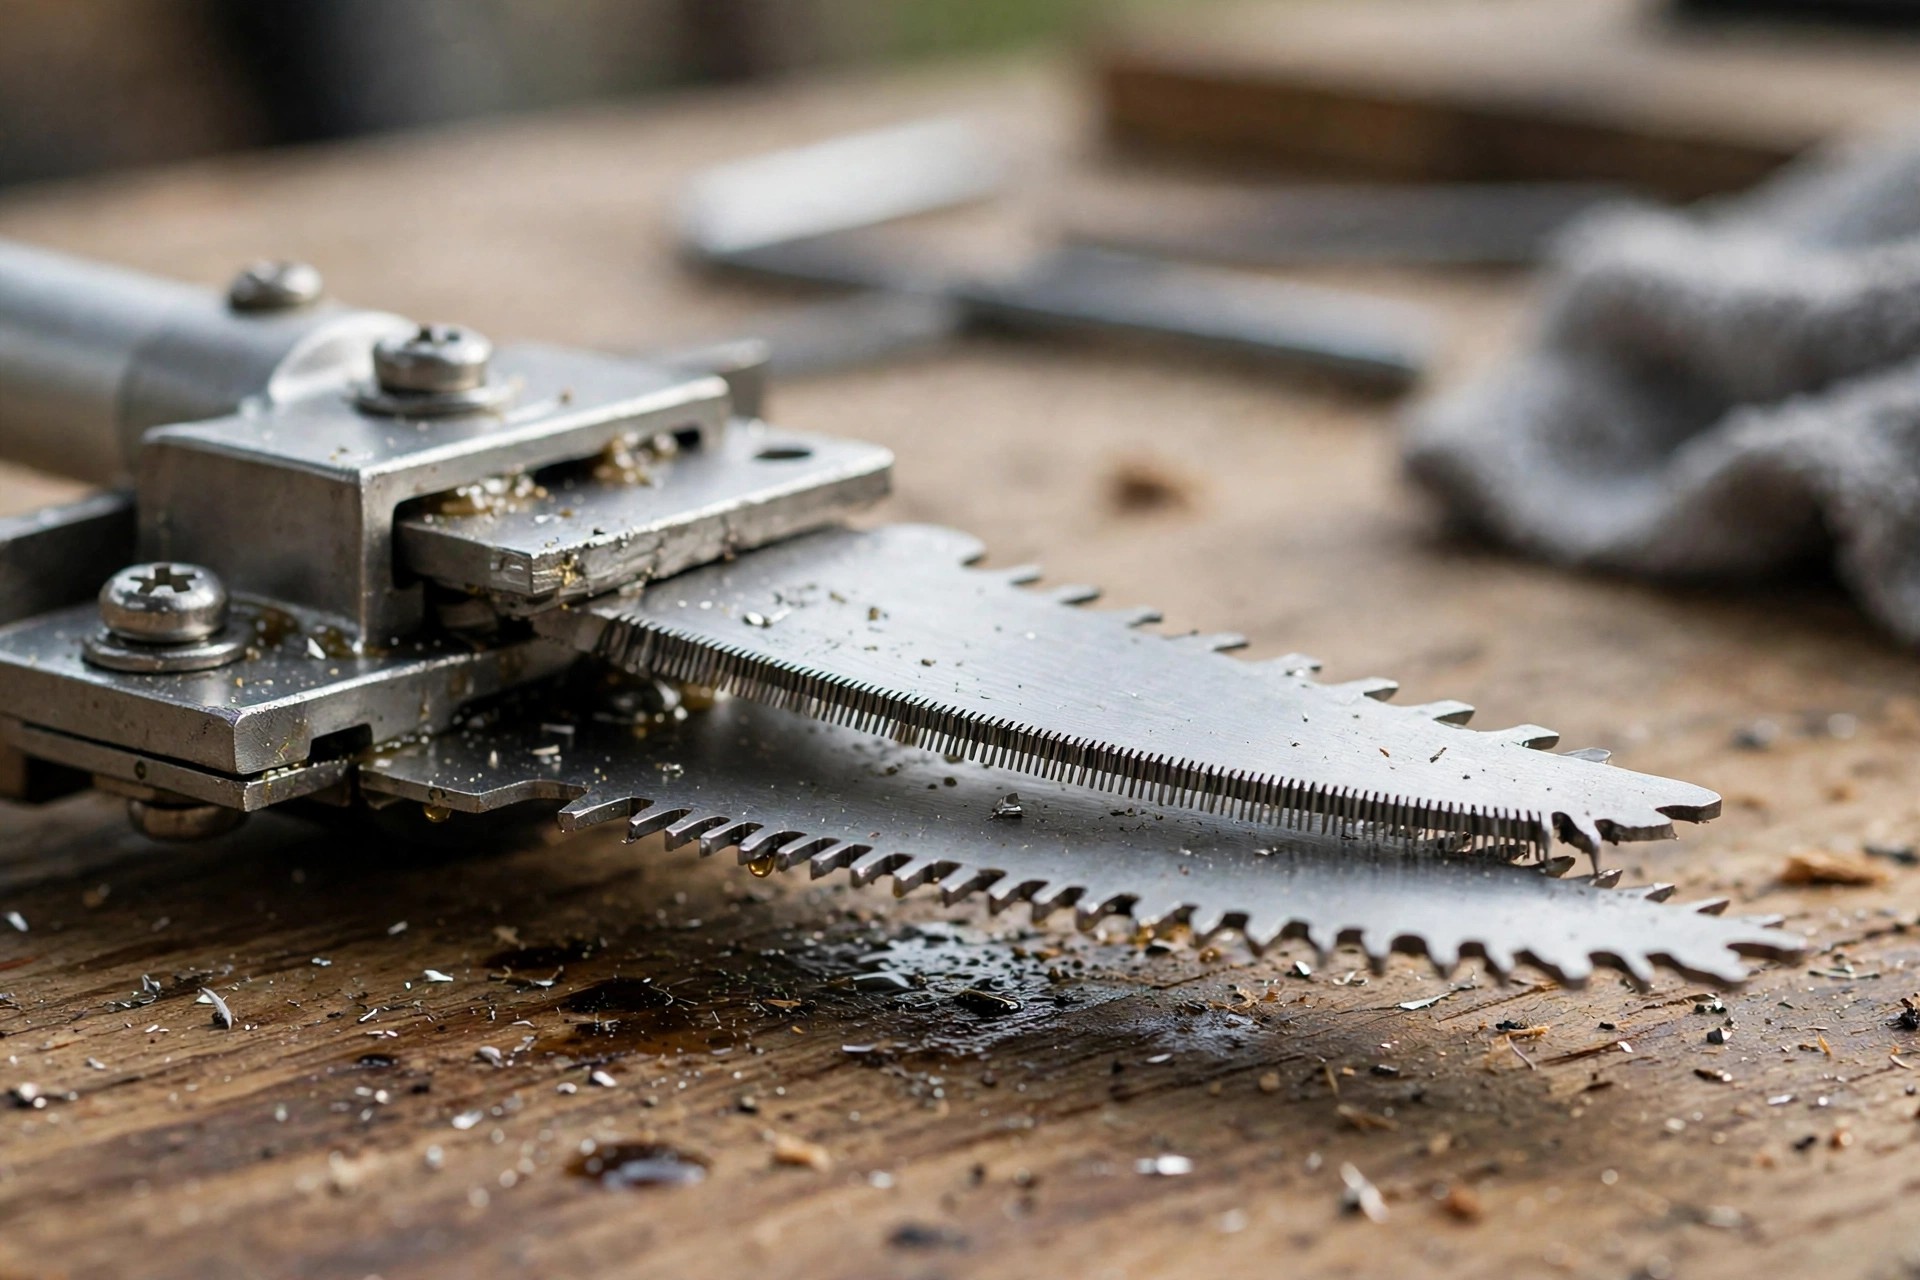
Start with a small gap between the blades. Widen the gap bit by bit if you need to. Turn the screws one way, then the next, in small steps. Small turns reach the right gap in a safe way. Check the line from end to end. Both sides of the blade should match.
Test, Fine Tune and Maintain the Blades
Fit the blade back on with the screws. Tighten them firm, but never too tight. Switch the trimmer on to test the cut. Test on a small patch of hair first. Check the cut for an even, clean line. Small tests catch faults at an early stage.
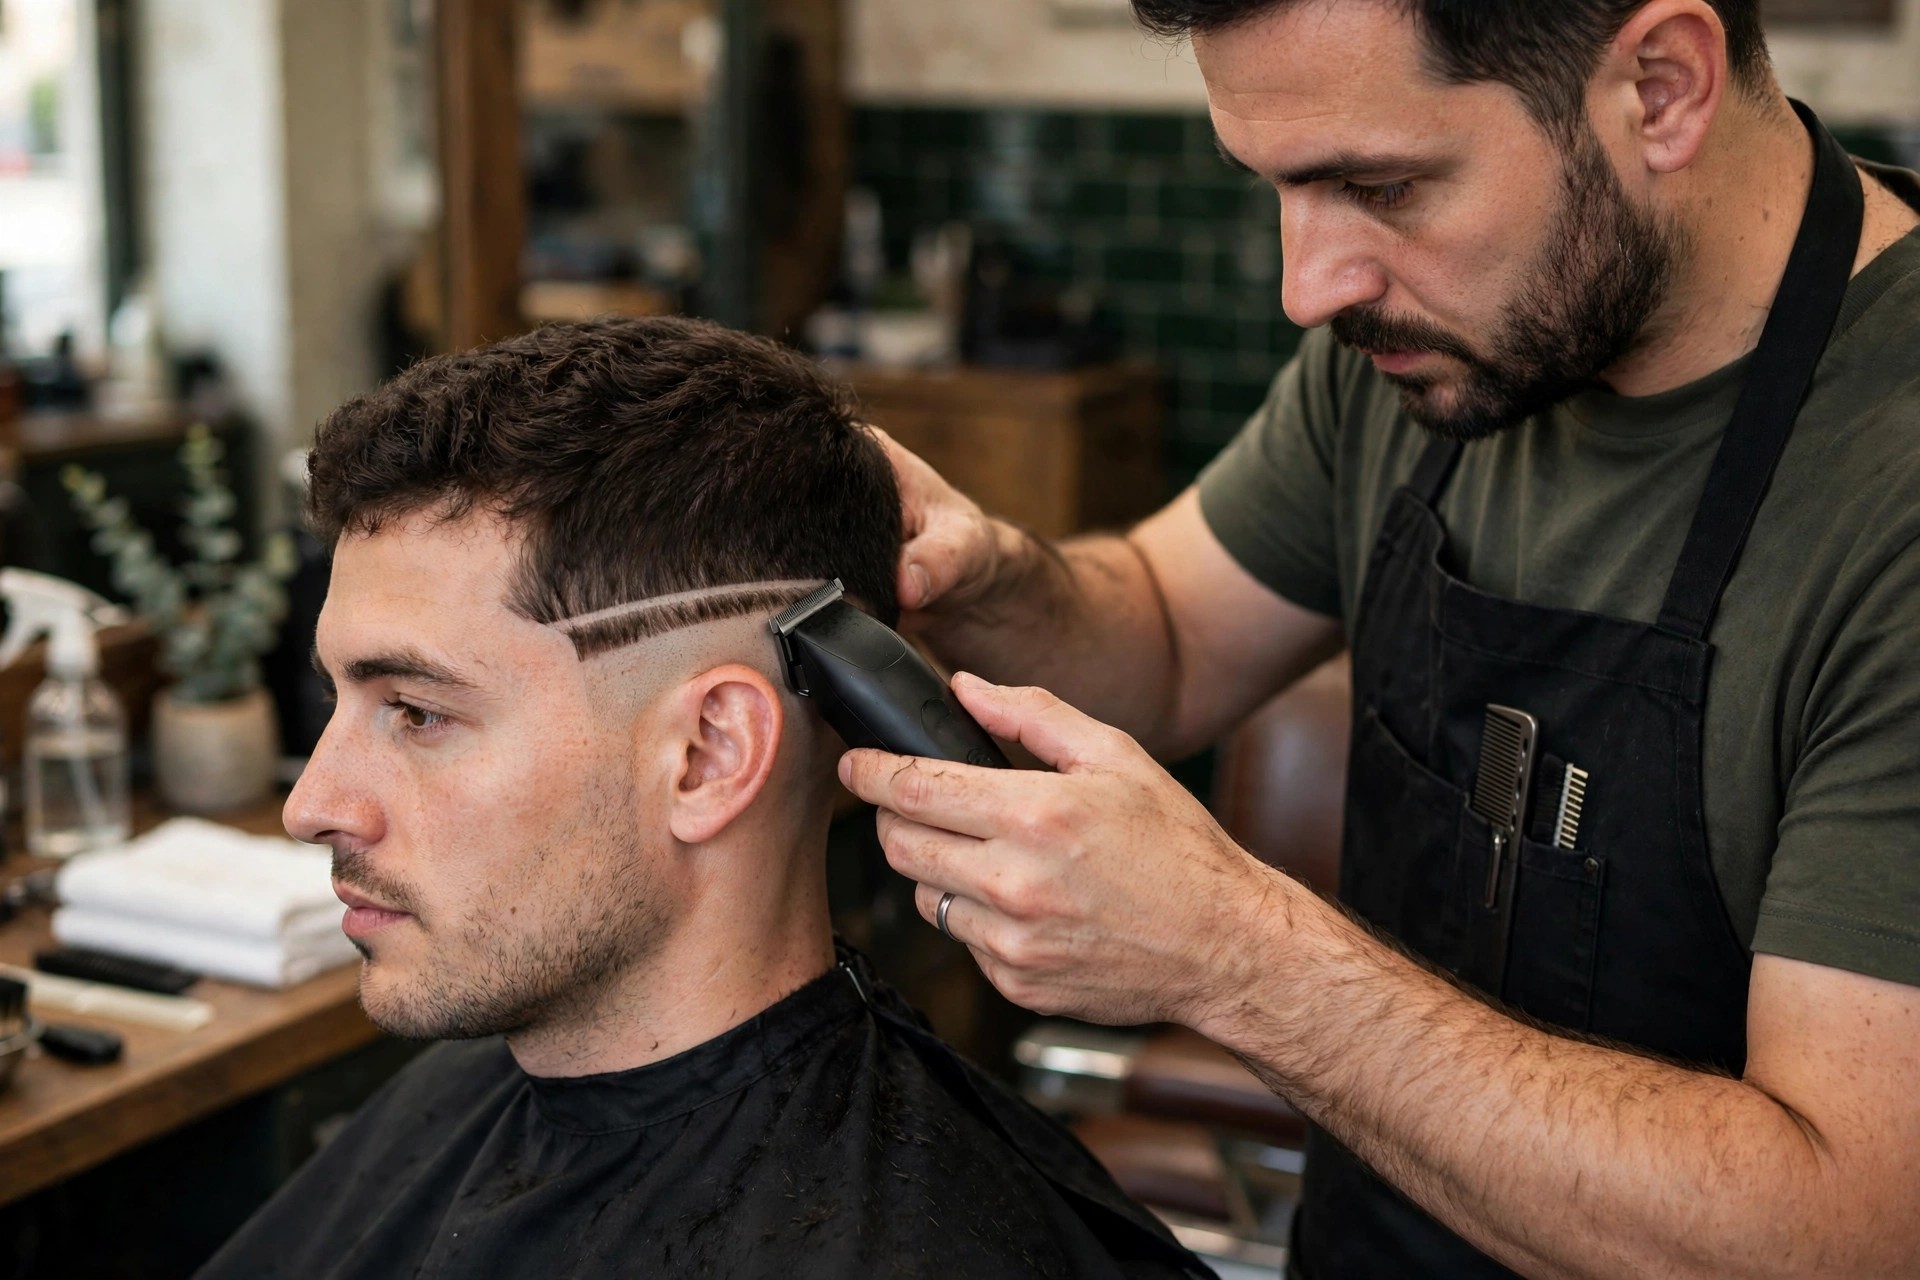
Care for the blades once the work is done. Brush hair and dirt off after each use. Drops of blade oil keep the blades slick. Oil also stops rust from forming over time. Steady care makes the trimmer last far longer. Clean tools stay sharp for longer too.
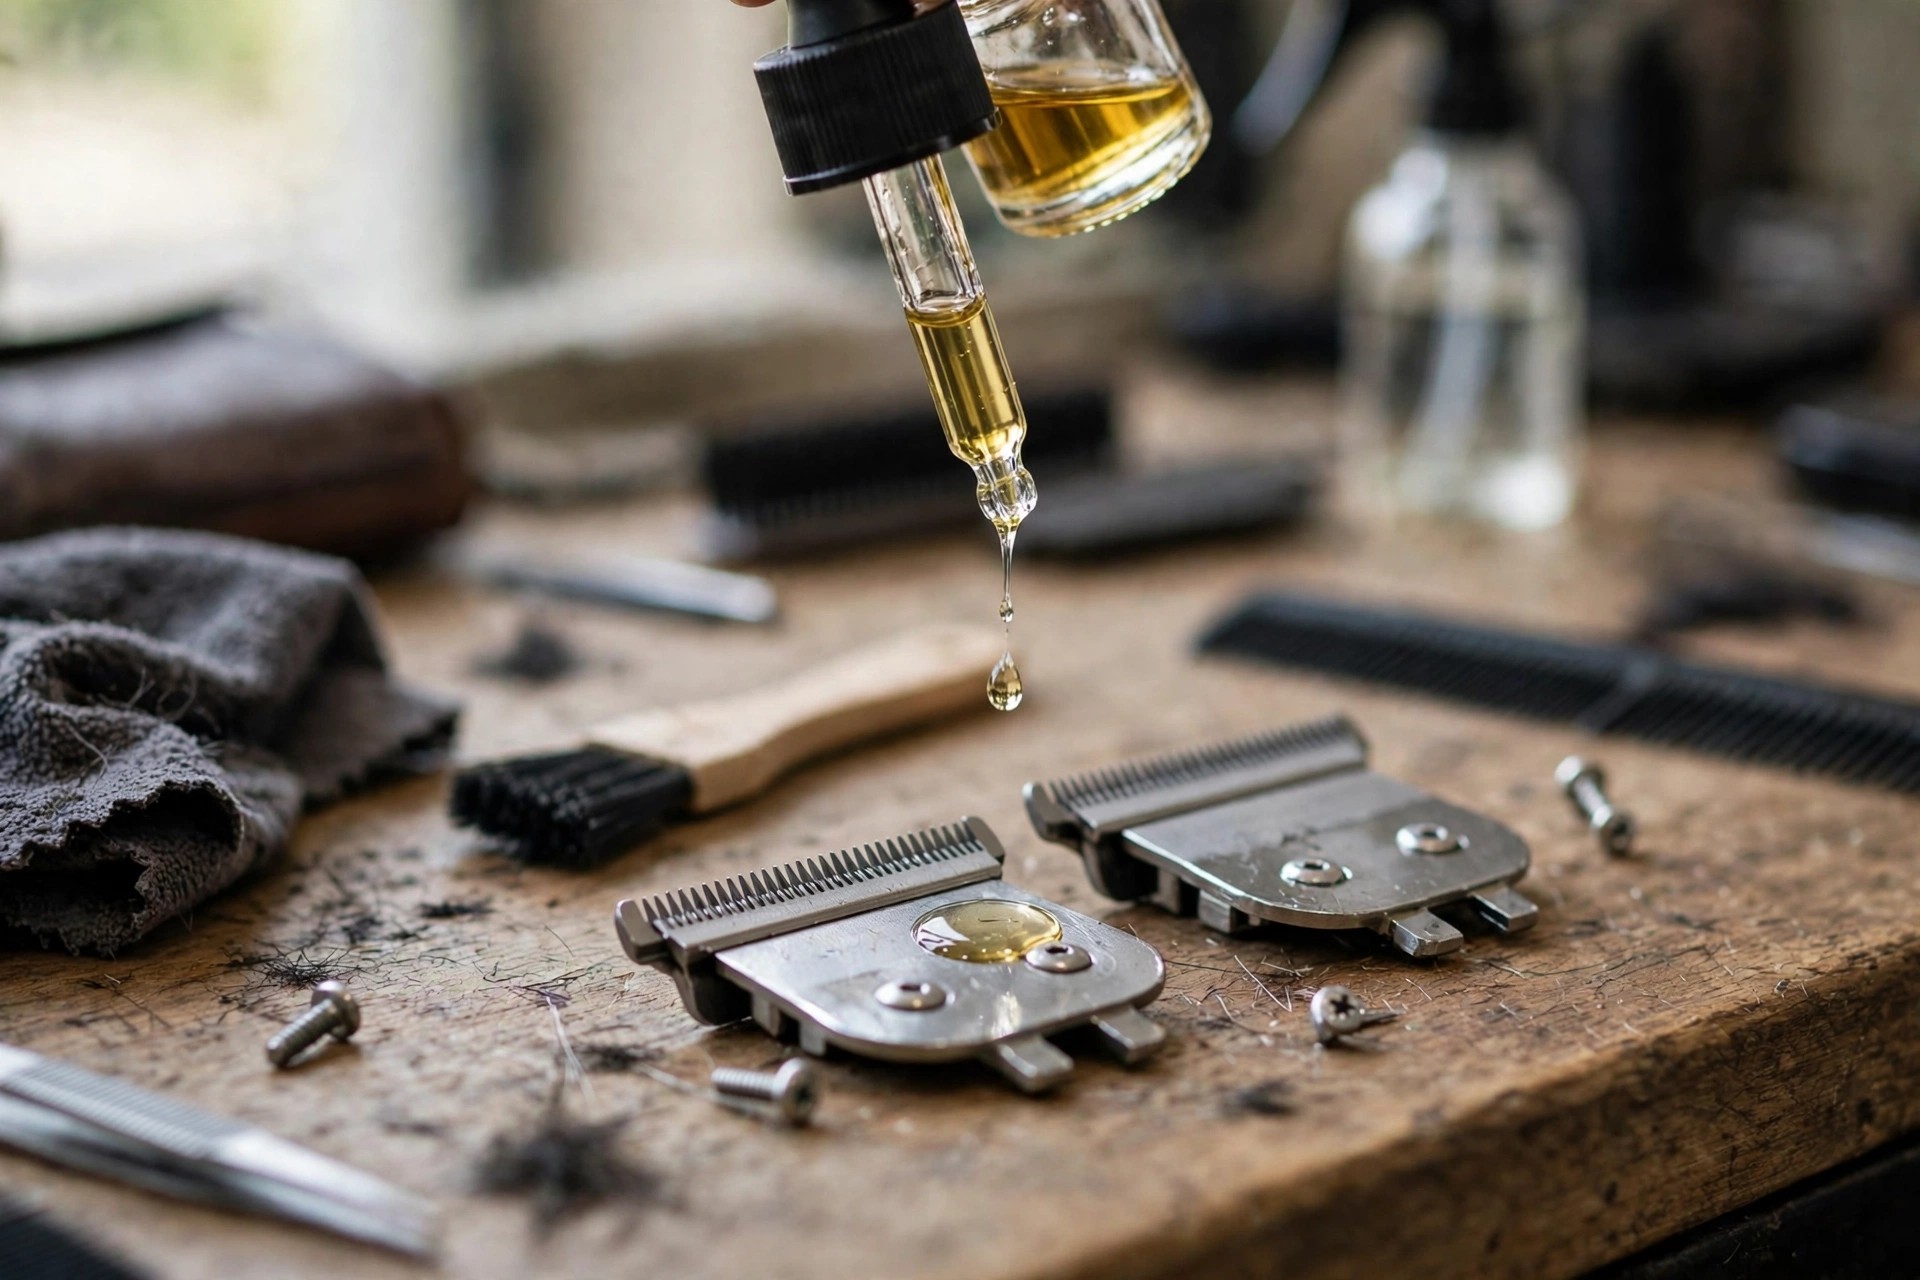
Please note: Step three starts with a small gap. It increases that gap when necessary too. The guide goal remains eliminating gaps entirely. One answer promises cuts without any irritation. The risks answer warns about cuts instead.
Follow the maker guide and its tips at all times. Take your time and make small turns only. Fast, rushed turns can harm the blades by chance. Pro barbers can give more help if you need it. Calm work keeps both you and the blades safe.
Our blade replacement answer covers when blades wear out. Our clipper cleaning guide guards cut quality through steady care. Our Andis buying guide helps swap old trimmers for new ones. Our Babyliss fading guide shows fine fade work step by step. Our electric hair trimmer guide sets out trimmer use in full.
Frequently Asked Questions
How do I zero-gap an Andis trimmer?
Keep the trimmer off and unplugged first. Take the blade off by undoing its screws. Clean hair and dirt from the blade faces. Turn screws one way to widen the gap. Turn them the next way to shrink the gap.
Why is it important to zero-gap an Andis trimmer?
Zero gapping lets you cut closer and with care. Set blades cut hair in an even, smooth way. The answer promises no pulling or sore skin. Sharp lines and fine work become real. Fades and outlines gain from zero gapping too.
Can I zero-gap my Andis trimmer without any prior experience?
The job is plain enough for new users, in most cases. Past trimmer care work helps, and the post backs it. Unsure users should ask a pro for help. Maker guides help you dodge harm to the trimmer. Right settings also guard you from cuts.
How often should I zero-gap my Andis trimmer?
Use and hair type set how often you check. Check the gap each few weeks in all cases. Set it sooner when cuts start to feel weak. Steady care keeps cuts sharp and true.
Are there any risks involved in zero-gapping an Andis trimmer?
Wrong settings do carry some risk for users. Too small a gap makes blades too sharp. Sharp settings can cut or sting the skin. Too wide a gap pulls hair and cuts poorly. Small turns and tests guard both cut and skin.
Steady practice builds real zero gap skill. Test after each change before full use. Your cuts get better with calm practice. Small checks keep each cut clean. Careful work pays off each time.
Conclusion: How to Zero Gap an Andis Trimmer
So, to learn how to zero gap an Andis trimmer helps. The skill lifts your grooming work as a whole. Follow the steps for clean, strong results. Closer, smoother cuts come within reach. Barbers and keen home users both gain here. Good tools reward good care.
Take care and time with each change you make. Keep safety first through the whole job. Steady zero gapping lifts cut quality and tool life. A well kept tool dodges needless wear and tear. The skill moves with you to other trimmers too. Sharp blades make each cut clean.
