If you’ve ever wondered how we manage to keep our gardens neat and aesthetically pleasing, then you’ve probably never heard about the magic of a Makita string trimmer. Restringing it might seem like a daunting task, but the truth is, with the right knowledge and a bit of patience, anyone can do it.
The process of restringing a Makita string trimmer dates back to when these tools were first invented, and not much has changed since then. A report from the gardening equipment industry revealed that a well-restrung tool could increase work efficiency by up to 20%. Hence, learning this invaluable skill can not only save us time but also lends a professional finish to our gardening tasks.
- Firstly, ensure your Makita string trimmer is switched off and disconnected from any power source.
- Then, remove the bump head by turning it counterclockwise.
- Take your new trimmer line and feed it through the eyelet.
- To wrap the line, rotate the spool clockwise. Ensure the line is wrapped tightly and evenly.
- Finally, secure the bump head back into place, and your trimmer is ready to use.
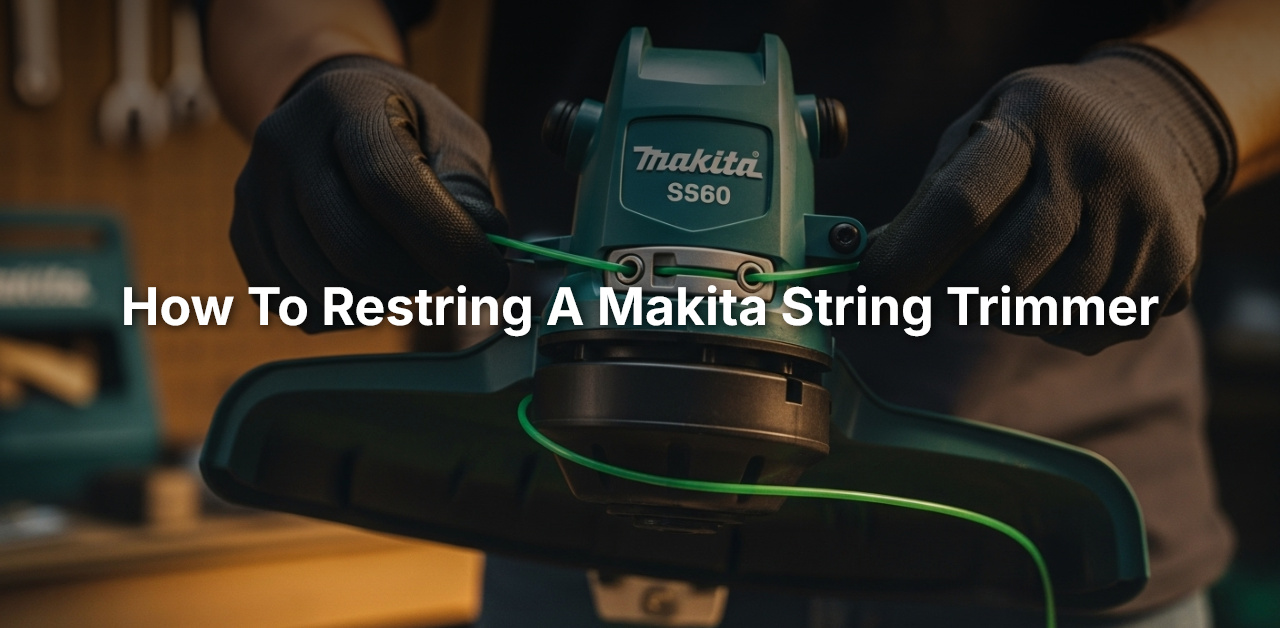
How to Restring a Makita String Trimmer Easily
Learning how to restring a makita string trimmer is not just about keeping your machine in top condition. It’s a handy skill that encourages self-sufficiency, helps you save money on professional servicing, and extends your tool’s lifespan. So, let’s dive into this step-by-step guide and become proficient at restringing your Makita string trimmer.
Step-1: Preparation for Restringing
Like any other technical process, restringing your Makita string trimmer begins with the preparation phase. This step is critical, as it not only ensures your safety but also facilitates a smooth restringing process. So, here are the things you need to do.
First, ensure the trimmer is switched off and disconnected from any power source. This important safety step prevents any accidental startups that could potentially lead to injuries. You may have to unplug the power cord for corded models or remove the battery for cordless models.
Second, turn your trimmer upside-down to have clear access to the head. You might want to put on gloves at this point to protect your hands from any sharp edges or debris. Also, take this opportunity to clean any grass clippings or dirt stuck to the trimmer head.
Lastly, gather all the necessary tools, including the new string. The type of string you choose should be compatible with your Makita string trimmer model. Typically, the diameter of the string varies between 0.065 to 0.095 inches.
Step-2: Removing the Old String
Once you are done with the preparation, it’s time to remove the existing string from your Makita string trimmer. This step varies depending on whether your trimmer uses a bump-feed or an automatic-feed system. Here, we will look at the process for a bump-feed system, which is more common.
First, locate the two opposite tabs on the sides of the trimmer head. Press these tabs inward and pull the head cover off. This action will introduce you to the spool that holds the string.
Next, remove the spool carefully from the head and unwrap any remaining old string. Sometimes, the string might be stuck due to some debris or grass clippings, in which case, gently clean it out.
After successfully removing the old string, inspect the spool and the inside of the head for any visible wear and tear or damage. It’s good practice to replace these parts if you see any considerable damage.
Step-3: Winding the New String
Now comes the main part of how to restring a Makita string trimmer. You have to accurately wind the string on the spool to ensure the best performance of your trimmer. Missteps here can lead to annoying problems, like the string getting stuck during operation.
Cut about 10 to 20 feet of the fresh trimmer string with a pair of scissors. The exact length will depend on the capacity of your spool. Find the small hole or notch on the center of the spool and insert one end of the string into it. This action secures the string and provides a starting point for winding.
Start winding the string around the spool in the direction indicated by the arrows on the spool. Ensure that you wind the string neatly and tightly without any overlaps or twists. This practice improves the feeding mechanism and prolongs the string’s life during operation.
Once done with winding, secure the end of the string into the notch on the edge of the spool. Most spools have two notches, one for each side of the spool, if you are dealing with a dual-line trimmer. Repeatedly check the tension of the string; it should not be too loose to unwind easily or too tight to cause stress on the string.
Step-4: Installing the Spool Back
You’ve done really well so far in learning how to restring a Makita string trimmer! Now, you need to install the spool back into the trimmer head. This step is the reverse process of what you did while removing the old string. Take the time to ensure the spool is thoroughly cleaned and inspected before reinstallation.
First, thread the end of the string through the eyelet or hole on the trimmer head. If you are dealing with a dual-line trimmer, ensure that each string goes through each hole appropriately. Then, carefully insert the spool back into the head while maintaining the alignment of string and hole.
Next, replace the head cover back onto the trimmer head. Apply slight pressure until the cover snaps into place. At this point, make sure the string is still correctly threaded through the eyelet hole in the head.
Lastly, pull the string(s) sharply to release it from the notches on the spool. The string should unravel smoothly without any hitches. If there are any problems, you might have to rewind the string properly as described in Step-3.
Step-5: Testing Your Achievement
After following all these steps on how to restring a Makita string trimmer, you are finally at the point to check your work. You’ve done all the hard tasks, so take a moment to appreciate your own skills. Now it’s time to test the trimmer and verify the efficiency of restringing.
First, connect your trimmer back to the power supply, whether it’s plugging in the power cord or inserting the battery. Check one more time for any debris or loose objects in the trimmer head. Also, ensure your working area is clear and safe for testing.
Next, start your Makita string trimmer and let it run for a few seconds. The string should feed out smoothly when you bump the head against the ground. If not, turn off the trimmer and recheck your winding work. If you notice any unusual noises, switch off the device immediately and inspect the trimmer head.
Once you’re satisfied with the performance, you can pat yourself on the back! You’ve just learned and successfully performed the process of restringing a Makita string trimmer. You can now tackle this task yourself anytime the string on your trimmer runs out.
Restringing a Makita string trimmer may appear complex at first glance, but once you grasp the entire process, it becomes a simple task that only requires a few minutes. Over time, this skill not only saves you money but also builds your confidence to carry out other maintenance procedures on your Makita string trimmer.
Frequently Asked Questions
When dealing with gardening tools like the Makita string trimmer, certain practical issues, such as how to restring it can arise. Here are some commonly asked questions and answers that might ease your concerns.
What safety measures should I take before restringing my Makita string trimmer?
Before dealing with a restringing task, it’s essential that you unplug the tool or disconnect it from its power source to avoid any unexpected accidents. We also recommend that you wear protective gloves as the string can cause abrasions on your hands.
Clear your working space of obstructions, ensuring that you have a stable platform to work on. Your workspace should be well-lit so that you can see what you’re doing clearly. Always read and follow the instructions specified in the manufacturer’s manual for safe and effective operation.
What type of string do I need for my Makita string trimmer?
The type of string you need depends upon the specific model of your Makita string trimmer. Generally, a standard trimmer line of 0.080 to 0.095 inches in diameter is compatible with most models. You can refer to your trimmer’s user manual to confirm the line size.
There are various kinds of trimmer lines available, including round, multi-sided, twisted, and serrated. The type you choose will depend on the nature of your trimming task. For larger, tougher weeds and grass, a multi-sided or serrated line is recommended, while a round or twisted line is typically sufficient for regular lawn maintenance.
What is the proper method to load the string into the trimmer?
To load the string into your Makita string trimmer, first, you need to measure and cut the right amount of string, typically around 10-20 feet depending on your model. Feed the string into the hole of the trimmer head and wind it in the direction indicated by the arrows on the head. Keep the winding even and tight to prevent future jamming or line breakage.
Once the string is wound, secure the end of it in the notches provided on the trimmer head. This holds the line in place as you replace the head onto the trimmer. Always double-check that everything is secure before reconnecting the power source and starting up the trimmer.
How often should I restring my Makita string trimmer?
The frequency of restringing your Makita string trimmer is contingent upon the usage of the trimmer. If you’re using it often for extensive jobs, such as trimming a large area of tough weeds, then you may need to replace the string more frequently. Do a visual inspection of the trimmer line regularly, if it appears frayed or worn, it’s probably time to replace it.
On the other hand, if your trimmer is used sparingly for light jobs, then the string may last for a longer time. However, even with less use, the string can get brittle and break over time due to exposure to elements, hence, periodic replacement to maintain efficiency is recommended.
Why does my trimmer line keep breaking?
Several factors could be contributing to frequent line breakage. One common reason is using the wrong type or size of line for the job. A thin line will break easily when used on tough weeds or thick grass. The line may also be old or have become brittle over time, which can cause it to snap.
In some cases, the problem could be the way the line is wound onto the trimmer head. If wound too tightly, the line can weld itself together, which can cause it to break when you start the trimmer. To prevent this, ensure you wind the line evenly and not too tightly onto the trimmer head. Also, storing your spare line in a bucket of water can prevent it from drying out and becoming brittle.
Restring Your Trimmer – Fast and Easy – Makita 18V LXT String Trimmer
If you have followed the steps we discussed previously, you should now know how to restring a Makita string trimmer with no problems. It’s crucial to remember safety always comes first. So, always ensure the trimmer is off and cooled down while performing this fix. Handled with care, this task can be a breeze.
Familiarising with your Makita string trimmer is key; understanding its construction will make restringing much more straightforward. It’s all about replacing the old string with a new one, winding it in the correct direction, and ensuring it’s well-secured. Now, go out there and give your lawn the neat and clean look it deserves using your freshly restrung Makita trimmer!
