
Believe it or not, fixing the string of a grass trimmer is an essential skill for homeowners – and a surprisingly easy one to learn. About 60% of people I’ve encountered during my gardening workshops are unaware of how to perform this simple task. Interestingly, the lack of knowledge isn’t because the process is arduous, but mostly due to a general misunderstanding.
Grass trimmers, usually referred to as “string trimmers”, were invented in the early 1970s. Understanding this tool is simple – it utilizes a thin nylon string that spins at high speeds, cutting grass, weeds, and other small plants with ease. So, don’t let a broken string intimidate you. Instead, grab your trimmer, find a suitable nylon replacement, and get to work!
- Switch off the power and remove the trimmer head.
- Take out the remnants of the old string.
- Measure and cut a new string.
- Guide the ends of the string into the eyelets and twist it onto the spool.
- Replace the trimmer head.
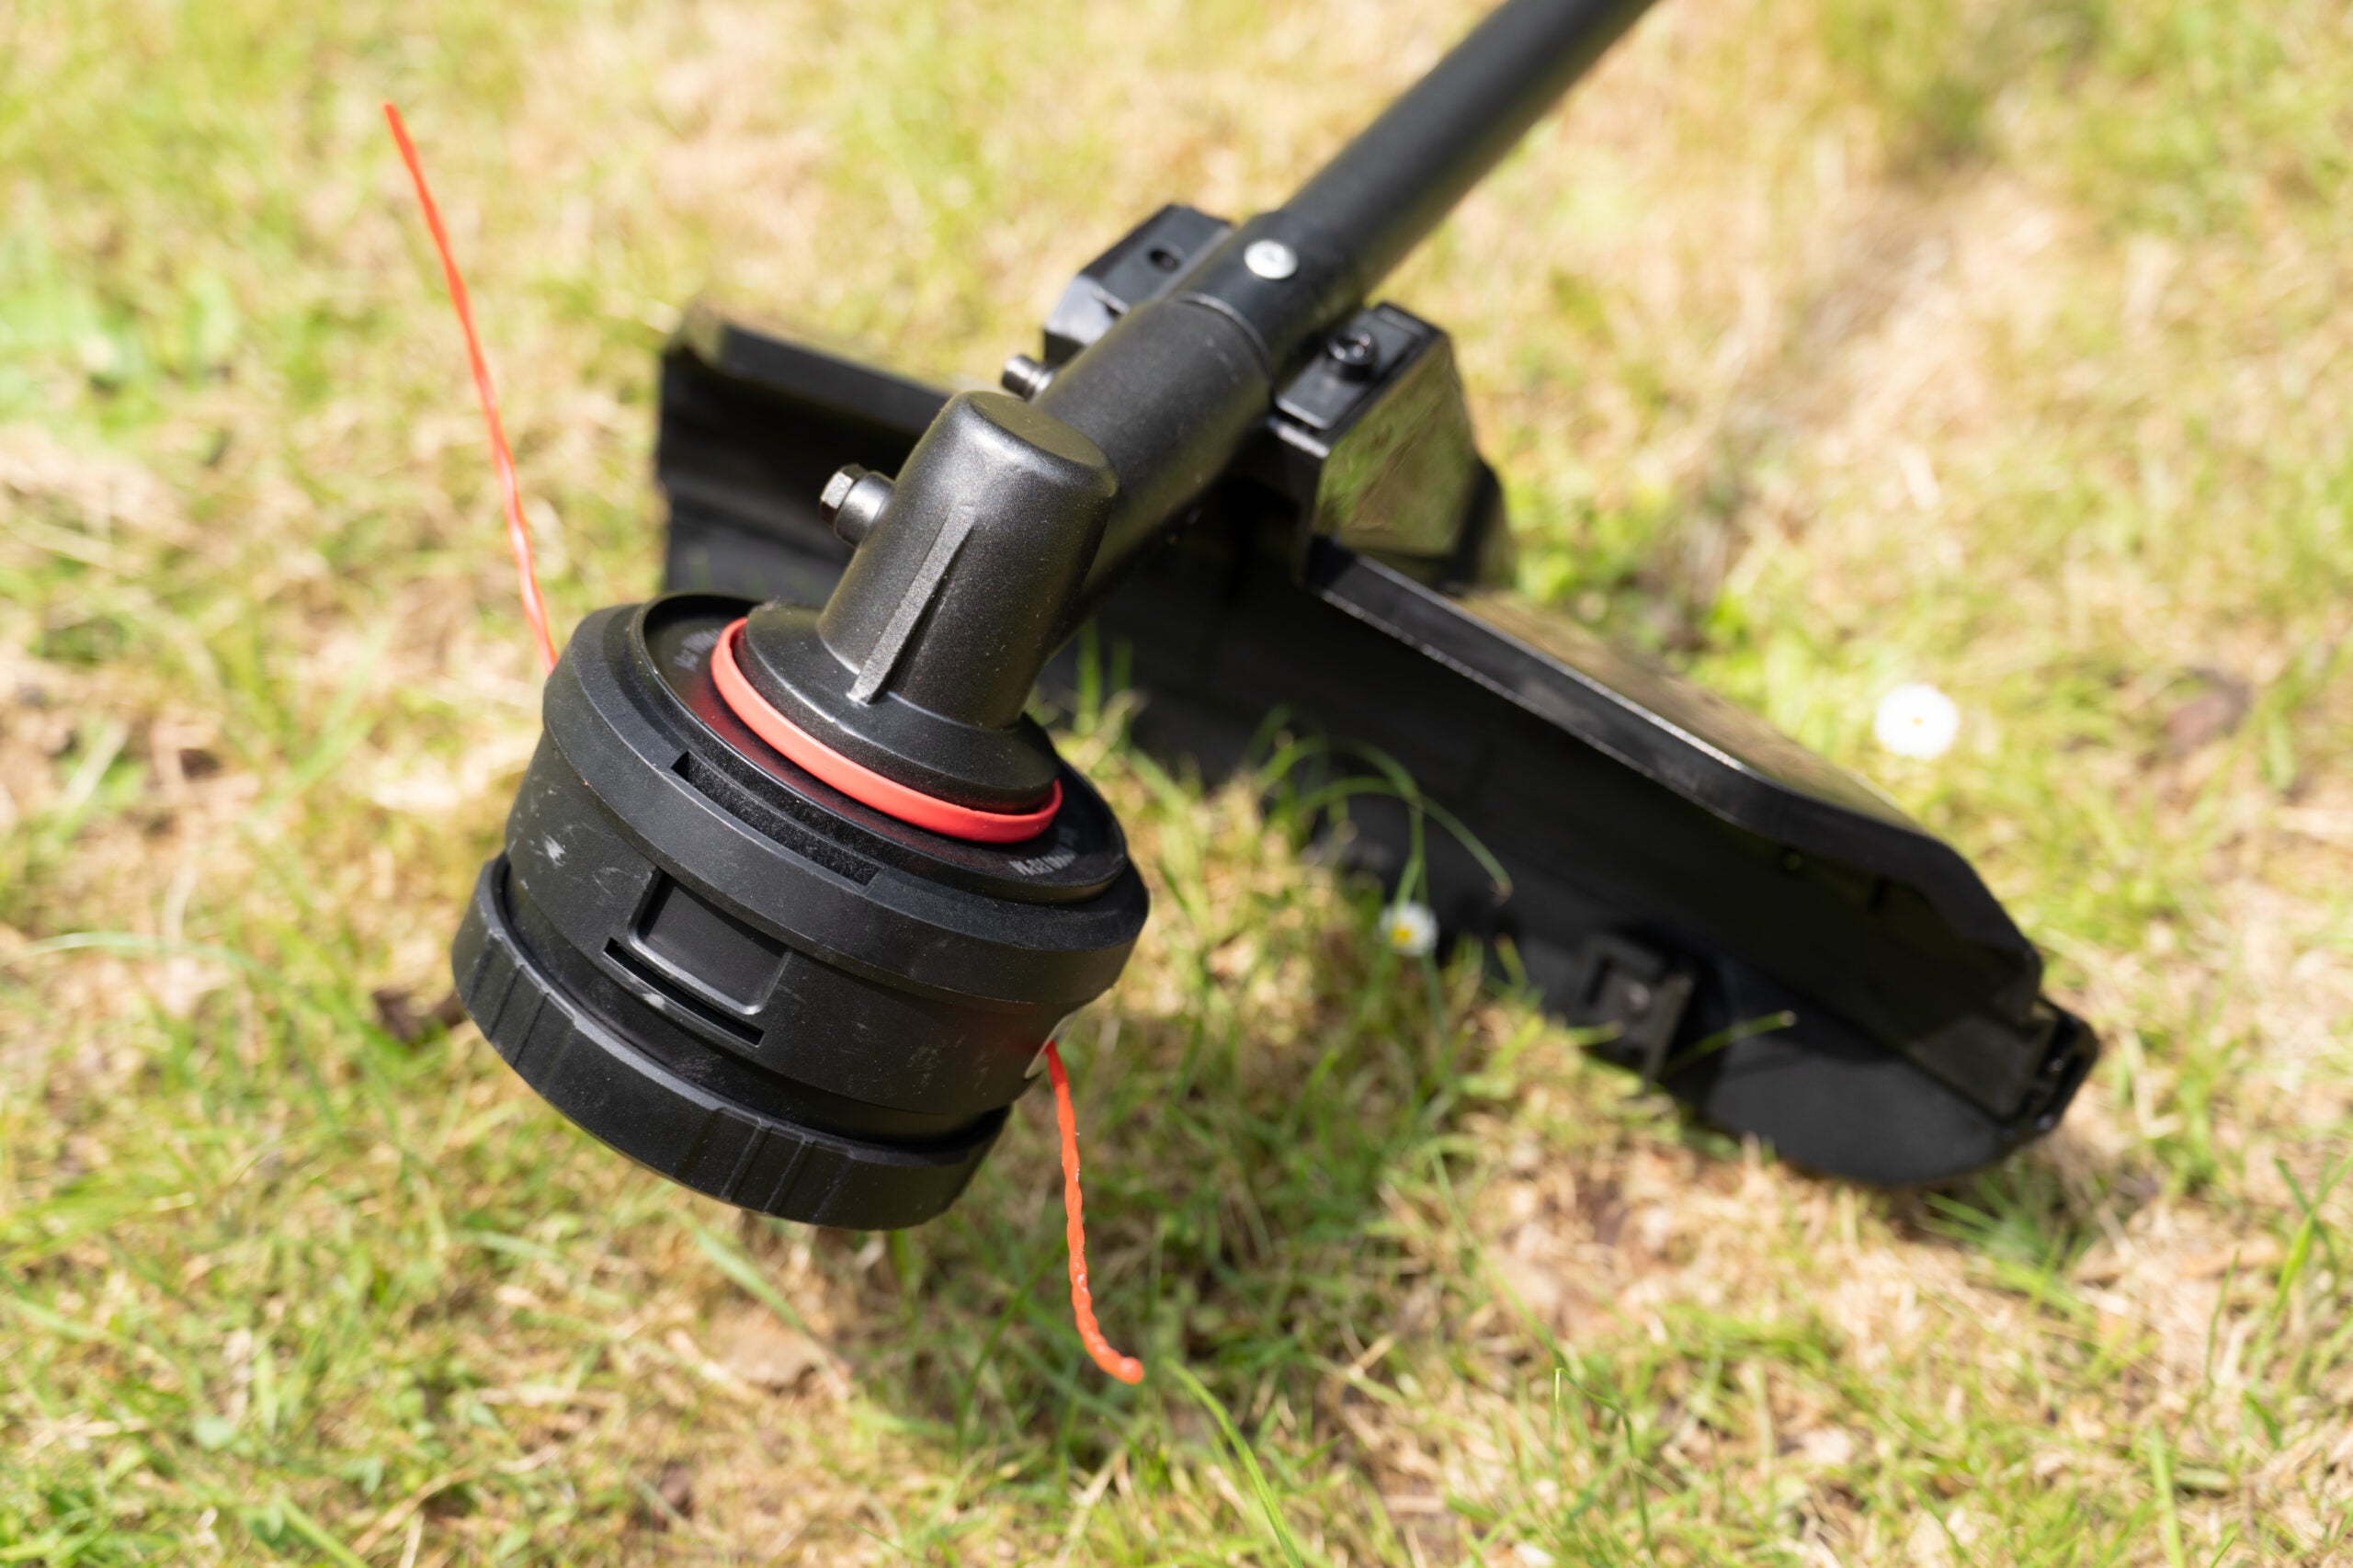 Source: trustedreviews.com
Tackling the Complex Task of Grass Trimmer String Replacement
Grass trimmers are essential tools for maintaining a neat and tidy lawn. In the course of operation, the string can often get frayed, break, or simply wear out, affecting the trimmer’s performance. In such situations, knowing ‘how to fix grass trimmer string?’ proves to be a valuable lifesaver. This guide will help you understand the procedure step by step, ensuring you can do it yourself without having to call in an expert.
Step 1: Ensuring Safety First
Before embarking on fixing the grass trimmer string, it is critical to prioritize safety. This implies disconnecting the trimmer from any power source. Electrically powered trimmers should be unplugged from the power source, whereas battery-powered versions require the removal of the battery entirely.
Next, position the trimmer in such a way that you can easily access the string head. Ideally, it should be upright with the string head at the top. This positioning prevents any accidental operation and offers a better view of your working area.
It is always recommended to put on protective gloves when working with such tools to prevent any cuts or scrapes. Additionally, wearing safety glasses can prevent any dust or debris from getting into your eyes if you need to clean the trimmer.
Lastly, prepare a clean, flat surface to place any parts you may remove during the process. This will ensure you don’t lose any components, and you can keep track of the order in which they were removed.
Step 2: Removing the Trimmer Head
The first step in learning how to fix grass trimmer string is to remove the trimmer head. The trimmer head is typically connected to the trimmer shaft by a nut or bolt, or sometimes by a series of tabs. Once you have identified how the trimmer head is connected, use the appropriate tool to loosen and remove it.
While removing the head, hold onto the spool so that it does not fall out. Turn the cutting head counter-clockwise to loosen it. Once the head is free, carefully lift it off the trimmer, ensuring not to lose any of the parts inside.
Now examine the head for any signs of wear or damage. If the head is worn out or damaged, it’s best to replace it entirely. Cleaning the head from any residual grass, dirt, or debris is also crucial to ensure the smooth operation of the trimmer.
It’s worth noting that certain models may have different ways of removing the trimmer head, so always consult your model’s user manual for the most accurate directions.
Step 3: Loading the String
Once the trimmer head is cleaned and inspected, your next step in fixing the grass trimmer string is to load the new string onto the spool. Carefully unwind a segment of the new trimmer line and cut it to the length specified in your trimmer’s manual. Typically, it is around 15-25 feet, depending upon the size of your trimmer.
Locate the anchoring hole or slot in the middle of the spool. Insert one end of the string and start winding the line onto the spool. Ensure you wind in the direction shown by the arrow on the spool or as described in the user guide. Ensure that the winding is neat, with the line laying snug against the previous layer. This will prevent any jamming or uneven feeding of the line when in use.
After the string has been wound around, cut off any excess, leaving about 6 inches unwound at the end. This excess will act as your new cutting line.
If your trimmer supports dual line operation, repeat the same process with the second spool, ensuring both lines are of the same length. Remember that an imbalance in wrap or length can lead to uneven trimming and potential damage to the trimmer.
Step 4: Reinstalling the Trimmer Head
After loading the new trimmer line, it’s time to put the trimmer head back on. Feed the end of the trimmer line through the hole or guide hole in the side of the trimmer head. If your trimmer uses two lines, ensure both are threaded through their respective holes.
Place the spool back in the trimmer head, being cautious to keep the line aligned with the guide hole. A misaligned line can lead to jamming or feeding problems when you start trimming again. Push down on the spool until it fits into place. Don’t force it – it should fit naturally and easily into the trimmer head.
Finally, replace the cover of the trimmer head, ensuring to align it properly with the grooves or notches. If your trimmer holds the string with a bolt or nut, replace it and tighten, but be sure not to over-tighten as it may cause damage.
Your trimmer is now ready for use. Conduct a test run to ensure that the line is feeding correctly. If it isn’t, you might need to rewind the string or check that the string’s ends are free to move and are not trapped between the spool and the trimmer cover. Shake and bump techniques can be used to adjust the quantity of the string coming out of the manual feed systems.
Step 5: Final Checks
With the trimmer head reinstated, you’re now ready to use the trimmer. Start by slowly engaging the throttle to ensure the line feeds properly and the trimmer operates with no noticeable issues. If the trimmer is not operating correctly, you might need to adjust the cutting line’s length. Too much line will cause the trimmer to overwork, and too little will not give an efficient cut.
If everything is working smoothly, adjust the cutting line to the optimal cutting length. The line will naturally wear down and shorten as you use the trimmer. If the line gets too short during use, tap the cutting head on the ground to release more line. It is a good practice to check the condition and length of the line periodically, especially before a major trimming job.
Remember, safety should not be compromised at any step. Always wear protective gear and work in an open, clean area. Working efficiently and safely ensures you get the best out of your trimming job and extends the lifespan of your equipment.
You’ve now successfully learned ‘how to fix grass trimmer string’. Congratulations! With practice and care, this task will become a breeze, and you’ll always be ready to keep your garden looking its best.
By now, you’ve mastered the art of fixing grass trimmer string. You’ve not only saved on potential repair costs but also savored the satisfaction of doing it by yourself. With this newfound skill, you are in better control of your garden maintenance, keeping your lawn in pristine condition anytime, every time. Happy Trimming!
How to Change the Line | Weed Eater String | Replace Weed Wacker
Frequently Asked Questions
Handling grass trimmer strings can often be challenging, especially when they keep breaking or fail to function correctly. Here we have assembled some common questions and their solutions to help you maintain your trimmer string effectively.
Why does my grass trimmer string break so often?
Your grass trimmer string might be breaking frequently due to a number of reasons. The most common cause is the use of an incorrect string. You could be using one that’s too thin for your particular model, leading to easy breaks. Moreover, poor quality strings are more prone to breakage.
In addition, if you’re trimming around hard objects like fences, walls or stones, the string can break easily upon impact. Extreme temperature variations can also lead to material degradation, hence breakage. To limit this, always use the correct type and quality of string that your model recommends and be careful around hard objects.
How do I replace the string on my grass trimmer?
To replace the string on your grass trimmer, start by disconnecting the trimmer from its power source. Next, locate the trimmer head cap; there should be tabs you can press down on or a screw, you can loosen to remove the cap. Once the cap is off, remove the old string spool and replace it with the new one.
While refilling, make sure to wind the new string in the direction of the arrow on the spool. Replace the cap back on the trimmer head, ensuring it’s secure. Reconnect the power source, and your trimmer should be ready to use. It’s critical to refer to your user manual as every model differs slightly in the string replacement process.
What type of string should I use for my grass trimmer?
The type of string you should use for your grass trimmer highly depends on the model and brand of your trimmer, and the kind of job you’re planning to do. Light-duty electric trimmers usually work well with thin, round .065′′- .080″ string. For medium-duty string trimmers, a .085′′- .105″ string is often suitable.
For heavy-duty tasks and professional trimmers, a .110″ and above diameter string is recommended. As a standard rule, always refer to your user’s manual for the recommended string type and size. Using the wrong string can lead to inefficient cutting, damage to your trimmer, and more frequent string breaks.
How long should my grass trimmer string be?
The length of your grass trimmer string should typically extend less than half an inch at each side of the trimmer shield. However, the length might vary a bit depending on the model and brand of your trimmer. Remember, having a string too long may lead to the trimmer bogging down and losing power.
On the other hand, if the string is too short, you will not cut grass effectively, and it will take longer to finish your job. Therefore, keeping an optimal length that your operator’s manual suggests is important for successful operation. A built-in string cutter on many trimmer shields will cut off excess string, ensuring optimal trimming.
Can I use different brands of string on my trimmer?
Yes, you can use different brands of string on your trimmer, but it’s important to ensure they’re suitable for your particular model. Use the correct size for efficient cutting. Not every string is created equal; some are more prone to breakage, shredding, weldings, or may even potentially damage your string trimmer if not compatible.
I would suggest sticking to the brand recommended by your trimmer’s manufacturer to be on the safe side. If you decide to use another brand, make sure it is for similar models or has similar properties to the suggested brand. Always remember to wind it correctly onto the spool to avoid feeding problems.
How to replace string trimmer edger line
Final Words
I hope you now have a better understanding of how to fix a grass trimmer string. It’s a task that requires careful attention to safety, as well as some basic know-how on part replacement and handling specific tools. Always remember that the first step is to check the current condition of your string and trimmer head.
If you maintain this routine of carefully inspecting and promptly addressing issues with your trimmer string, you should find that you’ll prolong its lifespan and usefulness. Now that you’ve learnt these steps, you’re well prepared to keep your trimmer in top working condition. So, gear up, stay safe, and happy trimming!
