Cleaning your bikini trimmer regularly may be more crucial than you think, especially considering that these personal grooming tools can harbor bacteria if not properly maintained. Maintaining the hygiene of your trimmer not only extends its life but also ensures a safe and effective trimming experience. It’s a task often overlooked but one that plays a significant role in our personal care routines.
The process of cleaning a bikini trimmer is rooted in simple steps that have evolved over time. Initially, trimmers were merely rinsed under water, but modern devices now come with cleaning brushes and detachable blades to facilitate thorough cleaning. According to industry experts, a well-maintained trimmer can last up to twice as long, preventing skin irritations and infections. Thus, regular cleaning isn’t just about preservation; it’s a vital aspect of safe grooming.
- Turn off and unplug the trimmer.
- Disassemble the blades and detachable parts.
- Brush away loose hairs using a small brush.
- Rinse blades under warm water and dry thoroughly.
- Disinfect with rubbing alcohol and allow to air dry.
- Reassemble the trimmer and store it in a cool, dry place.
How to Clean a Bikini Trimmer
Cleaning a bikini trimmer starts with disassembling the device. Remove its blades and any other detachable parts to ensure thorough cleaning. Using a small brush, gently scrub the blades to get rid of hair and residue. According to this post, rinsing the parts under warm water helps to remove any leftover particles. Dry each piece completely to prevent rust.
After cleaning the blades, focus on the trimmer body. Wipe the outer parts with a damp cloth to eliminate dust and dirt. Pay attention to the small crevices where hair can accumulate. Using a cotton swab dipped in alcohol can also help to disinfect these areas. Make sure the trimmer is completely dry before reassembling.
Reassembling the trimmer is straightforward. Simply ensure all parts are dry and put them back together securely. This step is crucial to maintain the smooth operation of the trimmer. Improper assembly can affect its cutting performance. Always follow the manufacturer’s instructions if you’re uncertain.
Proper storage is the final step. Store your trimmer in a cool, dry place to extend its lifespan. Keeping it in a protective case can prevent damage. According to the article here, regular cleaning and correct storage not only ensure hygiene but also enhance the efficiency of the trimmer. These simple steps can make a big difference.
Step 1: Disassembling the Trimmer
To start, make sure your bikini trimmer is turned off and unplugged from any power source. Safety always comes first. Gently remove the blade assembly from the trimmer. Most trimmers have a release button or a twist mechanism to dislodge the blade. Check your user manual if you’re unsure.
Once the blades are off, take a look at the other detachable parts. These might include guards and small attachments. Removing all parts allows for a thorough cleaning. Keep these parts organized on a clean, dry cloth. This will make reassembling easier.
It’s important to handle the blades carefully to avoid any injury. Most blades are very sharp, so use caution. According to this expert opinion, handling blades with a cloth can provide a better grip and added safety. Store the blades separately while cleaning the trimmer body. Be mindful of small parts that could easily get lost.
Finally, give the trimmer body a quick wipe down. This ensures no loose hairs or debris remain inside. Use a small brush to gently clean any hard-to-reach crevices. Assembly becomes straightforward when all parts are clean and dry. This step sets the foundation for a thorough, efficient cleaning process.
Step 2: Properly Cleaning the Blades
To start cleaning the blades, use a small brush to remove any trapped hairs. Brushing should be done gently to avoid damaging the sharp edges. Ensure all hairs are removed, even from the tight spaces. This step makes the next stages of cleaning more effective. It also keeps the blades in top condition.
Next, rinse the blades under warm running water. Hold them at an angle to let the water wash away any remaining debris. Avoid using hot water, as it can warp or damage some blade materials. After rinsing, shake off excess water. Dry the blades thoroughly with a clean towel to prevent rusting.
For additional cleaning, soak the blades in a bowl of warm, soapy water. This helps to break down any sticky residue. Let the blades sit for a few minutes, then rinse them again under warm water. Use a soft cloth to wipe them dry. Make sure to inspect the blades for any leftover dirt before considering them clean.
Finally, apply a few drops of blade oil to maintain their sharpness and prevent rust. Spread the oil evenly using a clean cloth. This adds a protective layer to the blades. Keep the blades aside until they are completely dry. Properly cleaning the blades ensures they function efficiently and last longer.
Step 3: Cleaning the Trimmer Body
Start by wiping down the trimmer body using a damp cloth. This removes any dust or residue that might be clinging to the surface. Pay extra attention to areas around the blades where hair tends to accumulate. You can also use a small brush to help clear any debris in tight corners. This ensures that no part of the trimmer is neglected.
To disinfect the trimmer, use a cotton swab dipped in rubbing alcohol. Focus on the areas that come in contact with your skin. The alcohol will not only clean but also sterilize the trimmer. This step is crucial to maintaining hygiene and preventing skin infections. Let the alcohol dry completely before proceeding.
Check the crevices and ports on the trimmer body. Hair and gunk can often get stuck in these areas. A toothpick or a small brush can be effective tools for cleaning these hard-to-reach spots. Removing debris ensures that the trimmer operates smoothly. Clogged ports can affect performance and longevity.
Once cleaned, it’s important to dry the trimmer body thoroughly. Use a dry cloth to wipe away any moisture. Leaving the trimmer wet can lead to rust or electrical issues. Make sure every part is completely dry before reattaching the blades. Proper drying enhances the trimmer’s durability.
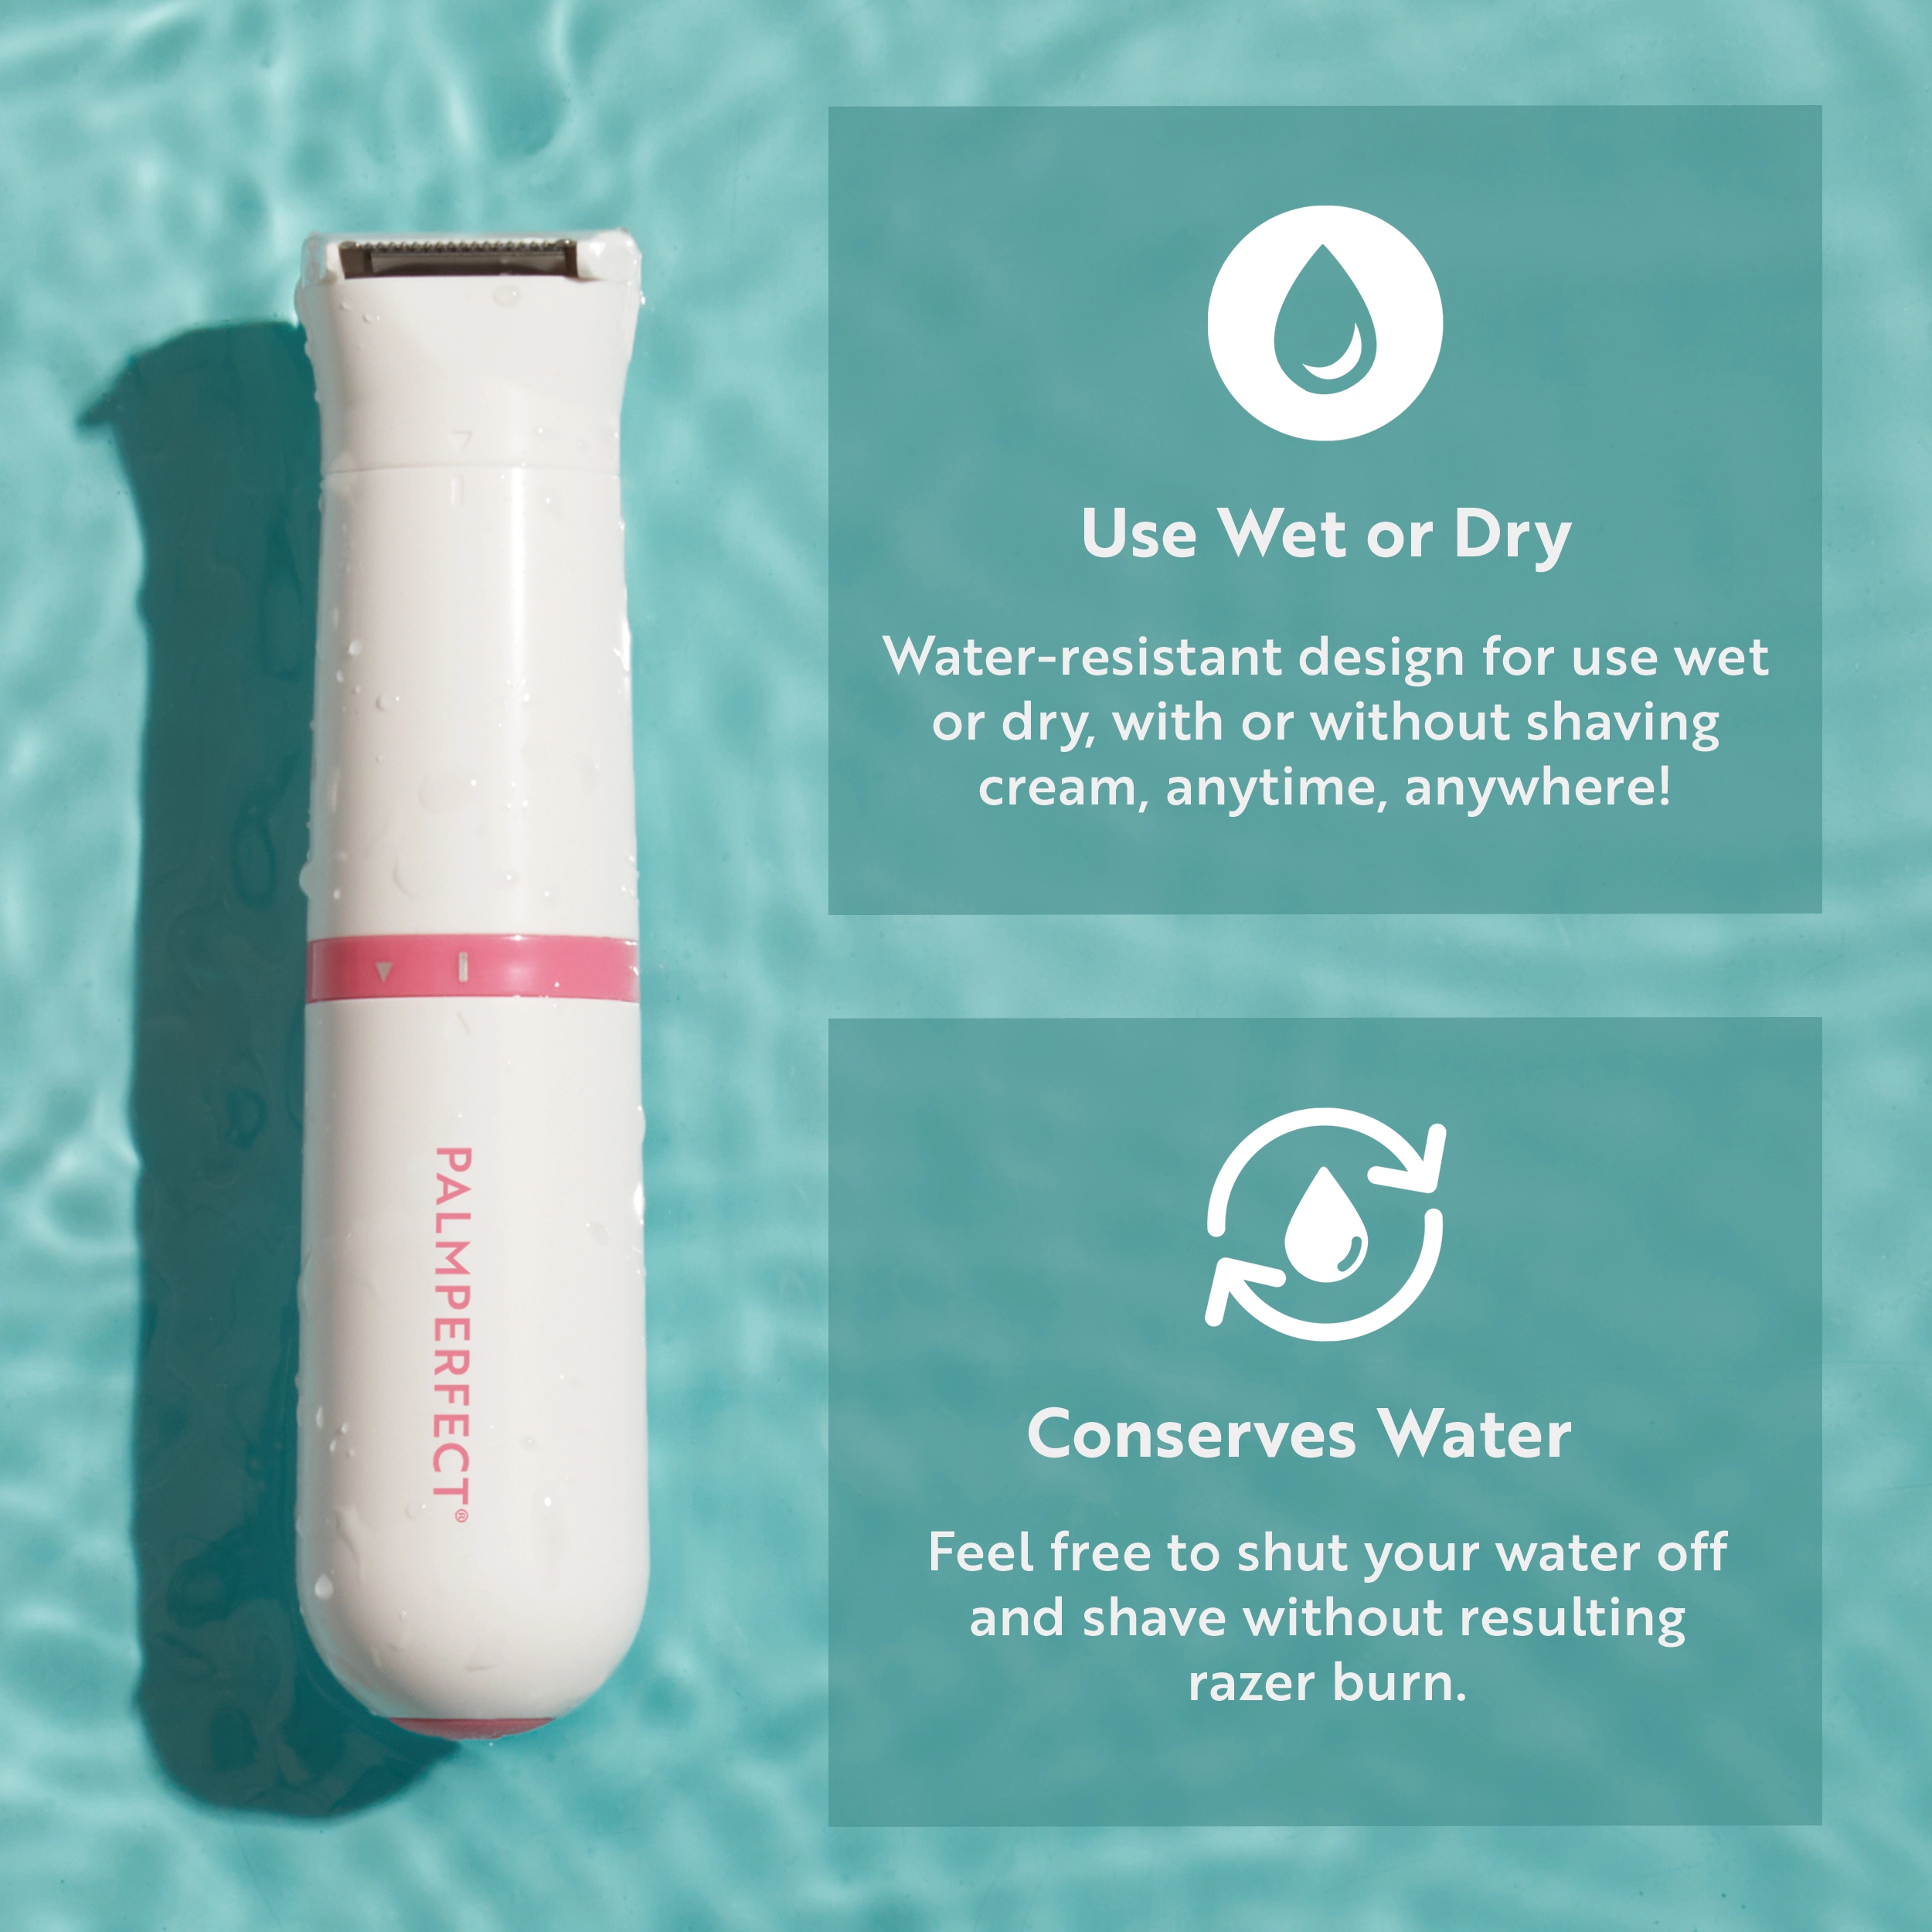
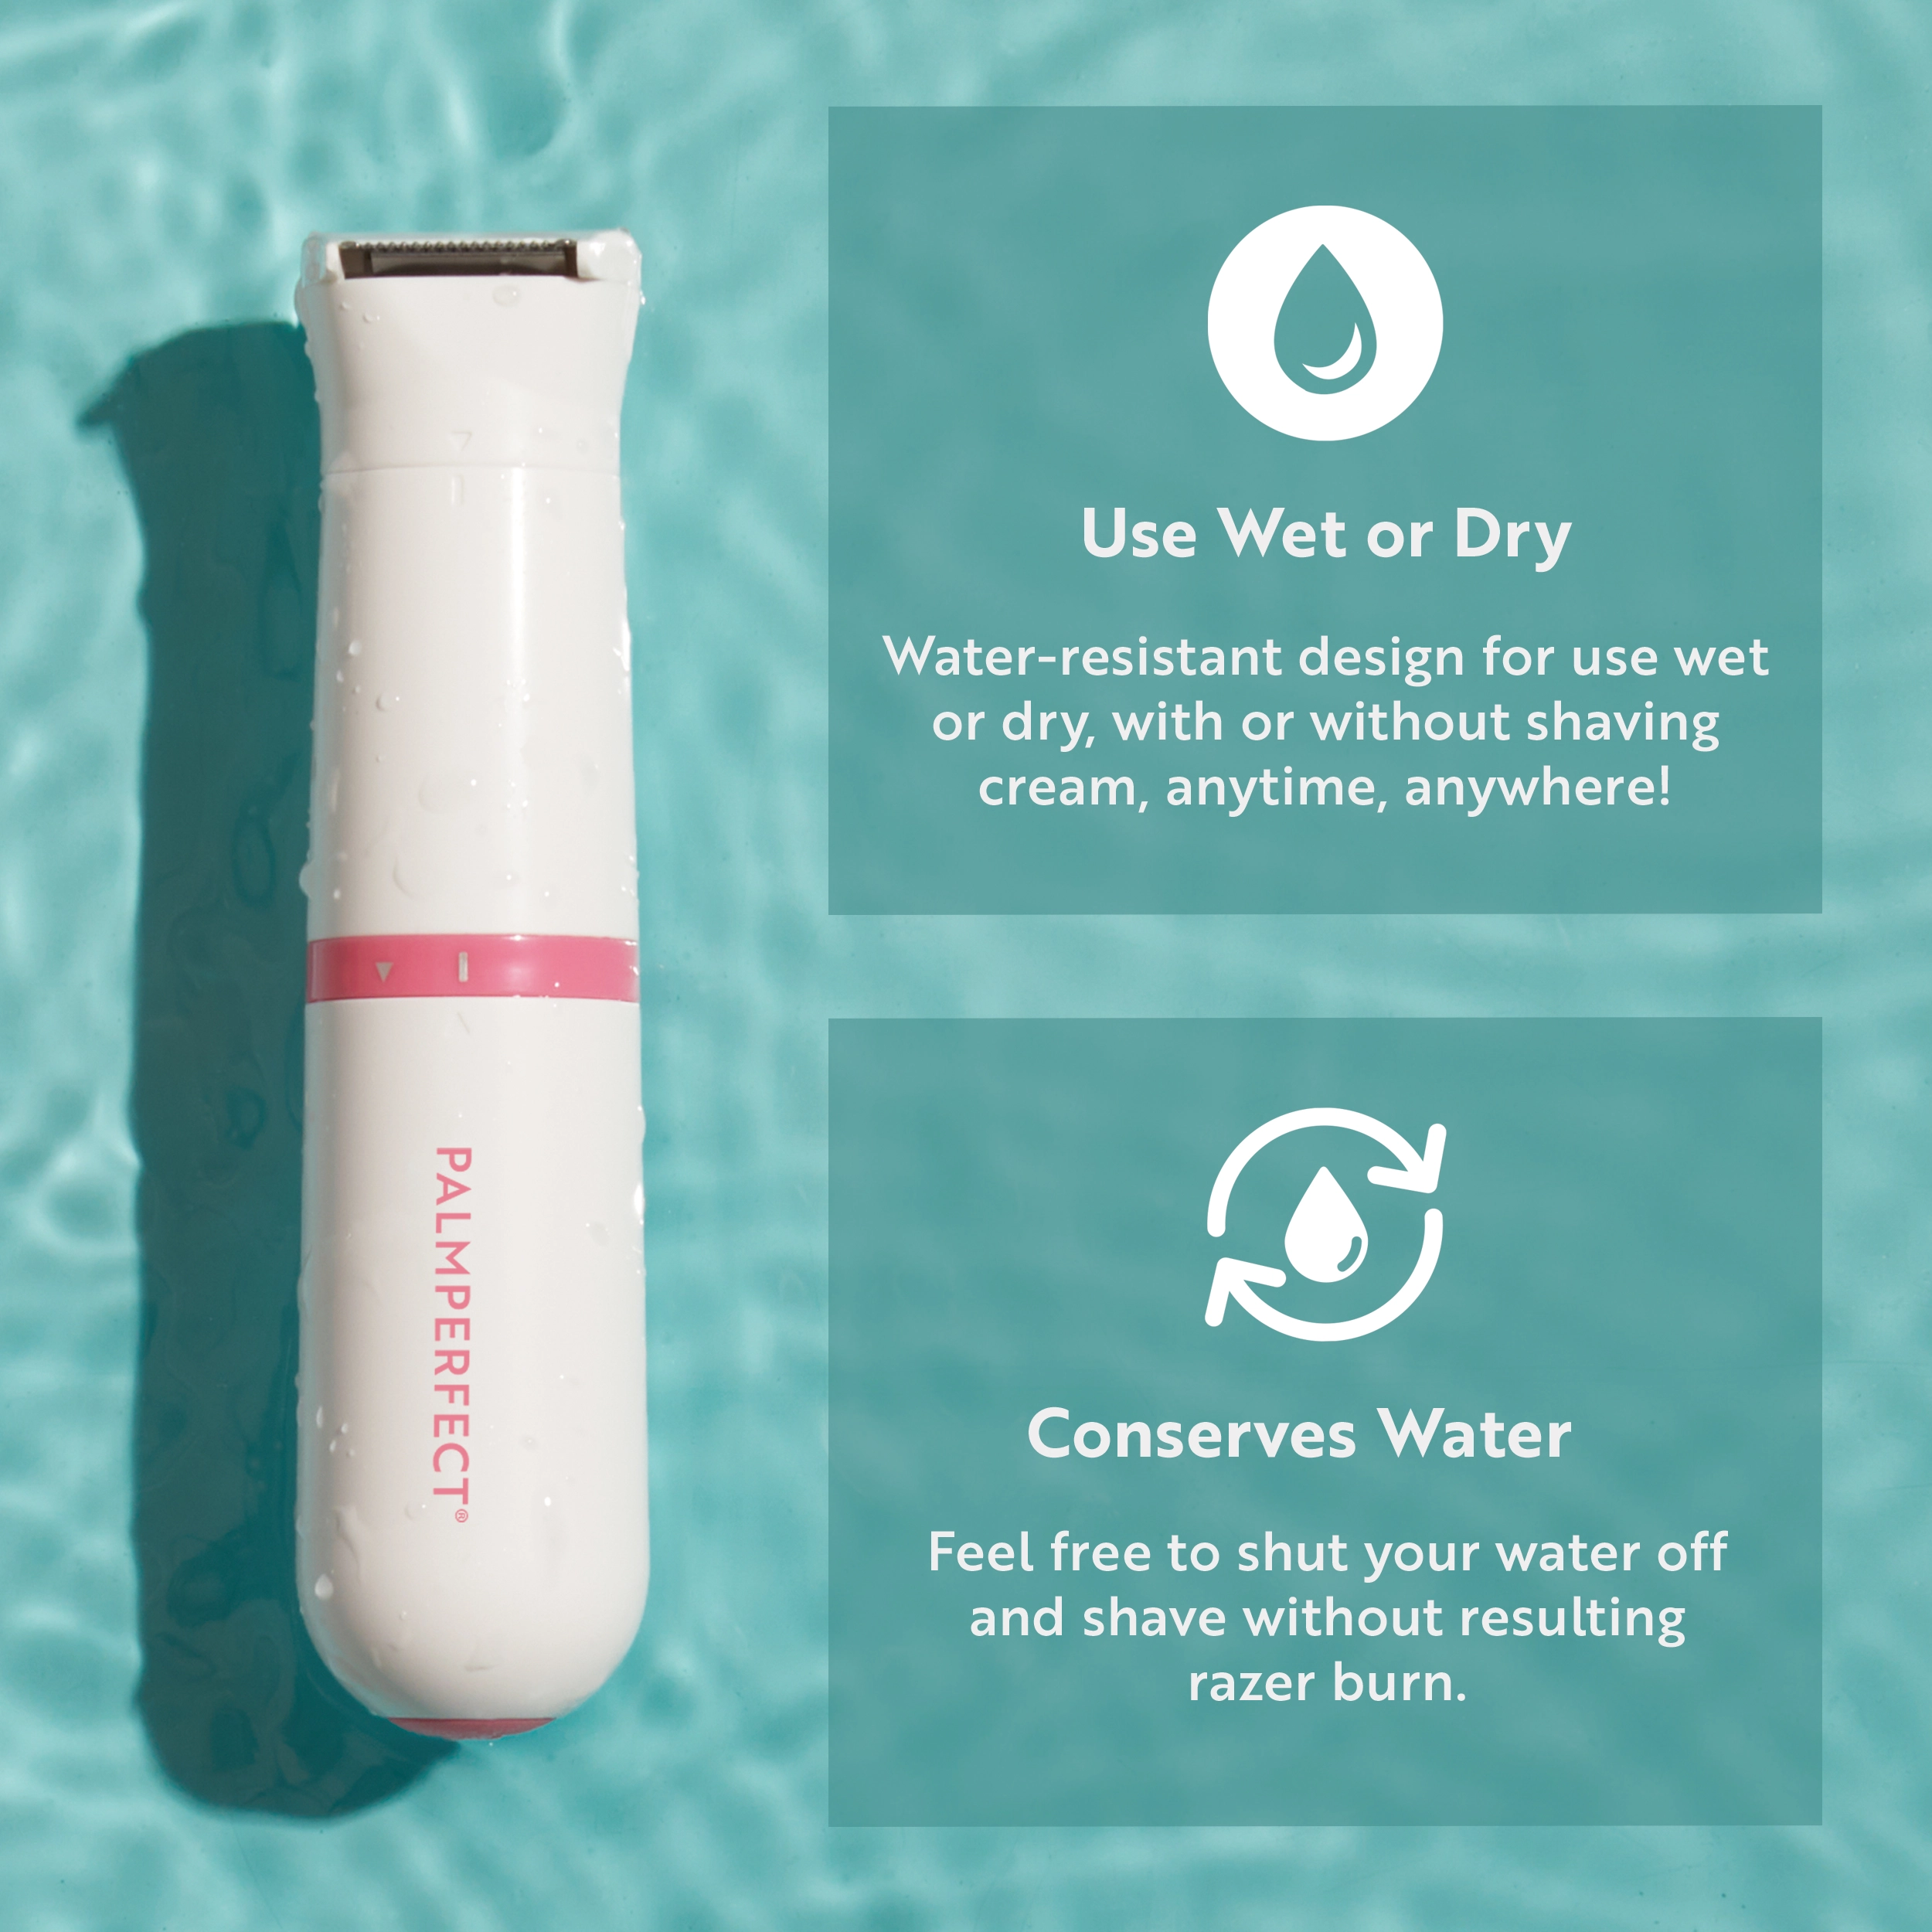
If your trimmer is waterproof, you can rinse it under running water for a quicker clean. However, always confirm this feature in the user manual. Even waterproof models should be dried thoroughly after cleaning. This avoids any potential damage from leftover moisture. Following the right cleaning steps preserves your trimmer.
Step 4: Drying and Reassembling
After cleaning, it’s essential to dry all parts of the trimmer thoroughly. Use a clean, dry towel to pat every component. Make sure no moisture is left on the blades or the body. To ensure complete drying, you can leave the parts out for a few hours. This step prevents rust and electrical short circuits.
Once the parts are fully dry, you can begin reassembling the trimmer. Start by aligning the blades correctly. Insert them back into their slots and secure them firmly. Make sure each part clicks into place. Misalignment can affect the performance of the trimmer.
Check that all detachable parts are properly attached. This includes any guards or additional attachments. Double-check each part to ensure there are no loose pieces. This step ensures the trimmer operates smoothly. It also prevents accidents during use.
Turn on the trimmer briefly to test its functionality. Listen for any unusual noises that might indicate improper assembly. If everything sounds and looks good, your trimmer is ready for use. This quick check can save you from potential issues. It’s better to correct any mistakes before actual use.
After ensuring the trimmer is operating correctly, store it in a safe place. Keep it in a protective case if available. Store in a cool, dry location to maintain its condition. Proper storage extends the lifespan of your trimmer. It keeps it ready for your next grooming session.
Step 5: Proper Storage
Storing your bikini trimmer correctly is vital for its longevity. Start by finding a cool, dry place away from moisture. Bathrooms are often too humid, so choose a drawer or a cabinet outside. If your trimmer came with a protective case, make use of it. This keeps dust and debris from accumulating on the device.
When storing, avoid wrapping the cord tightly around the trimmer. This can cause wear and tear on the electrical components. Instead, loosely coil the cord and secure it with a twist tie. Proper cord storage ensures the trimmer remains functional. It also prevents accidental damage.
It’s also a good practice to store your trimmer with its attachments. Use small plastic bags or a box to keep all the parts together. This simplifies the process when you need to use the trimmer again. Everything will be in one place, ready to go. It eliminates the hassle of searching for missing pieces.
If your trimmer uses batteries, consider removing them before storage. Storing with batteries can sometimes lead to leakage, which can damage the device. Store batteries separately in a cool, dry place. Reinsert them when you’re ready to use the trimmer. This keeps both the trimmer and batteries in good condition.
Before storing, ensure the trimmer is clean and dry. Storing a wet or dirty trimmer can lead to rust and contamination. Take an extra minute to check each part. Proper maintenance now pays off later. Your trimmer will be ready for your next grooming session.
Importance of Regularly Cleaning Your Bikini Trimmer
Regular cleaning of your bikini trimmer is crucial for maintaining personal hygiene. Over time, hair, dirt, and skin cells can accumulate in the blades and other parts. This buildup not only affects the performance but also poses health risks. Dirty trimmers can harbor bacteria that cause infections or irritations. Hence, frequent cleaning is a must.
Another reason to clean your trimmer regularly is to extend its lifespan. When debris clogs the blades or mechanisms, the trimmer has to work harder. This extra strain can lead to quicker wear and tear. A clean trimmer operates more efficiently and lasts longer. Regular maintenance saves you money in the long run.
A well-maintained trimmer also ensures a better grooming experience. Clean blades provide a smooth cut without pulling or snagging hairs. This makes your grooming sessions faster and more comfortable. Inconsistent trimming results often occur due to dirty blades or blocked mechanisms. Keeping your trimmer clean guarantees optimal performance.
Frequent cleaning reduces the risk of malfunctioning parts. Sometimes small issues like hair stuck in crevices can escalate into major problems if ignored. Addressing these minor issues during regular cleanings can prevent costly repairs later on. It’s easier to fix small problems early rather than dealing with big ones later.
Furthermore, when you frequently clean your trimmer, you become more familiar with its components and how it works. Understanding your tools better helps you identify any issues quickly before they become bigger problems. This proactive approach ensures that your trimmer remains reliable every time you use it.
Common Challenges and Solutions When Cleaning a Bikini Trimmer
One of the most common challenges is dealing with clogged blades. Hair and debris can easily get stuck, making it hard to clean thoroughly. The solution is to use a small brush to loosen the hair before rinsing. Regular brushing prevents buildup and keeps the blades functioning smoothly. Always make sure to remove the blades for a more effective clean.
Another issue is the risk of rust forming on metal parts. Moisture can cause rust, especially if the trimmer isn’t dried properly after cleaning. To prevent this, dry each component thoroughly with a towel. You might also consider using a hairdryer on a cool setting for hard-to-reach spots. Storing the trimmer in a dry place further ensures it stays rust-free.
Some users find it difficult to clean the tight crevices and small parts of the trimmer. Using cotton swabs dipped in alcohol can help you reach those tricky areas. These tools disinfect while cleaning. Don’t ignore the importance of getting into every nook and cranny. This ensures the trimmer remains hygienic and effective.
Accidentally losing small parts during the cleaning process is another frequent challenge. Keeping a clean, organized workspace can help avoid this problem. Lay out all parts on a clean towel before you start cleaning. This makes it easier to keep track of everything. A small dish or container can also be used to hold tiny components.
The challenge of properly reassembling the trimmer often arises after cleaning. Following the user manual can be very helpful in these situations. Make sure each part clicks or locks into place correctly. If you’re unsure, look for online tutorials specific to your trimmer model. Accurate assembly ensures the trimmer works effectively post-cleaning.
The Role of Cleaning in Extending the Lifespan of Your Trimmer
Regular cleaning plays a crucial role in extending the lifespan of your trimmer. Accumulated hair and dirt can clog the blades and internal mechanisms, causing the trimmer to work harder. This extra strain can lead to faster wear and tear. Proper cleaning, therefore, ensures that your trimmer operates efficiently for a longer time. It’s a small investment of time that pays off big in durability.
Clean blades are essential for maintaining cutting performance. When the blades are free from debris, they cut hair more smoothly and effectively. Dirty blades can become dull faster, reducing their efficiency and necessitating frequent replacements. Regular cleaning helps the blades stay sharp and functional. This leads to a better grooming experience and fewer blade replacements over time.
Maintaining the trimmer body and internal parts also contributes to its longevity. Dirt and debris in the trimmer’s motor can cause operational problems. Keeping these parts clean prevents small issues from developing into major faults. Small preventive measures during cleaning significantly reduce the risk of breakdowns. This keeps your trimmer running smoothly for years.
Proper cleaning also involves regular lubrication of the blades. This reduces friction and wear, two major factors that can decrease the lifespan of your trimmer. A few drops of oil applied consistently can make a substantial difference. The lubrication ensures the blades move freely and reduces the strain on the motor. This small step greatly enhances the longevity of your device.
Finally, clean trimmers are less likely to harbor bacteria and mold, which can deteriorate the device. Moisture and hair buildup create a breeding ground for such harmful elements. Regular, thorough cleaning and proper drying combat this issue. This keeps the trimmer in good working order and safe for use. Clean trimmers are both healthier and longer-lasting.
Expert Tips on Maintaining a Hygienic Trimmer
Experts recommend regularly cleaning your trimmer after every use. This helps prevent the buildup of hair and skin flakes, keeping the trimmer hygienic. Start by brushing off loose hairs before moving on to a thorough clean. Frequent, light cleaning is easier than dealing with heavy buildup. It also ensures that your trimmer remains effective and safe to use.
Disinfecting the blades and the trimmer body is another key tip from experts. Use rubbing alcohol and a cotton swab to wipe down these areas thoroughly. This step helps eliminate any bacteria that might be lurking on the surface. Allow the trimmer to air dry completely before storing it. Disinfecting frequently reduces the risk of skin infections.
Regular lubrication is crucial to keep the blades functioning smoothly. Apply a few drops of blade oil after every cleaning session. This not only reduces friction but also extends the lifespan of the blades. Experts suggest doing this even if your trimmer is not used frequently. Consistent lubrication maintains optimal performance.
Proper storage practices can also contribute to maintaining hygiene. Store your trimmer in a dry, cool place to prevent moisture buildup. If possible, use a protective case. This keeps dust and other contaminants at bay. A clean storage environment ensures that your trimmer is ready for use whenever you need it.
Lastly, consider replacing the blades periodically. Even with regular maintenance, blades can become dull over time. Experts recommend checking for signs of wear and replacing blades as needed. Sharp blades provide a cleaner, more hygienic cut. Always follow the manufacturer’s recommendations for blade replacement.
Frequently Asked Questions
If you’re looking for expert advice on bikini trimmer maintenance, you’ve come to the right place. Here are some commonly asked questions answered professionally to guide you.
1 How often should I clean my bikini trimmer?
It’s best to clean your bikini trimmer after each use. Regular cleaning helps maintain performance by removing hair and debris that can clog the blades.
Frequent cleaning also prevents bacteria buildup, which can cause skin irritations or infections. Always ensure the trimmer is dry before storing it away.
2 Can I use any lubricant for blade maintenance?
No, it’s recommended to use lubricants specifically designed for electric trimmers. These specialized oils reduce friction and extend blade life more effectively than general-purpose oils.
Using the right lubricant ensures smooth operation and reduces wear and tear on the motor. Always follow manufacturer recommendations for best results.
3 What safety precautions should I take when cleaning a bikini trimmer?
First, ensure the trimmer is unplugged before you start cleaning. This reduces the risk of electric shock or accidental activation.
You should also handle the blades carefully to avoid cuts. Using a towel or cloth can help provide a better grip and added safety.
4 Are there any parts of a bikini trimmer that require special attention during cleaning?
The blades require special attention as they accumulate most hair and debris. Use a small brush to clear tight spaces around them.
The crevices and ports should also be cleaned thoroughly to prevent malfunctions. Make sure all parts are completely dry before reassembly.
5 Can disinfecting wipes be used on a bikini trimmer?
Yes, disinfecting wipes can be used on most parts of a bikini trimmer but avoid using them directly on blades unless specified by the manufacturer. Wipes are good for quick surface cleans.
Avoid overly wet wipes that could introduce moisture into electric components. Ensure everything is completely dry before putting parts back together.
Conclusion
Maintaining a clean bikini trimmer is essential for both performance and hygiene. Regular cleaning ensures that the blades stay sharp, operational, and safe to use. By following the outlined steps, you extend the lifespan of your trimmer and enhance your grooming experience.
Attention to detail in cleaning and storage practices can prevent unnecessary wear and tear. Remember, a well-maintained trimmer is not just about longevity but also about achieving optimal results every time. Your effort today ensures smooth, hassle-free grooming sessions in the future.

I’m Patricia D. Johnson, an affiliate marketer and blogger specializing in trimmers and grooming tools. I create honest reviews, buying guides, and practical tips to help readers choose the right trimmer for their needs. With a focus on quality, performance, and value, I simplify the decision-making process so consumers can make confident purchases.