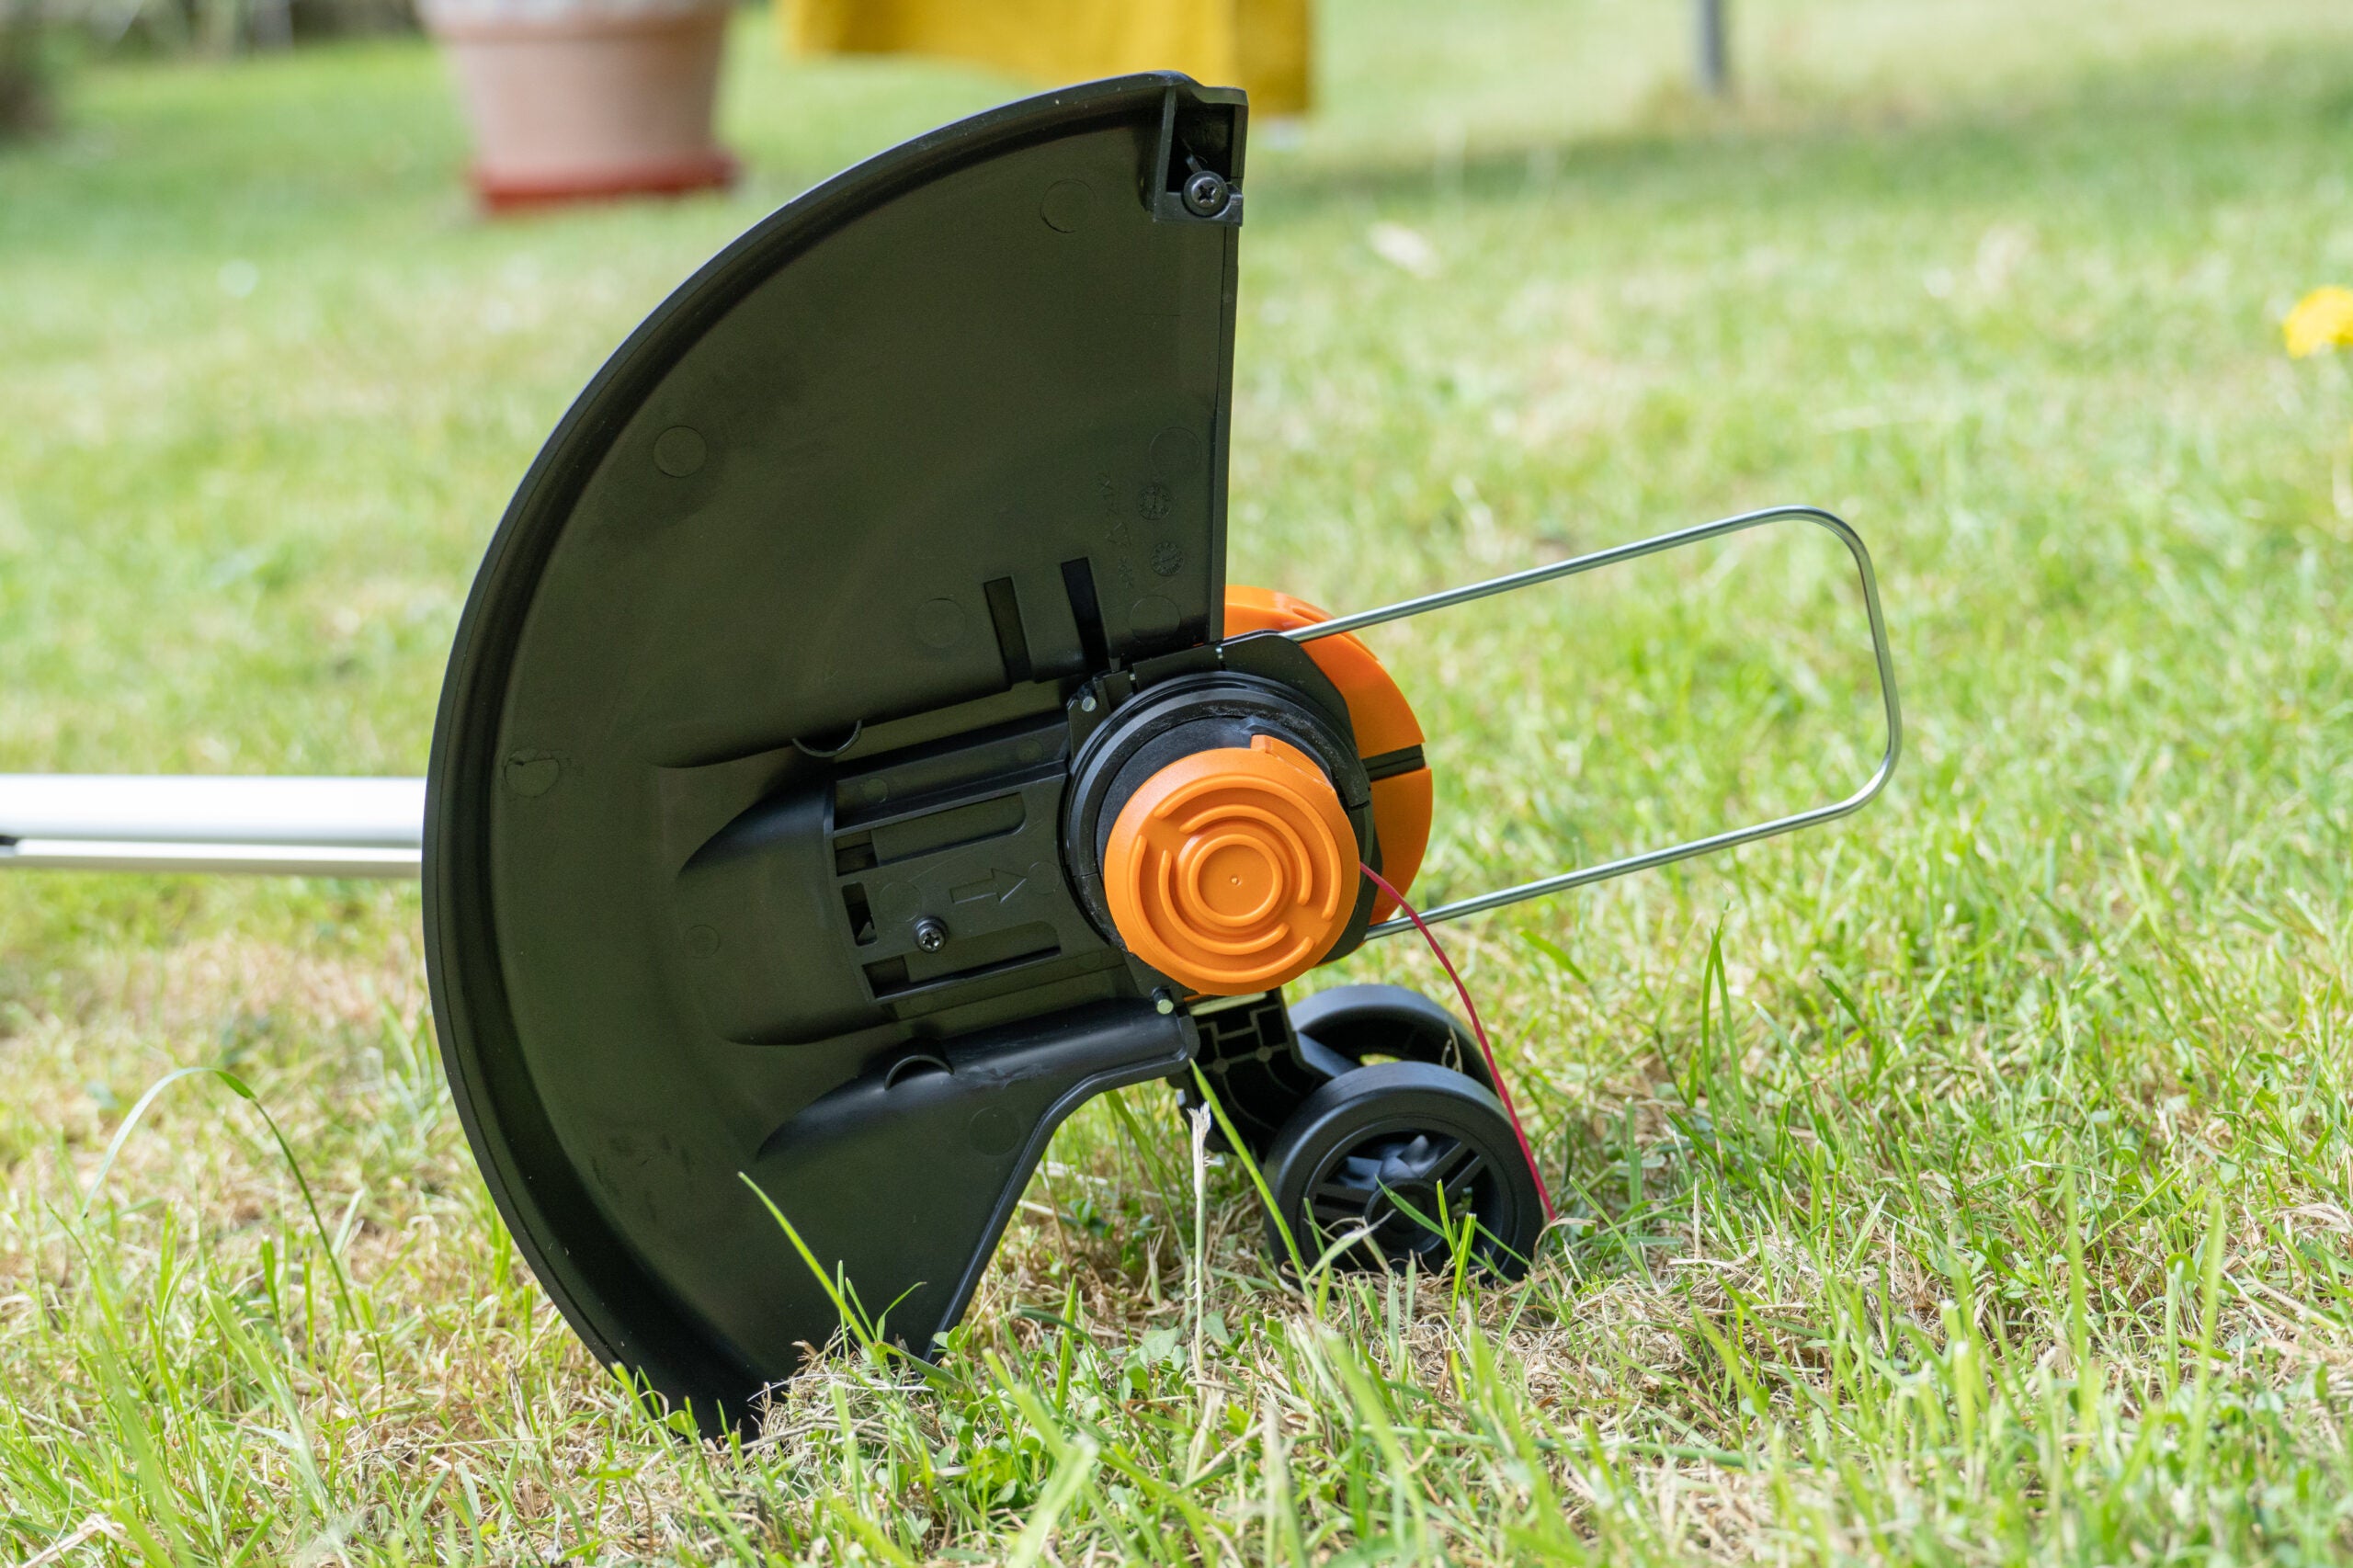
As a professional landscaper, I’m here to share the step-by-step guide on how to edge a lawn with an edger. Follow these instructions to achieve a perfectly manicured lawn:
- Prepare your lawn by removing any debris or obstacles.
- Mark the desired edges using stakes and string.
- Start at one end and slowly walk forward, letting the edger’s blade penetrate the soil.
- Follow the string line as a guide, making clean and crisp edges.
- Continue edging around the entire lawn, working your way back to the starting point.
Remember to wear protective gear and exercise caution while working with the edger. Now you can enjoy a professional-looking, neatly edged lawn!
When it comes to achieving a perfectly manicured lawn, one essential task often overlooked is edging. Did you know that edging not only enhances the appearance of your lawn, but it also helps create clean lines and prevents grass from encroaching into your flower beds? It’s a simple step that can make a big difference in the overall aesthetics of your outdoor space.
Now, let’s dive into the key aspects of how to edge a lawn with an edger. An edger is a specialized tool designed specifically for creating clean and precise edges along the borders of your lawn.
By using an edger, you can achieve professional-looking results without the hassle of manual trimming. This practical device is a must-have for homeowners seeking a polished appearance for their outdoor areas.
How to Edge a Lawn With Edger? Mastering the Art in 5 Steps
Having a well-kept lawn not only enhances the overall aesthetics of your property but also adds value to it. One essential aspect of lawn care is proper edging, which gives your lawn a clean and polished look. Edging a lawn with an edger is a precise and efficient way to create defined boundaries between your lawn and other surfaces, such as walkways, driveways, and flower beds. In this step-by-step guide, I will walk you through the process of edging your lawn with an edger, ensuring that you achieve professional-level results.
Step 1: Prepare the Lawn
Before you begin edging, it’s essential to prepare your lawn to ensure a smooth and efficient process. Follow these steps:
Clear the Area
Start by clearing the area where you’ll be edging. Remove any debris, such as stones, sticks, or fallen leaves, that may obstruct the process. These obstacles can interfere with the movement of the edger and affect the quality of the edge. Additionally, check for any underground utilities or cables before starting to avoid any accidents or damage.
Mark the Edge
Next, mark the desired edge line using string or marking spray paint. This step is crucial to ensure a straight and uniform edge. Use a measuring tape or a long piece of string to guide you while marking the line. If you are edging along a walkway or driveway, align the edge with the outer edge of the surface for a clean and seamless look.
Taper the Edge
To achieve a natural-looking edge, consider tapering it by connecting the marked line to the existing grass line at a slight angle. This technique creates a more gradual transition between the lawn and the surrounding surfaces, such as flower beds. Use a shovel or a hand trowel to remove a small strip of grass along the marked line, gradually blending it with the existing grass line. This step adds a polished and professional touch to your lawn.
Step 2: Choose the Right Edger
Choosing the right edger is crucial to ensure efficient and effective edging. Consider the following factors when selecting an edger:
Edger Type
Consider the different types of edgers available in the market, including manual, gas-powered, and electric edgers. Manual edgers require physical effort to operate, while gas-powered edgers provide more power but require maintenance and fuel. Electric edgers are convenient and easy to use, requiring a power source. Choose the type of edger that best suits your requirements and capabilities.
Blade Quality
Pay attention to the quality of the blade when selecting an edger. A sharp and durable blade is essential for achieving clean and precise cuts. Look for edgers with high-quality blades made of materials like hardened steel, as they tend to last longer and provide better cutting performance. Replace the blade if it becomes dull or damaged to ensure optimal edging results.
Adjustable Depth
Ensure that the edger you choose has an adjustable depth feature. This allows you to control the depth of the cut, enabling you to achieve the desired edge height. Adjust the depth according to your lawn’s needs, considering factors such as grass growth and overall desired aesthetic. A deeper cut may be required for overgrown or thicker grass, while a shallower cut can work well for maintaining an existing edge.
Step 3: Safety Precautions
When working with an edger, it’s essential to prioritize safety. Follow these safety precautions:
Wear Protective Gear
Ensure that you wear the necessary protective gear when operating an edger. Safety glasses protect your eyes from flying debris, ear protection prevents hearing damage from prolonged noise exposure, and sturdy footwear provides stability and protects your feet from potential injuries. Additionally, consider wearing long pants and gloves to shield your skin from any contact with the edger or surrounding vegetation.
Read the Instructions
Take the time to read the edger’s user manual before operating it. The manual provides important information about the edger’s functionalities, safety guidelines, and maintenance instructions. Familiarizing yourself with these details ensures that you operate the edger correctly and avoid any potential hazards. If you have any doubts or questions, don’t hesitate to reach out to the manufacturer or consult a professional.
Inspect the Edger
Prior to using the edger, thoroughly inspect it to make sure it is in good working condition. Check for any loose or missing parts, damaged blades, or other issues that may affect its performance or safety. Using a faulty edger can lead to accidents or poor edging results. If you notice any problems, have the edger repaired or replaced before proceeding.
Work in Good Weather Conditions
Avoid using the edger in wet or rainy weather conditions. Wet ground can become slippery, increasing the risk of accidents or losing control of the edger. Wait for the ground to dry before proceeding with the edging process. Additionally, ensure that lighting conditions are adequate to avoid any visibility issues while operating the edger.
Step 4: Edging Technique
Now that you’ve prepared your lawn, chosen the right edger, and taken safety precautions, it’s time to start edging. Follow these steps for effective edging:
Start at the Beginning
Begin edging from the starting point of your marked line. Position the edger so that the blade is perpendicular to the ground and aligned with the marked line. Take a deep breath and focus on maintaining a steady hand and pace to ensure a straight and even cut. Use your dominant hand to guide the edger, and keep a firm grip on the handle for optimal control.
Keep a Steady Pace
Move the edger slowly and steadily along the marked line. Rushing the process can lead to uneven cuts or curves in the edge. Maintain a steady pace, allowing the blade to cut through the grass smoothly and cleanly. Take breaks and rest if needed, particularly if you’re working on a larger lawn, to maintain a consistent and controlled movement.
Maintain a Consistent Depth
Throughout the edging process, ensure that the blade of the edger cuts at a consistent depth. This consistency creates a uniform edge and prevents any unevenness or dips. Adjust the depth settings as needed, depending on the height of your desired edge. Pay attention to the depth gauge or adjustment mechanism on the edger and make any necessary adjustments to achieve the desired result.
Overlap Each Pass
To create a seamless and continuous edge, overlap each pass of the edger slightly by about one to two inches. This overlapping technique ensures that there are no gaps or unevenness along the edge. As you move along the marked line, align the edger’s blade with the previous cut and continue edging, slightly extending beyond the previous pass. This gradual overlap helps maintain a consistent and professional-looking edge.
Step 5: Finishing Touches
After completing the edging process, take some time to add finishing touches and ensure a polished look for your lawn:
Clean up the Debris
After you finish edging, take the time to clean up any grass clippings or debris left behind. This not only enhances the visual appeal of the lawn but also prevents the debris from affecting the growth and health of the grass. Use a rake, broom, or leaf blower to gather and remove the debris, ensuring a clean and pristine edge.
Trim the Edges
For a polished and professional look, use a trimmer or shears to trim any stray grass or overhanging vegetation along the newly edged line. This step helps maintain a clean boundary and ensures that the edge appears sharp and well-defined. Take your time and pay attention to detail while trimming, ensuring all excess growth is removed.
Apply a Barrier
To prevent grass from encroaching onto other surfaces, consider installing a barrier along the edge. Plastic or metal edging is a common option that provides a defined boundary and helps maintain a sharp edge over time. The barrier acts as a physical barrier, keeping the grass roots in check and making maintenance tasks, such as trimming and mowing, easier.
Maintain Regular Edging
To keep your lawn looking its best, make edging a regular part of your lawn maintenance routine. Regular edging ensures that the edge remains sharp, defined, and free from overgrown grass. Set a schedule based on the growth rate of your lawn and the desired appearance, typically once or twice a month. By incorporating regular edging into your maintenance routine, you’ll ensure that your lawn maintains its professional and well-kept appearance.
With the proper preparation, equipment, technique, and finishing touches, you can achieve a professionally edged lawn that enhances the beauty of your property. By following these step-by-step instructions, you’ll have the knowledge and skills to edge your lawn with an edger like a pro.
Frequently Asked Questions
When it comes to achieving a clean and well-maintained lawn, proper edging is crucial. Using an edger can help you achieve crisp edges and improve the overall appearance of your outdoor space. If you’re unsure about how to edge your lawn with an edger, read on for some commonly asked questions and their answers.
What types of edgers can be used to edge a lawn?
There are various types of edgers available in the market to edge a lawn effectively. The most common types include:
- Manual edgers: These are operated by hand, requiring physical effort to cut through the grass and create clean edges.
- Gas-powered edgers: These are powered by a gas engine and offer more cutting power, making them suitable for larger lawns.
- Electric edgers: These are powered by electricity and are more convenient for smaller lawns or areas near power outlets.
Each type of edger has its pros and cons, so choose one that suits your lawn size and personal preferences.
How do I prepare my lawn for edging?
Before you start edging your lawn, it’s essential to prepare it properly. Follow these steps:
- Clear any debris, such as rocks or sticks, from the edges of your lawn.
- Water the grass thoroughly, making it easier to cut and reducing the risk of damaging the blades.
- Mark the desired edging lines using spray paint or a garden hose.
- Wear protective gear, such as gloves and safety glasses, to ensure your safety during the process.
- Ensure the edger is in proper working condition and filled with fuel or charged if it’s a gas or electric model, respectively.
By following these steps, you’ll have a well-prepared lawn ready for edging.
What is the best technique for edging a lawn?
The technique for edging a lawn with an edger is relatively straightforward:
- Start at one corner of the lawn and walk in a straight line, slowly guiding the edger along the marked edging line.
- Use steady and even pressure to cut through the grass, creating a clean edge.
- Continue moving in a straight line, ensuring the edger blade stays in contact with the ground.
- If necessary, make overlapping passes to achieve a deeper and more defined edge.
- Once you’ve reached the end of the first line, turn the edger around and repeat the process for the remaining edges of your lawn.
Remember to take breaks if needed and maintain proper posture throughout the edging process to avoid unnecessary strain.
How often should I edge my lawn?
The frequency of edging your lawn depends on various factors, such as the growth rate of the grass and personal preference. As a general guideline, it’s recommended to edge your lawn every 2-4 weeks during the growing season.
However, pay attention to the appearance of your lawn. If you notice the edges becoming uneven or overgrown, it may be time to edge it again. Regular edging helps maintain a neat and well-defined look for your lawn.
How can I maintain the edges after edging?
After edging your lawn, it’s essential to maintain the edges to keep them looking neat. Here are some tips:
- Regularly remove any grass clippings or debris that accumulate along the edges.
- Use a trimmer to touch up the edges between edgings, keeping them sharp and defined.
- Apply a natural or synthetic edging material, such as mulch or stones, to create a clear boundary between the lawn and other areas.
- Monitor the edges and address any overgrowth promptly to prevent them from becoming unruly.
By following these maintenance practices, you can enjoy well-maintained edges that enhance the overall appearance of your lawn.
How To Use A Garden Edger – Ace Hardware
Final Words:
To conclude, edging your lawn with an edger is a simple and effective way to give your yard a neat and polished look. By following the right steps and using the right tools, you can achieve clean and straight edges that will enhance the overall appearance of your lawn.
Remember to always prepare your lawn by removing any debris, and mark your desired edge line to ensure accuracy. Take your time and make steady, controlled movements with the edger, keeping safety in mind. With practice, you’ll become proficient in edging your lawn, creating a defined boundary between the grass and other landscaping elements.
