
Are you tired of struggling with your grass trimmer every time the string breaks or wears out? Well, you’re in luck! In this guide, we will walk you through the step-by-step process of changing the grass trimmer string like a pro. Whether you’re a seasoned gardener or a beginner with little to no experience, this tutorial is designed to make the task of replacing the string on your grass trimmer as easy as possible.
Maintaining a well-manicured lawn requires regular trimming, and having a properly functioning grass trimmer is essential for achieving that polished look. However, many people find themselves intimidated by the thought of changing the trimmer string. Fear not! By following our expert advice and simple instructions, you’ll soon gain the confidence to tackle this task with ease.
So, grab your grass trimmer and let’s get started on transforming your lawn into the envy of the neighborhood!
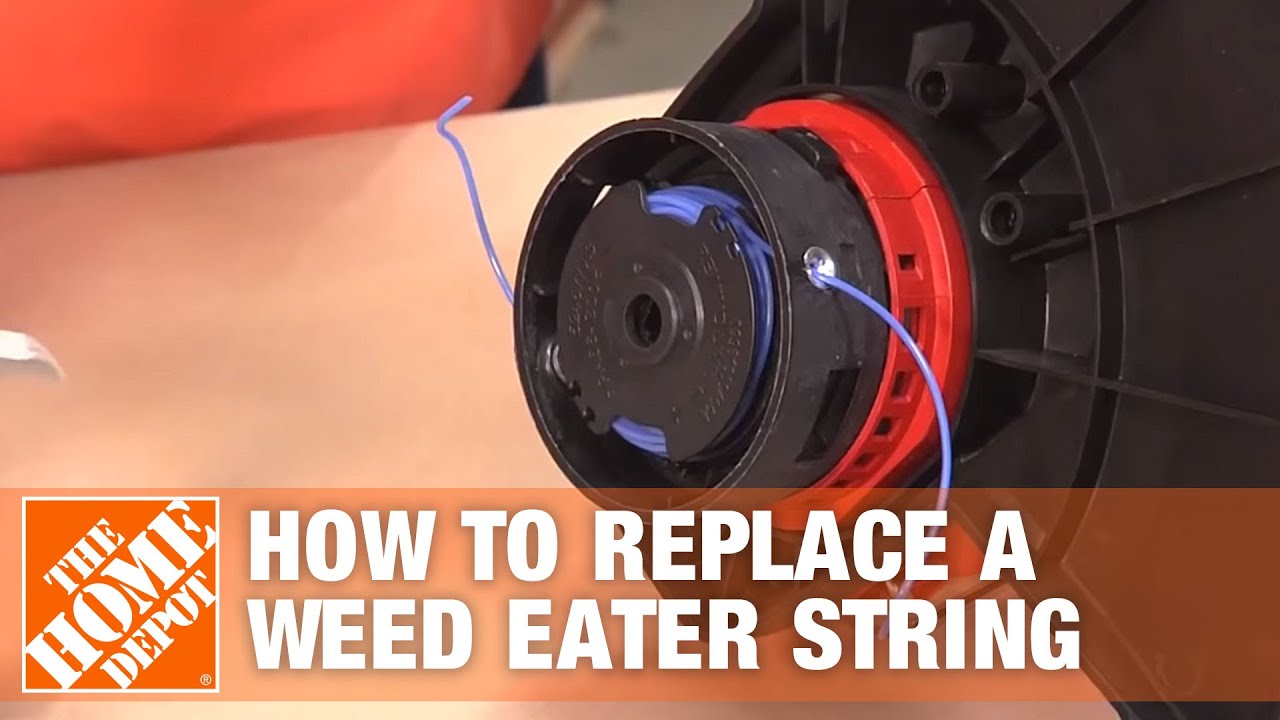
Source: ytimg.com
How to Change Grass Trimmer String? Hassle-Free Techniques
Keeping your grass trimmer in proper working condition is essential for maintaining a well-manicured lawn. One of the regular maintenance tasks you’ll need to perform is changing the trimmer string. In this step-by-step guide, we’ll walk you through the process of changing the string on your grass trimmer, ensuring that you can continue to achieve clean and precise cuts.
Step 1: Safety First
Before you begin, it’s important to prioritize safety. Make sure you have the necessary protective gear, such as safety goggles and gloves, to protect yourself from any potential injury. Additionally, ensure that the trimmer is turned off and disconnected from any power source to avoid accidental starting.
Once you’ve taken the necessary safety precautions, you can proceed to the next step.
Step 2: Remove the Spool
The next step is to remove the spool that holds the trimmer string. Locate the spool on your grass trimmer – it is typically situated at the bottom of the trimmer head. Look for any tabs or locking mechanisms that are holding the spool in place. Depending on the model of your trimmer, you may need to press a release button or twist the spool counterclockwise to unlock it.
Once the spool is unlocked, carefully remove it from the trimmer head. Take note of how the old string is wound on the spool, as this will serve as a guide for winding the new string.
Step 3: Prepare the New String
Now it’s time to prepare the new trimmer string. Start by cutting a length of string that is suitable for your trimmer. Refer to your trimmer’s user manual for guidance on the recommended string length.
Next, find the anchor hole on the spool and insert one end of the string into it. Begin winding the string around the spool, following the same direction as the old string. Keep the winding tight and even, ensuring that the string doesn’t overlap or tangle.
Step 4: Secure the String
Once you’ve wound the entire length of string onto the spool, secure it in place. Look for notches or slots on the spool where the string can be inserted to prevent it from unraveling. Alternatively, some trimmers have a cap or cover that holds the string in place.
Make sure the string is firmly secured before moving on to the next step.
Step 5: Reattach the Spool
With the new string properly secured, it’s time to reattach the spool to the trimmer head. Align the spool with the head and insert it back into position. Twist the spool clockwise or use any locking mechanism to secure it in place. Give it a gentle tug to ensure it’s firmly attached.
Once the spool is securely in place, you’re ready to power up your grass trimmer and start trimming your lawn with the newly installed trimmer string.
Step 6: Maintenance Tips
After changing the trimmer string, it’s a good idea to perform some routine maintenance to keep your trimmer in optimal condition. Clean the trimmer head and spool regularly to remove any debris or grass clippings that may accumulate. Lubricate any moving parts as recommended by the manufacturer, and inspect the string for wear and tear. Replace the string if it becomes too worn or damaged.
By following these steps and maintaining your grass trimmer regularly, you’ll ensure that it continues to provide you with clean and precise cuts, keeping your lawn looking its best.
Frequently Asked Questions
Here are some commonly asked questions about how to change grass trimmer string:
How often should I change the string on my grass trimmer?
It is recommended to change the string on your grass trimmer every time it wears down or breaks. Depending on the frequency and intensity of your trimming, this could be anywhere from every few weeks to a few months. Regularly inspect the string for signs of wear, such as fraying or thinning, and replace it as needed to ensure optimal cutting performance.
Additionally, it’s a good idea to replace the string at the beginning of each mowing season to start with fresh, sharp cutting edges.
What type of string should I use for my grass trimmer?
The type of string you should use for your grass trimmer depends on the specific model and manufacturer recommendations. Most grass trimmers are compatible with nylon string, which comes in different thicknesses or diameters. Thicker strings are typically more durable and suitable for heavier trimming tasks, while thinner strings are better for lighter trimming needs.
Refer to your grass trimmer’s user manual or contact the manufacturer for the recommended string specifications. Using the correct type and size of string will ensure optimal performance and prevent damage to your trimmer.
How do I remove the old string from my grass trimmer?
To remove the old string from your grass trimmer, first, ensure that the trimmer is turned off and unplugged. Locate the string head, which is usually at the bottom of the trimmer’s shaft. Look for a small hole or tab on the string head that allows access to the string spool.
Insert a small screwdriver or other suitable tool into the hole or under the tab to lock the spool in place. With the spool secured, unwind the old string from the spool and remove it completely. Take this opportunity to clean any debris or grass clippings that may have accumulated in the string head area.
How do I install the new string on my grass trimmer?
To install a new string on your grass trimmer, start by cutting a piece of fresh trimmer string to the recommended length. Insert one end of the string into the hole or slot on the string head, making sure it is secured properly. Begin winding the string onto the spool in the direction indicated by the arrow or arrowhead on the spool.
Make sure to wind the string evenly and tightly, ensuring that there are no overlaps or loose sections. Leave a small section of the string unwound to prevent it from coming loose. Once the string is wound, release it from the locking mechanism and give it a gentle tug to ensure it is secured in place.
Are there any safety precautions I should take when changing the string on my grass trimmer?
Yes, it’s important to follow certain safety precautions when changing the string on your grass trimmer. Always make sure the trimmer is turned off and unplugged before attempting any maintenance or string replacement. Wear protective gloves to shield your hands from sharp edges or potential debris.
Additionally, be cautious of the string itself, as it can be sharp and cause injury. Take care not to touch the string or allow it to come into contact with your body. If the trimmer has a cutting guard or shield, make sure it is in place and functioning properly to provide an extra layer of protection.

Source: ytimg.com
Final Words:
In conclusion, knowing how to change grass trimmer string is a valuable skill for any homeowner or gardener. By following the step-by-step instructions outlined in this guide, you can save time, money, and frustration by maintaining your grass trimmer effectively. Remember to always prioritize safety by wearing protective gear and disconnecting the power source before attempting any maintenance or repairs.
By mastering this simple task, you can ensure that your grass trimmer remains in optimal condition, allowing you to achieve a beautifully manicured lawn with ease. Additionally, being able to change the trimmer string yourself empowers you to take control of your yard maintenance, eliminating the need to rely on costly professional services.
So, grab your tools, familiarize yourself with your grass trimmer’s user manual, and get ready to tackle this task confidently. With a little practice, you’ll become a pro at changing grass trimmer string in no time!
