
Clipping your dog’s nails feels scary at first. You might worry about hurting your furry friend.
Knowing how do you use a dog nail clipper is a vital skill for every pet owner. Long nails can cause your dog pain when they walk. They can even lead to bone damage over time.
This guide will show you exactly how to trim nails like a pro. We will keep it simple and safe. Your dog will thank you for the extra care.
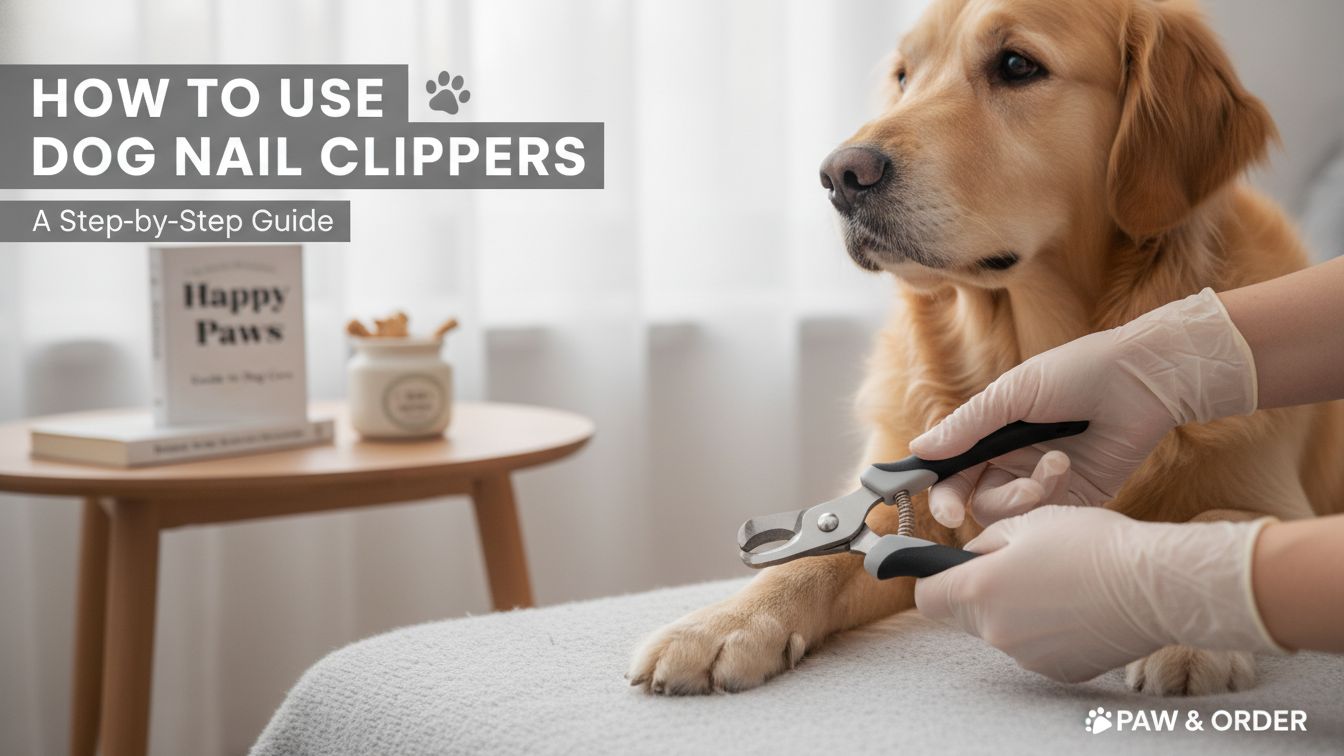
 A close-up, high-quality photo of a happy Labrador sitting calmly while an owner holds a pair of orange-handled plier-style nail clippers.
Tools and Prerequisites
You need the right gear before you start. Do not use human nail clippers. Dog nails are round and thick, while human nails are flat.
Choosing Your Clipper
There are three main types of clippers. Each one works a bit differently.
| Clipper Type | Best For | Why Use It? |
|---|---|---|
| Plier Style | Large Dogs | Strong spring action makes cutting thick nails easy. |
| Guillotine | Small/Medium Dogs | Easy to aim, but blades must stay very sharp. |
| Scissor Style | Puppies/Tiny Dogs | Great for thin nails that might slip in larger tools. |
Your Safety Kit
Never start without a “Quick Kit.” This helps if you accidentally cut the nail too short.
- Styptic Powder: This stops bleeding instantly.
- Cornstarch: A good backup if you don’t have powder.
- High-Value Treats: Think small bits of boiled chicken or cheese.
- Flashlight: Helpful for seeing the “quick” on dark nails.
 An infographic showing a Nail Trimming Station with clippers, a jar of styptic powder, and a bowl of treats neatly arranged.
How to Use Dog Nail Clippers: Step-by-Step Instructions
Preparation is the secret to success. Do not rush the process.
Phase 1: Getting Comfortable
Step 1: Handle the Paws
Touch your dog’s paws every day. Do this when you are not even planning to cut nails. Give them a treat every time they let you hold a paw.
Step 2: Introduce the Tool
Let your dog sniff the clippers. Open and close the clippers near them so they hear the “click” sound. Reward them with a treat for staying calm.
Phase 2: Finding the Quick
The “quick” is the most important part of the nail. It is a soft vein that runs through the center.
Understanding the Quick
The quick provides blood to the nail. If you cut it, the nail will bleed and the dog will feel a sharp pinch.
 A clear diagram of a dog’s nail showing the outer shell, the inner quick in pink, and the safe cut line at a 45-degree angle.
Finding it on Light Nails
On white or clear nails, the quick looks like a pink tube inside the nail. It is very easy to see.
Finding it on Dark Nails
Black nails are trickier. You cannot see the pink center from the side. You must cut in very small, thin “shaves.”
Critical Warning: If you see a small black dot in the center of the white chalky nail, STOP. That dot is the start of the quick.
Phase 3: The Actual Cut
Step 1: Position Your Dog
Sit on the floor with your dog. If they are small, put them on a table with a non-slip mat. Hold the paw firmly but gently.
 A photorealistic image of a person sitting on a rug, cradling a medium-sized dog under one arm to keep them steady.
Step 2: Clear the Hair
Push back any long hair around the nail. You need a clear view of the entire claw.
Step 3: Aim the Clipper
Hold the clipper at a 45-degree angle. This follows the natural curve of the nail.
Step 4: Make the Cut
Close the clippers quickly. A fast, clean snip is better than a slow squeeze. A slow squeeze can crush the nail and cause pain.
 A macro photo showing the blades of a plier clipper positioned exactly 2 millimeters away from the pink quick.
Phase 4: Handling the “Oops” Moment
If you cut the quick, do not panic. Your dog will react to your energy.
- Stay Calm: If you yell, your dog will get scared.
- Apply Powder: Dip the bleeding nail directly into the styptic powder.
- Apply Pressure: Hold it there for 30 seconds.
- End the Session: Give a big treat and try again tomorrow.
Expert Tips and Troubleshooting
Even experts have bad days. Use these tips to make it easier.
Tip 1: The “One-a-Day” Method
You don’t have to do all 20 nails at once. Do one nail every night. In three weeks, you will be finished and can start over.
Tip 2: Use the Floor
Listen to your dog walk on hardwood or tile. If you hear “click-click-click,” the nails are too long.
Tip 3: The Peanut Butter Trick
Smear a little peanut butter on a lick mat. While your dog is busy licking, they won’t care about their paws.
 A photo of a dog happily licking a silicone mat while the owner easily clips a back paw nail.
Troubleshooting Common Problems
My dog pulls their paw away.
Try “desensitizing.” Touch the paw with a spoon, then a finger, then the clipper. Go slow.
The nail is splintering.
Your clippers might be dull. Replace your clippers every year. Sharp blades prevent cracking.
My dog is terrified.
Stop immediately. Never force a scared dog. Talk to a professional trainer or your vet for help.
 A comparison photo showing a crushed nail from dull clippers versus a clean cut from sharp clippers.
Frequently Asked Questions
How often should I cut my dog’s nails?
Most dogs need a trim every 2 to 4 weeks. Active dogs who walk on concrete may need it less often.
What if I am too scared to use clippers?
You can use a nail grinder. It is a power tool that sands the nail down slowly. It is harder to hit the quick with a grinder.
Why do my dog’s nails bleed so much?
Nails have a lot of blood vessels. It looks like a lot of blood, but styptic powder stops it fast.
Can I use a file instead?
Yes, but it takes a long time. A file is great for smoothing rough edges after you use clippers.
Conclusion
Learning how do you use a dog nail clipper takes patience and practice. Always prioritize your dog’s comfort over finishing the job quickly.
By using the right tools and finding the quick, you keep your pet healthy. Remember to use plenty of treats and stay calm. Soon, nail trimming will be a simple part of your routine.
You have the tools and the knowledge. Take it one paw at a time!

I’m Patricia D. Johnson, an affiliate marketer and blogger specializing in trimmers and grooming tools. I create honest reviews, buying guides, and practical tips to help readers choose the right trimmer for their needs. With a focus on quality, performance, and value, I simplify the decision-making process so consumers can make confident purchases.