Replacing a Troy-Bilt string trimmer head may seem complicated, but the process is easier than most people expect. With a few simple steps and a little patience, you can swap out the old head and get your trimmer working like new again.
Troy-Bilt trimmers are built for durability, but their heads naturally wear out over time due to heavy use. Knowing how to replace the head yourself saves time, reduces frustration, and keeps your yard-care routine running smoothly.
This guide will walk you through the replacement process in a straightforward, beginner-friendly way, helping you feel confident and prepared. With the right approach, you can complete this task quickly and safely—no special experience required.
 Source: portek.co.uk
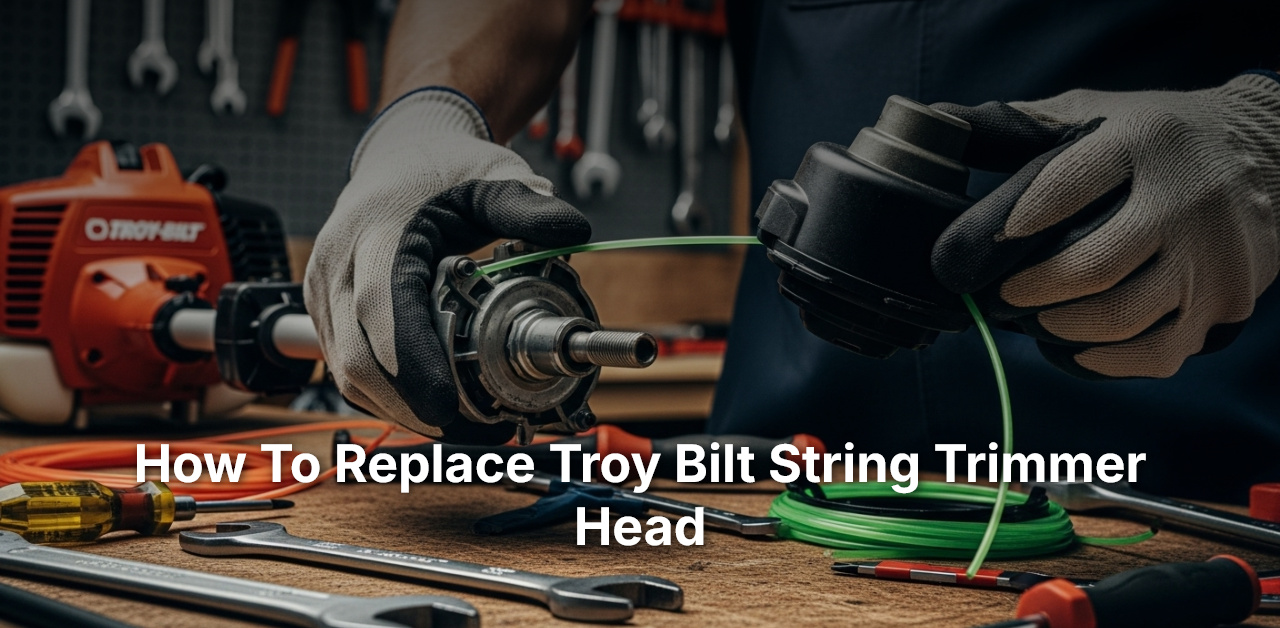
How to Replace a Troy-Bilt String Trimmer Head: Step-by-Step Guide
Maintaining your outdoor space requires robust and functioning tools. When your Troy-Bilt string trimmer head worn-out or damaged, effective trimming is significantly hampered. Read further to learn how to replace Troy Bilt string trimmer head and ensure your tool keeps working optimally.
Step 1: Gathering Necessary Tools
The first step to replacing your Troy-Bilt string trimmer head is to ascertain you have all the right tools. These include a new Troy-Bilt string trimmer head, a wrench, and safety gear including gloves and safety glasses.
It’s essential to use a Troy Bilt trimmer head that matches your particular model. You can find this information in your product’s user manual, or consult the original manufacturer if you’re unsure.
By having all your tools ready, you reduce the risk of injury and potential damage to your string trimmer. Once you have gathered the necessary gear, get ready to move to the next step.
Step 2: Disconnecting The Power Source
Before we delve into how to replace the Troy Bilt string trimmer head, it is essential to ensure safety first. That includes disconnecting the trimmer from the power source to avoid accidental startups.
If you are dealing with a gas trimmer, simply turn off the engine and disconnect the spark plug. As for electric trimmers, ensuring they are unplugged or the battery is removed is enough to render them safe.
Remember, safety is paramount when handling power tools, so always wear your safety gear and work in a well-lit area.
Step 3: Removing The Old Trimmer Head
Once you’ve ensured safety by disconnecting the power source, the next step involves getting rid of the old trimmer head. This step calls for attention and care to prevent damaging other parts of the trimmer.
By holding the trimmer shaft firmly, use a wrench to turn the trimmer head in a counter-clockwise direction. Note that some Troy-Bilt models have a locking mechanism that you’ll need to disengage before you can unscrew the head.
As you reach the end of the threads, make sure to prevent the head from dropping since it may contain spring components that can scatter upon impact.
Step 4: Assembling The New Trimmer Head
With the old trimmer head safely removed, the next step in replacing the Troy Bilt string trimmer head is preparing the new head. Most new heads come partially assembled, but often you’ll need to add specific components like springs and spools according to the manufacturer’s instructions.
After successful assembly, feed a new string into it through the designated holes. Ensure the string is wrapped tightly around the spool, leaving six inches protruding.
Make sure you check your owner’s manual or consult with Troy-Bilt to find the appropriate procedure for your specific trimmer model.
Step 5: Installing The New Trimmer Head
The final step in how to replace the Troy Bilt string trimmer head involves installing the new head onto the trimmer shaft. Carefully screw it on the trimmer shaft, ensuring you do not cross the threads.
Typically, you need to turn the head in a clockwise direction until it’s tightly secured. Once the head is firmly in place, the trimmer is ready for use.
Remember to check whether the head is operating correctly; you also might need to readjust the string to its required length.
Now that you have successfully replaced the Troy Bilt string trimmer head, your machine is optimal to deliver reliable service. Regular checking and maintenance of your trimmer head will ensure it serves you longer and more effectively. With Troy Bilt, you’re guaranteed a seamless trimming experience with less downtime due to wear or damage, ensuring your yard stays sharp and clean.
Troy-Bilt TB525 EC Cutting Head Removal
Frequently Asked Questions
In our quest to keep our gardens neat and tidy, we often encounter a need to maintain our equipment, from lawnmowers to string trimmers. Here, we’ll focus on frequently-asked inquiries related to changing a string trimmer head, more specifically, the Troy-Bilt String Trimmer.
1. What are the initial steps I should take before changing my Troy-Bilt String Trimmer head?
Before initiating the process of changing your Troy-Bilt String Trimmer head, safety and careful preparation are crucial. Begin by ensuring that the trimmer is entirely switched off; you wouldn’t want the tool to accidentally start during the replacement process. Next, disconnect the spark plug to prevent accidental starting. Now you’re ready to commence the trimmer head replacement task.
Additionally, it would be beneficial to have a clean and well-lit workspace. Organize all the necessary tools you’ll need for the task. This might include a new trimmer head, pliers, and a cloth for cleanup tasks afterward.
2. How can I remove the existing head from my Troy-Bilt String Trimmer?
After you’ve prepared your workspace and disconnect the spark plug, removing the existing trimmer head is your next task. Start by stabilizing the trimmer shaft. You can do this by locating the circular indentation on the shaft and inserting a thin metal rod or allen wrench to lock the shaft. Once the shaft is secured, proceed to turn the existing trimmer head clockwise to loosen and remove it.
In some instances, the head may be secured tightly due to extended use or rust, making it challenging to unscrew. If this is the case, apply a penetrating oil to ease the process. Remember, patience is critical here, as forcing the head might lead to damage.
3. What is the correct way to install a new Troy-Bilt String Trimmer head?
Upon successfully removing the old trimmer head, it’s time to install the new one. Hold the trimmer steady and align the new string trimmer head with the threaded spindle on the trimmer. Turn the head counter-clockwise till it’s secured tightly. The counter-intuitive direction of tightening might seem odd, but it’s designed this way to ensure the head stays on during operation.
Lastly, always check to verify that the head is securely attached before use. It should not have any wobble or looseness. Ensure the cutting line extends properly too. Having followed all these procedures, you should be ready to return to your gardening chores, safe in the knowledge that your tool is in good shape.
4. Can I replace the head of my Troy-Bilt String Trimmer with any brand’s trimmer head?
Not entirely. It’s crucial to note that trimmer heads aren’t universally compatible. While some models might work with your Troy-Bilt String Trimmer, not all will. Consequently, before making a replacement, confirm that the trimmer head is compatible with your particular model.
If you’re unsure about the compatibility, considering reaching out to the manufacturer. Alternatively, consult the user’s manual; it often provides valuable details regarding suitable replacement parts. Remember: using the right trimmer head not only helps maintain your device’s performance, but it also optimizes your trimming work.
5. Why does my new Troy-Bilt String Trimmer head keep coming loose?
Having a trimmer head that keeps coming loose can be quite frustrating. Several issues may cause this unfortunate phenomenon. You might have fitted the head incorrectly, or it could be that the head itself has a defect. Alternatively, your trimmer’s threaded spindle may be worn out, preventing a secure fit.
To resolve this, you can try re-installing the head, ensuring that it’s screwed on tightly in a counter-clockwise direction. If this doesn’t fix the problem, consider exchanging the trimmer head for another one, as it may have manufacturing flaws. Still having issues? It might be time to have a professional look at your tool to determine if the spindle needs replacing.
 Source: portek.co.uk
Conclusion
After discussing the steps, replacing the Troy-Bilt string trimmer head can be done in a straightforward manner. Remember, you first need to remove the old trimmer head before you can install the new one. Use your fingers or a set of pliers to unscrew the bump knob counterclockwise to detach it. Keep track of all the small parts so nothing gets lost.
Once you’ve got the old head off, you can then proceed to attach the new one. Make sure it’s securely fastened to prevent it from wobbling when the trimmer is operational. By regularly maintaining and replacing the head when needed, you can ensure your Troy-Bilt trimmer stays in top shape, enhancing its efficiency and longevity.

I’m Patricia D. Johnson, an affiliate marketer and blogger specializing in trimmers and grooming tools. I create honest reviews, buying guides, and practical tips to help readers choose the right trimmer for their needs. With a focus on quality, performance, and value, I simplify the decision-making process so consumers can make confident purchases.