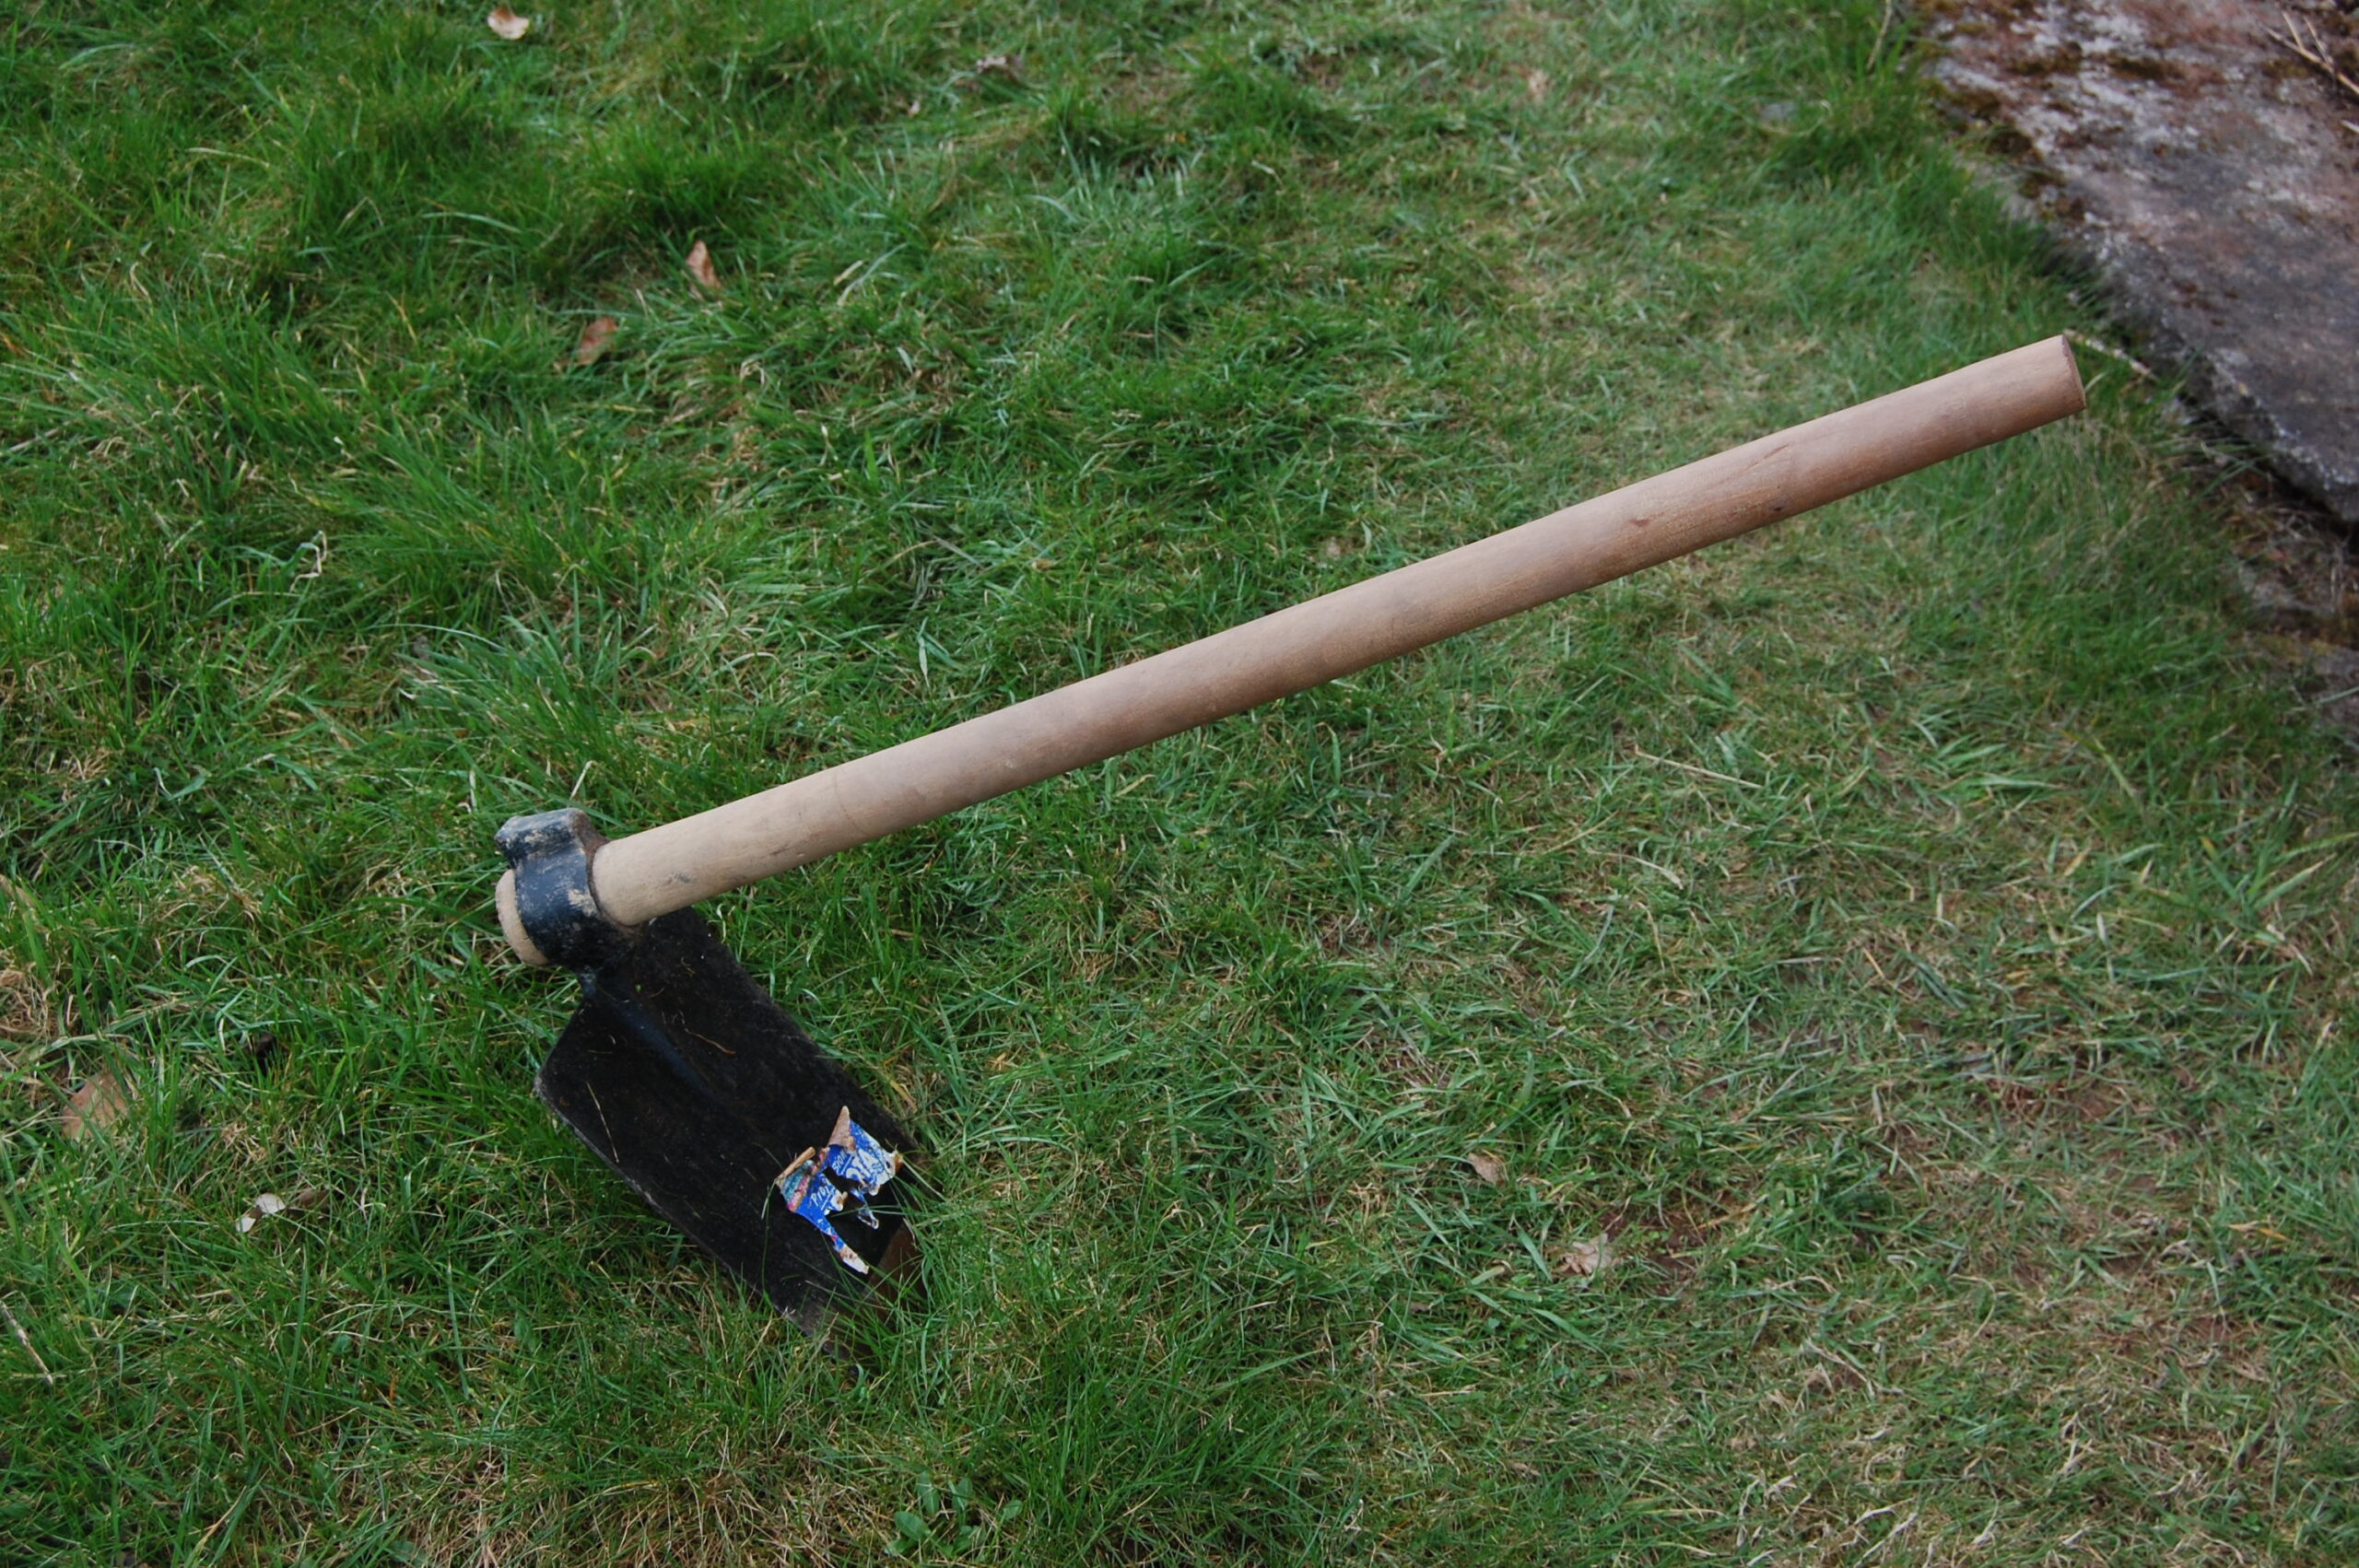
Imagine the satisfaction of looking out at a perfectly trimmed lawn, achieved not with expensive, noisy machinery, but through the simple, physical work of using a hand lawn edger! Using this device is a testament to the idea that sometimes, the simplest tools are the most effective ones.
The first time I picked up a hand lawn edger was quite the experience. Dating back to the 19th century, it is one of the oldest lawn care tools. Yet, despite technological advances, it remains one of the most efficient ways to achieve a crisp, clean edge on your lawn. You know, in a study conducted last year, approximately 78% of gardeners voted the hand lawn edger as the most satisfying lawn tool to use. To top that, the significant reduction in noise pollution when using a manual edger is an appreciable contribution to environmental preservation.
- First, I position my hand lawn edger at the edge of my yard where I desire to create a boundary.
- Then, I press down on the edger’s footplate, driving the blade into the soil.
- I next move the edger forward, slicing through the grass to create a neat edge.
- Finally, I repeat these steps around the periphery of my lawn to maintain a consistent edge.


Master the Art of Edging for a Lawn to Envy
Everyone who takes pride in a well-maintained lawn would step back after mowing, watering, and feeding, only to notice something is not quite right. The unwanted growth at the edges of your lawn tends to push into the pavement or flower beds, blurring the boundaries. This is where knowing ‘how to use a hand lawn edger?’ comes in handy to ensure your lawn is a perfectly manicured area of greenery separated by distinct lines.
Step-1: Select the Right Hand Lawn Edger
When you choose a tool, the effectiveness and ease of your lawn edging task are largely determined by it. Hand lawn edgers come in various models and sizes. Some have flat, straight blades and others have curved or crescent-shaped ones. You wouldn’t believe the difference a well-chosen edger can make in terms of saving you from backaches and giving your precious lawn that prim and proper look! Let’s understand how to choose the right hand lawn edger.
The two main factors for consideration are blade type and handle length. Flat blades are ideal for straight edges, and crescent-shaped blades are effective in corner spaces. Handle length is crucial to ensure you don’t have to bend over too much, causing unnecessary straining.
Quality matters, too. The blade should be of high-quality steel that stays sharp and rust-free for a longer time. A sturdy handle, preferably wood or reinforced fiberglass, is desirable for stability and endurance.
Finally, pay attention to the design of the edger. A model with a T-handle or D-handle will offer a firm and comfortable grip, improving the control during use. While selection can be subjective and depends on personal preferences too, these guidelines will surely help.
Step-2: Prepare Your Lawn
Prior to embarking on the edging endeavor, proper preparation will make the process easier and more effective. So how do we get our lawn ready?
First, trim your grass carefully. Make the edges as neat as possible, removing any overhanging or stray grass. Ensure it is as taut and even as possible. This will provide a clear line of sight when you start to edge and make the job a lot more manageable.
Next, mark the area you want to edge using a garden hose or string for curved landscape or use straight wood planks for direct edges. The marking will act as a guide and help maintain straight lines as you edge.
Clear the marked area of any debris, pebbles, or roots. This is essential as any obstacles might cause your sharp edger blade to become damaged or blunt.
Step-3: Start Edging
Now let’s get down to the business of ‘how to use a hand lawn edger?’. Simply explained, you will be cutting into the grass and soil along the marked boundary to create a neat, well-defined line that separates your lawn from your walkway, driveway, or garden bed.
Place your edger’s blade at the very edge of your lawn where you want to start marking the boundary. A footplate on one side of the edger will provide you a spot to apply pressure. Apply a gentle downward pressure on the footplate, driving the blade into the ground.
The depth is an important aspect. Around 1.5 – 2 inches deep cut is the general rule of thumb for effective and visually appealing edges. If the soil is hard or compact, you may need to rock the edger back and forth a bit to establish the cut.
Once the cut is made, move the edger over, so the blade next to the footplate aligns with the preceding cut. Repeat the process till you have edged along the entire marked boundary. Sounds simple, doesn’t it? However, do remember that patience and practice would make you perfect at this.
Step-4: Cleaning up and Finishing
Many people might think the work ends when the edging is complete. However, taking some extra steps for a clean, finished appearance serves as the cherry on top in this guide on ‘how to use a hand lawn edger?’
After you finish edging, there will be loose soil and pieces of cut grass along the edge. Use a broom or a rake to sweep all these away. This will immediately make your lawn look neat and tidy.
For a professional touch, consider adding mulch or attractive stones along the edges. Not only do they enhance the look, but they also prevent unwanted grass or plants from growing in the edged area.
Finally, remember to maintain the edges regularly. Depending on the rate of growth, you might need to edge your lawn every other week or at least once a month. Regular maintenance helps avoid the hassle of dealing with overgrown edges.
Step-5: Care for Your Edger
Last but not least, it’s important to take care of the tool which has just helped you add finesse to your lawn. Proper maintenance of your hand lawn edger will ensure it serves you well for years.
After each use, clean the blade with a wire brush or putty knife to remove any dirt or grass sticking to it. Dry it thoroughly to prevent any rusting. Occasionally, you might need to sharpen the blade to maintain its effectiveness.
Store it in a dry and covered place to protect it from extreme weather. Never leave it outdoors over extended periods.
Offering this bit of tender-loving-care to your hand lawn edger ensures it stays in top form, ready to maintain your lawn’s pristine condition all year round.
Knowing how to properly use a hand lawn edger adds a professional touch to your home gardening and landscaping. The time and effort invested signal a clear message – of someone who takes great pride in their lawn. Not to mention the satisfaction of stepping back at the end of a carefully done edging job to admire your masterpiece!

Frequently Asked Questions
Managing the edges of your lawn can be a challenging task, especially for first-timers. Understanding how to use a hand lawn edger correctly is key to maintaining a well-manicured lawn. Below are some frequently asked questions that might help demystify the usage of a hand lawn edger.
1. What’s the correct way to hold a hand lawn edger?
The ideal way to hold a hand lawn edger is to use both hands for a firm grip. Typically, one hand should be on the handle while the other remains on the auxiliary handle. This two-handed grip offers the control necessary for a clean edge.
It’s important to stand upright while operating the tool, without bending over, to prevent back pain. The footplate on the edger should be stepped on with moderate pressure to allow for smooth cutting.