
How to Adjust Hedge Trimmer Blades
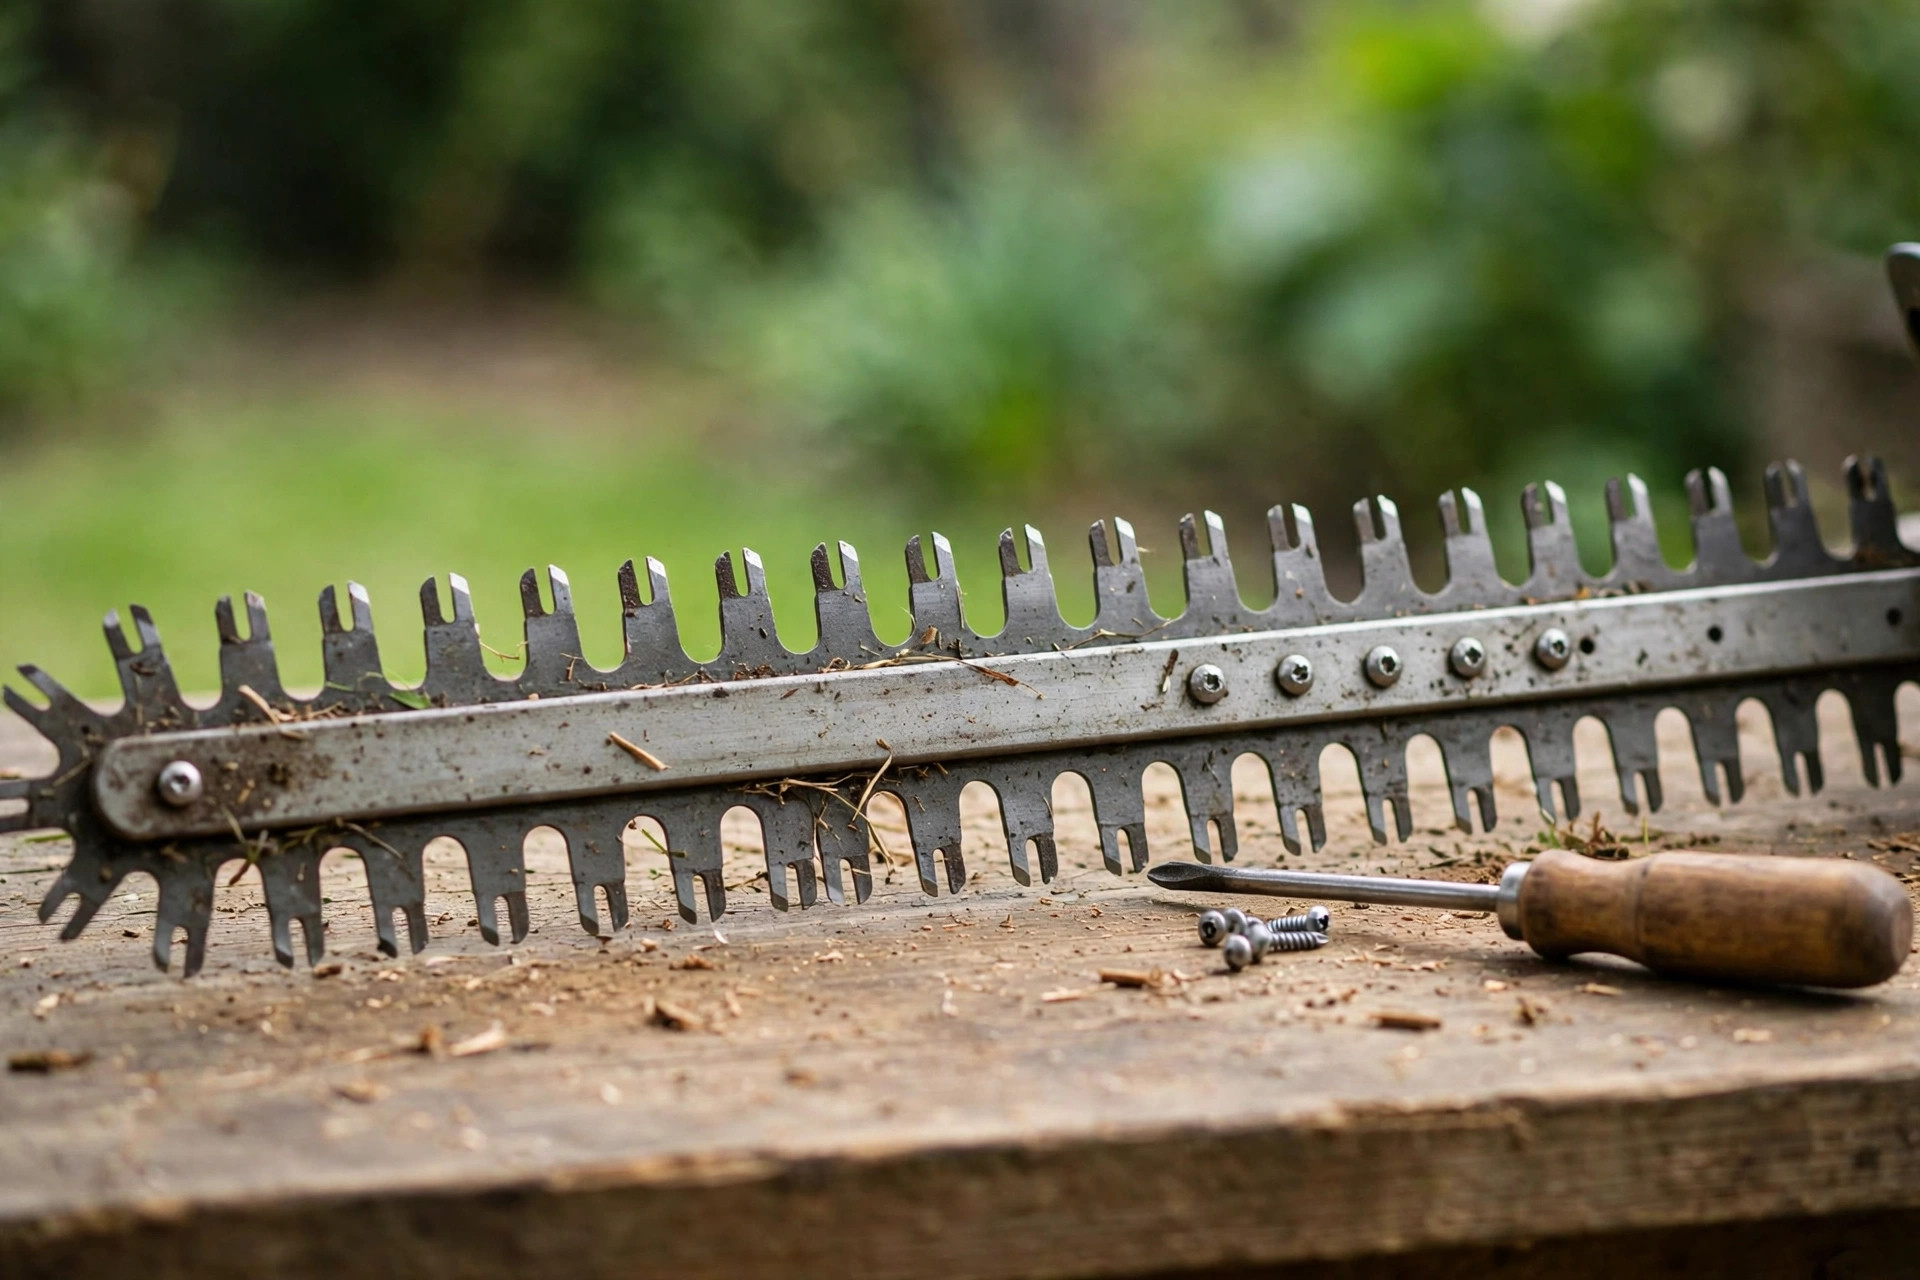
Quick answer: Yes, you can adjust hedge trimmer blades at home with care. Loosen the blade screws, align the blades parallel, then tighten them again. Test the trimmer on a small hedge area and fine-tune the fit if needed. Clean and oil the blades after each use to keep them sharp and safe.
Adjusting your hedge trimmer blades is a simple process you can do yourself. First, ensure that the trimmer is turned off and disconnected from any power source. Look for the adjustment screws on the blade and loosen them with a screwdriver. Next, align the blades so that they are parallel to each other.
Tighten the adjustment screws back up and test the trimmer to ensure smooth operation. Check and adjust the blades often to keep cutting performance at its best. Adjusting hedge trimmer blades can feel daunting, but the right steps make it easy. This guide walks you through each step so you can master blade adjustment.
Regular blade checks keep your hedge trimmer cutting well and lasting longer. Good adjustment keeps your cuts precise, safe, and under control while trimming. This guide walks you through each step to adjust hedge trimmer blades well.
- How to Adjust Hedge Trimmer Blades: Step 1 — Inspect and Prepare
- Step 1 — Clean and Lubricate the Blades
- Step 2 — Check Blade Alignment
- Step 3 — Adjust the Hedge Trimmer Blades
- Step 3 — Tighten the Blade Fasteners
- Step 4 — Test and Fine-Tune the Adjustment
- Step 5 — Maintain Your Blades
- Frequently Asked Questions
- Conclusion: How to Adjust Hedge Trimmer Blades
How to Adjust Hedge Trimmer Blades: Step 1 — Inspect and Prepare
Before you adjust the blades, inspect them for bent or nicked edges. If you notice any significant damage, it may be necessary to replace the blades entirely. Additionally, make sure to follow these safety precautions. Once safety checks are done, you can start adjusting the blades. See our best electric hedge trimmer guide for strong cutting picks.
- Wear safety goggles and gloves to protect your eyes and hands from debris and potential cuts.
- Ensure the hedge trimmer is turned off and unplugged before beginning any adjustments.
- Find a stable work surface and place a protective cover or drop cloth underneath the trimmer to catch any loose debris.
Secure the Blades
First, secure the blades so they cannot move while you work. You can do this by following these steps. Locked blades keep your hands safe while you adjust them. See our how to sharpen hedge clipper blades guide if the edges look dull.
- Ensure the trimmer is turned off and unplugged.
- Locate the blade lock or locking mechanism on your specific hedge trimmer model.
- Engage the blade lock to hold the blades in a fixed position.
- Double-check that the blades are securely locked and cannot move.
Tools You Need
| Tool | What It Does |
|---|---|
| Safety goggles and gloves | Protect your eyes and hands from debris and cuts |
| Screwdriver | Loosen and tighten the blade fasteners |
| Adjustable or Allen wrench | Fit fasteners on some trimmer models |
| Blade sharpener | Sharpen dull blades if needed |
| Lubricating oil | Reduce friction and stop rust on blades |
| Brush or soft cloth | Clear debris from between the blades |
| Feeler gauge or business card | Set a small gap between the blades |
Step 1 — Clean and Lubricate the Blades
Remove Debris
First, remove any debris or plant bits stuck between the blades. A clear view helps you judge the blade fit with care. Clean blades make adjustment smoother and improve cutting performance.
- Use a brush or soft cloth to wipe away any loose debris.
- Be cautious not to touch the sharp edges of the blades.
- Inspect the blades for any signs of damage or wear.
Lubricate the Blades
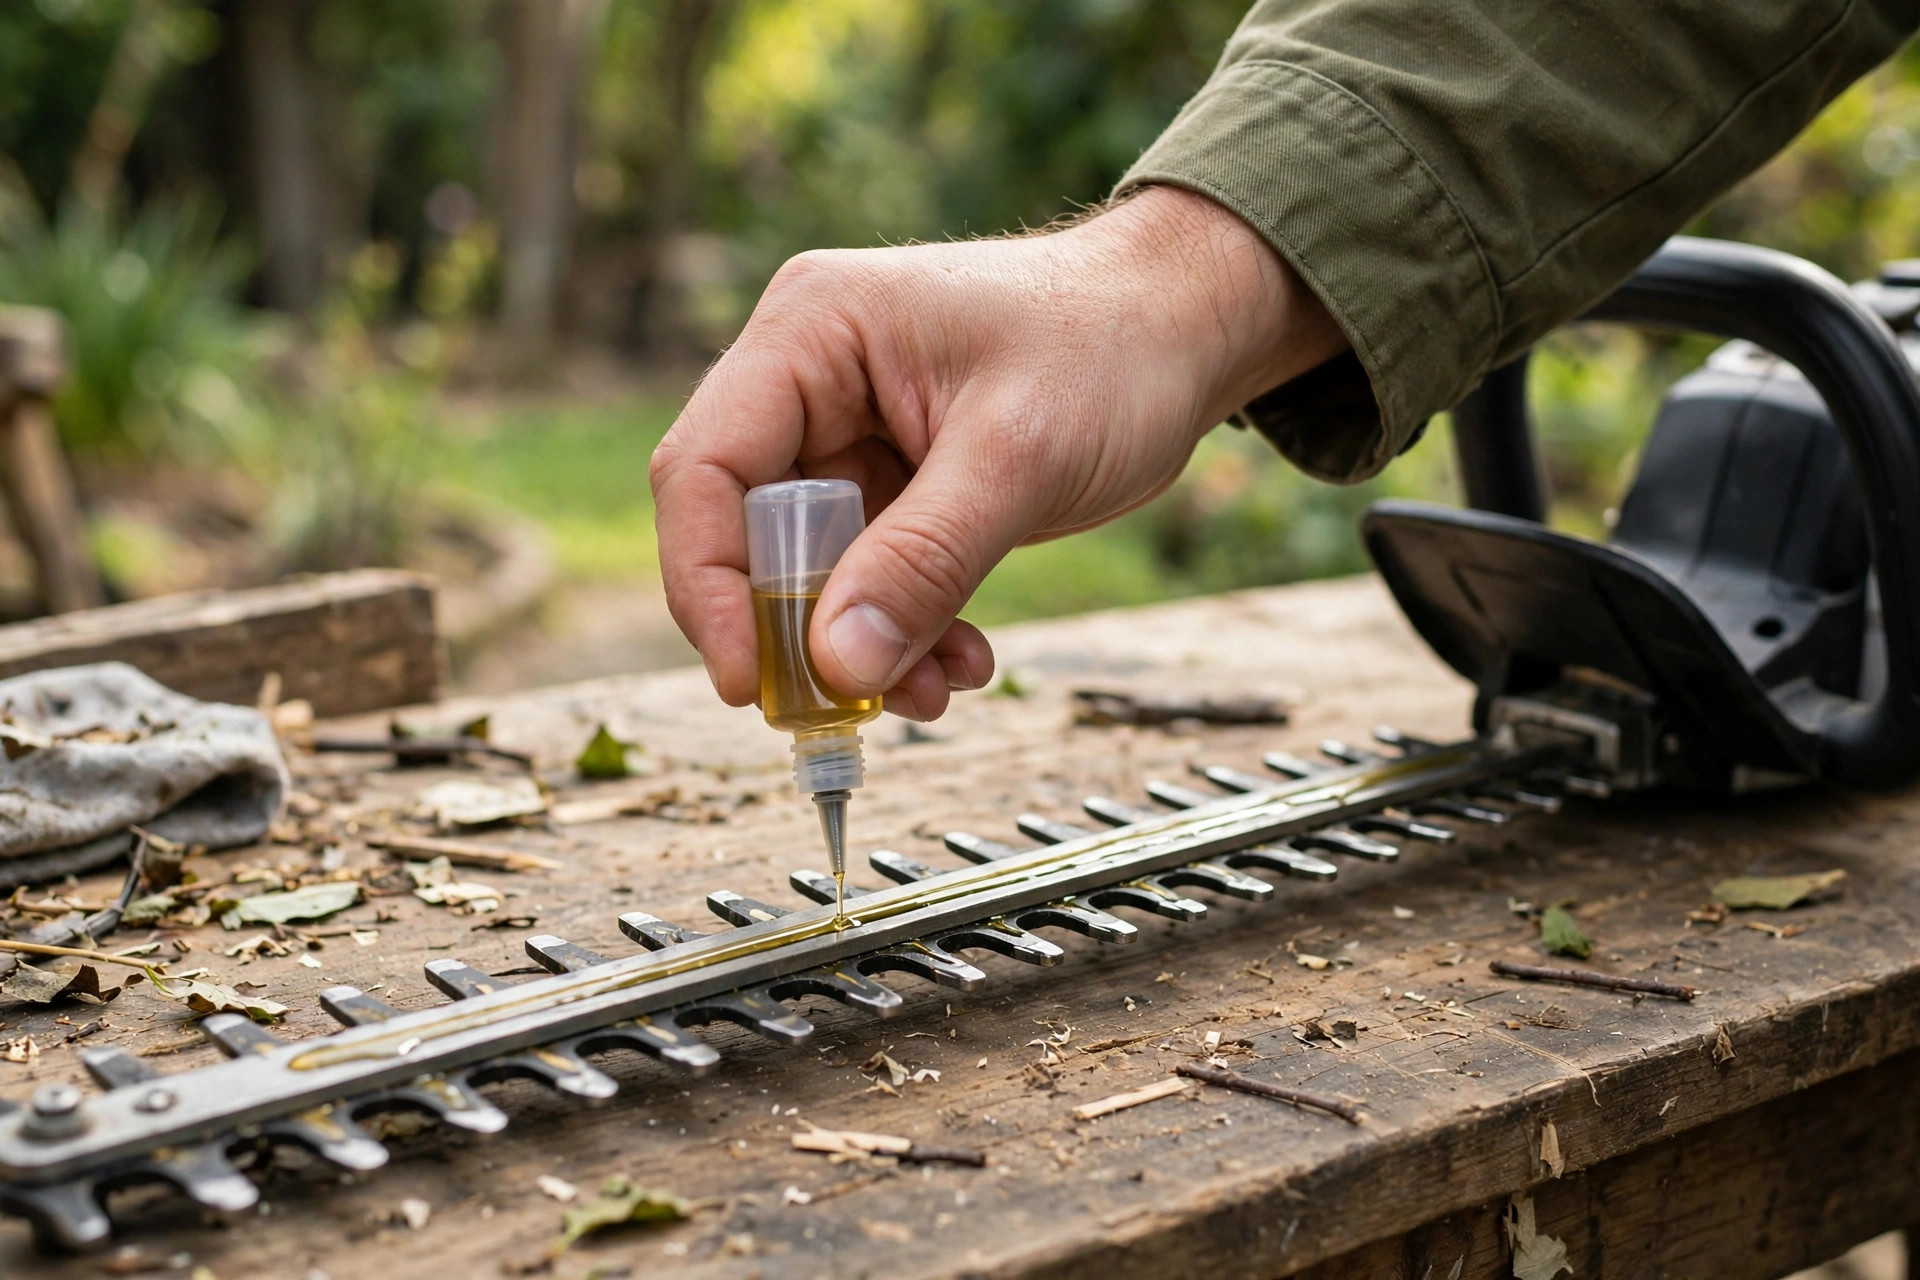
Prior to making any adjustments, it is beneficial to lubricate the blades. This will help reduce friction, ensure smooth movement, and prevent rust formation. Oil makes adjustment easier and guards blades against wear and rust.
- Apply a light coat of lubricating oil along the length of each blade.
- Gently move the blades back and forth to distribute the oil evenly.
- Allow the lubricating oil to penetrate the blade surfaces for a few minutes.
Step 2 — Check Blade Alignment
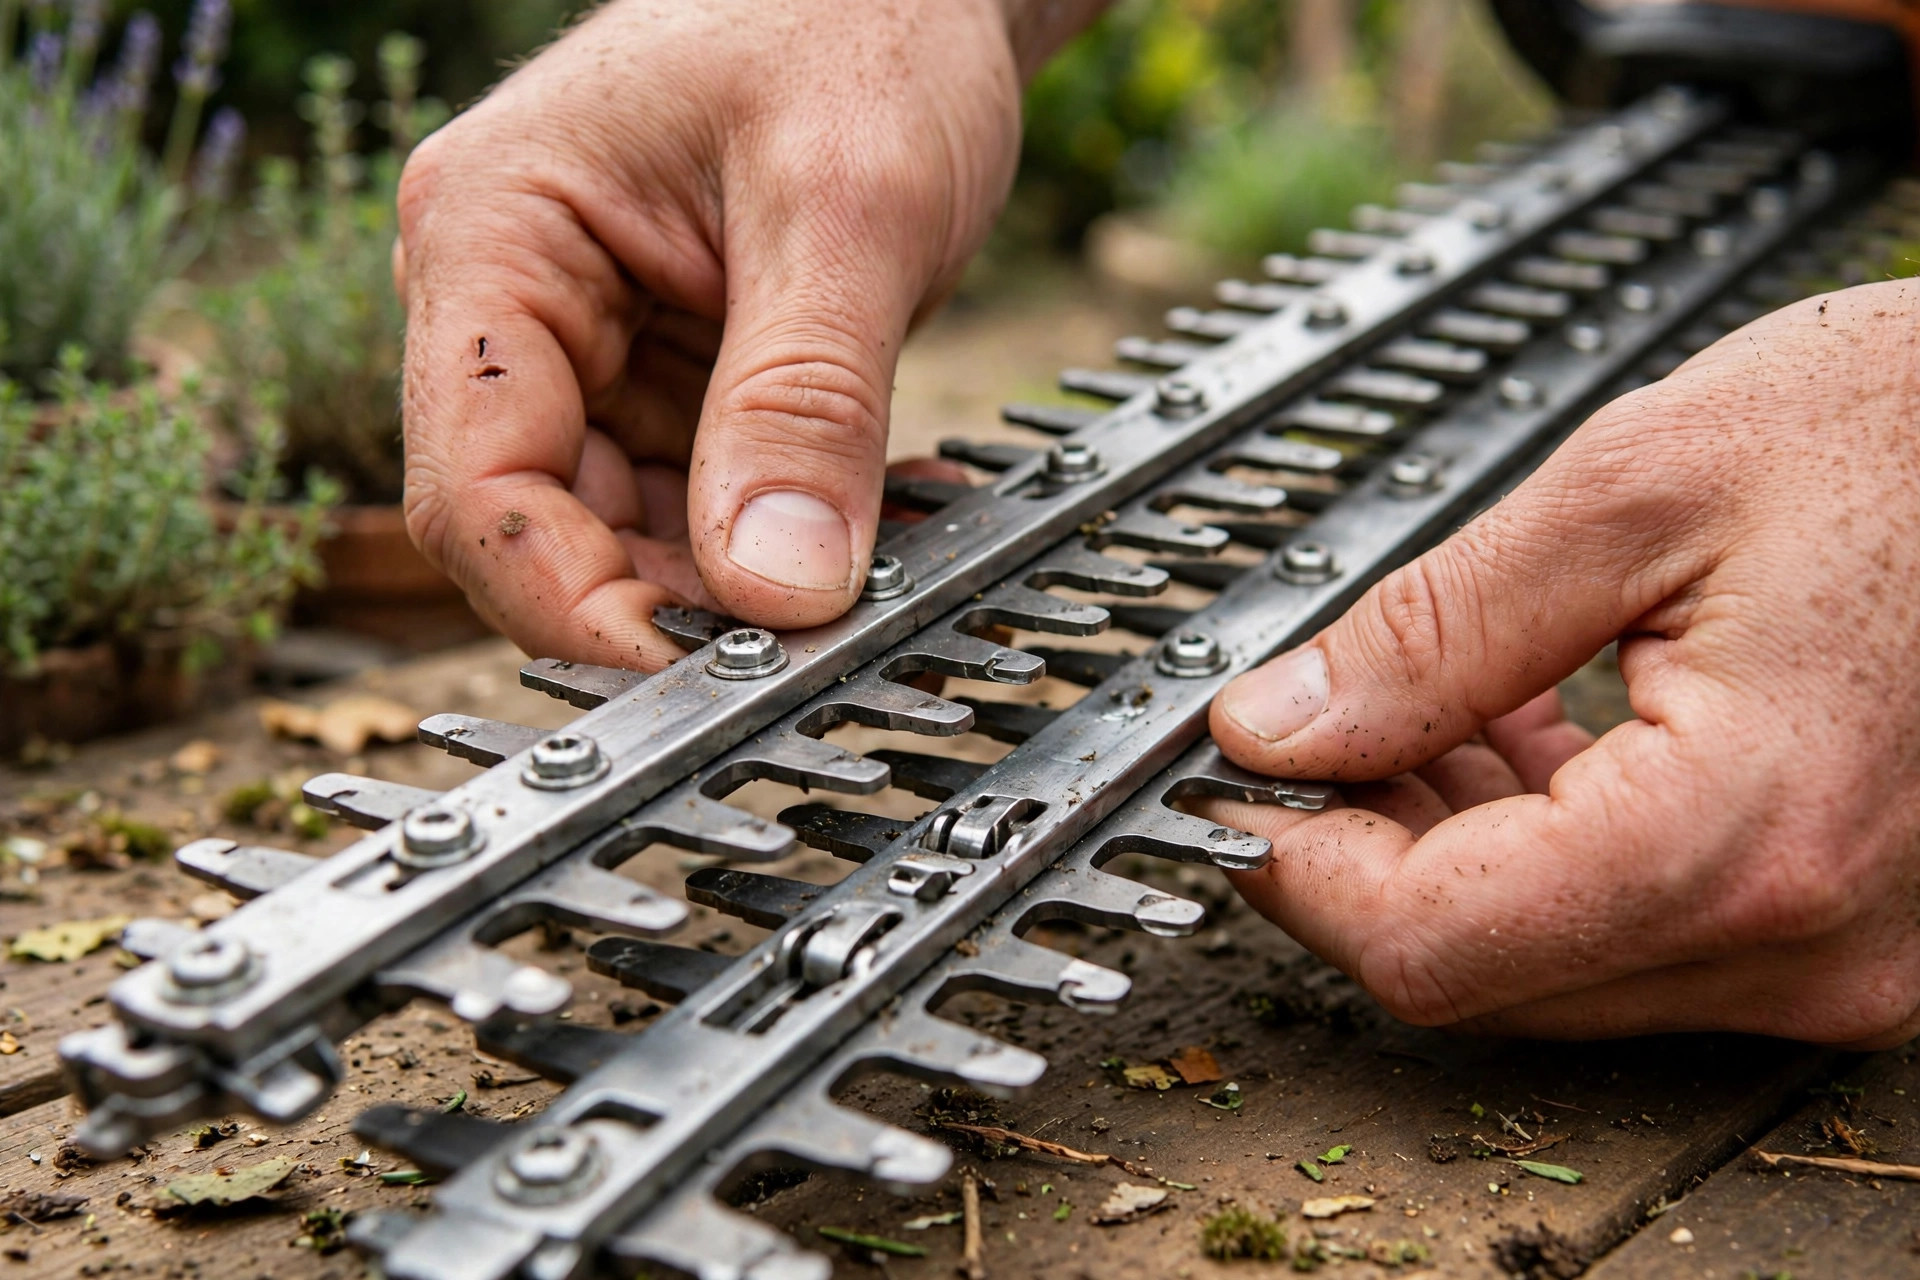
Once the blades are clean and oiled, check their alignment for efficient cutting. Two quick checks show if the blades sit straight and touch well. Fix any gaps you find before you move on to the next step.
Visual Inspection
Begin by visually inspecting the position of the blades in relation to each other. The blades should be parallel and align perfectly when closed. Look for any gaps or overlaps between the blades. If there are substantial gaps or overlaps, adjustments are necessary.
Check Blade Contact
Next, test blade contact to see if the blades meet along their full length. This test involves closing the blades and examining their contact points. These checks show if adjustments are needed for clean, smooth cutting. See our can you sharpen hedge trimmer blades guide for sharpening steps.
- Close the blades as you would during normal trimming operations.
- Observe the area where the blades make contact with each other.
- Ensure the entire length of the blades is in contact without any gaps.
- If you notice any significant gaps or uneven contact, adjustments are necessary.
Blade Problems and Quick Fixes
| Problem | Quick Fix |
|---|---|
| Blades leave jagged edges | Check alignment, then sharpen or replace dull blades |
| Gaps or overlaps when closed | Loosen the fasteners and realign the blades |
| Blades feel stiff or grind | Clean debris from the blades and oil them |
| Blades are bent or nicked | Replace the blades entirely |
Step 3 — Adjust the Hedge Trimmer Blades
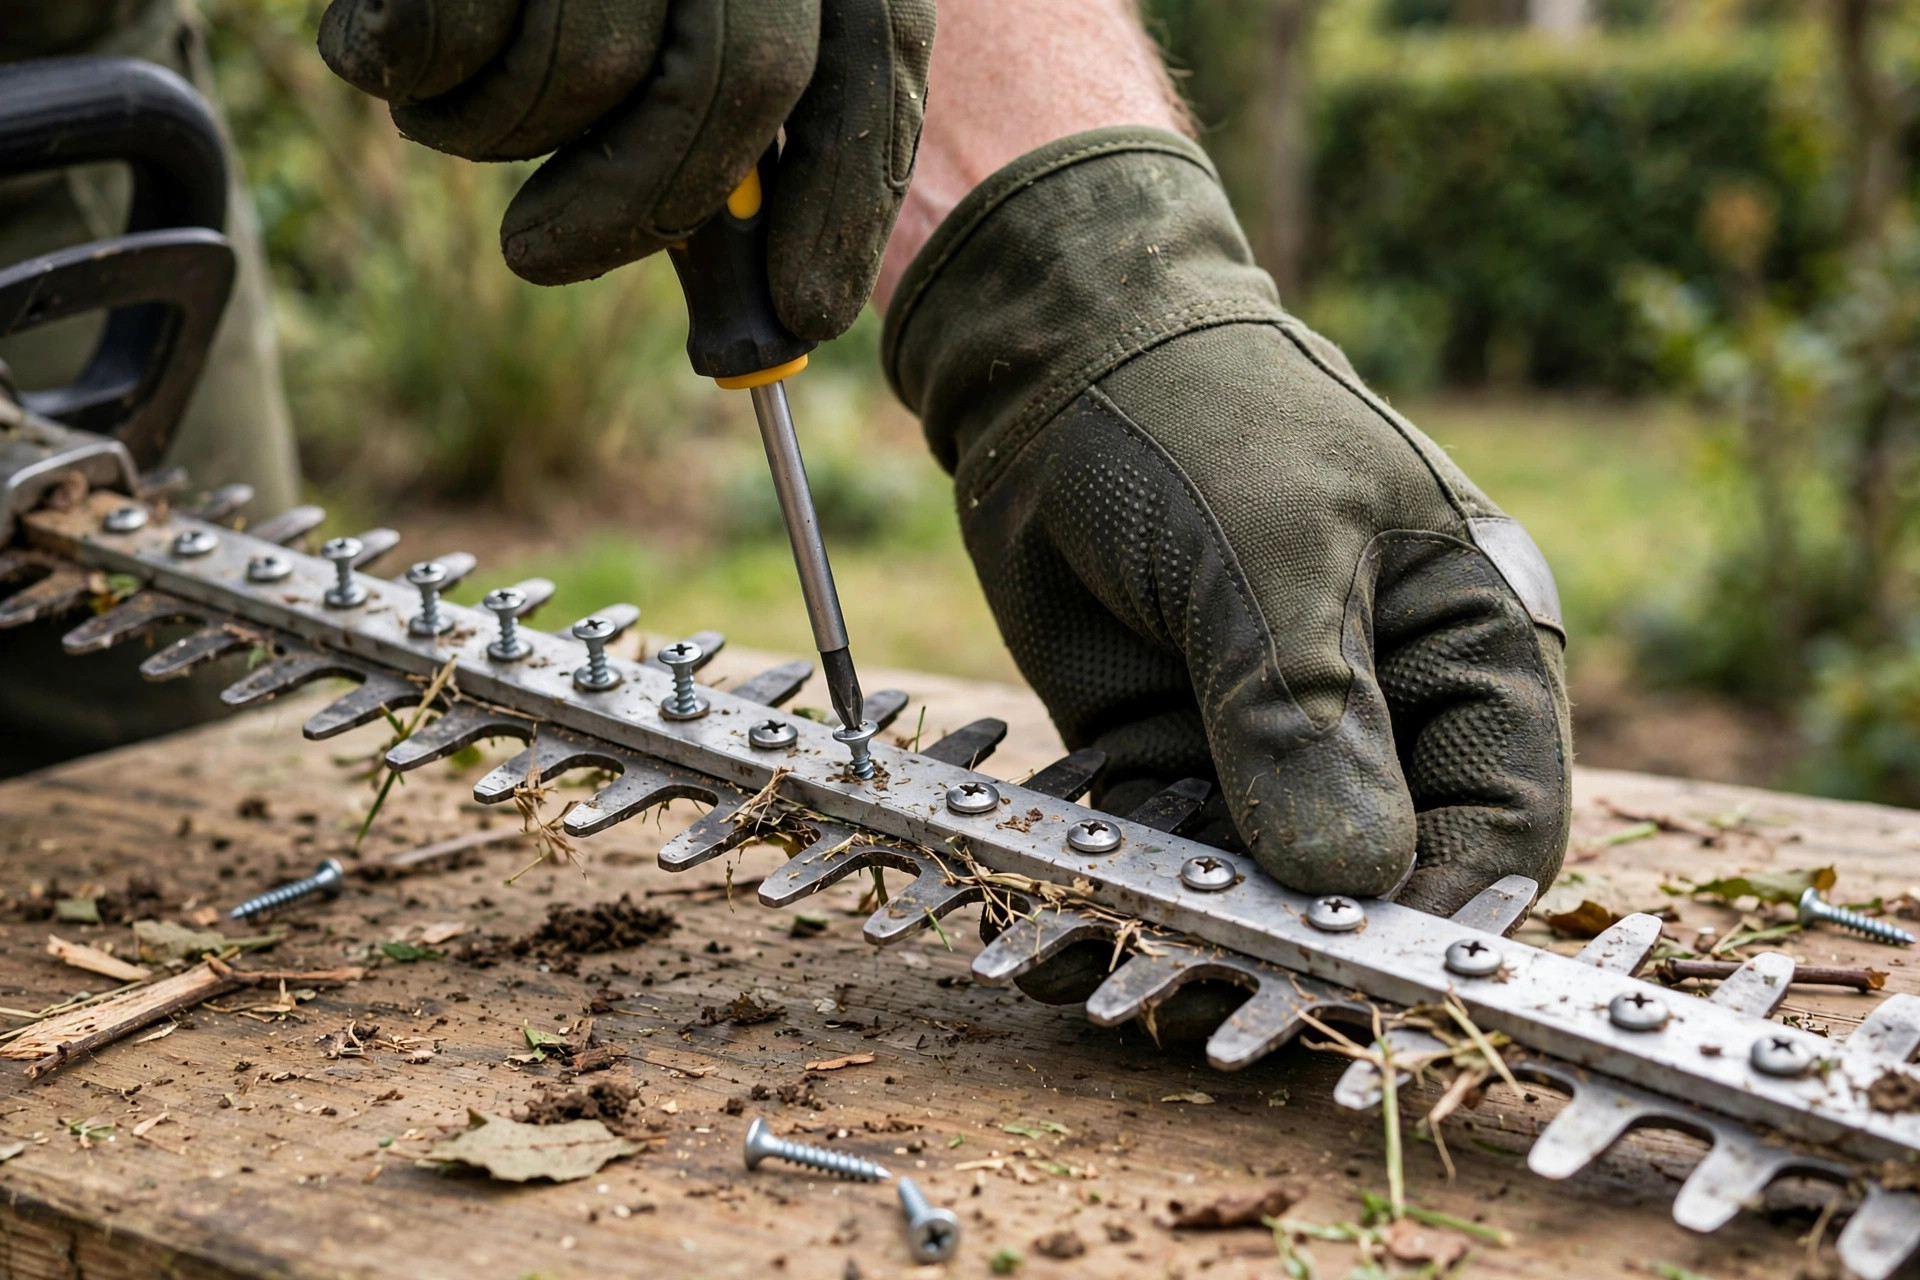
After the checks, you can adjust the blades for precise, efficient cutting. Work slowly and check the fit after each small change. Take your time so the blades end up accurately aligned.
Loosen the Blade Fasteners
Start by locating the blade fasteners or screws that hold the blades in place. They sit near the blade base or on the sides of the cutting head. Loose fasteners let you shift the blades into the right place.
- Using a screwdriver or the appropriate tool, carefully loosen the blade fasteners without completely removing them.
- Loosen both blade fasteners to ensure equal adjustment on both sides.
Align and Adjust the Blades
With the fasteners loose, you can now align and adjust the blades. Take your time during this process to ensure the blades are accurately aligned. Check the fit after each small move before you tighten anything.
- Hold the blades securely in place and align them properly using visual inspection and the blade contact test.
- Ensure the blades line up without any gaps or overlaps when closed.
- Make small adjustments as needed by slightly moving or rotating the blades.
- Check the alignment and contact after each adjustment to ensure proper positioning.
Step 3 — Tighten the Blade Fasteners
Once the alignment looks right, tighten the fasteners to lock the blades in place. Tight fasteners hold the blades steady for clean, smooth cutting. Do not over-tighten, since that can bind the blades and strain the motor. See our how to sharpen a black & decker hedge trimmer guide for model steps.
- Using a screwdriver or the appropriate tool, tighten the blade fasteners without over-tightening.
- Ensure the blades remain aligned and in their desired position while tightening.
- Double-check the blade alignment and contact after tightening to confirm they have not shifted.
Step 4 — Test and Fine-Tune the Adjustment
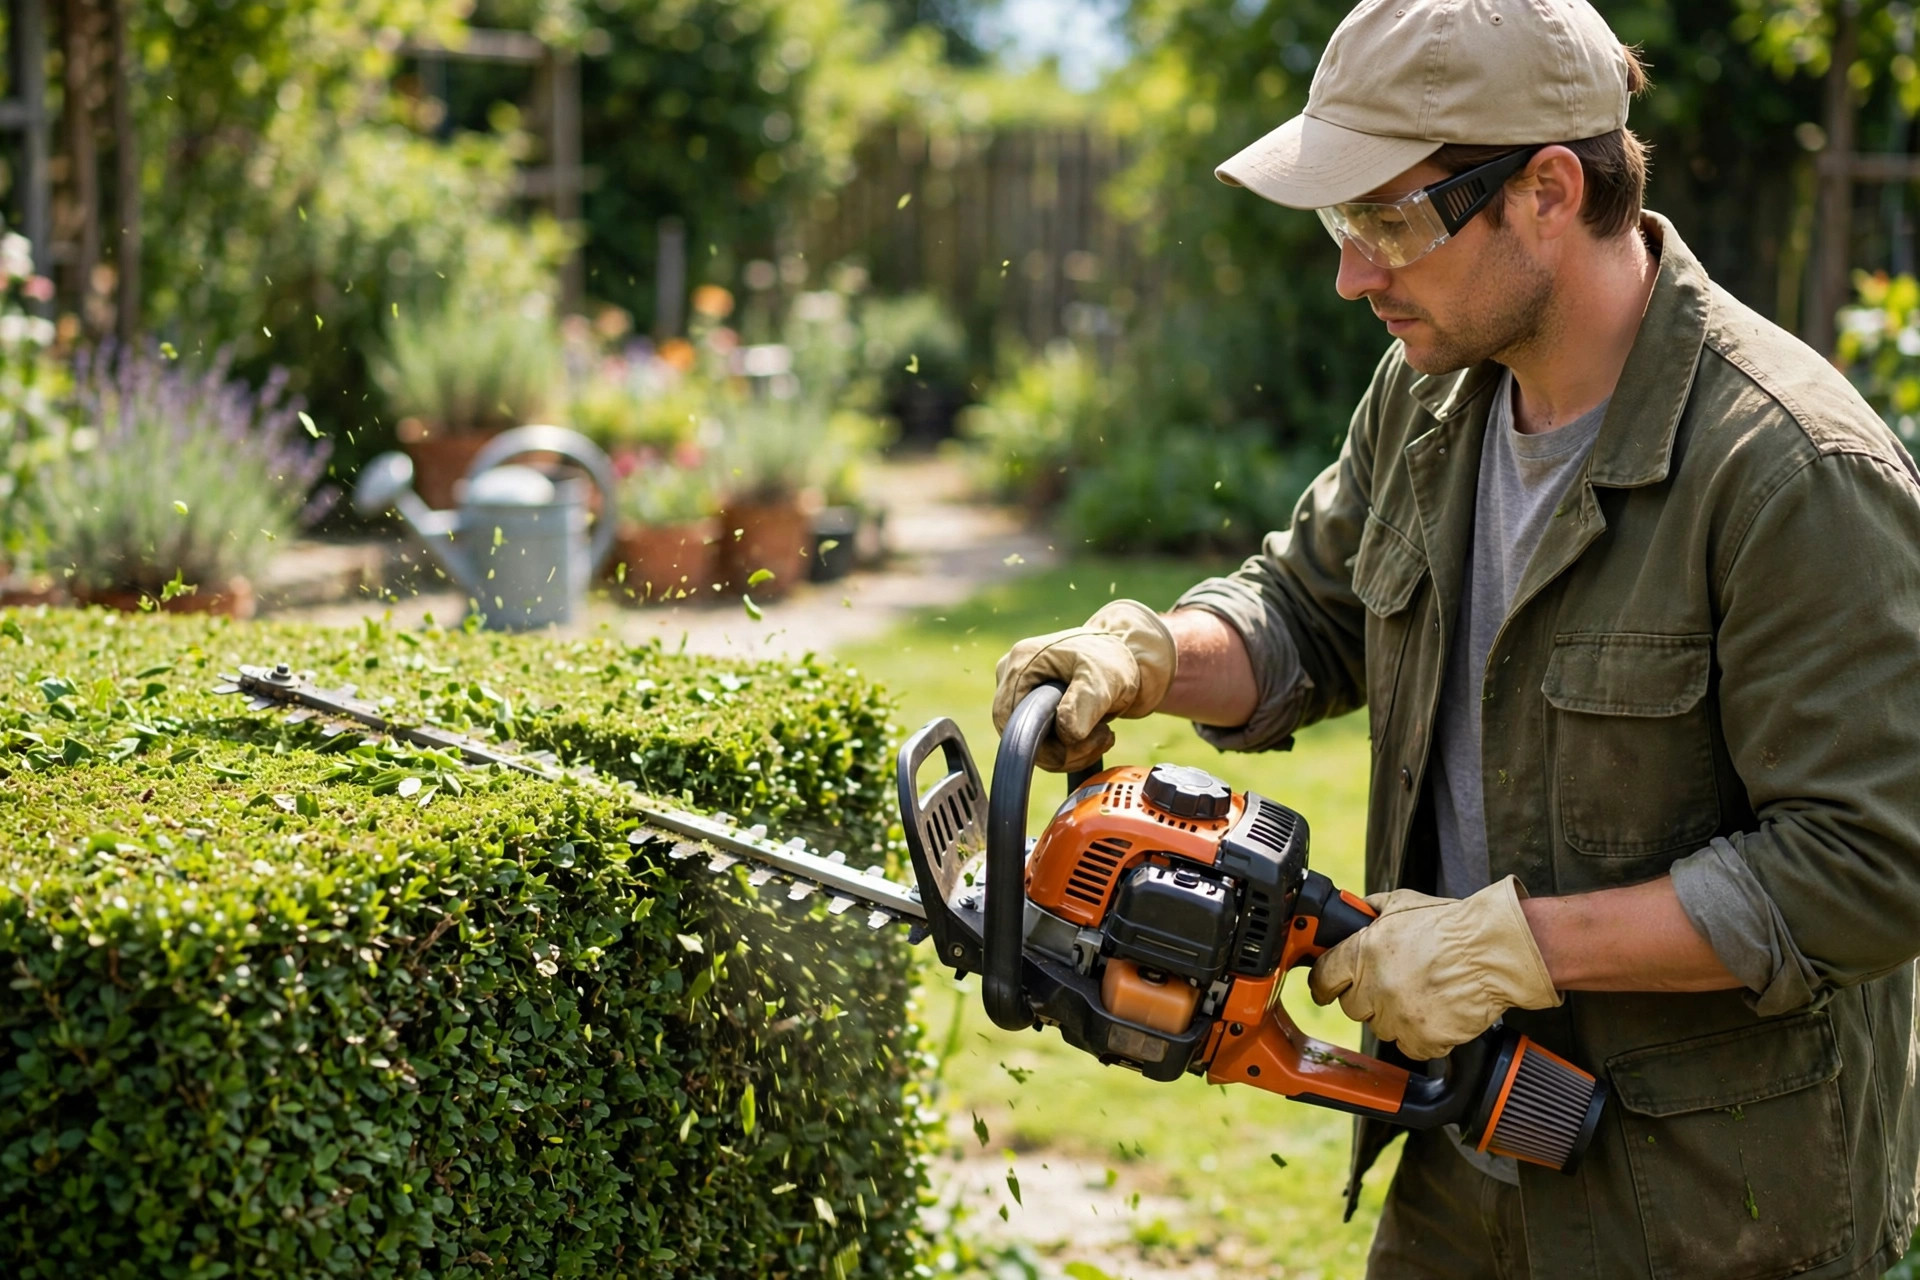
After the adjustment, test the trimmer and fine-tune the fit if needed. A short test trim shows if the blades cut cleanly or need more work. Work on a small hedge area first, so mistakes stay easy to fix. The EPA lawn and garden page gives safe trimming and yard care tips.
Power On the Hedge Trimmer
Ensure the hedge trimmer is properly plugged in or has a charged battery. Power on the trimmer according to the manufacturer’s instructions. Keep your hands clear of the blades while you switch it on.
Trim a Test Area
Select a small test area of your hedge or shrub and begin trimming. Observe the cutting performance, smoothness, and overall results of the test trim. If cuts look uneven or jagged, fine-tune the blade adjustment again.
Readjust if Needed
If the test trim shows flaws, make small readjustments to the blade alignment. Repeat the align and tighten steps to fine-tune the blade adjustment. Test trim again until you are satisfied with the cutting performance.
Step 5 — Maintain Your Blades
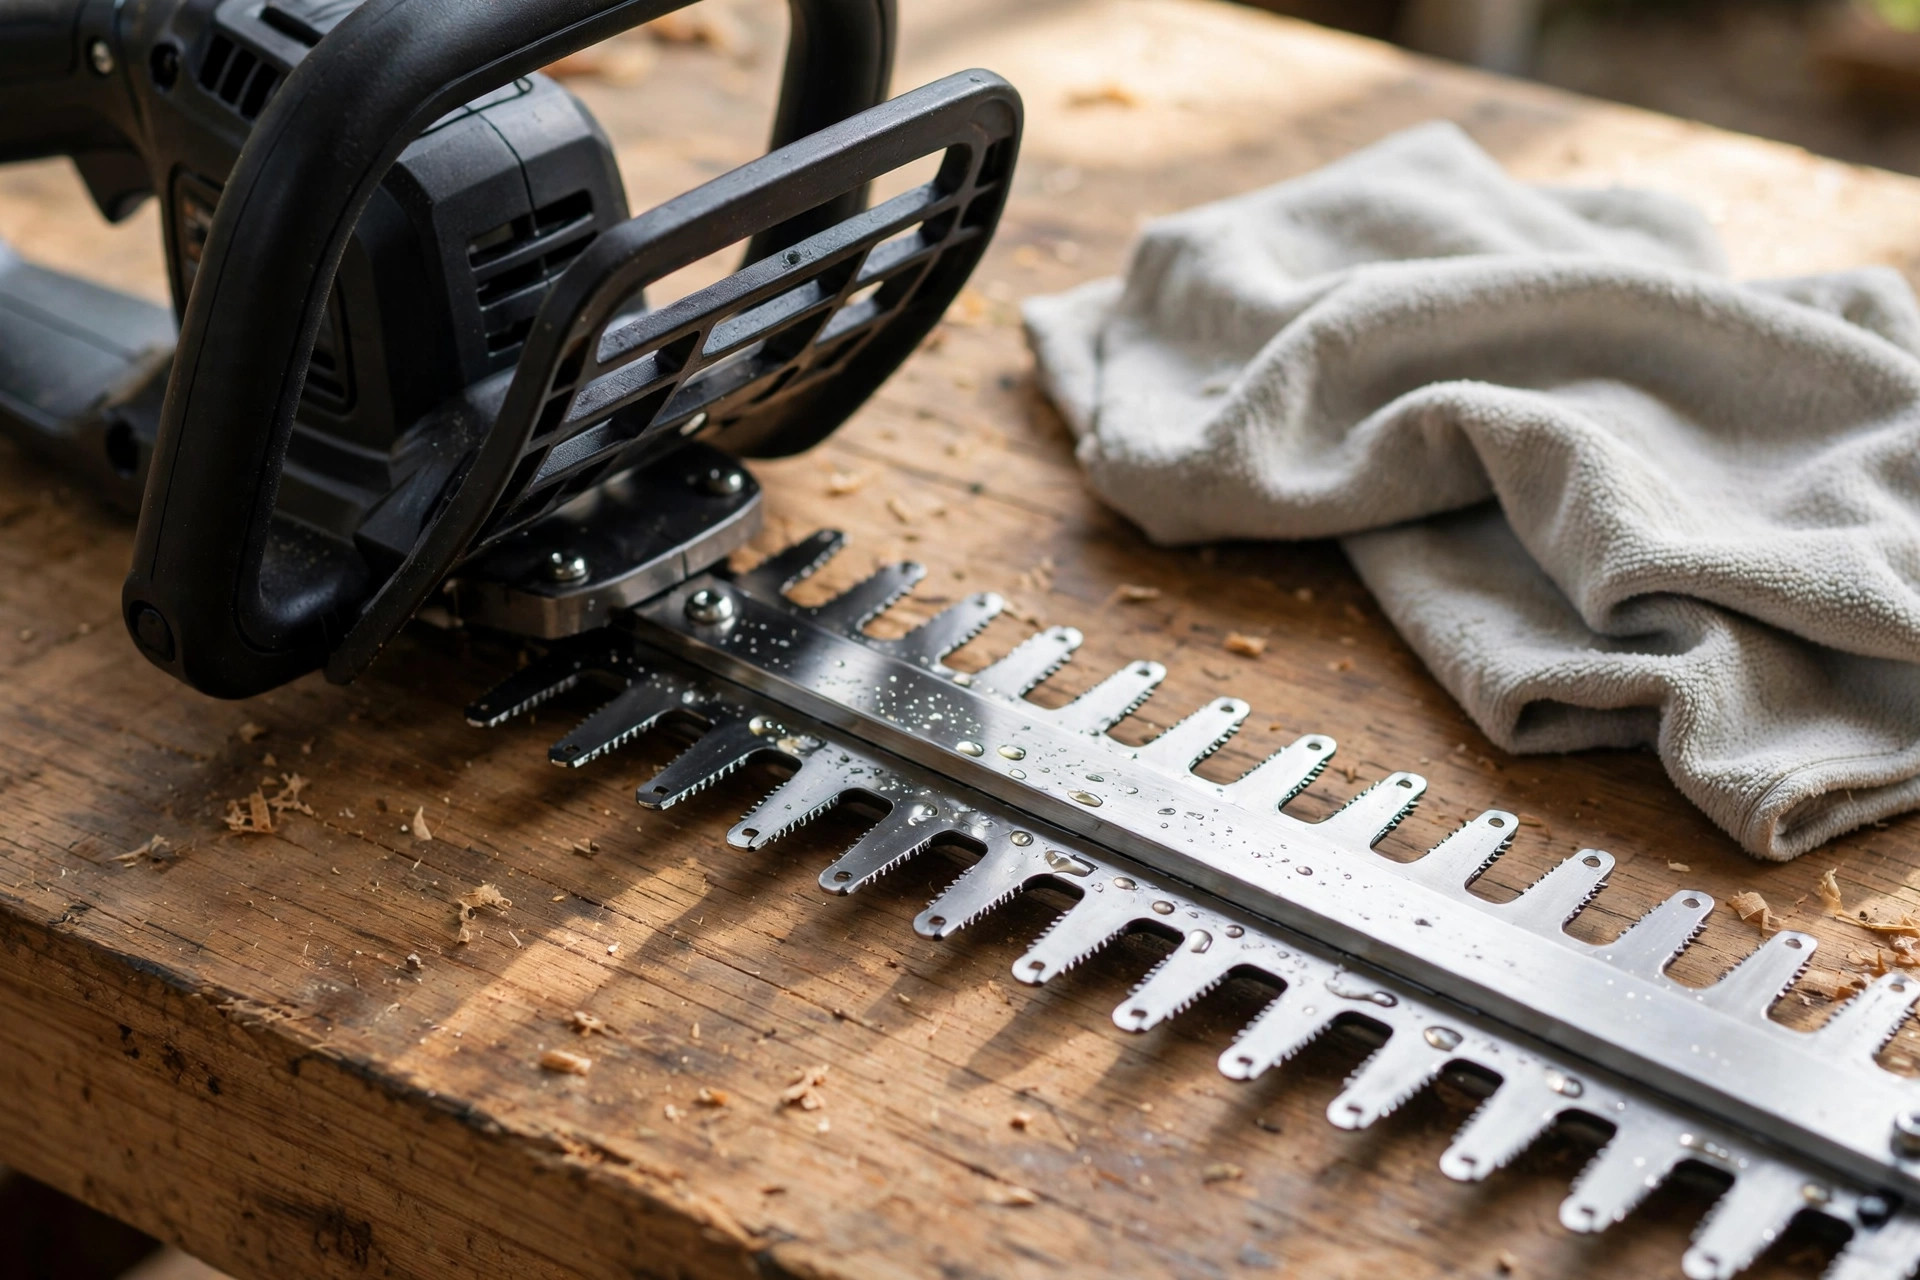
Once the blades are set, keep them in good shape for lasting performance. These simple habits keep your blades sharp, clean, and safe. Clean the blades after each use and check them before you trim. See our how to start stihl hs 56 hedge trimmer guide for starting steps.
- Regularly clean the blades and remove any debris after each use.
- Inspect the blades for any signs of wear, damage, or dullness.
- Sharpen the blades as necessary to maintain their cutting effectiveness.
- Follow the manufacturer’s recommendations for lubrication and periodic maintenance.
Good care extends blade life and keeps cutting smooth for the long term. Oil the blades often and store the trimmer in a dry place. Follow the maker’s guide for oil type and service timing. The University of Minnesota Extension pruning guide shows safe cutting basics.
Frequently Asked Questions
Here are answers to common questions about adjusting hedge trimmer blades. Use these answers with the steps above for the best results. Each answer uses only the facts from this guide.
Why is it important to adjust hedge trimmer blades?
Proper adjustment keeps your tool efficient and effective for every trim. Aligned, sharp blades cut cleaner, ease motor strain, and extend tool life. Regular checks keep blades at their best for any trimming task.
How often should I adjust hedge trimmer blades?
How often you adjust blades depends on how much you use the tool. Check alignment every 10 to 15 hours of use or each trimming season. If cuts turn uneven or weak, inspect and adjust the blades right away.
What tools do I need to adjust hedge trimmer blades?
You need a few basic tools to adjust hedge trimmer blades well. Keep these tools ready before you start for a smooth, easy job. A screwdriver and a brush cover most of the work.
- Protective gloves
- Adjustable wrench or Allen wrench (depending on the trimmer model)
- Hedge trimmer blade sharpener (if required)
- Oil or lubricant (if necessary)
How do I adjust hedge trimmer blades?
Turn off the trimmer, unplug it or remove the battery, then inspect the blades. Loosen the adjustment screws, align the blades parallel with a small gap, then tighten them. Test the trimmer and adjust again until the cuts look clean and smooth.
Are there any additional maintenance tips for hedge trimmer blades?
Clean the blades after each use to remove debris, foliage, or sap. Oil the blades often to cut friction and keep them moving smoothly. Sharpen dull blades with a proper sharpener or ask a pro for help. See our best hedge trimmer for thick branches guide for heavy cutting picks.
Conclusion: How to Adjust Hedge Trimmer Blades
Adjusting hedge trimmer blades keeps cutting sharp and extends your tool life. Follow the steps in this guide to adjust your blades with confidence and care. Regular checks keep performance high and catch small issues before they grow. Always wear protective gear and follow the maker’s instructions for safe trimming.
With proper care, your trimmer will shape neat hedges for years to come. Check your blades often so they stay sharp and aligned for every trim. See our how to assemble worx hedge trimmer guide when you build a new tool.

I’m Patricia D. Johnson, an affiliate marketer and blogger specializing in trimmers and grooming tools. I create honest reviews, buying guides, and practical tips to help readers choose the right trimmer for their needs. With a focus on quality, performance, and value, I simplify the decision-making process so consumers can make confident purchases.