
- We first identify the retaining cap on our weedeater trimmer and remove it.
- Next, we detach the spool and erase any remnants of old string.
- We then secure one end of the replacement string, wrapping it in direction of the arrows.
- After adequate wrapping, we cut off excess string and place the spool back.
- Finally, we secure it all with the retaining cap and the trimmer string is changed.
Isn’t it bewildering that a broken string can halt the weeding activity in its tracks? That’s right. A task as mundane as replacing the string on a weedeater trimmer can bring a flourishing garden to a standstill.
However, a revolution in gardening happened when ballas weedeater trimmer invented in the late 1970s. From that point, changing the trimmer string has evolved from a daunting task to a simple routine for gardening enthusiasts. Don’t underestimate the impact a re-strung trimmer can have on your landscaping activities- according to HomeAdvisor, a well-maintained garden can increase property value by up to 12.7%!
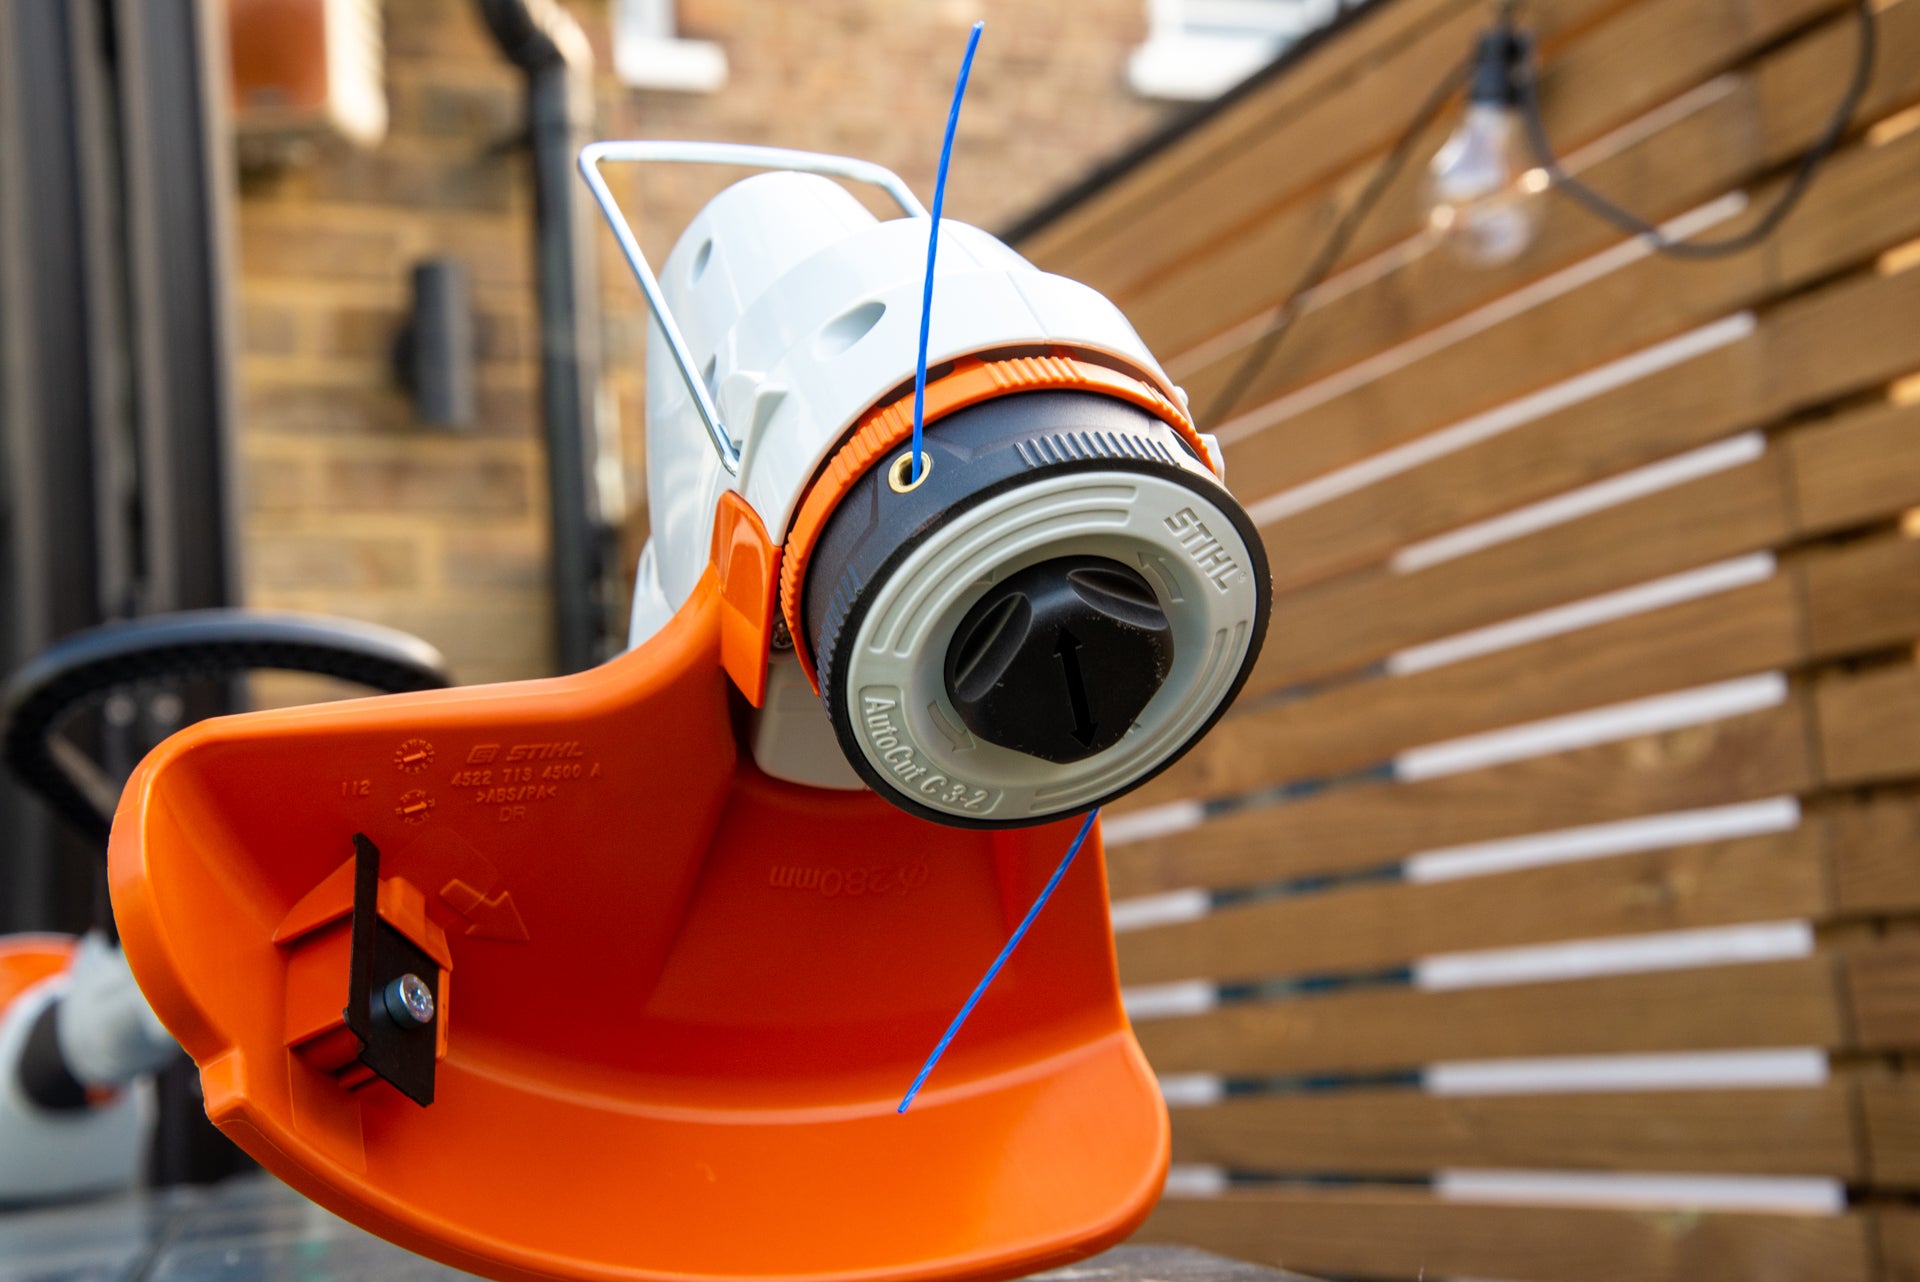 Source: trustedreviews.comSource: canva.com
How to Change the String on a Weedeater Trimmer (Easy Step-by-Step Guide)
Regular maintenance and proper usage of your gardening equipment can significantly extend its lifespan. One such critical routine task is understanding how to change string on weedeater trimmers. This article will provide a simple, step-by-step guide that will empower you to perform this task efficiently and safely.
Step 1: Safety Measures
The first and foremost thing to bear in mind before embarking on any maintenance task is safety. Before you start, ensure that the weedeater trimmer is turned off and completely disconnected from any power source. This is to prevent any accidental start-ups that could potentially cause harm.
Put on safety goggles and gloves. The goggles will shield your eyes from any debris, while gloves provide a firm grip, protect your hands from scratches, and prevent any possible contact with sharp edges.
Lastly, you might want to perform this task in a well-lit, clean, and spacious area to avoid misplacing any removed parts and easily spot any anomalies in the trimmer.
Regardless of how experienced you are, never disregard these safety measures.
Step 2: Removing the Spool
The second step in changing string on weedeater trimmer involves the removal of the spool, which is located at the bottom of the trimmer. Hold the trimmer head and turn the spool cap or bump knob counterclockwise. This should loosen the cap, allowing you to remove it and the spool beneath it.
At this stage, observe the spring in the head of the trimmer. Leave it intact as it is essential for the functionality of the trimmer. However, if it’s deformed or damaged, consider replacing it as well.
If there is any remaining string on the spool, unwind and discard it. Cleaning the spool and head of any debris and grass will also be a wise step. This ensures that your trimmer operates at its peak efficiency.
Keep all the removed parts safely. You will be needing them after threading the new string.
Step 3: Preparing the New String
Step 3 is all about preparing the new string for the weedeater trimmer. Using a suitable cutting tool, cut approximately 10-25 feet of new trimmer string. Consider adhering to your operator’s manual for the recommended length and string thickness for your specific model of weedeater.
Handling your trimmer string carefully at this stage is also crucial to avoid any tangling or kinks. Remember, a straight and untwisted string will feed into your trimmer more easily and operate more efficiently.
If you want a more straightforward process, you can consider purchasing a pre-wound spool compatible with your model.
Lastly, fold the string in half. The loop and two loose ends are formed as a result, which will be secured in the spool.
Step 4: Winding the String on The Spool
This is the integral step on how to change string on weedeater trimmer – winding the string. Locate the small holes or hooks in the interior middle section of your spool. These are the anchor points for the new string.
Insert the loop that you’ve created into one of the anchor points, then find the arrow on the spool showing the correct winding direction. Start winding the string firmly and evenly around the spool in the direction of the arrow. Avoid overlaps and maintain even layers for smooth operation.
Upon reaching 5-6 inches length of each end of the string, secure them in the holding notches on the spool’s edge. Check to ensure the string is firm and tidy, with the two loose ends extending in a Y shape.
Ensure the string is not overfilled beyond the spool’s edge. This might cause undesired effects in the functionality of the weedeater trimmer.
Step 5: Reassembling the Trimmer Head
This final step brings you closer to the end of the process on how to change string on weedeater trimmer. Reassembling the trimmer involves inserting the spool back into the trimmer head.
Guide the loose ends of the string through the eyelets of the trimmer head. Doing this before reinserting the spool makes the process easier and less fiddly. Pull the string through until you can feel a good length on the other side.
Once the string is through, replace the spool back into the trimmer head gently. Confirm that it sits well and the spring underneath it is in its right position.
Finally, replace the spool cap or bump knob back into place. Secure it tightly by twisting clockwise. Check to ensure it’s firm with no parts moving about unintentionally. Now you have successfully completed the process of changing the string on your weedeater trimmer!
Being able to self-maintain your weedeater trimmer not only saves you extra costs but also extends the equipment’s lifespan. Following these steps carefully and regularly, you can ensure the optimum performance of your trimmer. Happy gardening!
 Source: wikimedia.org
Frequently Asked Questions
When it comes to maintaining your garden, the weedeater trimmer is a handy tool. However, an essential part of maintaining the tool is knowing how to change the string. Here are some commonly asked questions on this topic.
1. What are the signs that the string on my weedeater trimmer needs to be replaced?
The most obvious sign that your weedeater trimmer line needs to be replaced is when it is used up. If you notice that the line has gotten very short, or it’s completely gone, it’s time to replace it. Also, if the line is old and brittle, it’s not going to be as effective and needs to be replaced.
Another sign it needs to be replaced is if it keeps breaking during use. Sometimes, a line will keep breaking because it has aged and is no longer strong enough. So, if it keeps breaking, it’s a clear sign the string needs to be replaced.
2. What type of string should I buy for my weedeater trimmer?
The type of string needed for your weedeater trimmer can vary depending on the model of your trimmer. A good rule of thumb is to read the specifications in the owner’s manual. If you cannot find the manual, you can also look at the old string on your weedeater for guidance.
There are generally two types of strings that you can purchase – round and multi-sided. Round strings are more durable and are better for softer, longer grass, while multi-sided strings are better for cutting through thicker and heavier weeds.
3. What are the steps to change the string on my weedeater trimmer?
The process to change the string on a weedeater trimmer usually involves removing the head of the trimmer first. This is done by unscrewing or pushing in tabs that hold it in place. Once removed, you can take off the old string.
To attach the new string, you simply thread it through the holes on the trimmer head, following the arrows which indicate the correct direction. Then, you wind it around the head in even layers. Lastly, you reinstall the head on the trimmer, ensuring that it’s securely attached.
4. Why does my weedeater string keep breaking?
The main reason why a weedeater string might keep breaking is because it is too old and has become brittle. Exposure to heat, sun, and various weather conditions can degrade the string over time. Therefore, it’s best to replace it as soon as it starts showing signs of wear and tear.
Another reason could be incorrect usage. For example, if you are cutting too close to hard objects like rocks, fences or sidewalks, the string might snap. Thus, ensure you’re using the trimmer correctly and avoiding these hard surfaces to extend the life of your string.
5. How often should I change the string on my weedeater trimmer?
The frequency of changing the string on your weedeater trimmer can be influenced by several factors. These include how often you use the trimmer, the size of your garden, and the type of weeds you’re dealing with.
In general, for regular garden maintenance, you might need to replace the string after every 5-6 uses. However, it’s always good to keep an eye on the length and quality of the string and change it when needed, even if this is more often.
How to Change the Line | Weed Eater String | Replace Weed Wacker [2021]
We have come to understand that changing the string on a weedeater trimmer isn’t as complicated as it might seem. With the right tools and instructions, we can easily fit a new string onto our trimmer and continue our gardening tasks. Safety is always our priority, so please remember to disconnect your trimmer’s power source before attempting any repairs or maintenance.
With these instructions, replacing the trimmer string should be straightforward and safe. By following these steps, we not only extend the life of our trimmer but also ensure it operates effectively. Remember that knowing how to properly maintain our equipment can save us time and money in the future.

I’m Patricia D. Johnson, an affiliate marketer and blogger specializing in trimmers and grooming tools. I create honest reviews, buying guides, and practical tips to help readers choose the right trimmer for their needs. With a focus on quality, performance, and value, I simplify the decision-making process so consumers can make confident purchases.