
- First, turn off and unplug the trimmer. Then, secure the trimmer shaft.
- Next, remove the old trimmer head by turning it counterclockwise.
- Prepare your new trimmer head by loading it with trimmer line.
- Finally, attach the new trimmer head by screwing it on clockwise. Ensure it’s securely fastened.
So, you’ve spent over 200 hours meticulously maintaining your garden with your trusty string trimmer, and now the inevitable has happened – the head has worn out. Perhaps you’re feeling a tad bit anxious at the thought of replacing it yourself, but fear not, it’s easier than you think.
If you’re like me, the history behind everyday objects fascinates you. The string trimmer, also known as a weed wacker or weed eater, was invented in the early 70s and has had a significant impact on garden maintenance. Most trimmers nowadays come with a user-manual detailing instructions on how to replace the trimmer head, typically requiring nothing more than a new head and your hands. By familiarising ourselves with this process, we can extend the lifespan of our tools and save a good bit of money in the long run.
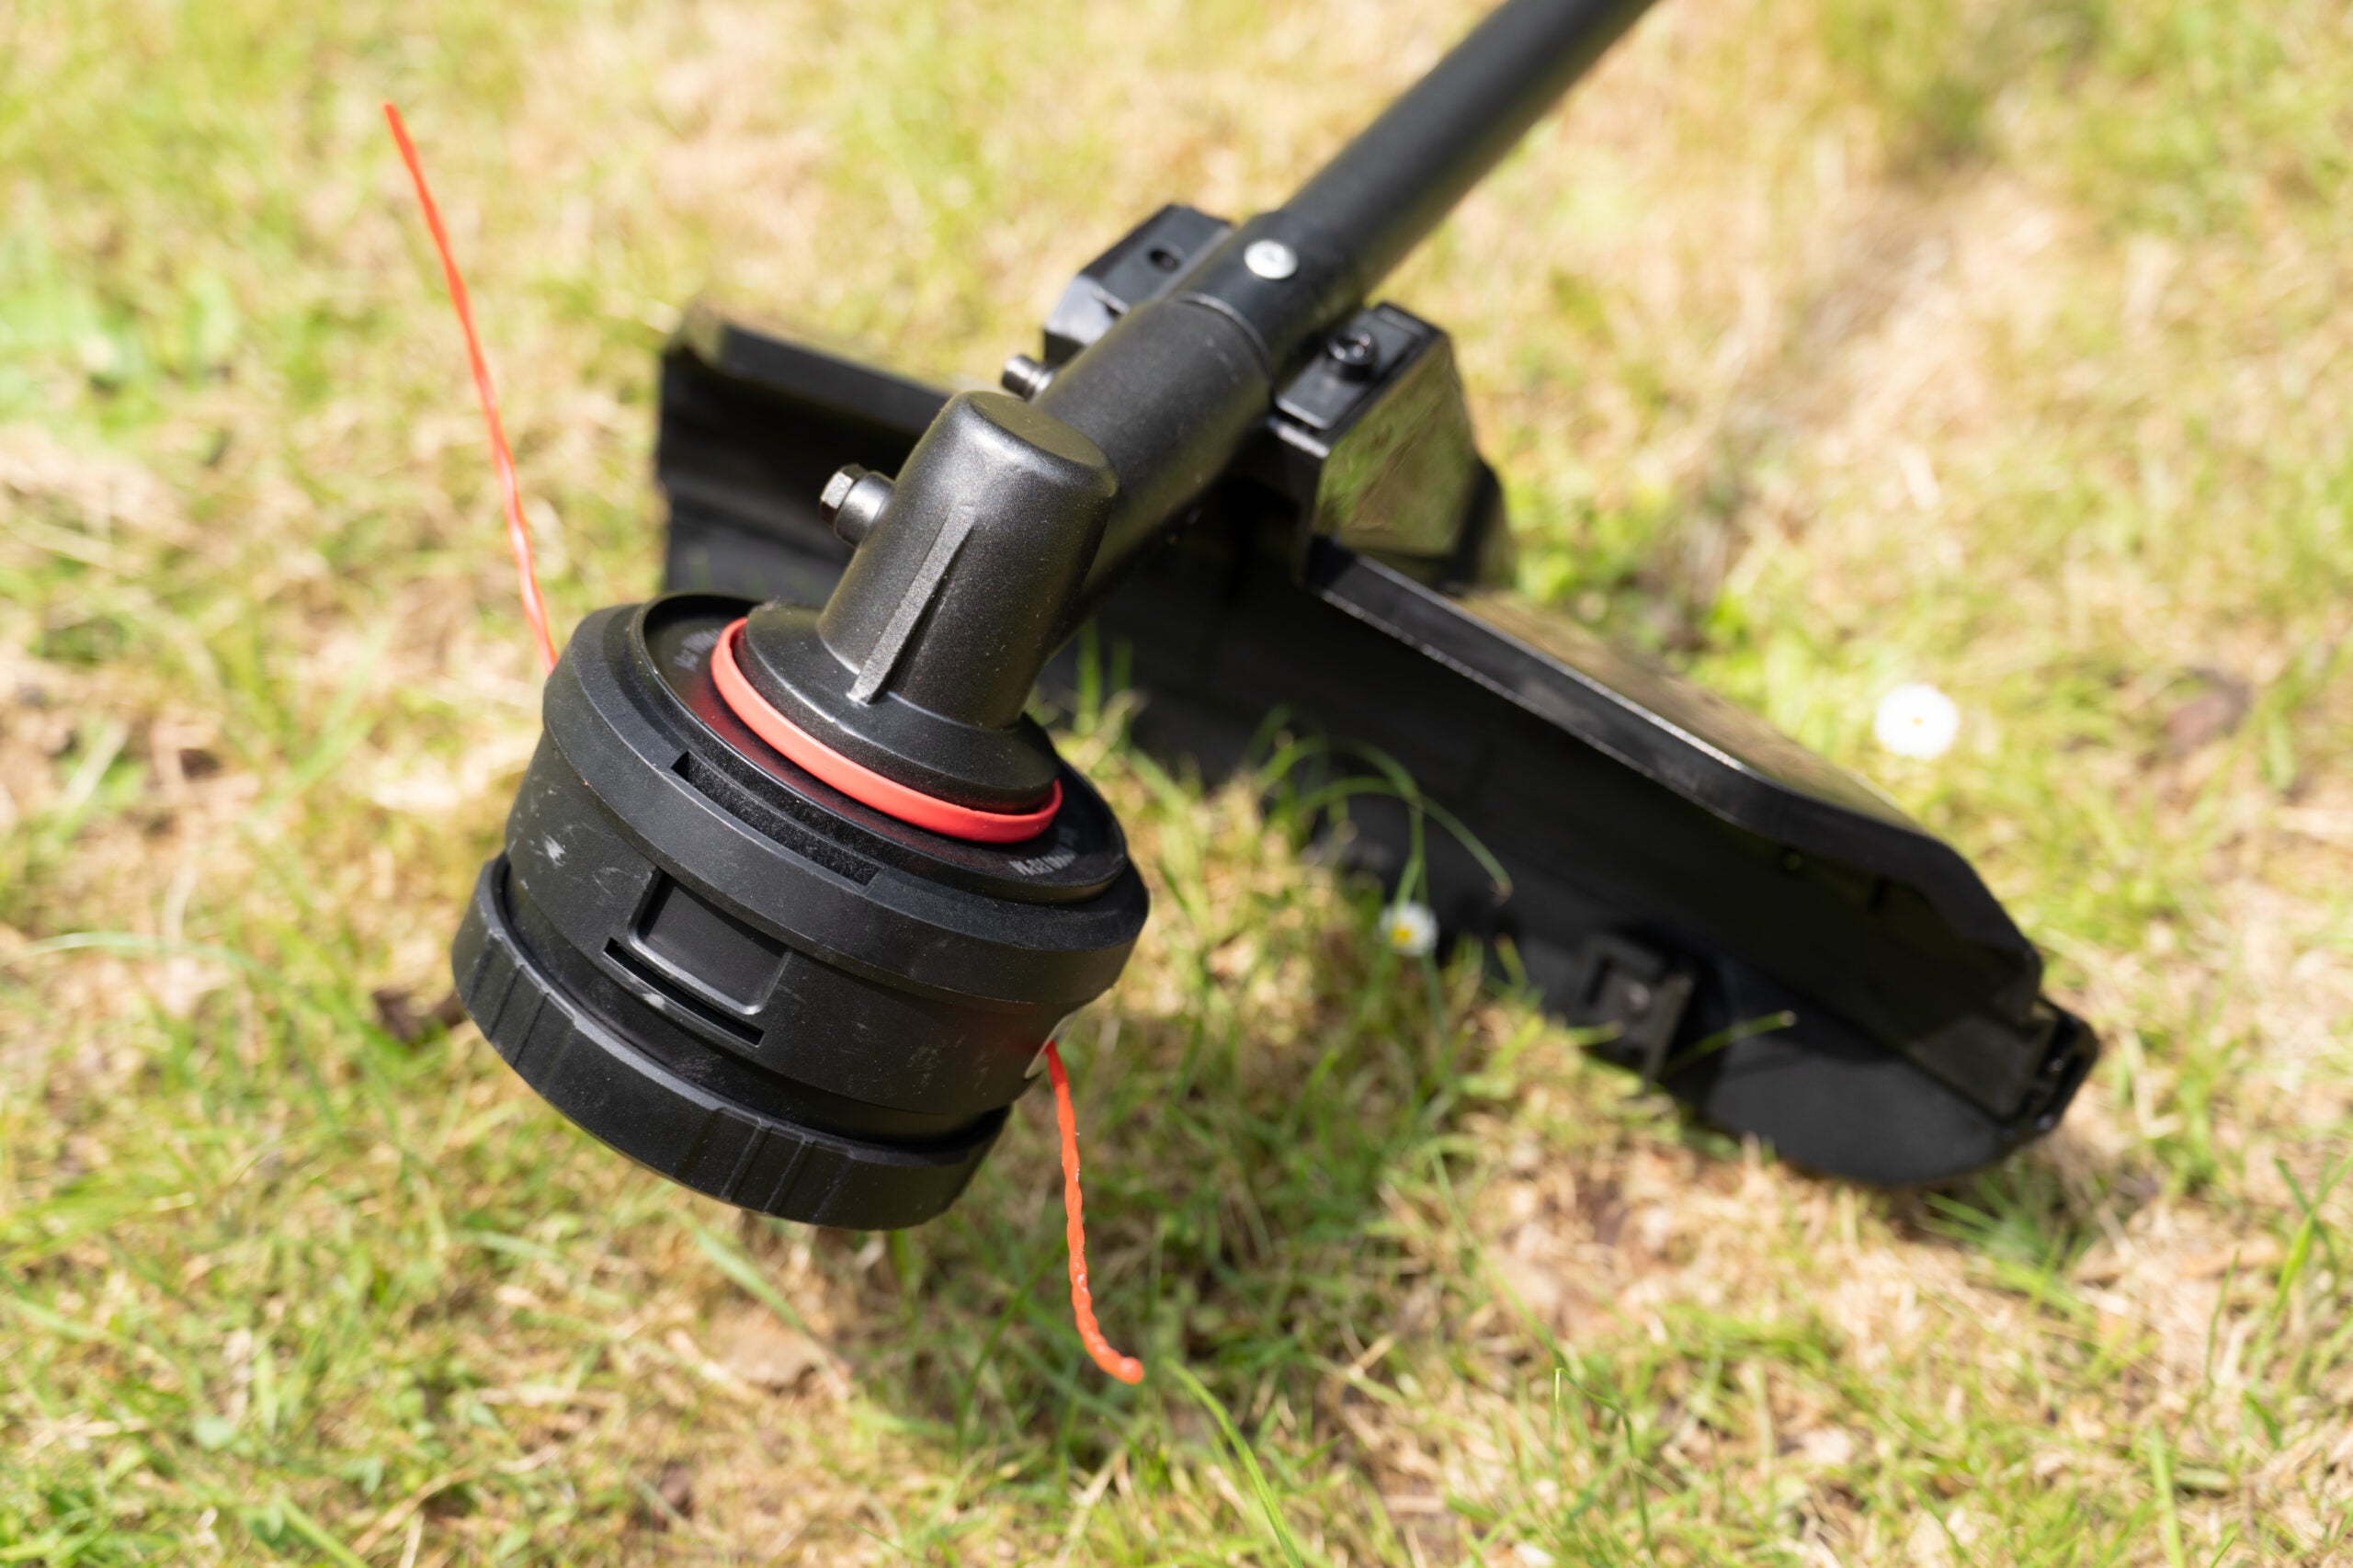 Source: trustedreviews.com
Demystifying the Process of Replacing a String Trimmer Head
Regular maintenance and timely replacement is crucial in increasing the life of your garden equipment. When it comes to string trimmers, one of the most common maintenance tasks you’ll find yourself performing is replacing the trimmer head. Here’s a step-by-step guide on ‘how to replace a string trimmer head?’ to keep your trimmer performing optimally.
Step 1: Safety First
Before you start the process of replacing your string trimmer head, it is advisable to ensure your safety. Make sure the trimmer is turned off and unplugged (if electric) or if it’s a gas model, ensure that it’s cool. Additionally, wearing gloves can help protect your hands from any sharp edges of the trimmer line or head.
Inspect the head to make sure it’s completely cool and safe to touch. If you’ve been using an electric trimmer, unplug the cord from the outlet. Similarly, if it’s a gas model, keep it aside for a while ensuring it cools off before proceeding with the replacement.
Using a pair of sturdy gloves can not only protect your hands but also provide you with a better grip on the trimmer parts. Safety goggles are also recommended as trimmer parts can sometimes inadvertently spring off while trying to replace the head.
These precautions not only ensure your safety but also ensure the overall success of the task at hand. Following these steps will give you a safe, clean, and hassle-free environment to start replacing your string trimmer head.
Step 2: Removing the Old Trimmer Head
Once you’ve ensured your safety, the next step is to remove the old trimmer head. Start by locating the trimmer head retention knob. This is typically found in the middle of the trimmer head.
Using a wrench or pliers, remove the retention knob by unscrewing it. Carefully remove the old trimmer head by gently lifting it off from its seat. Keep in mind to retain the washer, spring, and C-ring from the old head as you may need them for the new trimmer head.
At this point, the center of the trimmer shaft will be exposed. It is crucial to clean this area thoroughly before proceeding with installing the new head. Any debris left in this area can impede the performance of the new trimmer head.
If you have a manual for the specific model of your string trimmer, it may be helpful to refer to it for any model-specific instructions. Not all trimmers are the same, and some may have specific steps or parts that are unique to the model or brand.
Step 3: Preparing and Installing the New Trimmer Head
After removing the old head and cleaning the center shaft, you’re ready to install the new trimmer head. Start by threading the trimmer line onto the new head. Depending on the model, you may need to wind the line in a specific direction. It’s recommended to refer to the instructions supplied with the new trimmer head for this procedure.
Once the line is threaded, place the spring back into the first half of the trimmer head. The spring aids in feeding the line, so it’s crucial to place it correctly. The C-ring goes next, followed by the washer. The tab on the washer must be aligned with the groove in the head.
Now place the new trimmer head on to the trimmer shaft. Ensure it aligns with the spindle and seats properly. Then, you can start to screw on the new trimmer head. Once secure, turn the retention knob until hand-tight. Avoid overtightening, as it could potentially damage the trimmer head or make future replacements difficult.
Lastly, conduct a visual check to ensure everything is properly installed. The new trimmer head should spin freely and the line should not be loose or protruding off the sides. Should there be any issues, repeat the previous steps until the trimmer head operates as intended.
Step 4: Confirming the Replacement and Testing
Now that you have replaced the trimmer head, it’s critical to confirm that everything is working properly. Reconnect your trimmer to the power source or, for gas models, start the engine. Test the line feeding mechanism to ensure new line can get out when needed. Also, evaluate how well the new trimmer head spins and if there is any unusual vibration or noise.
If everything checks out, congratulations! You have successfully learned and executed how to replace a string trimmer head. The process might seem complex initially, but with practice, most users get better and faster. Therefore, don’t be surprised if the first few times take a bit longer than expected. Eventually, you’d be able to handle it seamlessly.
It’s always advisable to check for any loose parts that might present possible safety concerns. If any part of the trimmer head assembly seems loose or not properly seated, it would be best to stop operating the tool immediately and recheck your work for accuracy.
Also remember, each string trimmer may have a slightly different process based on its design and the manufacturer’s specifications. So always refer back to your user manual for specific instructions and details.
Step 5: Cleaning Up
Post the successful replacement of the string trimmer head, make sure to clean up your workspace. It’s crucial to dispose of the old head properly, considering that it might be sharp and pose a risk to others, especially if left out in the open. Also, remember to keep the leftover new trimmer line as it can be used next time.
Store the trimmer properly, away from moisture and in a secure location. Regular maintenance will not only prolong your string trimmer’s life span but also ensure it’s ready for use whenever you need it.
If you notice any new trimmer line left, coil it up and store it appropriately. It’s advisable to use a bag or box to store the trimmer line as it can become a tangled mess if left out free.
The tools used in the process of replacing a string trimmer head should also be cleaned and put away properly.
Proper cleaning, storage, and disposal of parts not only contribute to your safety but also ensure the longevity and optimal operation of your string trimmer. Remember, maintenance is easier than repair, so it’s vital to always keep your gardening tools in good shape.
Learning ‘how to replace a string trimmer head?’ is a handy skill that can save you expensive service or replacement costs in the long run. With regular maintenance, your string trimmer can function at its peak for longer, making your gardening tasks easier. Besides, nothing beats the satisfaction that comes from successfully carrying out a DIY repair on your beloved gardening equipment!
Ryobi String Trimmer Head Replacement 311759014
Frequently Asked Questions
String trimmers are incredibly useful tools for maintaining your lawn, but it is inevitable that at some point, you will need to replace the trimmer head. For most homeowners, this can seem like an intimidating task. The following are some commonly asked questions and answers to help you with this task.
What are the signs that my string trimmer head needs replacing?
If your string trimmer is jamming or not cutting as efficiently as it once did, it may be time to replace the head. Other signs include excessive vibration, unusual noises, or if the trimmer head is visibly cracked or damaged. Regular inspection of your equipment will help you spot any potential issues before they become more serious.
Bear in mind, your trimmer head may just be dirty or require a simple re-string, so always troubleshoot first before deciding on a replacement. However, if consistent problems persist, it’s wise to invest in a new trimmer head.
What tools do I need to replace a string trimmer head?
The tools needed to replace a string trimmer head largely depend on the model of your trimmer. Typically, you will need a wrench to remove the nut securing the head. Some models may just require you to loosen it by hand. A clean work area with a towel or mat to place small parts on is also beneficial.
Before doing anything, always refer to your manufacturer’s instruction manual. It will detail the exact tools required and provide step-by-step replacement advice tailored to your specific model.
Can I replace a string trimmer head without any professional help?
Yes, most homeowners can replace their string trimmer head themselves with some basic tools and a little patience. The process generally includes removing the old head, installing a new one, and then re-stringing it. Always remember to disconnect the trimmer from its power source before beginning.
Although it’s a task within most people’s capabilities, referring to the instruction manual, doing research, or watching tutorial videos can help ensure you carry out the process correctly. If you’re unsure at any point, it might be best to seek professional help.
Are all string trimmer heads universal?
No, not all string trimmer heads are universal. Trimmer heads vary based on the model and manufacturer of your string trimmer. Some models may allow for universal trimmer heads, but it’s important to always check compatibility before making a purchase.
When shopping for a new trimmer head, refer to your trimmer’s user manual or consult with an expert at a home improvement store to ensure you are choosing the correct replacement. The wrong head can lead to damage or ineffective cutting.
How often should I replace my string trimmer head?
The frequency of replacing your string trimmer head depends on several factors, including how often you use it, the size of your yard, and the type of vegetation you’re trimming. A head used frequently or on tougher vegetation will need to be replaced more often than one used less frequently or on lighter materials.
As a rule of thumb, it’s good practice to inspect your trimmer head regularly. If it’s showing signs of visible damage or reduced performance, it’s probably time to consider a replacement. By doing this, you’ll help maintain an efficient and effective trimming operation.
How to Change a String Trimmer, Weed Eater, Weed Whacker Head
Final Words
We have discussed the correct method to replace a string trimmer head. With regular maintenance, your trimmer will always work at its best. Remember, always take safety precautions like disconnecting the power supply and wearing protective gear to prevent injuries. The right trimmer head ensures comfort and ease during trimming work, so always choose the right size and model for your trimmer.
Mastering this self-help technique not only saves time and money but also adds up to your skillset. A step-by-step, in-depth explanation helps you understand the process and execute it with precision. If done rightly, your trimmer will work just as efficiently as a new one. A proactive approach to regular maintenance keeps your equipment in good working condition.
