
Are you tired of struggling to open your Philips trimmer and wasting precious time? Well, fret no more! In this comprehensive guide, we will walk you through the step-by-step process of opening your Philips trimmer effortlessly. Whether you are a grooming enthusiast or someone new to the world of trimmers, this guide is designed to help you achieve a hassle-free trimming experience.
With its sleek design and innovative features, the Philips trimmer has become a popular choice among individuals who value precision and convenience in their grooming routine. However, the process of opening the trimmer can sometimes be confusing and frustrating, leaving many users scratching their heads. But fear not! In this guide, we will break down the process into simple and easy-to-follow steps, ensuring that you are able to open your Philips trimmer smoothly every time. So, get ready to say goodbye to the struggle and hello to a seamless grooming experience!
How to open a Philips trimmer:
- Make sure the trimmer is turned off and unplugged from any power source.
- Locate the release button or lever on the trimmer’s body.
- Press or slide the release button or lever in the designated direction.
- Gently separate the trimmer’s top and bottom parts to access the blades or the battery compartment.
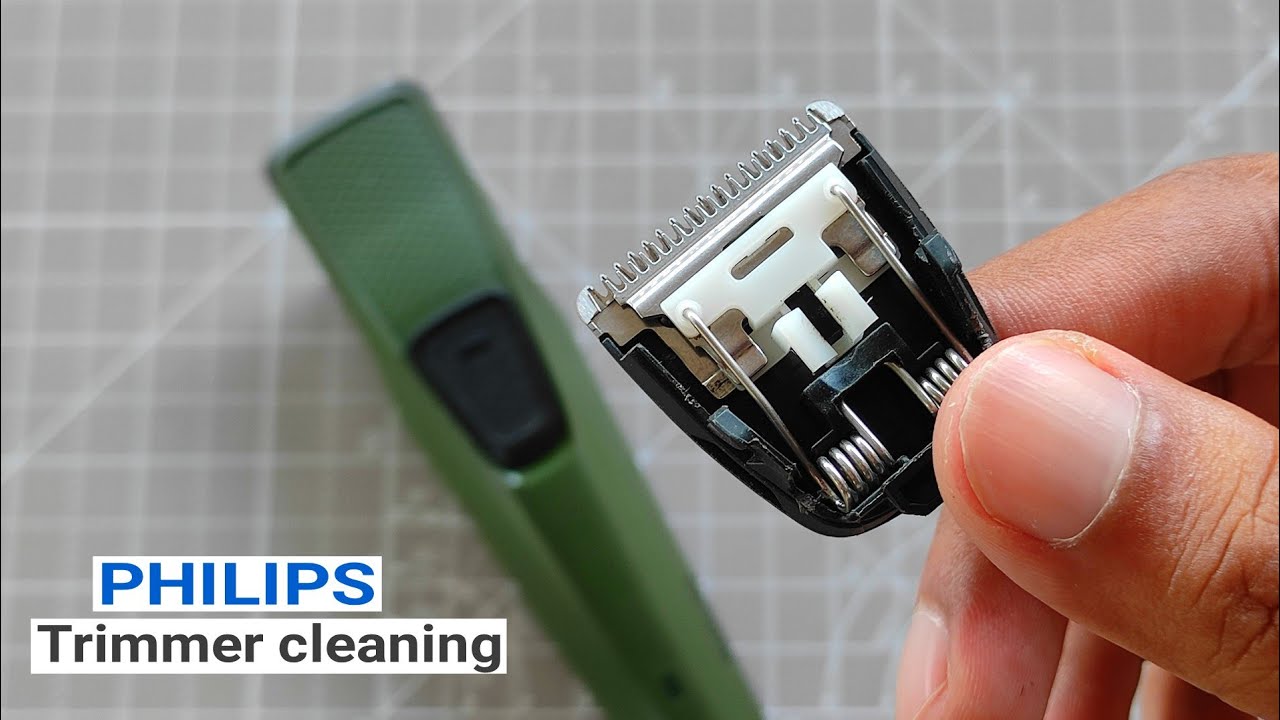
Source: ytimg.com
How to Open a Philips Trimmer? A Quick and Easy Guide
In this informative article, we will guide you through the process of opening a Philips trimmer. Whether you need to clean the trimmer or replace a part, understanding how to open it is essential. We will provide you with step-by-step instructions and detailed information, ensuring you can successfully open your Philips trimmer without any hassle. Let’s get started!
Step 1: Gather the necessary tools and materials
Before you begin opening your Philips trimmer, it’s important to gather all the required tools and materials. This will ensure that you have everything you need to complete the process smoothly. Here is a list of the items you will need:
- Small screwdriver (usually a Phillips head)
- Cotton swabs
- Isopropyl alcohol
- Replacement parts (if needed)
Make sure you have these items ready before proceeding to the next step.
Step 2: Turn off the trimmer and remove the comb
Begin by turning off the Philips trimmer and removing the comb attachment, if present. This will expose the cutting blades and allow you to access the internal components of the trimmer. Set the comb aside in a safe place to avoid misplacing it.
It’s important to ensure that the trimmer is completely turned off to prevent any accidental injuries while opening it. Removing the comb attachment will also make the opening process easier.
Step 3: Locate and remove the screws
Next, you’ll need to locate the screws that hold the trimmer’s casing together. These screws are usually located on the sides or the back of the trimmer. Use the small screwdriver to carefully unscrew them and set them aside in a secure place to avoid losing them.
It’s important to be gentle while removing the screws to avoid stripping them or damaging the casing. Take your time and ensure that all screws are fully removed before proceeding to the next step.
Step 4: Separate the trimmer casing
Once all the screws have been removed, you can now separate the trimmer casing. Gently pull apart the two halves of the casing, starting from the bottom and working your way up. Be careful not to force the casing apart, as this can cause damage.
As you separate the casing, be mindful of any internal wires or connections that may be attached. Take note of their positions and gently detach them if necessary. It’s important to handle these components with care to avoid any damage.
Step 5: Access the internal components
With the trimmer casing open, you can now access the internal components. This will allow you to clean, repair, or replace any parts as needed. Use the cotton swabs dipped in isopropyl alcohol to clean the blades, removing any debris or buildup that may affect the trimmer’s performance.
If you need to replace any parts, carefully remove them and replace them with the new ones. Make sure to follow any specific instructions provided by Philips or consult the user manual for guidance.
Step 6: Reassemble the trimmer
Once you have finished cleaning or making any necessary repairs, it’s time to reassemble the trimmer. Align the two halves of the casing and carefully press them together, ensuring that all the internal components are in their correct positions.
Then, use the small screws you removed earlier to secure the casing back together. Tighten the screws gently, but be cautious not to overtighten them as this can cause damage to the trimmer.
Step 7: Attach the comb and test the trimmer
Finally, reattach the comb to the trimmer, making sure it is securely fastened. Once the comb is in place, turn on the trimmer and test it to ensure it is working properly. If everything is functioning as expected, congratulations! You have successfully opened and reassembled your Philips trimmer.
If you encounter any issues or the trimmer is not working correctly, double-check the steps you followed and consult the user manual or Philips customer support for further assistance.
Opening a Philips trimmer may seem daunting at first, but by following these step-by-step instructions, you can do it with ease. Remember to gather all the necessary tools and materials, turn off the trimmer, and remove the comb attachment before proceeding.
Take your time and be gentle while removing the screws and separating the casing. Clean, repair, or replace any components as needed, and then carefully reassemble the trimmer.
Finally, attach the comb and test the trimmer to ensure it’s working correctly. With these guidelines, you can confidently open your Philips trimmer whenever necessary.

Source: ytimg.com
Frequently Asked Questions
Here are some commonly asked questions about opening a Philips trimmer:
How do I open a Philips trimmer for cleaning?
To open a Philips trimmer for cleaning, first make sure the device is turned off and unplugged from the power source. Locate the release button or switch on the trimmer, usually located near the blade area. Press or slide the release button to unlock the trimmer head. Once the head is unlocked, gently pull it away from the main body of the trimmer.
You can now clean the trimmer head and other removable parts using a brush or by rinsing them under running water. After cleaning, reattach the trimmer head by aligning it with the main body and pressing it firmly back into place until it clicks or locks.
It’s important to follow the manufacturer’s instructions for cleaning and maintenance to ensure the longevity and performance of your Philips trimmer.
Can I open a Philips trimmer to replace the blades?
Yes, you can open a Philips trimmer to replace the blades. However, it’s important to note that not all Philips trimmers have replaceable blades. If your trimmer model has replaceable blades, follow these steps: first, make sure the trimmer is turned off and unplugged. Locate the release button or switch near the blade area and press or slide it to unlock the trimmer head. Once the head is unlocked, carefully remove it from the main body by pulling it away.
You should now have access to the blades for replacement. Follow the manufacturer’s instructions for safely removing and replacing the blades. After replacing the blades, reattach the trimmer head by aligning it with the main body and pressing it firmly back into place until it clicks or locks.
If your Philips trimmer does not have replaceable blades, it is recommended to contact the manufacturer or an authorized service center for assistance.
How do I open a Philips trimmer to access the battery compartment?
To open a Philips trimmer and access the battery compartment, you’ll need to locate the battery cover. The location of the battery cover may vary depending on the model of your trimmer. Look for a small panel on the back or bottom of the trimmer that is marked with a battery symbol.
Once you’ve located the battery cover, use your fingers or a small screwdriver to gently pry it open. Inside, you’ll find the battery compartment where you can insert or replace the batteries as needed. After replacing the batteries, close the battery cover by pressing it back into place until it clicks or locks.
It’s important to use the correct type and size of batteries recommended by the manufacturer for optimal performance and to avoid any damage to the trimmer.
How can I open a Philips trimmer to clean the hair collection chamber?
To open a Philips trimmer and clean the hair collection chamber, first make sure the trimmer is turned off and unplugged. Look for a release button or switch near the chamber area. Press or slide the release button to unlock the chamber. Once unlocked, gently pull the chamber away from the main body of the trimmer.
You can now empty the hair collection chamber and clean it using a brush or by rinsing it under running water. Allow the chamber to dry completely before reattaching it to the trimmer. To reattach, align the chamber with the main body and push it back until it clicks or locks into place.
Regular cleaning of the hair collection chamber is important to prevent clogging and maintain the performance of your Philips trimmer.
Is it possible to open a Philips trimmer for repair purposes?
While it is possible to open a Philips trimmer for repair purposes, it is highly recommended to contact the manufacturer or an authorized service center for assistance. Opening the trimmer on your own may void any warranty or cause further damage if not done correctly. The manufacturer or service center will have the necessary expertise and tools to diagnose and repair any issues with your trimmer.
If your Philips trimmer is still under warranty, it’s best to check with the manufacturer or refer to the warranty documentation for instructions on obtaining repair services.
How To Open And Repair Philips QT4005/4006 Trimmer
Final Words:
In conclusion, learning how to open a Philips trimmer is a valuable skill that can enhance your grooming experience. By following the step-by-step instructions provided, you can easily access the inner components of the trimmer, allowing for proper cleaning, maintenance, and even repair if needed. Remember to always exercise caution and refer to the user manual for specific guidelines and safety measures.
Opening a Philips trimmer not only grants you the opportunity to maintain its longevity and performance but also provides a sense of empowerment and self-sufficiency. As you become more familiar with the inner workings of your trimmer, you’ll gain confidence in troubleshooting and resolving minor issues on your own.
By taking the time to understand the process of opening and accessing the trimmer’s components, you’ll be able to ensure its optimal functioning and prolong its lifespan, ultimately leading to a more satisfactory grooming experience. So, go ahead and embark on this journey of exploration and discovery, as it will undoubtedly contribute to your overall grooming routine.
